Original ideas for crafts from satin ribbons
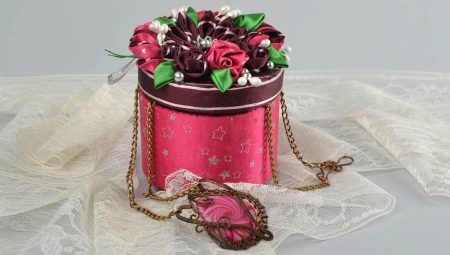
A huge variety of crafts can be made from satin ribbons. These can be both the simplest and very complex products that look elegant and expensive. In today's article, we'll take a look at some of the original ideas for cool satin ribbon crafts.
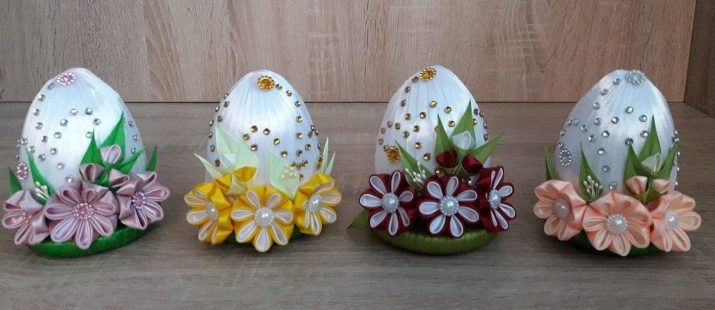

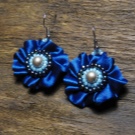

Products using the kanzashi technique
Crafts made using the kanzashi technique are very interesting and attractive. According to the scheme, the master can make a huge number of various shapes and designs using satin ribbons. We will understand some of the master classes in detail.

Swan
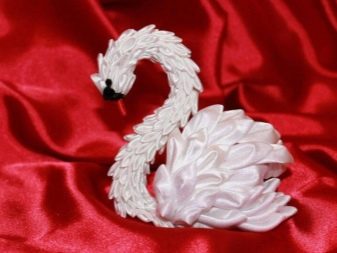
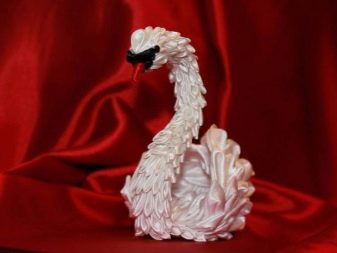
Using the kanzashi technique, it is possible to model a very beautiful swan. Such an original craft, assembled from satin ribbons, will surely become a creative interior decoration or an unusual gift.
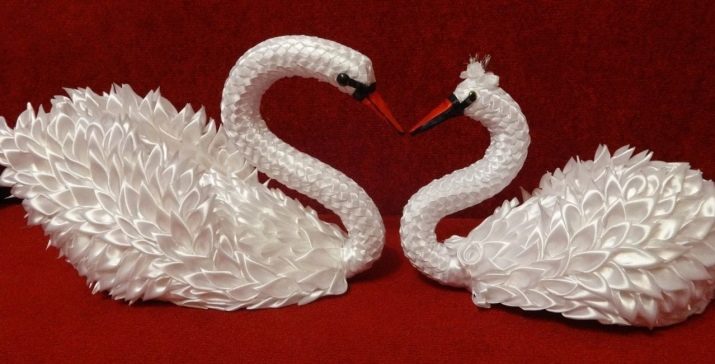
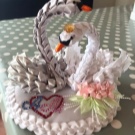
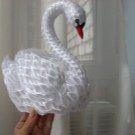

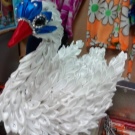
To make an elegant satin swan with your own hands, the master will need to prepare the following components:
- white satin ribbon;
- pliers;
- wire for forming the skeleton base of the figure;
- wool yarn;
- glue gun;
- scissors with well-sharpened blades;
- lighter.

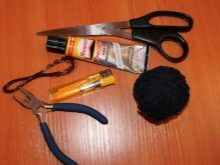

There are many simple and straightforward techniques for making a beautiful bird using the listed components.
Someone forms a wire frame base and uses only the petals, while someone chooses a dense foam structure, sheathing it not only with petals, but also with woven baubles made of ribbons.
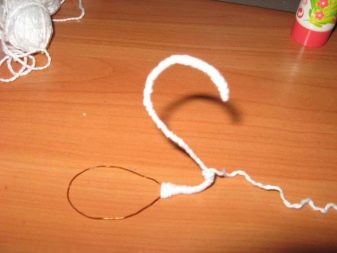
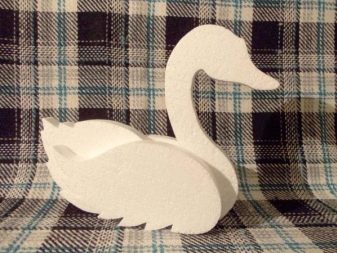
Here's a step-by-step guide to modeling a swan using a sturdy wire frame.
- First, you will need to build a frame base for the future bird figurine from the wire part.When doing this, you should use pliers.
- The assembled wire frame will need to be carefully and carefully wrapped with woolen yarn. This must be done in such a way that the neck of the future figure is denser and thicker, and it is also possible to attach petals to it.
- When the frame base is completed, you can start gluing it with pre-prepared petals. The technique of modeling the latter is selected exclusively in accordance with the skills and preferences of the master. It is allowed to use both rounded and sharp parts.
- Having finished work on the neck of the future swan, you will need to bend its wings. After that, these elements are attached to the wire base. By a similar principle, these components are finished. First, they are wrapped with yarn, and then with petals made of satin.
- At the end of the previous stage, it will be interesting to decorate the swan by drawing a beak for it or gluing it with a piece of red tape. To shape the bird's eyes, you can use regular black beads.
- To add more splendor to the craft, the petals can be stacked on top of each other. In this case, the sizes of satin modules may be different.
- The wings of such an interesting homemade swan will need to be pasted over on both sides at once.
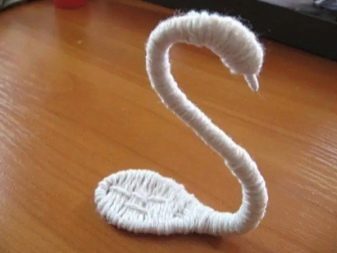
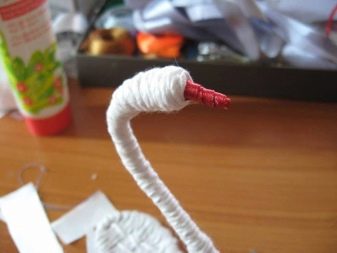
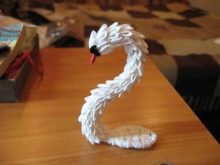
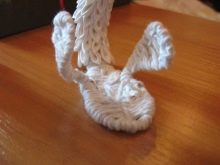
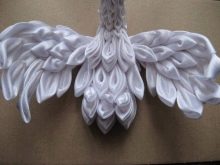
The resulting creative souvenir of this type is very often ordered for various celebrations and weddings. If you treat the modeling of the craft responsibly, then it will turn out to be very original and beautiful.
Petals
Neat petals are modeled from satin ribbons without unnecessary difficulties. To make such things, you will need to stock up on the same fabric squares. The dimensions of these elements depend on how the craft should end up.
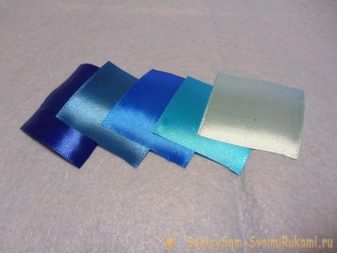
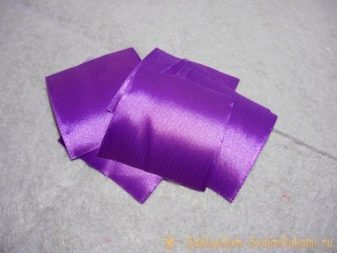
To model a semicircular petal, you will need to refer to the next instruction.
- First, prepare a sufficient number of necessary blanks from the tape. After that, you can proceed to the direct creation of the petals.
- The formed squares are bent diagonally. Due to this, the shape of an isosceles triangle will be obtained.
- The formed corners will need to be carefully pulled to the top of the triangular part so that there is a semicircular figure on top.
- Further, the corners on the sides will need to be carefully brought together from the back side. The cut obtained after this will definitely need to be accurately trimmed by squeezing it with tweezers. Then the elements are soldered with a match or a lighter.
If the resulting petal does not stick together even after soldering, then it can be fixed with an adhesive composition.
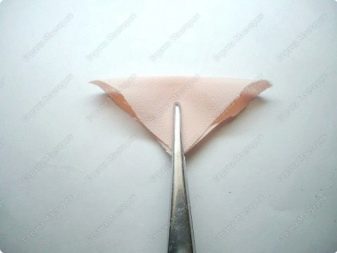
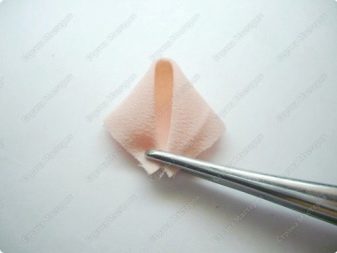
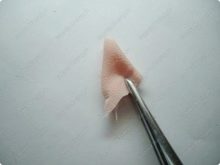
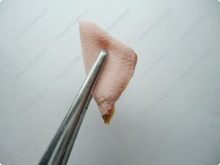
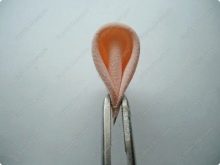
A sharp petal can be modeled as follows.
- A square blank made from tape is folded diagonally to form an isosceles triangle.
- The triangular piece is re-rolled. When leveling the edge at the bottom, it is necessary to fix the workpiece by firing. As in the case discussed above, it is allowed to use a lighter or candle for this.
- After that, the formed petal will only have to be properly aligned.
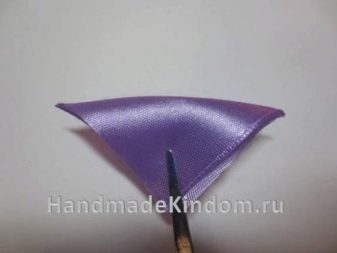
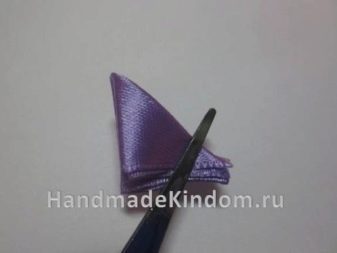
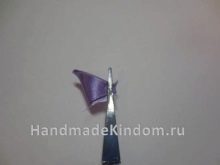
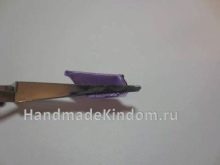
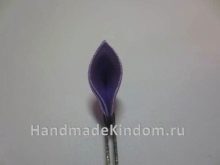
The considered master classes allow you to craft two main types of petals, which are most often used in creating beautiful figures. Of course, there are other forms and manufacturing techniques. The choice of a certain life hack depends on the complexity of the future product, as well as on the preferences of the master who will work on its creation.
Dahlia
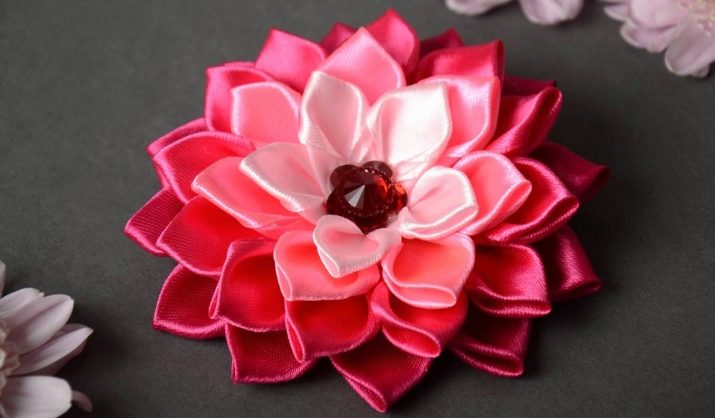
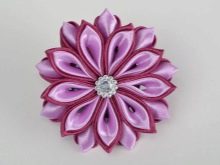
Using the kanzashi technique, you can model a very elegant and original dahlia. To make such "beauty" with your own hands, you will need:
- ribbons of turquoise, red and white satin;
- ruler;
- tweezers;
- scissors with sharp cutting edges;
- gun-shaped glue;
- fire - you can use both a lighter and an ordinary lit candle;
- decorative pebble.
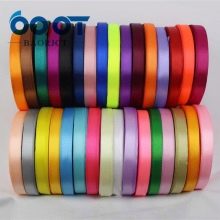


If all of the listed components are prepared, the master can proceed to work on modeling a beautiful satin dahlia. Let's consider how to do it correctly.
- First, you will need to prepare 50 pieces of shiny turquoise tape. Each element must have dimensions of 2.5x4 cm.
- Next, you will need to take a piece of ribbon and form a petal from it, using tweezers and a fire source (candle or lighter). With the chosen manufacturing method, petals will need to be made from all the squares.
- At the next stage, you will need to cut a round blank from the snow-white satin, the diameter of which is 5 cm.
- 10 turquoise petals are glued along the edge sections of the cut out circle. This will form the first row of parts.
- Then you need to glue the second row, consisting of 10 petals. These components should be fixed in checkerboard order.
- Then you can start fixing the third row, also consisting of 10 petals. The fourth and fifth rows should be formed with 7 petals.
- In the central part of the original flower, you will need to place the selected decorative pebble.
- At the next stage, you will need to carefully cut out the leaves from the satin, painted in red. The prepared components will need to be carefully glued to the side of the homemade dahlia.
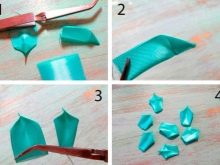
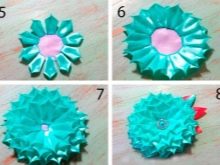
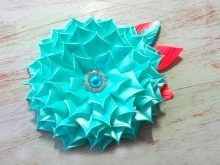
At this stage, the spectacular craft will be ready!
Create a shopping cart
The ribbons made of beautiful shiny material are suitable for modeling aesthetic baskets. To make such a thing with your own hands, the master will need:
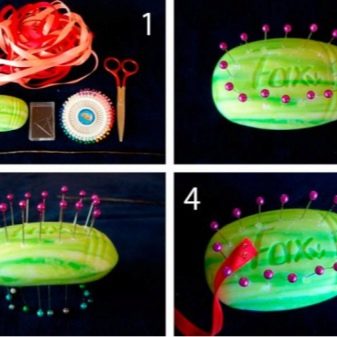
- oval bar of soap;
- ribbons in two colors;
- sharp needles;
- scissors with sharpened blades;
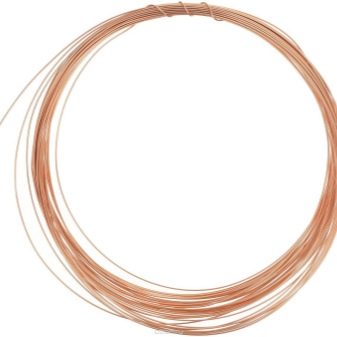
- wire.
Let's get acquainted with the technique of modeling the original satin baskets.
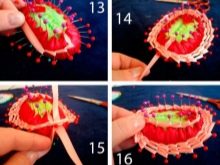
- On the surface of the soap on both sides, you will need to mark an even oval with a pencil.
- Needles will need to be inserted according to the basting. A distance of at least 0.5 cm should be left between them. These elements should be placed at a depth of 1 cm.
- Taking a ribbon painted in one of the colors, you will need to fix its edge on the soap, using another needle. The latter should be different from those needles that were inserted into the soap earlier. This is necessary in order not to confuse this part with others in the future.
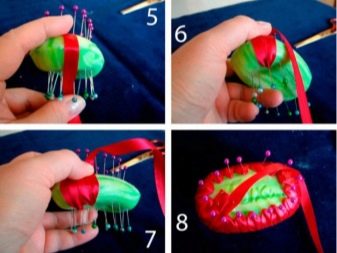
- Now you can proceed to weaving the blank with a ribbon. In this case, it will need to be lowered to the lower oval, leading it behind the tape, and then raised again upward.
- Similarly, you will need to braid the entire soap bar entirely, making out the entire diameter.
- Having completed this step of the work, the edge of the tape will need to be fixed with another needle.
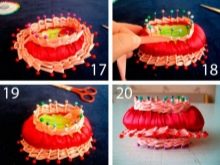
- Visually, the soap bar will need to be divided into 2 parts. In the center of the workpiece, you will need to insert another row of needles along the entire perimeter of the soap.
- Now you will need to take a ribbon of a different color. She, too, should braid the soap bar, resting on the row of inserted needles. Thus, it will be necessary to go through 3 rows.
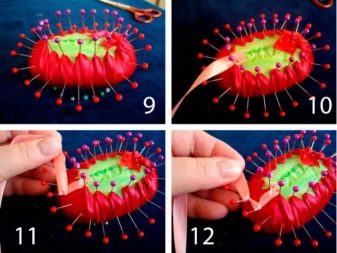
- Once the outer row is completed, the master will have to lift up and, according to the same principle, process the upper inserted needles. In this case, 3 rows are also required.
- Now you should walk along the row below.
- After completing the processing, the structure will need to be positioned on a flat horizontal surface. By making light pressure, it will be possible to smooth out the base of the future charming basket without difficulty, so that it turns out to be more stable.
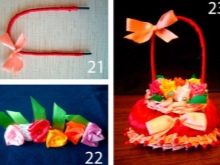
- At the final stage, it remains to issue a craft handle. To do this, you need to bend the wire part, and then braid it with a satin strip. After that, this component is attached to the basket.
- When the beautiful craft is completed, you can start decorating it. To do this, it is worth forming bright flowers from the same satin stripes. They will need to fill the surface of the soap bar.Of course, besides flowers, there are many more options for decorating a finished basket.
Here, each master decides for himself how best to decorate the original craft so that it looks as effective and elegant as possible.
Making topiary
Topiary made of shiny satin strips turns out to be amazing. To make such an original craft, you will need:
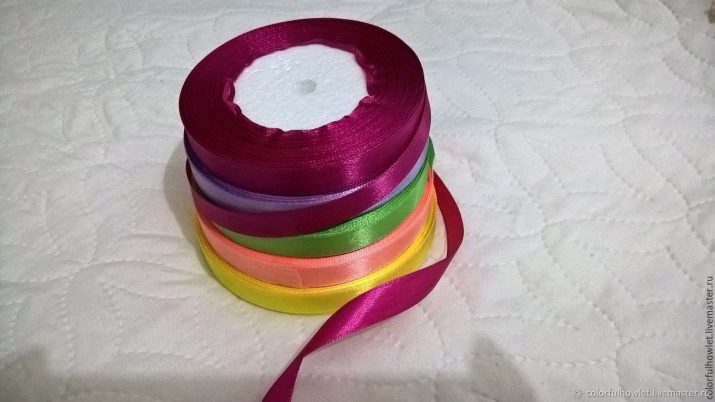
- satin stripes;
- gun-shaped glue;
- scissors with well-sharpened cutting elements;
- ruler;
- flower pot;
- 2 foam balls;
- pencil;
- a cardboard tube to form a stem from it;
- scotch tape supplemented with drawings;
- tinsel or serpentine.
Let's consider in detail a master class on creating an interesting craft.
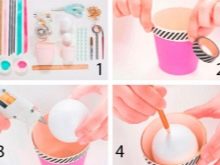
- First, the master will need to take a flower pot. You can easily decorate it by gluing strips of tape with patterns. This decoration option is perfect for children who are just getting acquainted with the modeling of such products.
- Now you need to glue the Styrofoam ball to the bottom of the pot.
- Next, using a pencil, you will need to make a hole in the center of the foam ball fixed in the pot.
- A paper tube is attached to the hole in the ball.
- Next, you need to take another foam ball. A hole is also formed in it with a pencil, and then a paper tube is also glued. This component will play the role of the crown of the tree.
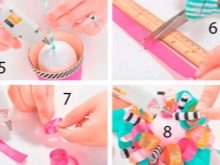
- In the next step, the master will need to cut the satin segments that have the same length.
- The ends of each tape will need to be glued together securely so that neat loops are formed as a result.
- Loops of satin stripes are glued so as to fill the entire crown of a homemade tree with them.
- At the final stage, the upper part of the container will need to be filled with tinsel or serpentine.

More ideas
With your own hands, you can make many more other interesting crafts using satin stripes. Many of them are very easy to model and are great for beginners (even kindergarten).
For example, at home you can very simply make an original and funny craft with your own hands from the following components:
- foam circle;
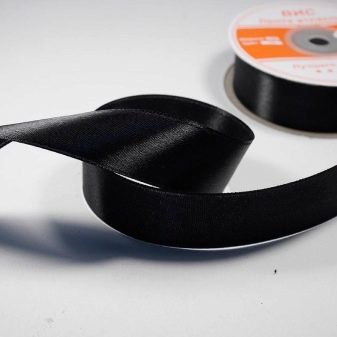
- black satin ribbon (you need to take wider stripes);
- orange tape (it is worth picking up from narrower stripes);
- decorative spiders;
- scissors.

Consider an interesting master class.
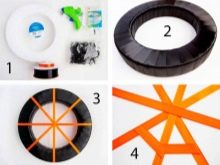
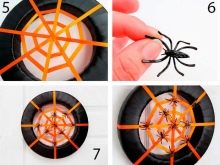
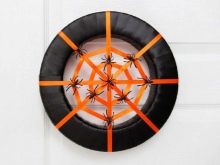
- The foam circle will need to be wrapped with a wide black tape. This component should be fixed with an adhesive.
- Next, you will need to prepare 8 pieces of orange ribbons. They must be larger than the diameter of the foam circle.
- Now you need to glue the orange segments to the black round base. This should be done so that they intersect with each other in the center, forming a kind of "snowflake".
- There are a few more pieces of orange tape to prepare. They will need to be glued, forming a complex web.
- In the end, it remains to attach decorative spiders to the orange web.
An original, but at the same time very simple craft is ready!
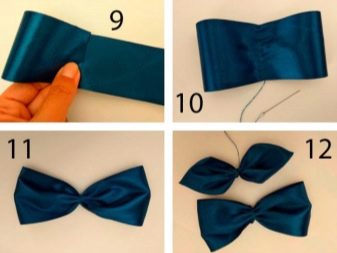
The method of making a neat bow tie for a boy from a satin ribbon is simple. This craft is modeled according to the technology below.
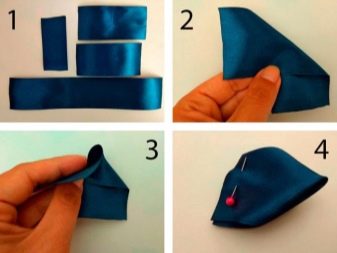
- First, you will need to prepare 2 pieces of satin ribbon with a width of 5 cm and a length of 11 cm. You will also need a piece with a length parameter of 25 cm and another 7 cm. The color of satin stripes can be absolutely any, each master chooses the option that suits him taste.
- First, you will need to take that segment, the length of which is 11 cm. It is folded at a right angle, and then in half, fixed with a pin. One more detail will need to be formed in the same way.
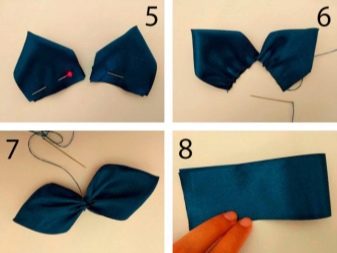
- Next, you have to make basting stitches on one of the parts made, and after that on the second. There is no need to break the thread after the first stage.
- The thread is pulled together, after which the 2 parts are fastened to each other.The formed element needs to be put aside for now.
- Next, you will need to fold in half that workpiece, the length of which is 25 cm. You will need to outline the central part here, and then unfold.
- The edges should be bent towards the center, forming an overlap of 1 cm.
- Now you should lay basting stitches and pull off the thread by wrapping it around the workpiece several times.
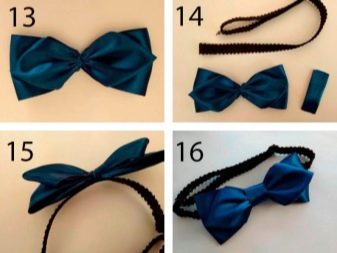
- In the next step, the master will need to reliably and very carefully sew the two finished parts together.
- You will need to fold a rectangle with a length of 7 cm. This component will act as a jumper for the future butterfly.
- At the final stages, all that remains is to sew the fasteners to the elastic. After that, the satin butterfly itself is glued to it, wrapping it with a jumper. At this stage, a beautiful and useful craft will be completely ready!
For information on how to make kanzashi hairpins in the form of a bunny with your own hands, see the next video.


