How to make a beautiful red shellac manicure?
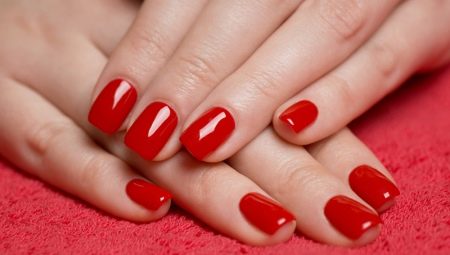
Shellac coating is in great demand by women of all ages. This popularity is explained by several reasons: the varnish fits perfectly on the nail, lasts up to three weeks and strengthens the nail plate. In addition, shellac is compatible with absolutely any design.
Coating features
Such a popular coating as shellac is not at all a new technique of long-lasting manicure, but a product released by the American brand CND, which has these properties.
A distinctive feature of this type of varnish is that it dries only under the influence of a special LED device. If you are a professional in the field of nail art and plan to do shellac manicure regularly, then it is necessary to purchase such a lamp, since it will pay off after only 10 times of use.
The coating itself is also quite expensive, but it is much more profitable to purchase it than to use the services of nail salons.
Color combination
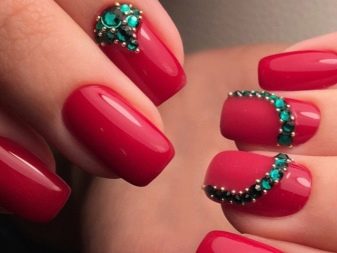
The design of nails in shades of red can be called universal, since this color can be safely combined with other varnishes and decorated with decorative details: foil, stucco elements, rhinestones, velvet sand, broths and others.
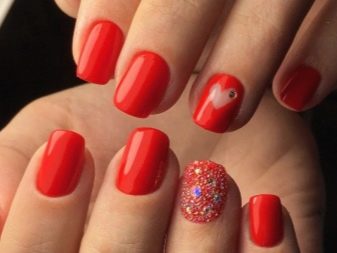
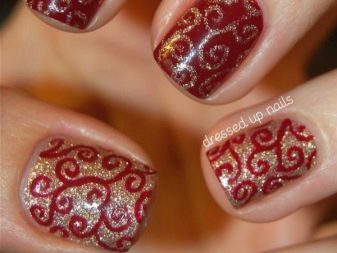
A red shellac manicure decorated with greenish-blue pebbles, monograms or kamifubiks will look very bright.
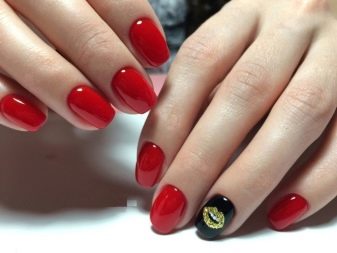
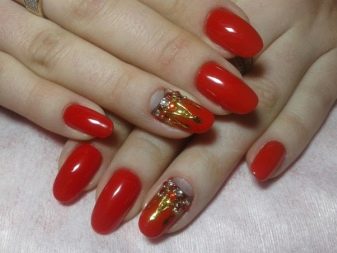
A red shade in combination with strokes in charcoal and golden-copper tones will always look advantageous.
This design is always associated with royal luxury and the attributes of these persons (crowns, rings), therefore it looks very rich and noble.
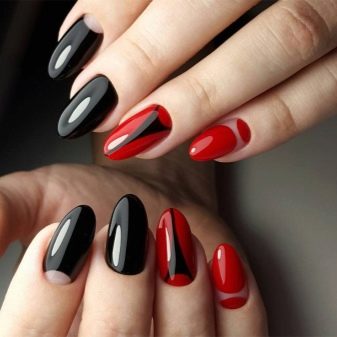
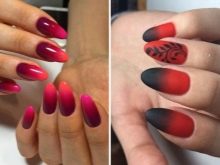
With black gel polish, the scarlet shade coating is in good harmony.This design option is suitable for fatal beauties who want to attract a wealthy man into their lives.
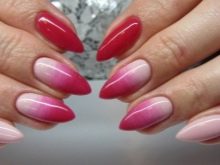
The red tone is well suited for gradient manicure, you just need to pick up a few different shades from each other. It can be the full range of colors from pinkish orange to purple.
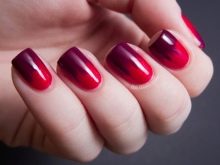
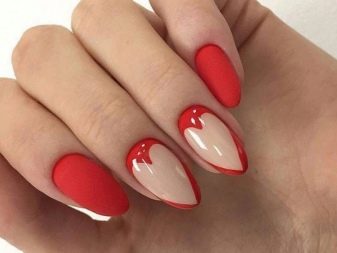
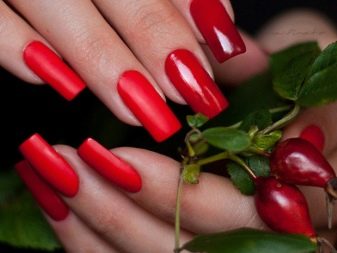
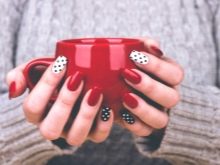
A combination of a red glossy varnish and a matte finish will look good. Thanks to this neighborhood, the nail acquires a relief texture reminiscent of velvet.
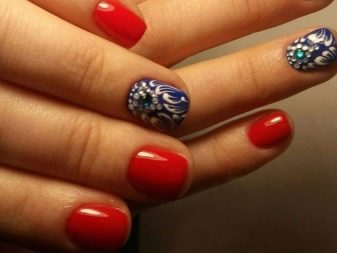
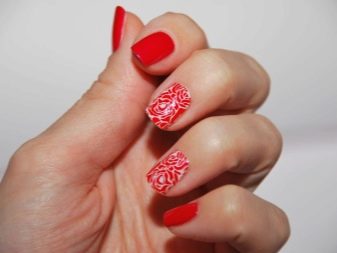
You can diversify the red base with the help of applications, rhinestones, rubbing, floral ornaments.

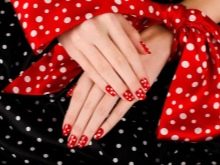
The big advantage of red marigolds is that they suit any style of clothing - from casual to sportswear, office and fancy dress.

How to do it at home?
To make a red shellac manicure, you will need the following tools and tools.
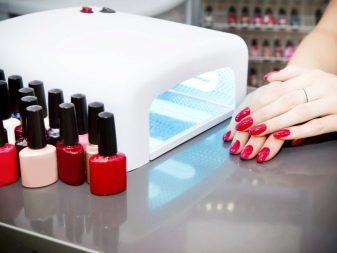
- LED lamp, power from 36 watts and above. It is this device that will dry the shellac applied to the nails. A device with a lower power will not give the desired effect.
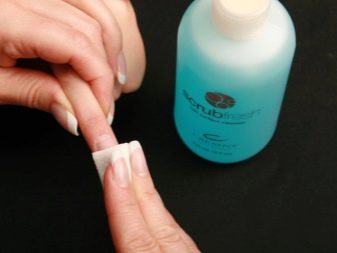
- Degreaser. As such, you can use any means based on acetone or ethyl alcohol, including wet wipes.
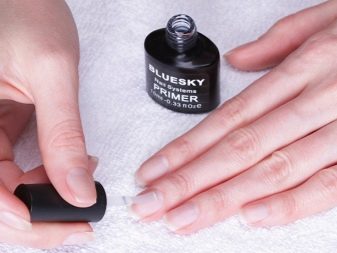
- Primer. This tool makes the marigold absolutely dry, due to which the applied coating retains its decorative effect for a long period of time.
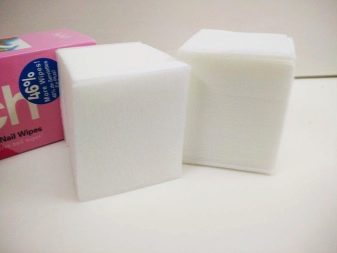
- Lint-free napkins. We need just such, since the ubiquitous cotton pads and paper-based napkins leave barely noticeable hairs on the surface of the nail.

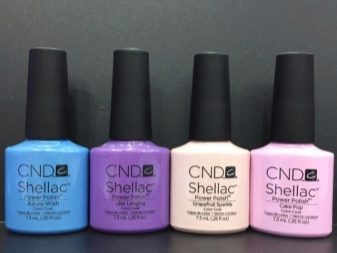
- Shellac. Initially, at the stages of gaining experience, only three similar tools will be enough: a colorless base, a colored varnish and a topcoat.
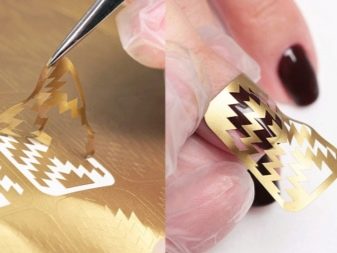
- Stencils. They are necessary so that you can make a jacket or apply symmetrical patterns.
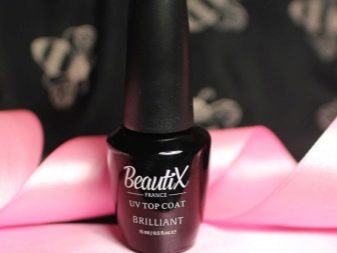
- Top. Completes the manicure procedure and helps it to serve in its original form for a long time.
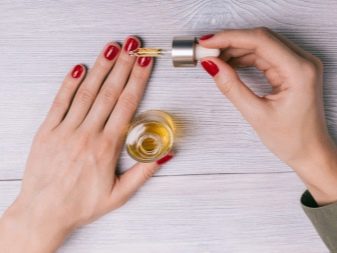
- Cuticle oil. It is this tool that will make your manicure neat.
For owners of very sensitive skin of the hands, before starting a manicure, it is recommended to do a bath with soothing agents, for example, with chamomile.
Experienced craftsmen can do a shellac manicure for half an hour. A step-by-step scheme for performing a shellac manicure is as follows.
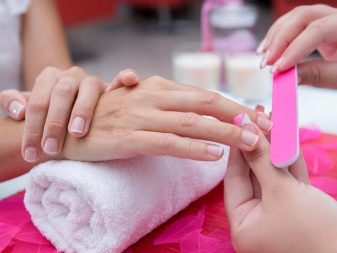
- The nail plates are given the desired shape. The cuticle is pushed back with a special spatula or orange stick. The nails are degreased.
- All fingers on the hand, except for the thumb, are covered with one layer of the base and dried in an LED lamp for one minute.
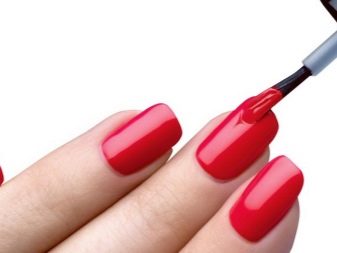
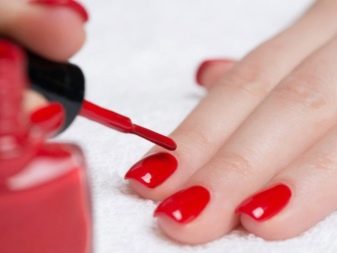
- Red shellac is applied to the nails. Careful processing requires the tip of the nail, so that later on it does not form chips.
- Send your nails to dry. Typically, each varnish comes with instructions that indicate the optimal drying time. It can vary from half a minute to three.
- Then a second layer of shellac is applied. And dries up again.
- In order to give the nails a shine, a protective layer is used. It is also dried in a lamp. Another function of this tool is to ensure the durability of the manicure.
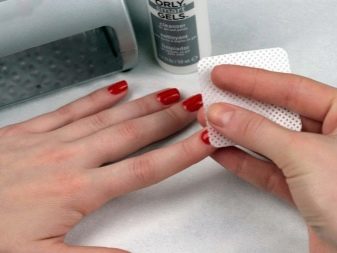
- After all the previous steps, the surface of the nails is treated with a degreaser. This will wash off the sticky layer. To prevent the manicure from becoming unusable, only lint-free napkins are used to remove the sticky layer.
- After all the other fingers are ready, you can repeat the same steps with the thumbs.

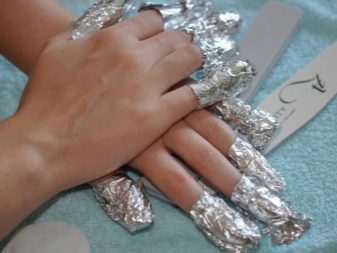
If you need to remove the coating, you will need a file with coarse chips and a special liquid designed to remove shellac, since conventional acetone-based products will not cope with it.
Cotton pads are moistened in liquid and applied to nail plates for 10 minutes. To create a more pronounced greenhouse effect, it is recommended to use foil.
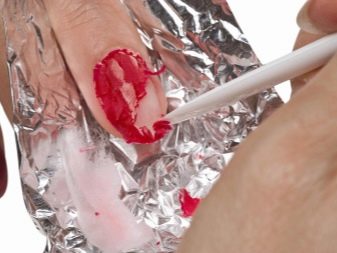
If the coating is not completely removed, leaving colored stripes in some places, it can be removed with an orange stick or a plastic manicure spatula.
Beautiful examples
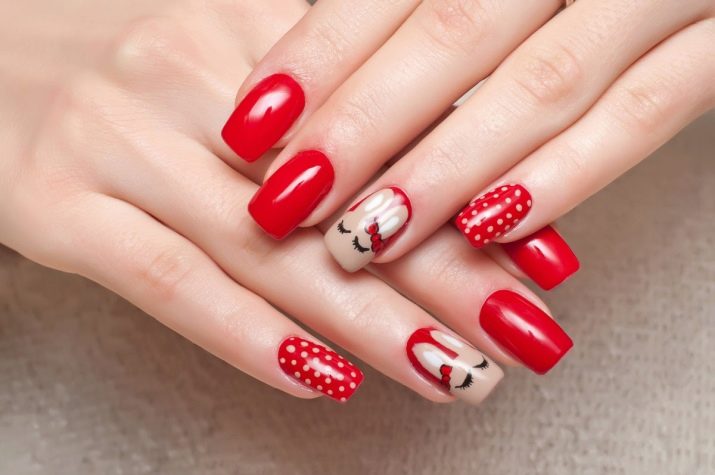
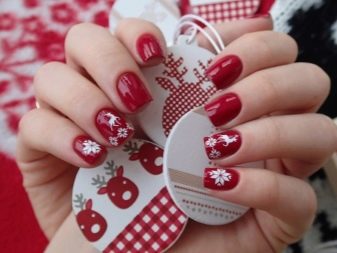
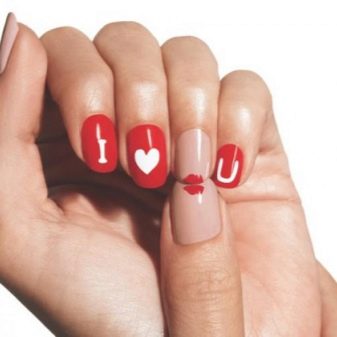
Young girls will love the idea of a red manicure with cute bears and the words "I love you".
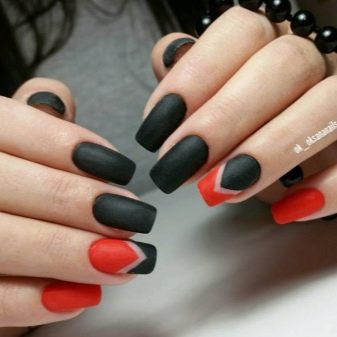
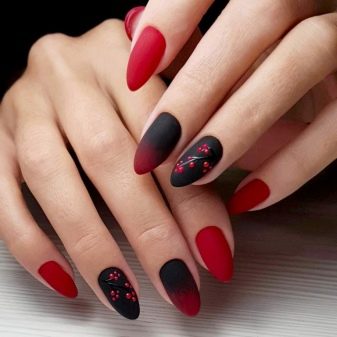
The matte design of marigolds in red and black tones looks very unusual. It uses a monochromatic coating, and a gradient technique, and the placement of floral ornaments (rowan branches) on a black background.
Red manicure with white lace and volumetric elements in the form of rhinestones and beads on the middle fingers looks very elegant.
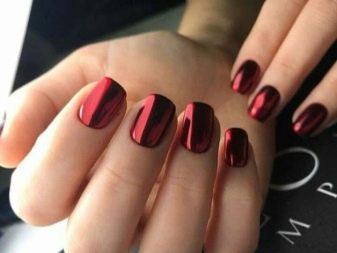
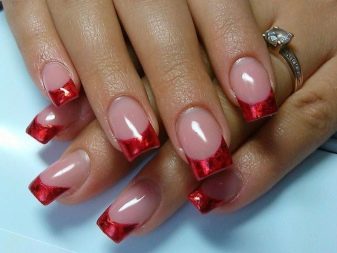
The red mother-of-pearl jacket is perfect for an evening out.

For information on how to make a stylish red manicure, see the video.


