Do-it-yourself cards for February 23
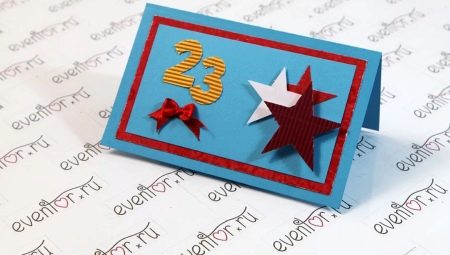
Card - a charming addition to the main gift or an independent sign of attention. Ideas for making postcards can be borrowed, changed according to your request, and you can get a fundamentally new homemade product. The main thing is that while working on a postcard, the author himself gets pleasure.
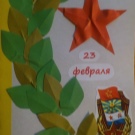

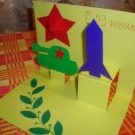
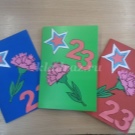
Ideas for making postcards
Do-it-yourself cards for February 23 can be made in one evening - quickly and beautifully. The level of difficulty depends on the preparedness and the availability of materials.
Carved
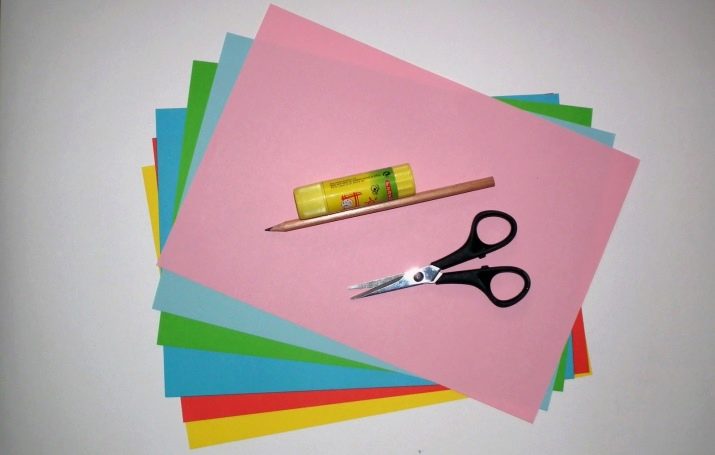
It looks vintage, romantic, does not require special skills for manufacturing. To work you need to take:
- ready-made template;
- thin colored sheets;
- dense bright sheets;
- scissors;
- glue;
- pencil or analog;
- felt-tip pen;
- ruler.
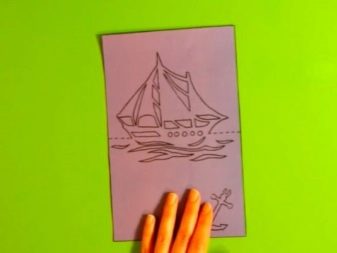
Sample should be printed on a thin bright sheet, and then cut out a rectangle. He, in turn, is outlined on a dense sheet, cut out. Now again you need to turn to the thin sheet. The template is cut along solid lines in order to get a drawing.
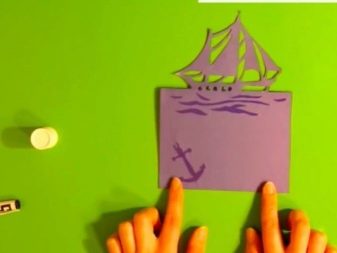
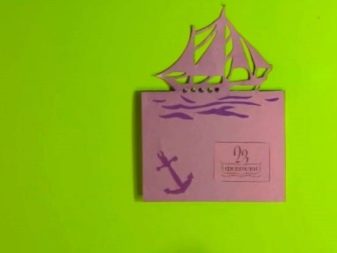
Next, the thick paper is folded in half, the prepared element is glued to it. The boat will turn out from above, and through the sea and the anchor, the contrast base will be visible.
Now on colored sheets you can print a congratulatory inscription for the Defender of the Fatherland Day, cut it out and fix it on the craft. The letters are outlined with a felt-tip pen or something similar. Dotted lines are made along the outline of the anchored text and the entire work, imitating stitches. The only thing left to do is to refine the text inside.

Folding with a star
Children are delighted with such cards, and whoever gets it will be flattered. You need to prepare:
- glue;
- ruler;
- scissors;
- stationery knife;
- pencil;
- white sheets of sufficient density;
- blue, red, yellow, white sheets;
- pen / marker.

A fragment of 17 cm by 15 cm should be cut from a thick sheet. You need to move 8.5 cm away from the narrow side and draw a vertical line. Then draw another line, 2 cm from the one already drawn. Next, a red square is cut out, its sides are 11 cm.A star is to be built from this element: it is glued to the cardboard base in such a way that the lower corner and the upper corner are located exactly on the drawn line (the one that was made by the second).
With a clerical knife, cuts are made along the contours of the star on the right. On the left, the contours are worked out only up to the initial marked line. With pressure, you need to hold a suitable thin object, but not especially sharp; this is done along the two marked lines. Then the paper needs to be folded. Wishes are written on the wrong side of the element.

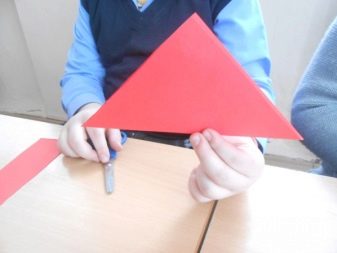
Now a square with sides of 7 cm is cut out from a yellow sheet - it is necessary to fulfill the asterisk according to the same principle as the red one. It bends linearly so that the small figure is three-dimensional. It is glued to the first star.
Next, from different sheets (blue, white, red), you need to cut out 3 thin stripes. They are diagonally glued to a white sheet so that a flag is formed. There should be two of them, they are attached in two corners of the postcard. Now a thicker strip is cut out of the white one, the corners are processed so that the tape comes out. She flexes. The text is written on it, the element is attached to the postcard. The present is ready.
How to make a postcard with a star, see the video.
With a developing pattern
A rectangle (19 x 14.5 cm) is cut out of colored paper. On the narrow side, an indent of 1 cm should be noted, the sheet is bent there, and then it folds in half. Draw a small rectangle on the side where there is no fold. This resulting window must be cut out. The card is folded in half and outlined on different paper. On the long sides, add another half a centimeter, cut out. Narrow strips are coated with glue, attached inside the craft.
The work is glued so that the holes fall on 2 narrow sides. Two more rectangles of different sizes are cut out from different sheets of paper (larger and smaller). The larger figure is outlined on the film with a permanent marker, cut out.
Themed military equipment is drawn under the film. Painted. The picture is covered with a film, outlined with a marker. The sheet is inserted into the pocket, the film into the paper window. If the part is pulled, a colorful picture will appear.

In the form of a suit
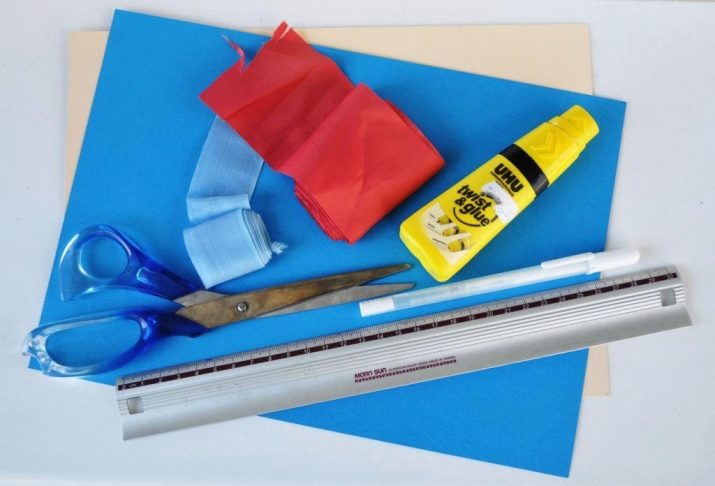
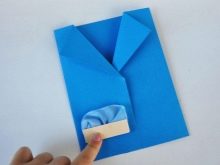
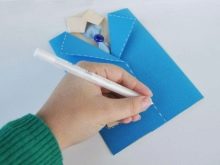
The postcard-suit turns out to be very stylish - shirt, jacket, tie, pocket. For work, you need to take:
- blue, red or burgundy, white paper (but options are acceptable);
- ruler;
- scissors;
- pencil;
- suitable patterned paper;
- glue;
- 3 buttons.
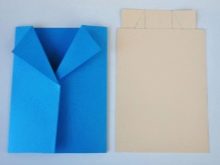
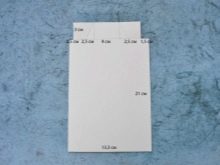
From the blue sheet, you need to cut out a rectangle with parameters 31 by 18 cm. On two narrow sides, lines are drawn 8 cm from the edge. The paper folds along the lines. This will be a jacket. A rectangle is also cut out of light paper, only 34 by 14 cm, it must be folded across and halfway. This will be the shirt. It is inserted into the jacket with the fold down, and patterned paper is glued on top.
For a white collar, an 11 x 5 cm element is glued. On the elongated side, you need to make a line with an indent of 1 cm from the edge. The part needs to be bent to this line. Cut off the top. The part left on the collar must be fastened to the top of the shirt, and it itself must be fixed on the jacket. The shirt opens down.
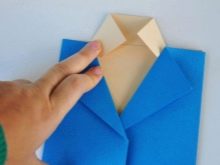
The jacket must be closed, outline the lapels by bending the sheet diagonally. The ends of the white strip are directed towards, the collar is formed. A square is cut out in red, a tie is made, it is glued to the shirt.
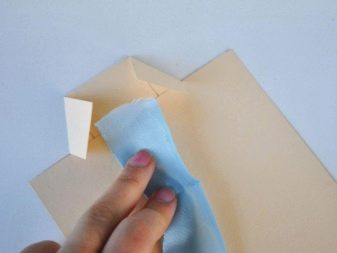
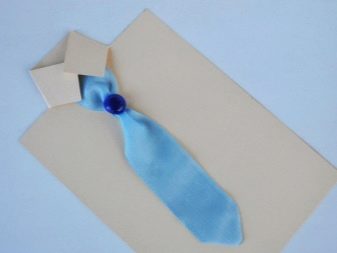
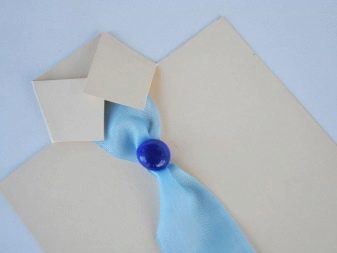
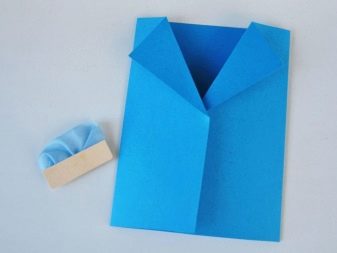
You should lightly walk the ends of the shirt with scissors so that they take a semicircular shape. 2 small long rectangles are cut from the blue sheet.They twist a little and are fixed at the bottom of the jacket symmetrically - these are pockets. Buttons and a red mini-scarf are attached. It remains only to outline the text.

With a plane taking off
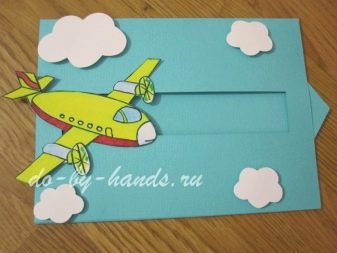
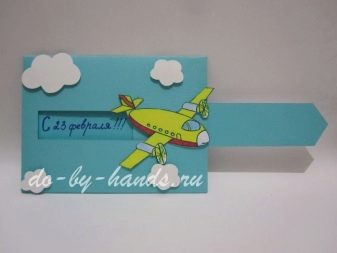
An original postcard will turn out if you take the time to make it, show perseverance and strictly observe the dimensions. So it will be possible to create an interesting option - a paper craft with a departing plane.
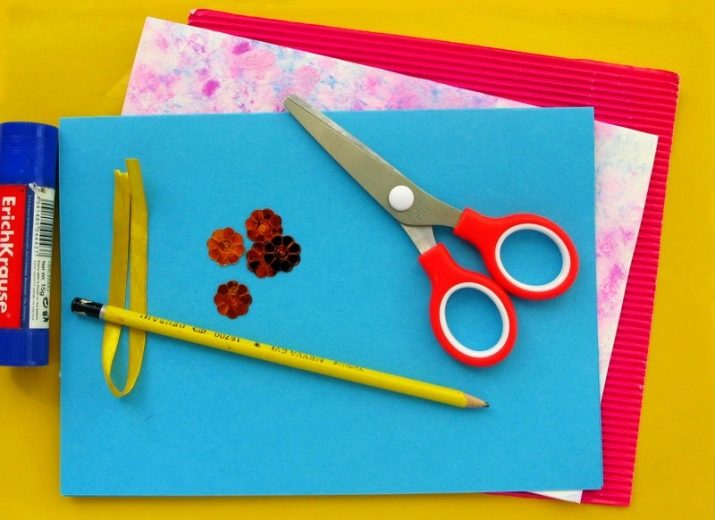
For manufacturing you will need:
- sturdy blue paper (or cyan);
- stationery knife, scissors, ruler, pencil;
- glue and colored pencils or markers;
- White paper;
- foamed double-sided tape.
Creative postcard step by step.
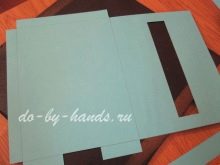
- On each side, marks are applied to a dense sheet 1.5 cm from the edge. You need to draw lines through these marks.
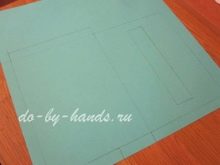
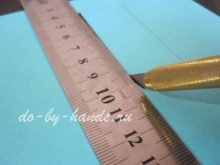
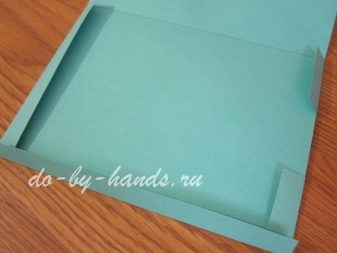
- The sheets are folded halfway across. On the rulers, you need to walk one-sidedly with scissors. On the other hand, you should cut out the squares in the corners of the sheet, bending the resulting strips.
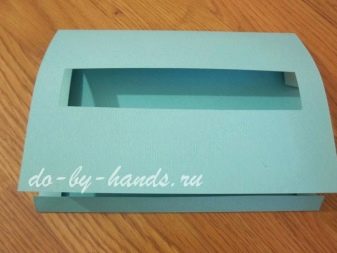
- The craft is revealed on the bendless side of the sheet. Marks are placed at intervals of 5 cm and 8 cm from the left and right folds. At this height, a distance of 2 cm from the paper edge is indicated. The points are connected by lines - you can cut the window.
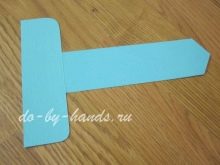
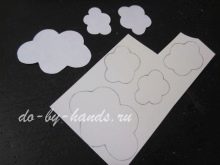
- Now the postcard can be closed, on the right side of the window, make a note on the folded strip, leave the height the same. Separate the fragment with scissors. Next, you need to cut a strip of 19 by 3 cm, remove the corner. The element is attached to the strip horizontally (the strip is the one obtained from the window).
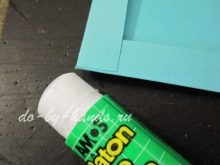
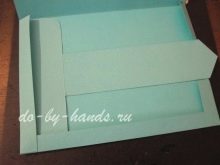
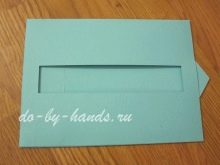
- A white sheet is glued inside the craft, the connected strips are inserted inside. The lower and upper parts of the craft are glued together. The stripes will move and represent the white background. The text is written on them.
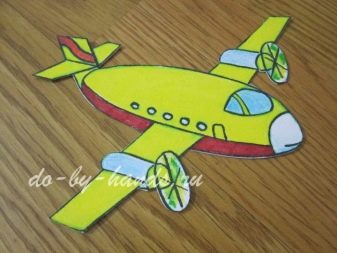
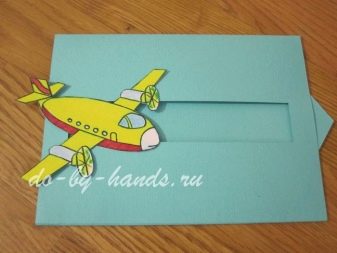
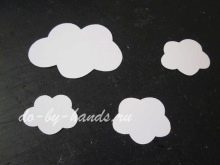
- Clouds, a helicopter or an airplane are cut out in white, they need to be colored. The flying object is glued to the pull-out strip with adhesive tape. Clouds are captured in the background.
Volumetric with a ship
Not the easiest, but still accessible even for beginners version of the greeting card.
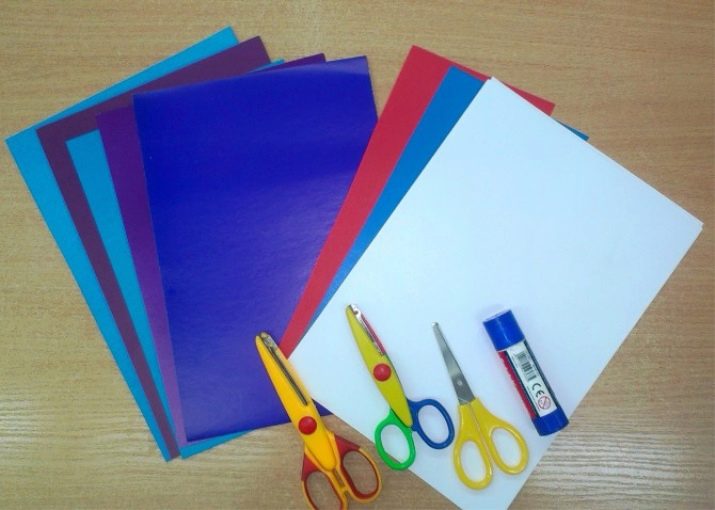
For work, you need to take:
- ready-made template;
- dense white sheets;
- stationery knife;
- colored sheets (glossy is possible);
- a tool for marking - a pencil, for example;
- adhesive composition;
- scissors.
The postcard is performed like this.
- The template must be printed and cut along the gray marks. Pressing something suitable and thin (but not sharp) should be drawn along the red and dark blue dashed lines.
- The object can be carefully bent: along the red trail, the movement is directed inward, along the dark blue - outward. The work is unbent, outlined on a colored sheet.
- It is cut out, glued contourly to a white sheet.
It is not necessary to fix the boat: it will be voluminous. And you will have to sign the postcard either outside or inside right next to the ship.
You can get acquainted with the creation process in the video.
With a butterfly
A very elegant postcard (for other family holidays, a man, dad, uncle, grandfather is also a good option).
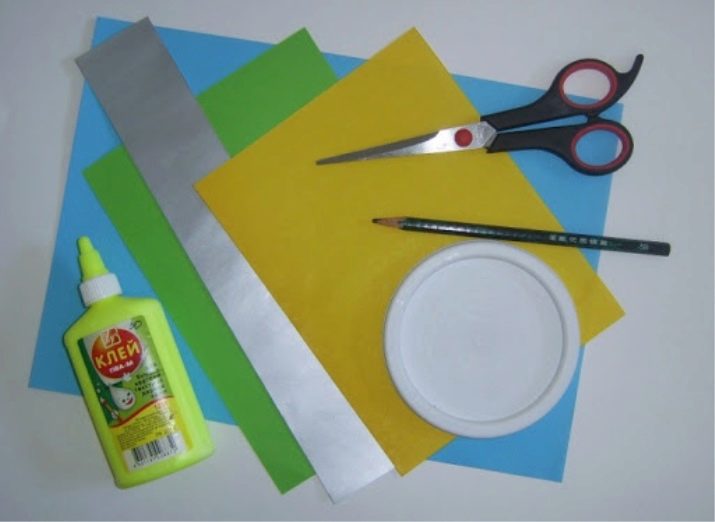
What to take for work:
- colored thick paper;
- sharp scissors;
- regular glue and glue gun;
- paper in contrasting colors (two);
- white paper;
- writing instrument.
A thick sheet of paper must be folded in half, cut 3 medium-sized squares from a single-color one. All of them fold in half, then unfold and bend along the lines in a zigzag manner. The folded parts must be glued to one another so that the accordion comes out. Cut out a small strip and a rectangle from other paper. The first is glued in the middle of the accordion, the edges are moved apart.
This element is fixed on the postcard with a glue gun. Below is a bright rectangle, and on it - the same white, only in a smaller format. A congratulatory text is attached here.
How to make a postcard with a butterfly, see the video.
With a balloon
A very nice and simple work turns out, and most importantly - quickly!
What you need:
- sheets of white and sand / terracotta paper;
- blue paint;
- 2 brushes, thinner and thicker;
- scissors;
- pencil or thin pen;
- different shades of blue sheets;
- Double-sided tape;
- black pen;
- a piece of yarn.
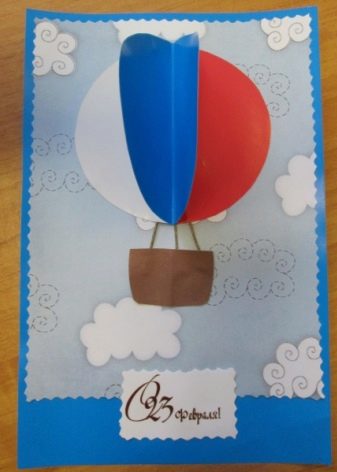
The sheet is folded in half, clouds are organically drawn with a thin brush. A thick brush makes a blue background. 4 equal circles must be cut out of colored sheets. 3 of them fold in half. These places fix them to the middle of the fourth circle. The ball is attached to the top of the craft with glue or tape (optional).
4 small strips are cut from the yarn, a basket under the ball is cut from a brown sheet. They are glued from below. Under the braid or yarn, you need to depict circles, on the basket itself - a grid. In the lower cloud (and / or inside a cool craft), warm words are written.

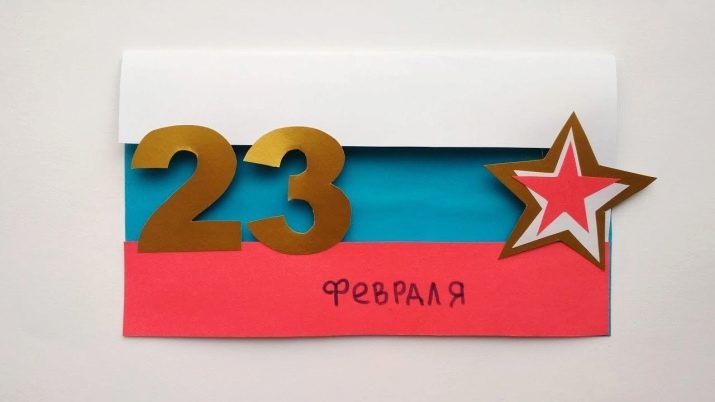
With flag
In this case, the postcard will be with the national flag, but its colors can be changed to match the desired flag.
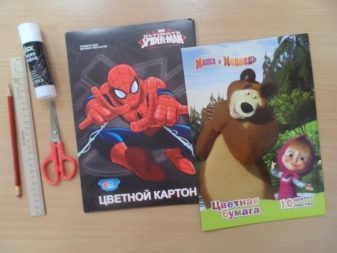
For work you will need to prepare:
- scissors and glue stick;
- red, blue and, accordingly, white paper (flag colors);
- high density white and green sheets;
- black pen.
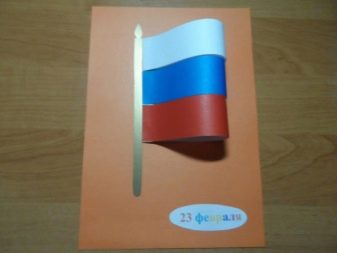
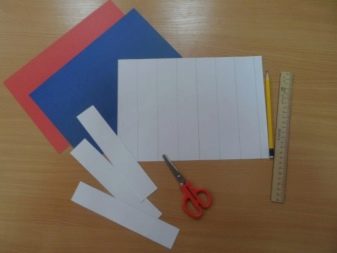
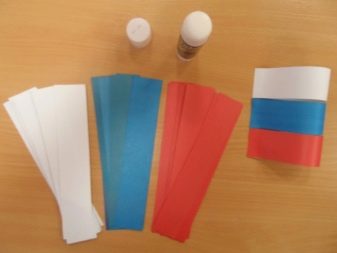
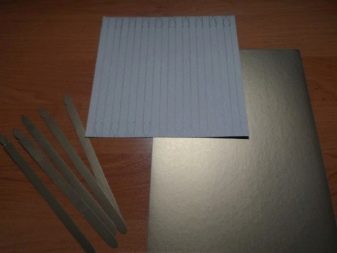
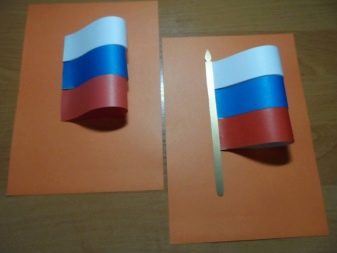
Strips of equal width should be cut out of the sheets of the flag color. The narrow edges of the strips need to be glued... Elements are attached to green paper. Next, you need to glue a thin and long strip from the leaf more tightly, and on top it is processed with scissors so that a rhombus comes out. The strip is fixed on the left side of the bright elements.
A ribbon is cut out in white, it is attached already under the flag. Wishes are written on the tape (by hand or you can print in advance). The ribbon is outlined, as, in fact, the entire postcard is outlined.
All of these postcards are relatively uncomplicated in execution. But there are still many interesting options with quilling, decoupage, scrapbooking.
Crafts for different situations
A few ideas for when a present should be complemented with a cute open or craft. It only enhances the value of the main gift.
What to give to dad or grandfather:
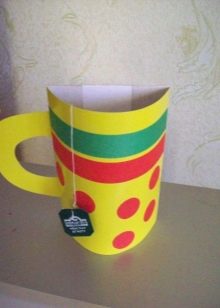
- a cardboard cup with a tag from a tea bag - the process itself is interesting for children, for an adult it is a cute gesture from beloved children;
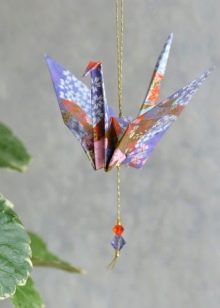
- origami in the form of a bird, you can make a whole module with birds - men at any age do not part (at least partially) with youthful romance;
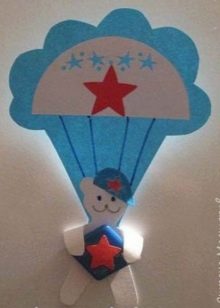
- a paratrooper bear is a simple craft that can be done by children's forces, it can be attached to the refrigerator from the very morning, on the day of the holiday, there will be a cute surprise;
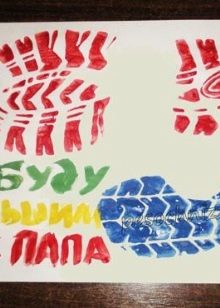
- an applique with a large footprint is ideal for the smallest children: take Daddy's shoes, dye the sole, make a colored mark on the sheet and put the signature (or stamp) "I will be big like Daddy!";
- a poster with calligraphic inscriptions and collage photos is a gorgeous craft for both dad and grandfather - they will definitely appreciate it;
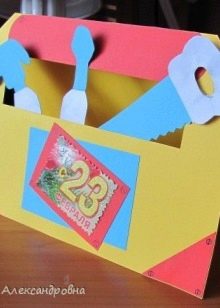
- a card with tools - a skilled man will not only like it, but also flatter it, especially if they give him a set of real tools, and this one comes as a "spare".

What to give a boy (friend, classmate, brother).
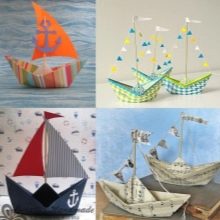
- Paper boat... This is an eternal theme, especially for a boy or a young guy, because at this age the boat is a symbol of new horizons, great voyages, the first conqueror. There are complex models, and there are simpler ones.
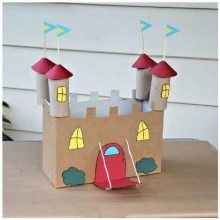
- Cardboard / paper lock. The bravest and most daring knight will like this "house". This can be an independent craft or part of a volume postcard.
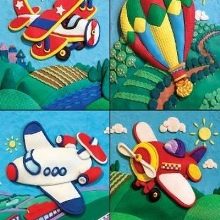
- Plasticine application... The work, of course, is painstaking, but it will decorate the space better than any picture.
What to give a soldier or a veteran:
- paper medals or orders - beautiful and elegant work, the inscription depends on the holiday (for husband and father, teacher, tutor, coach, such templates are also suitable);
- paper soldier - a border guard, a paratrooper, anyone can make such a craft, changing the shape according to the occasion and the addressee.
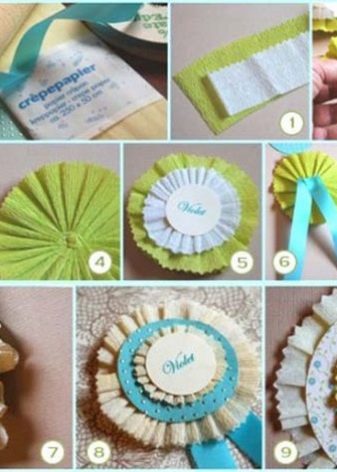

Typically, creative imagination is played out during work. Therefore, the main thing is to start.
Ready examples
How bright, inspirational greeting cards for February 23rd can be, this creative overview demonstrates.
- Scrapbooking gives hints - just a few non-random decorative layers, and you get a craft that you want to admire. Such a postcard can be presented to dad, son, colleague.
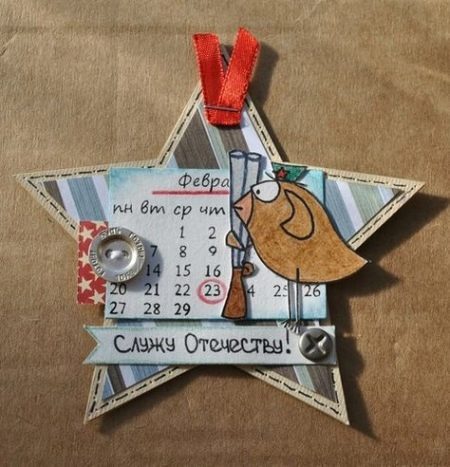
- And here is the one quilling, the art of folding paper into thin strips, from which graceful volumetric patterns are then obtained. Nevertheless, in a greeting card for February 23, the main thing is not brutality, but love.
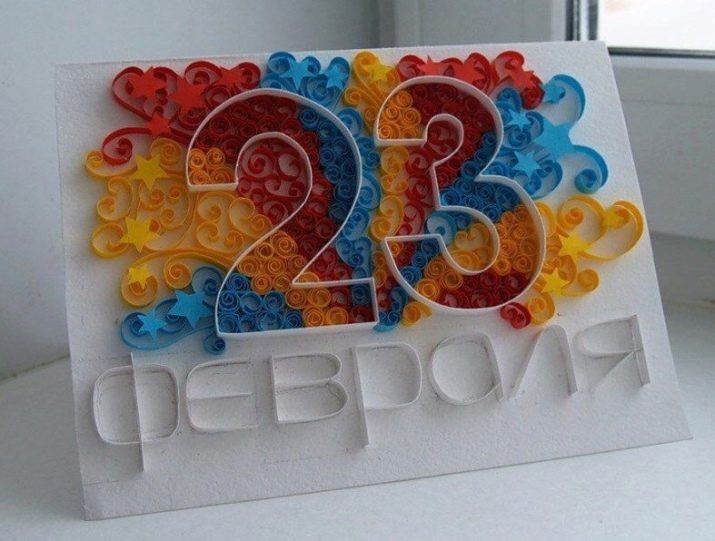
- From my beloved daughter so delicate postcard will surely hit the addressee right in the heart. Nice, simple and uncommon.
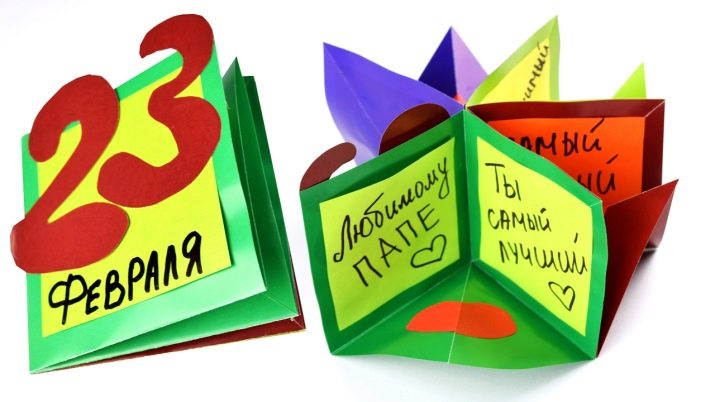
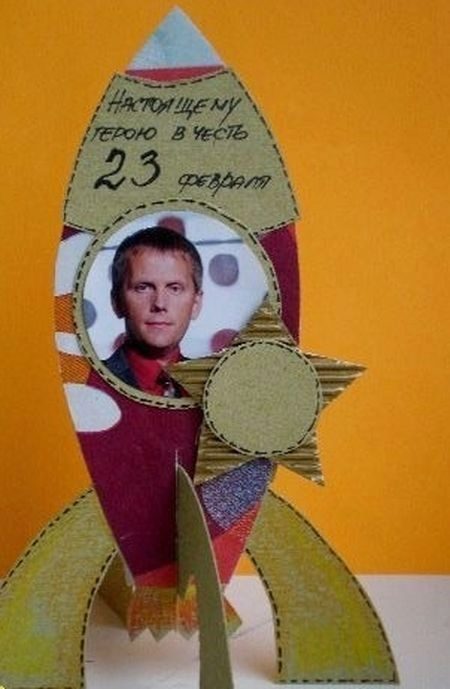
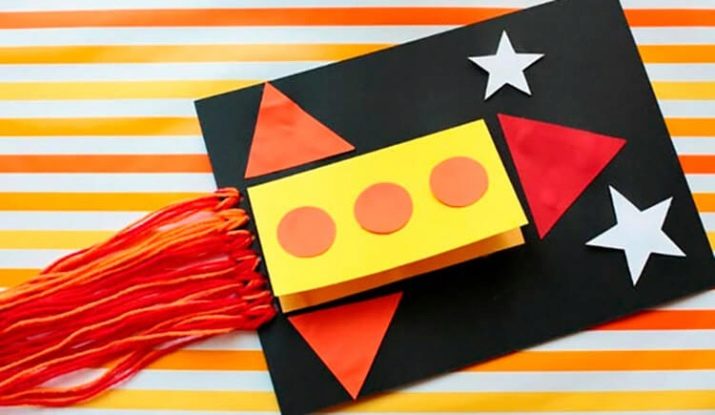
- Send dad to Space - and why not! Even on a cardboard rocket postcard. Such a craft will surely decorate dad's desktop.
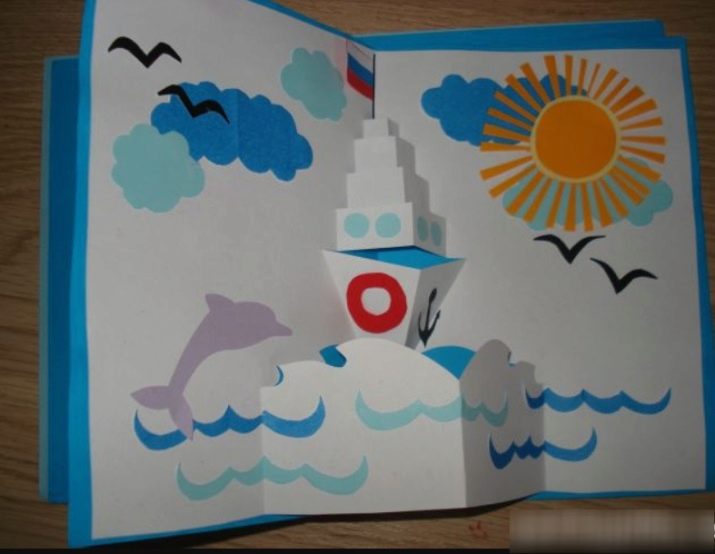
- Volumetric boat the inside of the postcard always looks cute. In the end, it is dad who is the captain of the family, so such a gift is exactly as intended.
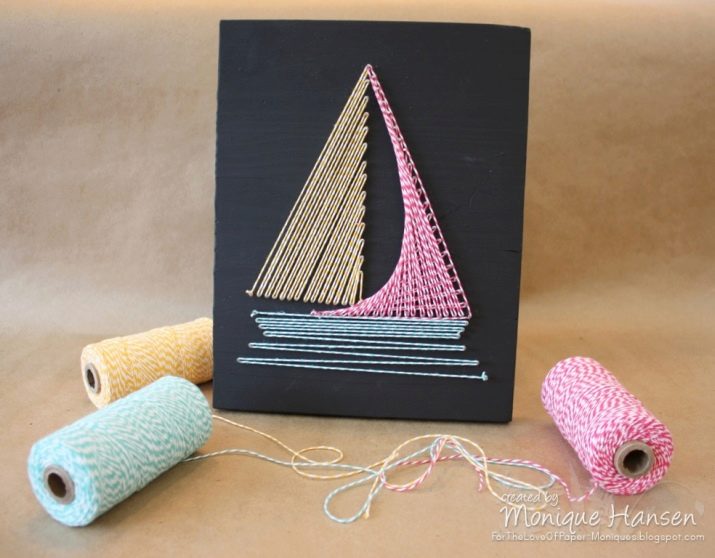
- Isothread postcard - very delicate work... But it requires more effort than ready-made skills. And any dad is pleased to realize that his daughter is growing up as a real needlewoman.
- Clamshell postcard - a great option for a creative gift. The main thing is to choose the right materials so that the work is durable.

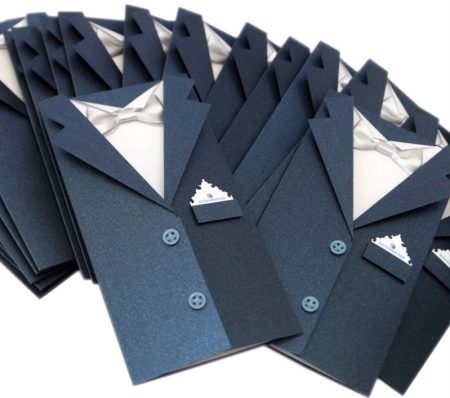
- The costume theme is played up countless times, and all because it is a win-win. Stylish man - stylish postcard.
- Kids can handle such a fast rocket. And inside you can also creatively sign a postcard, something in the style: "Dad, you are cooler than Elon Musk, you can do everything!"
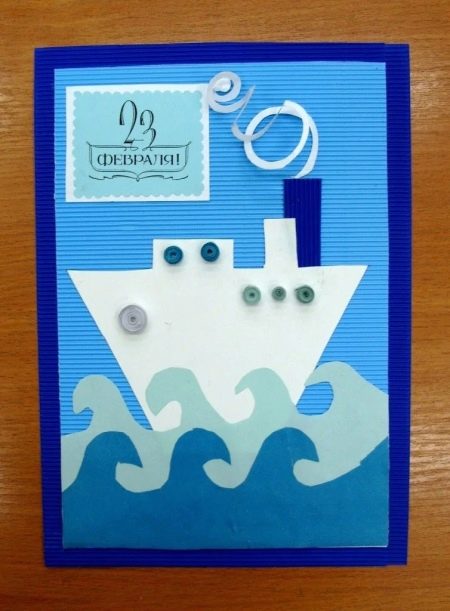
- If you use corrugated cardboard, the idea of a greeting card suggests itself - a boat floating on the waves. A very laconic and stylish postcard that can be attached to the package with the main gift.
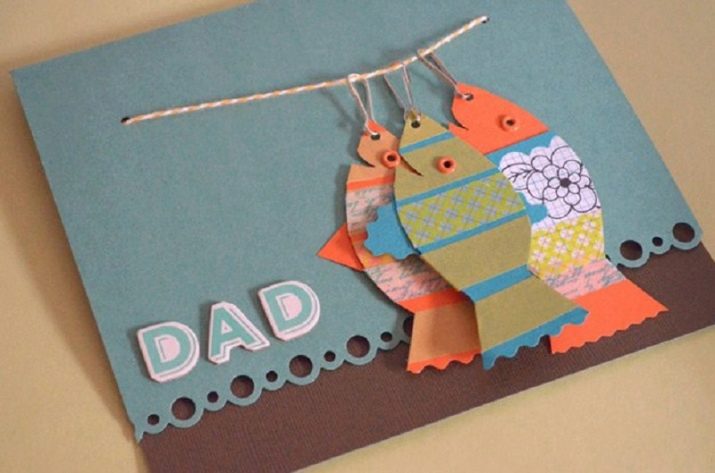
- An avid fisherman should be pleased with such a craft... And most importantly, there is nothing complicated, you can do it in one hour.
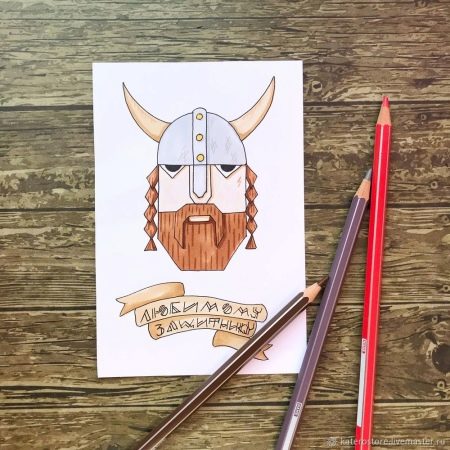
- If the artist's talent is strong, then you can play with the viking theme on the postcard - brutal congratulations will turn out.
