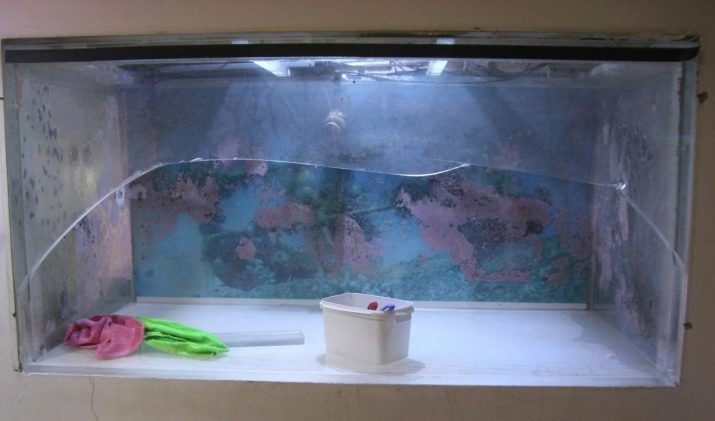
The aquarium has burst: how and how to glue it?
The aquarium is a small but surprisingly mesmerizing world. However, in order to maintain both the aquarium and the inhabitants inside it, it is necessary to spend some effort, as well as adhere to some rules for caring for them. One of the common problems with aquariums is the formation of cracks or leaks. Read about why the aquarium can burst, how to fix the malfunction and what you need to consider in this article.
Why do aquariums burst?
As a rule, there are only two main reasons that a glass aquarium burst, broke or leaks - either the technology for manufacturing the container was incorrect, or the aquarium was simply misused.
Since the pressure exerted by water, even in relatively small-volume reservoirs, is quite high, it is required to use glass of a certain thickness for their manufacture.
If glass was used less thick than required by the rules and regulations, then over time it can "accumulate fatigue" at certain points and crack.

Also, the aquarium may leak during operation if poor quality glass was used in its manufacture, for example, overheated.
If the container is placed on an uneven surface, then most likely the result will also be a crack. In this case, even a grain of sand stuck under the bottom can become the cause of the crack, not to mention the uneven supports.
How to glue?
It is worthwhile to immediately understand for yourself that you cannot use ordinary glue to glue the aquarium, which has cracked or leaked.
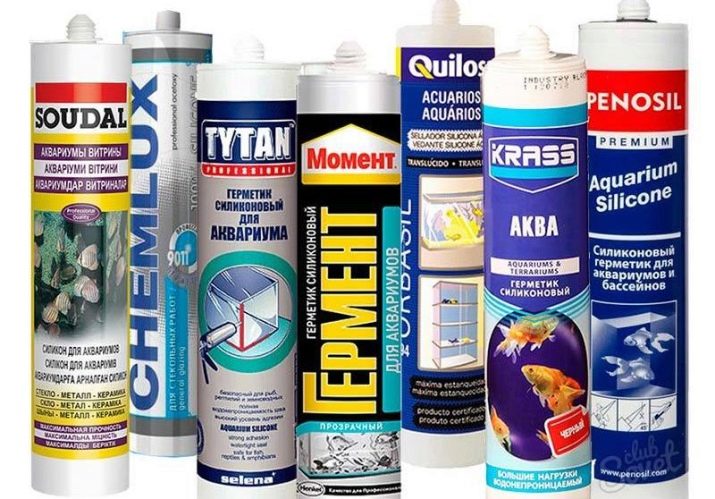
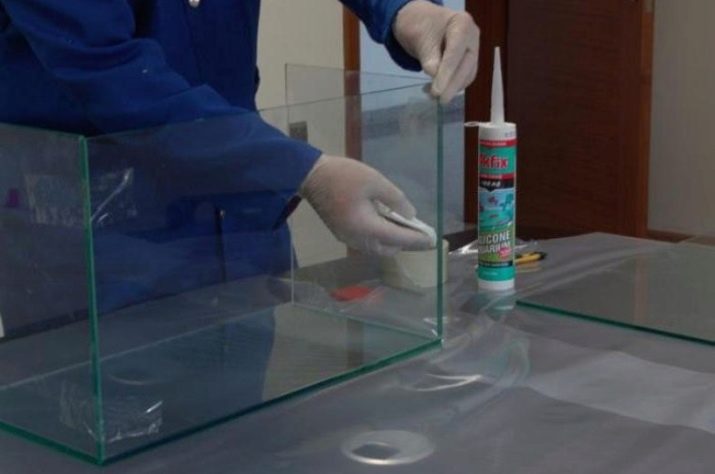
Pet stores or other specialty points of sale have an adhesive called aquarium sealant.It is this that should be used if the aquarium is burst.
It is a thick, but at the same time fluid substance, which solidifies very quickly in air. - after half an hour, the glue becomes hard. Not to be confused with full drying time - this will take about 24 hours. The main component of the adhesive, thanks to which this property is acquired, is silicon. This type of glue can also be used to "fix" the internal contents of the aquarium (houses, caves and other various toys and dwellings for fish).
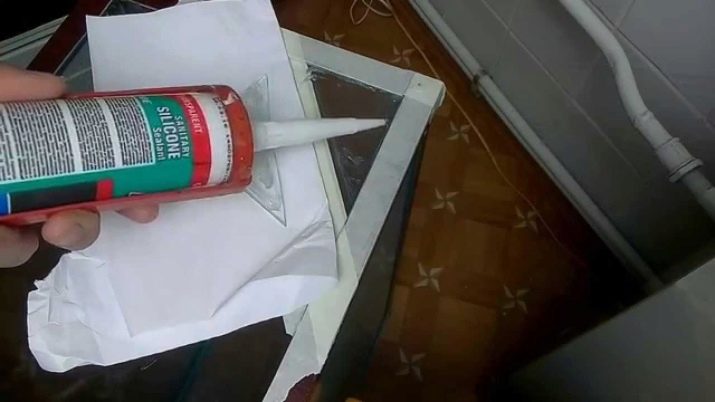
This glue has another name - silicone sealant.
It is worth remembering that you need to buy only the product that has the inscription "for aquariums" on its packaging.
When using a conventional formulation, the toxic substances it gives off can send the inhabitants of the aquarium to the next world. The compositions that received positive reviews - "Moment Herment" and "Titan". Their main property is resistance to sea water.

How to glue it correctly?
The extent to which your aquarium can be rebuilt with your own hands depends on how significant the crack or spall is. If the top of the aquarium has broken off, it is easy to repair it yourself. If the aquarium is not cracked, but drips along the seam, then it will be enough to glue it with a sealant, which is also a quite feasible task for a fish lover.
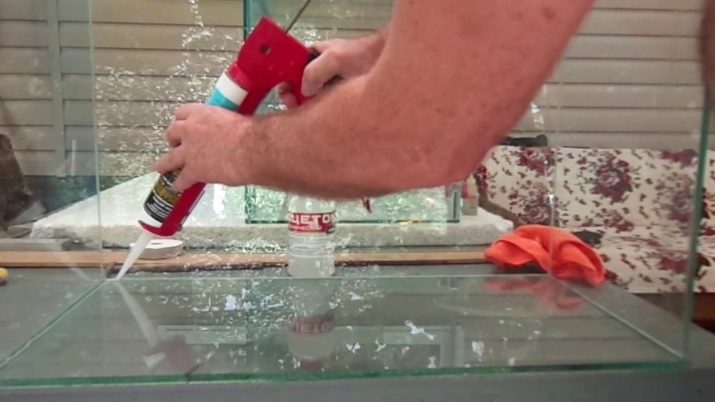
Below is a step-by-step instruction on how to do this correctly.
- You need to prepare the necessary materials - the glue itself (sealant), degreaser, masking tape and a few blades.
- Empty the aquarium tank. It would be best to also clean it with a detergent, and then let it dry thoroughly.
- Next, you need to use a blade broken in half at the place of leaks to clean the joint between the glasses from the past sealant. It is recommended to work with the blade with special protective gloves.
- Then you will definitely need to wipe the glass with a degreasing compound.
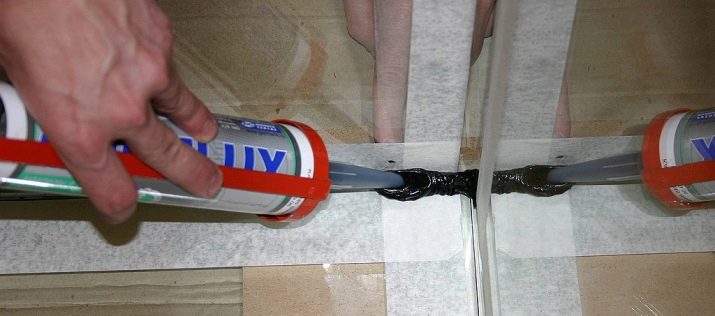
- After that, glue the glass over with a protective (masking) tape around the seam.
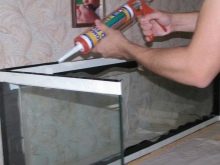
- Apply new sealant and leave to dry.
- When the resuscitated suture is completely dry, you need to check it for leaks. If all is well, then the process can be considered complete. If it was not possible to eliminate the leak, then it is necessary to repeat the gluing of the two glasses along the seam again.
If the damage is serious, for example, a crack has formed on the entire edge, then it would be best to glue a new frameless aquarium.
You can resort to the services of glass workshops or purchase a finished product in a store, although it is quite possible to make an aquarium at home.
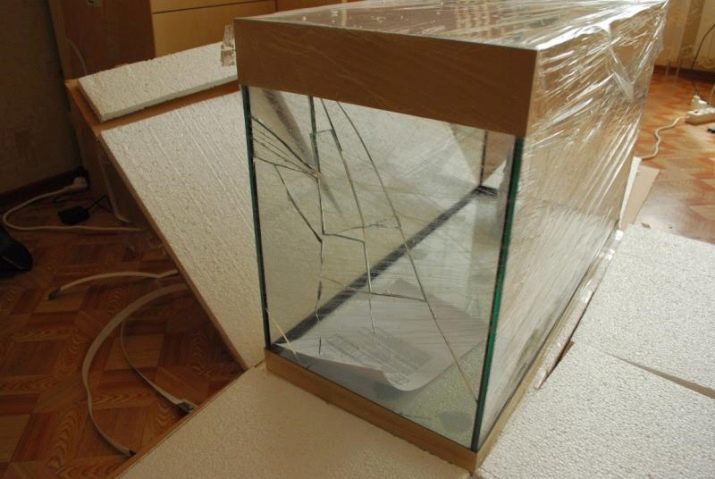
As a basis, you can take various types of glass - plexiglass, optivayt and even ordinary glass.
Instructions on how to do this correctly are presented below.
- First of all, you need to decide on the size of the future aquarium, and then cut out the glass according to these dimensions.
- You need to cut out 5 glass blanks to get a full-fledged aquarium with a bottom.
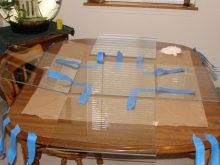
- Now you need to wipe the glass with a degreaser and glue the edges with protective tape.
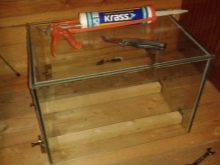
- You can start gluing the glass in any order by applying a sealant to the abutting edges of the glass. However, it will be most convenient to start doing this by gluing the front of the aquarium and its bottom. It is important every time to ensure that the angle between the faces is right. Various items can be used to fasten the structure for the drying period.
- Repeat this process on all sides of the aquarium.
- After the aquarium is completely assembled and glued, you need to leave it to dry for 1 hour. Then coat all seams with sealant again.
- It will take 24 hours to dry completely after the last sealant application.
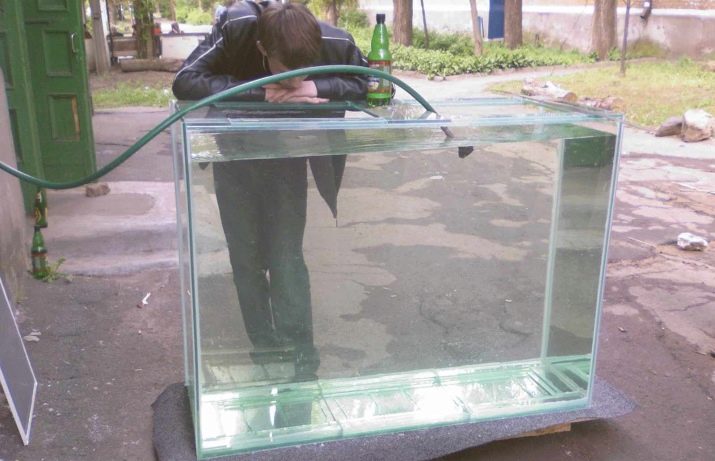
Before use, you need to fill the aquarium with water and check it for leaks.
If a leak is found, then you should drain the water, allow time for the joints to dry from moisture, and then grease all the joints with glue again.
Professional advice
First of all, you need to remember that even to eliminate minor damage, it is necessary to completely free the aquarium from both the living creatures themselves and from all the rest of the contents.
If excess glue gets on the glass, then you can remove them by wiping the surface with a rag dipped in a solution of vinegar.
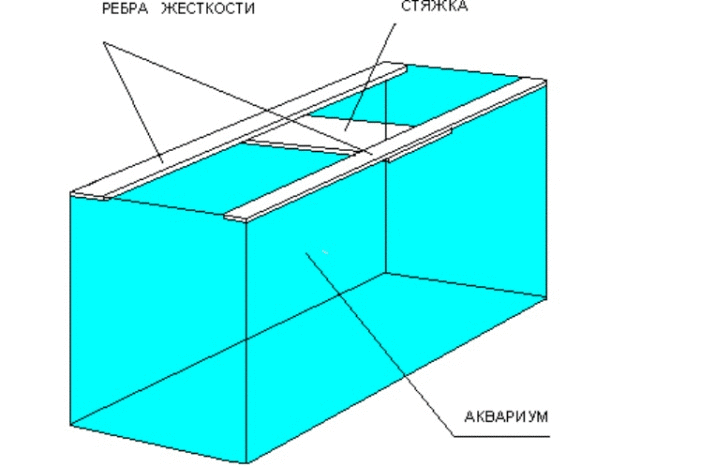
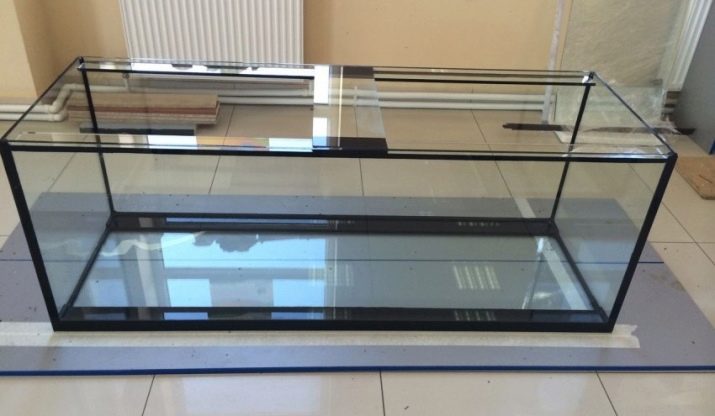
Of course, it is much more sensible to prevent cracks and other potential problems with the aquarium than to fix them in an emergency. Stiffeners and screeds are a good solution in this sense. The former are long and narrow glass plates that are glued to the long edges of the aquarium. They are glued to the top, and later stiffeners are attached to them.
This design strengthens the aquarium and helps it withstand the pressure exerted by the water on the walls. It is only because both the stiffeners and the ties reinforce the opposite sides that the concept becomes stronger.
In conclusion, it should be noted that the best prevention of aquarium cracks is to purchase products from a reputable manufacturer... If this is not possible, then you must independently check the thickness of the glass, the quality of gluing, as well as the accuracy of the design of the stiffeners before buying.
You can find useful information on repairing a cracked aquarium in the following video.


