How to make a siphon for an aquarium with your own hands?
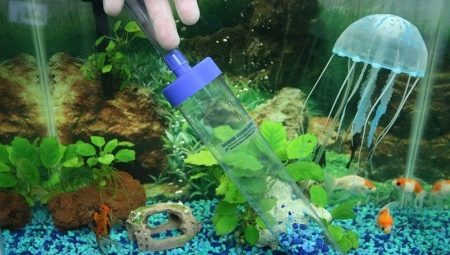
The aquarium is designed to please with its appearance, but for this it needs constant care. The beauty and cleanliness of the dwelling of fish completely rests on the shoulders of their owners. Keeping your aquarium tidy is not easy. Many devices, including filters and siphons, help to cope with it simply and quickly. Moreover, some of them can be done easily by ourselves, making it easier for yourself to have a frequent and much-needed procedure.
What is it and why is it needed?
In aquariums, the dirtiest place is the soil, which accumulates numerous waste products of fish and other inhabitants of the underwater world, as well as food residues. As a result, it has to be regularly cleaned of dirt.
For high-quality and effective cleaning, you can use a siphon. This device allows you to quickly and easily clean the soil.
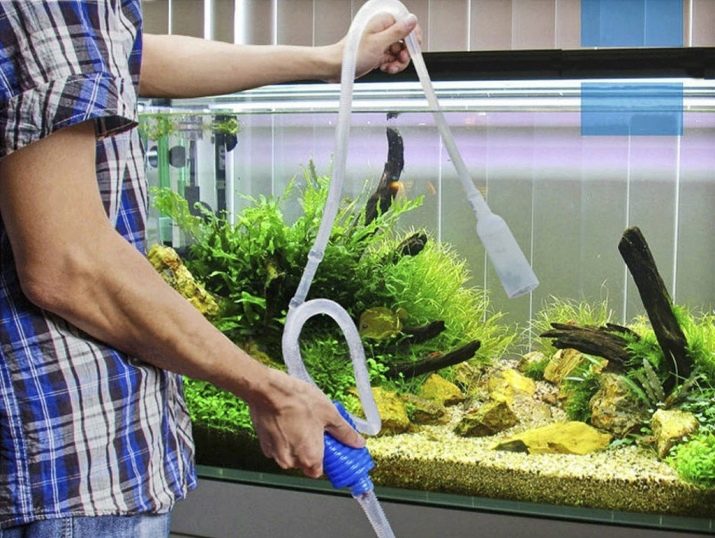
Experienced aquarists know that it is very, very difficult to maintain cleanliness in the underwater world without a siphon. After all, if it is not good enough to remove the mud from the bottom, over time, during its decomposition, poisonous substances will begin to be released. Moreover, it is necessary to clean the soil at least once a week.
Not so long ago, soil cleaning was carried out by the washing method, which took a lot of time and was dangerous for fish. Indeed, after a while, the aquarium sets up its own biological environment, which is easy to disturb. Most often, when flushing, the aquarium vegetation suffered, therefore, in particular, for her, the siphon became a salvation.
It is worth clarifying that both tiny and huge aquariums of several hundred liters need to be cleaned alike.And it is the siphon that can help with this, which perfectly removes dirt, excrement from the inhabitants of the aquarium and silt.
Currently, there are various models of siphons on the market, differing in parameters.
There are two types of siphon for an aquarium:
- mechanical;
- electric, battery operated.
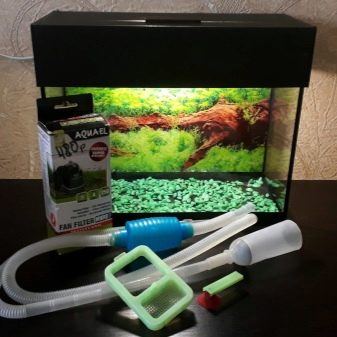
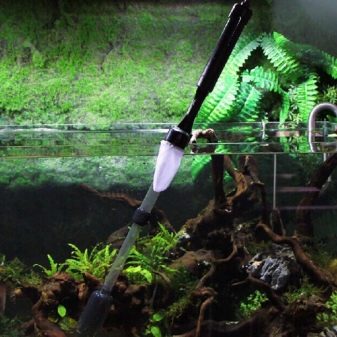
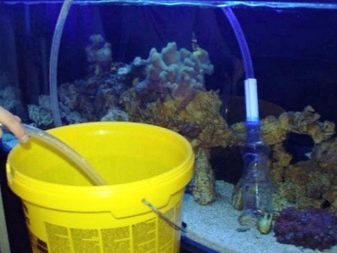
As a rule, there are few differences between these species. The filters are a glass and a hose, and the method of use is the same for all siphons. The principle of operation is that the filter is lowered into the aquarium and installed at the bottom, and after a while all the impurities flow by gravity through the hose and fall into the substituted container. When the water becomes clear and clear, you can move the "underwater vacuum cleaner" to another area.
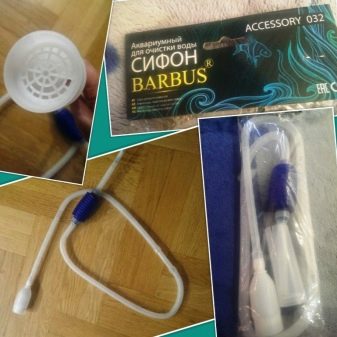
Most often, siphons are made in the form of a long hose, at the end of which a tube is fixed. Additionally, the kit may include a special pear for pumping water, a funnel or a cylinder. It is best when the walls of the siphon are transparent, so that it is noticeable if stones, small fish or snails are hit. It is worth noting that in electric siphons it is quite often possible to regulate the flow of water, but they are suitable for aquariums up to 0.5 meters deep.
Required materials and tools
The stores offer a wide selection of siphons, but despite this, it is advisable to be able to make it yourself from scrap materials. In fact, making a "underwater vacuum cleaner" for an aquarium at home is very simple and also very cheap. Wherein time expenditures are also minimal.

It is worth starting making a siphon for an aquarium with the preparation of the necessary materials and tools. Quite often, homemade models are made from droppers, plastic bottles or disposable syringes. So, you should prepare in advance:
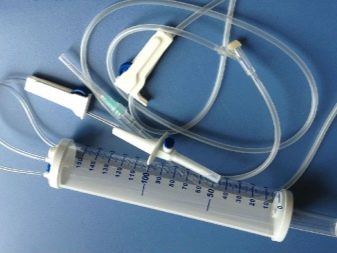
- a disposable dropper or plastic bottle or syringe;
- rigid hose;
- a cocktail straw;
- weighting agent;
- knife;
- knitting needle or awl;
- electrical tape;
- silicone as a sealant.



How to make?
Of course, The most convenient way to use is an electric siphon, but taking into account its disadvantages, it is better and cheaper to make yourself an assistant for cleaning the aquarium with your own hands. The main element in the aquarium siphon is the hose. It is usually chosen depending on the size of the aquarium. For example, if the container is 100 liters, then a hose with a diameter of 8-10 mm is ideal. If you choose too coarse, then the water can drain out before the bottom is well cleaned.
In most cases, the size of aquariums does not exceed 50 liters. There are a large number of siphons for such containers, which are easy to make from a plastic bottle or a medical dropper.
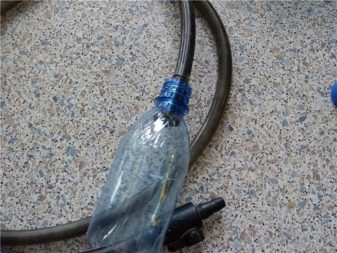
Making a siphon from a bottle involves a number of steps.
- First, a funnel is made from the bottle. To do this, cut it in half and take a part with a neck. This will be the main element of the aquarium vacuum cleaner. For an average aquarium, a one and a half liter bottle is sufficient.
- For a stronger suction of water from the bottom, an uneven edge is made in the form of serrated cuts or a zigzag cut. However, this option requires very careful handling of the siphon so as not to damage the fish.
- The next step is making a hole in the bottle cap. In this case, the diameter must match the diameter of the hose. The tubing should not pass easily into the hole to avoid leaks.
- Now you need to insert the hose from the inside of the cover into the hole. No more than 2 centimeters of the tube are passed into the middle of the funnel. The rest of the length of the hoses must remain outside.
- A perfect hole in the lid is not easy to make, so it is best to use silicone to seal it. After it is completely dry, you can use the siphon.
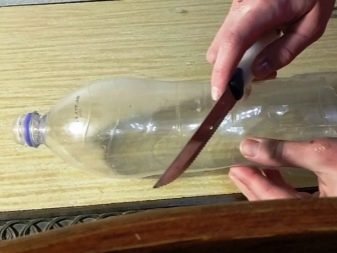
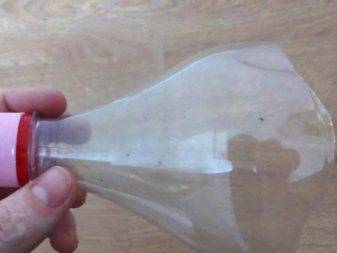
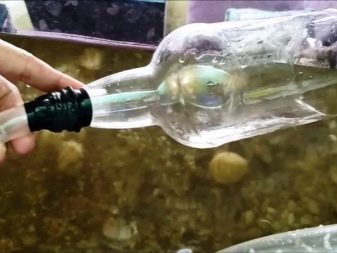
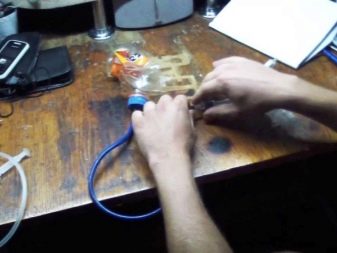
From a disposable medical dropper, a siphon for an aquarium is made in a slightly different way.
- First, you need to disconnect the needle from the test container. The easiest way to do this is by prying it with a knife.If the parts are too well fastened, then you can simply cut off to the very edge.
- Now it is necessary to remove the protective mesh with a knitting needle or an awl, since it is not needed in the siphon.
- Next, cut off the needle attachment node.
- After that, carefully pull the hose out of the clamp. A weighting agent is put on it, which can be a weight from a flexible spray. Then the clamp returns to its original place.
- The last stage is a cocktail tube is put on the hose. The drip siphon is immediately ready for use. It works especially well for small aquariums.
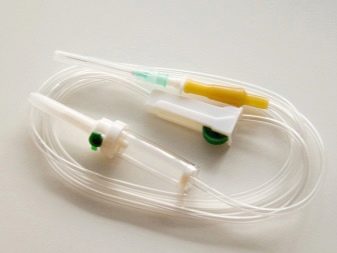
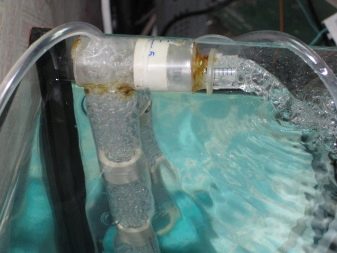
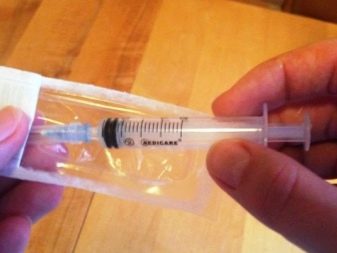
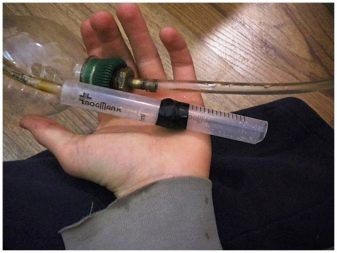
A medical disposable syringe can also make an excellent siphon.
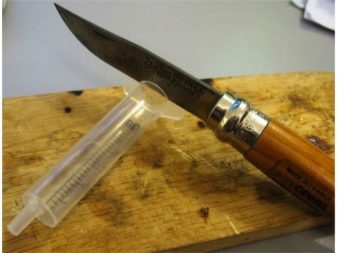
- The manufacturing process begins with sawing off that part of the syringe body where the ears and retaining ring are located.
- Next, the sawn-off edge must be carefully cleaned with a knife blade from chipping. For the best effect, you can even walk over it with sandpaper.
- Then the nose of the syringe, on which the needle is put on, should be cut off. If its diameter does not match the diameter of the hose, then the hole will have to be slightly widened.
- We insert a tube into the resulting hole and, if necessary, process it with silicone for better sealing. That's it, the "underwater vacuum cleaner" is ready to use.

Terms of use
Experienced aquarists know how to properly clean the bottom of an aquarium using a siphon. However, beginners are far from always able to take into account all the nuances. As a result, difficulties arise, and it seems that it is very difficult to use the "underwater vacuum cleaner". In fact, everything is simple if you adhere to a number of rules.
- You must constantly monitor the end of the hose, which does not have a funnel, to see how the water is drained out during cleaning. Its correct location is lower than the water level in the tank of the aquarium.
- The lower the end of the siphon tube is in the aquarium, the more water pressure you can get.
- You can clean the soil qualitatively by placing a funnel to the full depth of the bulk bottom. This way, even the smallest debris can be removed.
- When choosing a siphon or making it yourself, you must take into account all the features of the aquarium. For small containers, it is better not to choose powerful electrosiphons, and large aquariums are very difficult to clean with small vacuum cleaners.
- You should be very careful when cleaning the aquarium with a too powerful siphon, as it is able to suck in its inhabitants.
- It is best to clean the soil in one go. In this case, no more than 1/3 of the total volume of water should be drained.
- To treat corners and other places in the aquarium where it is difficult to get into, it is better to use a siphon from a dropper with a thin tube or purchase special attachments for a vacuum cleaner at a pet store.
- In aquariums with a large number of plants, you also have to use special narrow attachments.
- When cleaning, it is important to lift decorative elements such as large stones, snags, castles.
- In one area of the soil, the siphon must be kept until the water becomes clear or at least 60% of the dirt is removed.
- If there are fry or just small fish in the aquarium, it is better to put gauze on the siphon, which is easy to fix with an elastic band or thread.
- To create pressure in the tube, it is not necessary to release air from the tube with your mouth, it is enough to plug one end of it with your finger, and place the other in the aquarium. When you release your finger, water starts to flow.
- At the end of cleaning, be sure to top up with as much water as has been poured out.
- Siphoning the aquarium regularly depends on the number of fish in it. Sometimes twice a month is enough, and sometimes you need to do the cleaning every week.
- Deep cleansing with a siphon should be carried out only on those areas of the bottom where there is no vegetation
- So that as little soil from the aquarium as possible gets into the siphon, it is important to choose the right distance from its surface to the hose. If too much embankment is being sucked up from the bottom, then the flare should be raised higher. The thrust will decrease, and the trapped soil will come out of the siphon.
For information on how to make a siphon for an aquarium with your own hands, see the next video.


