Choosing a diamond mosaic stylus
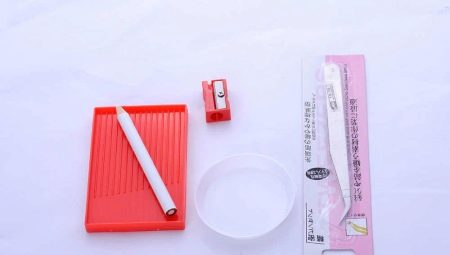
Diamond mosaic is becoming an interesting hobby for many. This activity is so exciting that over time, most are not afraid to tackle complex and voluminous pictures. But those who are already well acquainted with the work of laying out a mosaic know that half of the success depends on how well the tools are selected. Therefore, we should be very careful when choosing a diamond mosaic stylus.
Description
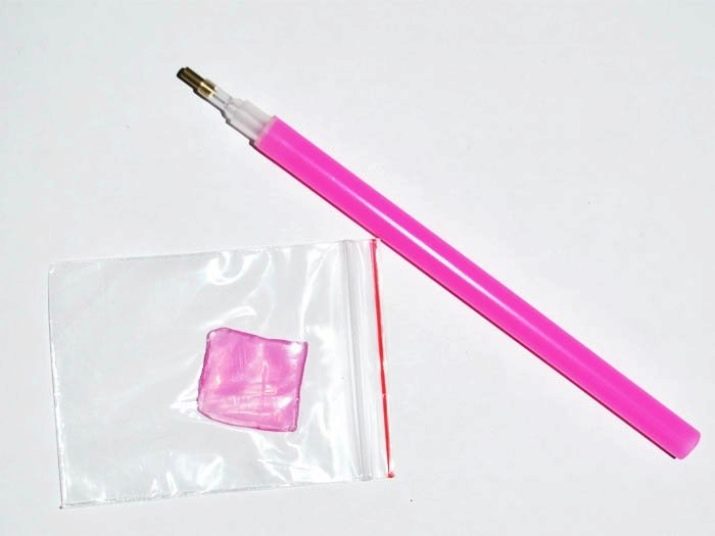
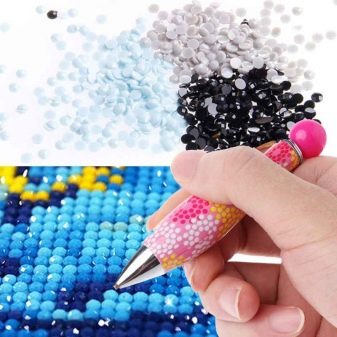
A diamond mosaic stylus is a stick with a tip, inside it there is a small recess for the rhinestone, which is to be taken from the tray and transferred to the embroidery canvas. The stylus is preliminarily placed in a gel pad. The sticky substance helps to effortlessly grab crystals of any size and transfer them to the canvas.
In appearance, the stylus resembles an ordinary pen or pencil, its length is always approximately the same, it can differ in color, material of manufacture and other design features. The price varies depending on the capabilities of the stylus.
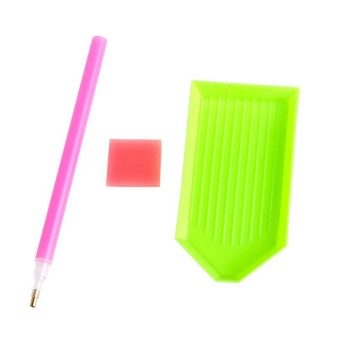
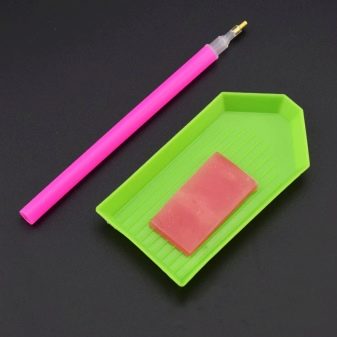
Each set of diamond mosaic must have a stylus. But many people prefer to have spare options at home and for the convenience of working with different devices.
Sometimes styluses are sold in sets or with different attachments that can be changed as needed, performing a particular operation.
Views
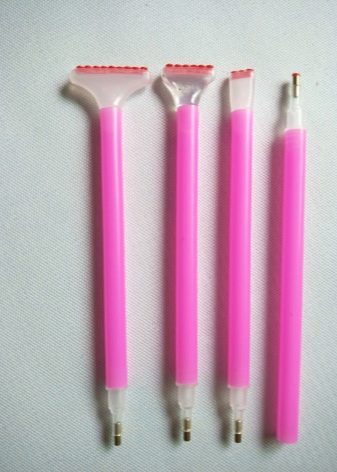
At first glance, it may seem that the styluses are all the same, and it makes no difference which one you use in your work. In fact, there are different types. The handle material can be plastic or silicone. The nib has a solid base and is made of metal or plastic.
-
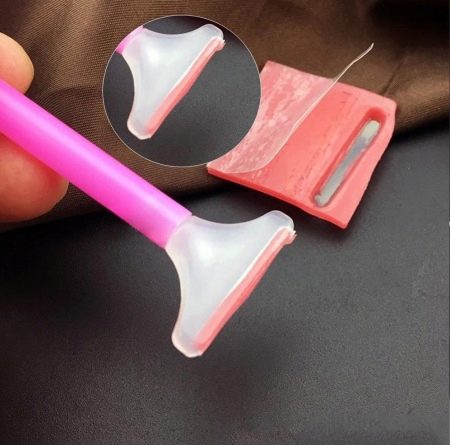
The most common stylus is designed to grip one bead and is usually round. It is convenient to use for beginners, but at the same time its capabilities are limited, and it will not be possible to develop high speed, but at first this is not necessary.
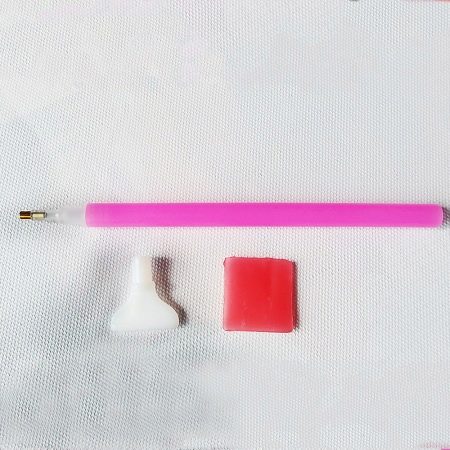
- Dual stylus tip version Convenient in that you can easily grab square pebbles and lay them out in pairs.
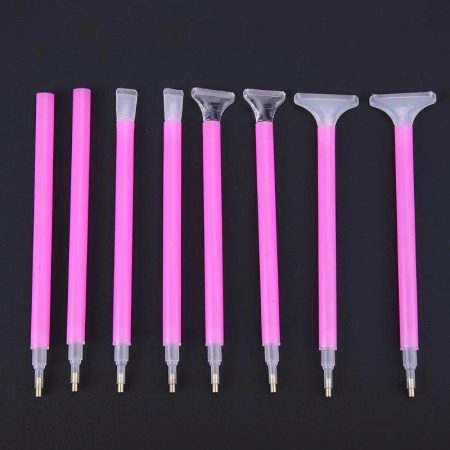
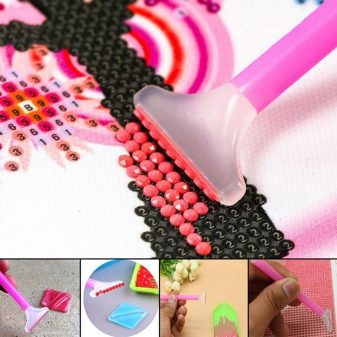
- There are options for several rhinestones. Such styluses are used when it is necessary to lay out a fairly voluminous space of the same color.
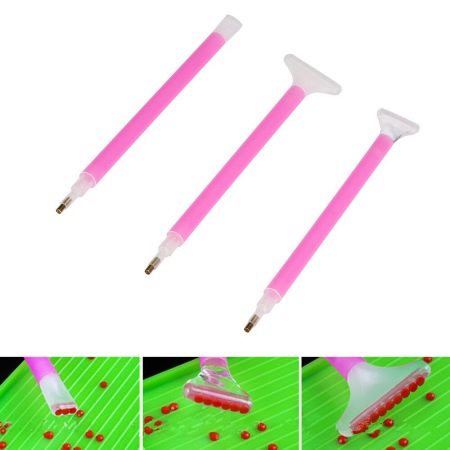
- Variants with two working ends are very convenient. In this case, there can be a tip designed to capture one bead, and on the other - one that captures several rhinestones at once.
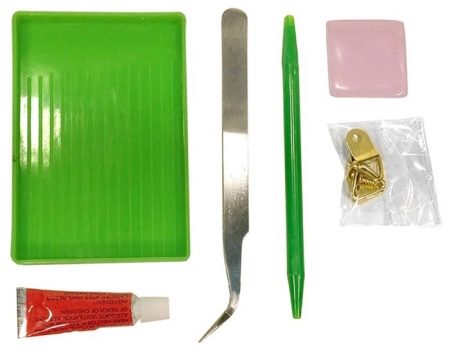
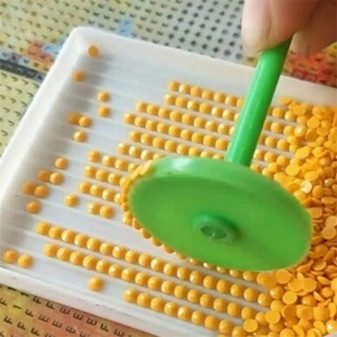
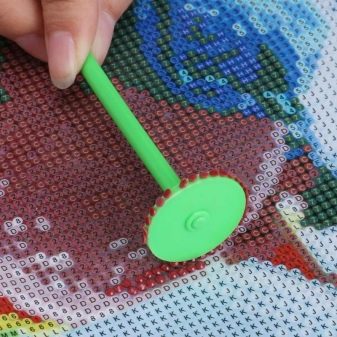
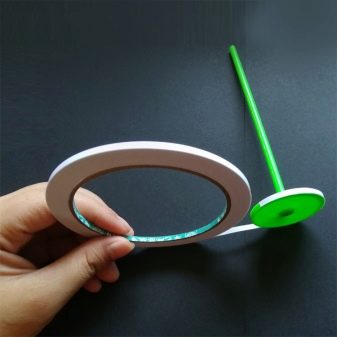
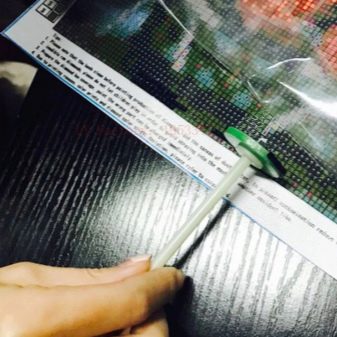
- Another option that can speed up your work is the wheel. Here you can grab a large number of rhinestones and arrange them in one row in the picture. But skill is required here, and therefore you have to first practice on a rough surface before embroidering a picture. If the manipulation is performed incorrectly, there is a risk of damaging the canvas.
- There is a very convenient option that looks like a regular pen. In this case, a sticky gel is located in the cap. Thus, the tip of the stylus is dipped into the cap, and then it is convenient for them to grip the bead.
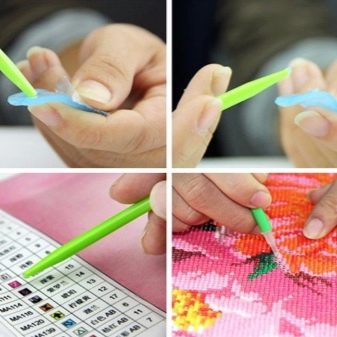
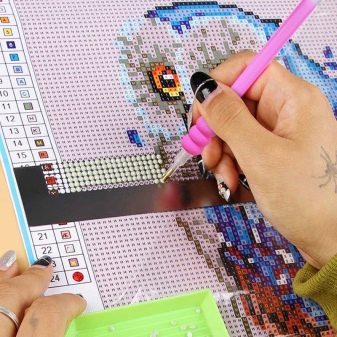
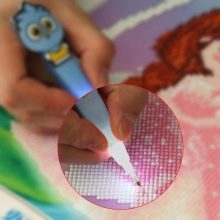
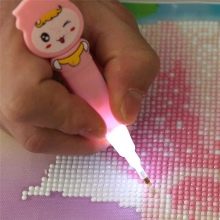
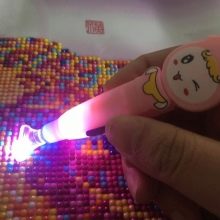
- The most modern gadget is a backlit stylus. As a rule, it has several attachments that allow you to grip a different number of rhinestones and different shapes. In addition, the backlight allows you to work in the evening, as well as in the daytime to see in more detail certain areas.
The stylus comes with a cable, so you can charge the gadget either from a computer or from a phone.
Selection Tips
Each master develops his own pace, style of work and, accordingly, selects nozzles for laying out a mosaic for himself. But experienced craftsmen advise beginners not to immediately purchase a set with many attachments, but to practice with a regular stylus, laying out a mosaic of small volume, but with large details. Usually, the set contains the stylus that should be convenient to work with.
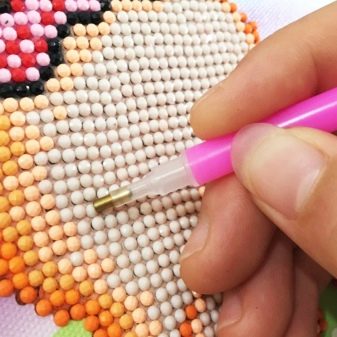
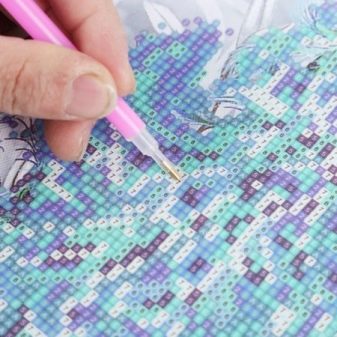
But when choosing individual options, you need to build on your own preferences. Some believe that it is more convenient to work with the plastic version, it is durable, it is convenient to grip it in the hand, while the silicone pencil bends, it can only be held at the very base.
But at the same time, some believe that silicone does not rub the hand as much as plastic. That is, here you have to try and determine what is more convenient in each specific case.
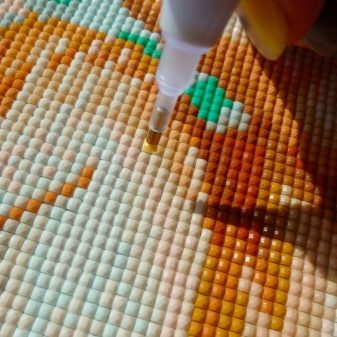
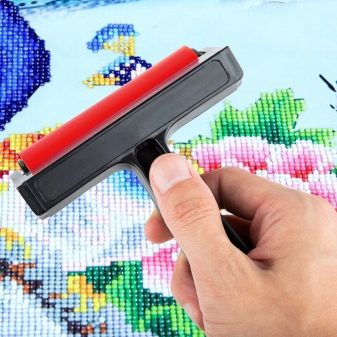
The stylus in the form of a wheel presents certain difficulties in work, therefore it is acquired when the basic skills for laying out a mosaic are already formed, and large areas have to be laid out (for example, a background of the same color).
Those options that are designed for 2-3 beads can be useful to every craftsman, and it is not difficult to adapt them to work. They are very convenient for laying out small areas of the same color.
How to use it correctly?
Collect the mosaic using the stylus as follows:
-
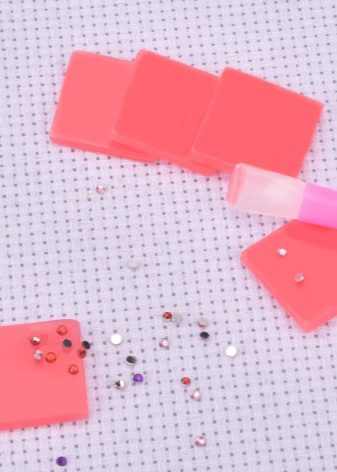
first, rhinestones are poured into a ribbed tray, after shaking they are stacked in even rows, which makes it convenient to take them;
-
the tip of the stylus is dipped into a pad with sticky gel, and then the desired pebble is taken with the tool and transferred to the canvas, while holding the stylus perpendicular to the surface, and not at an angle like a pen or pencil;
-
if you have to lay out the surface with square rhinestones, the whole process looks the same, while the uneven row can be corrected with the back of the stylus until the rhinestones have finally grabbed.
As for the wheel, the set usually contains a stick, a wheel itself and an adhesive tape. It happens that wheels of different diameters are present in one set.
-
To get started, you need to secure the wheel to a stick. Then cut off the required piece of adhesive tape and attach it to the wheel.
-
Next, the wheel is brought to a row with rhinestones in the tray, press and scroll the wheel. Thus, rhinestones appear on it.
-
The next step is to bring the wheel to the canvas, push, push and spin the wheel. A row of rhinestones appears on the surface at once.
-
Here you have to be careful not to scroll too much, then the sticky base clings to the canvas and spoils it.
-
To make the movements clear, and the rows turned out to be even, you need to practice with spare rhinestones on any fabric surface. A few workouts are enough, and you will be able to fill your hand. Then you can already go directly to your picture.
An overview of the dual stylus for diamond embroidery in the video below.


