Technique for making a diamond mosaic for beginners
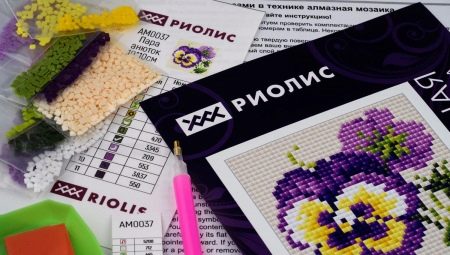
Diamond mosaic is a new kind of handicraft, fascinating, developing perseverance and concentration. The workflow, although long, is easy, even a child can handle it. Acrylic shiny crystals must be laid out according to the finished drawing, observing the color indicated in the diagram. In the article, we will talk about the technique of making a diamond mosaic for beginners, using step-by-step instructions, we will teach you how to embroider with rhinestones correctly so that you get mesmerizing pictures.
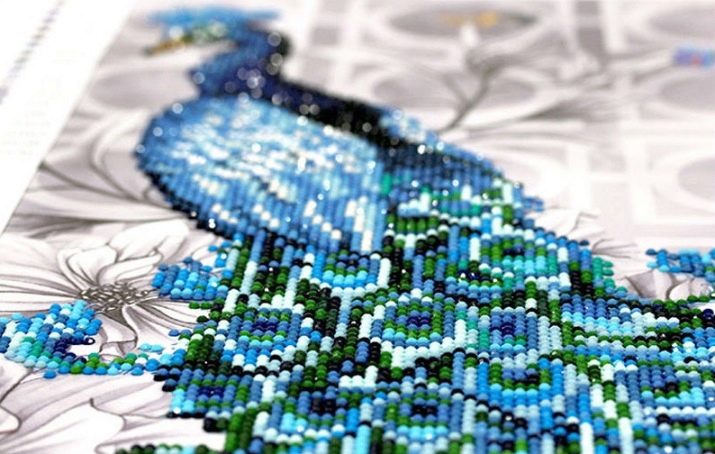
What is necessary?
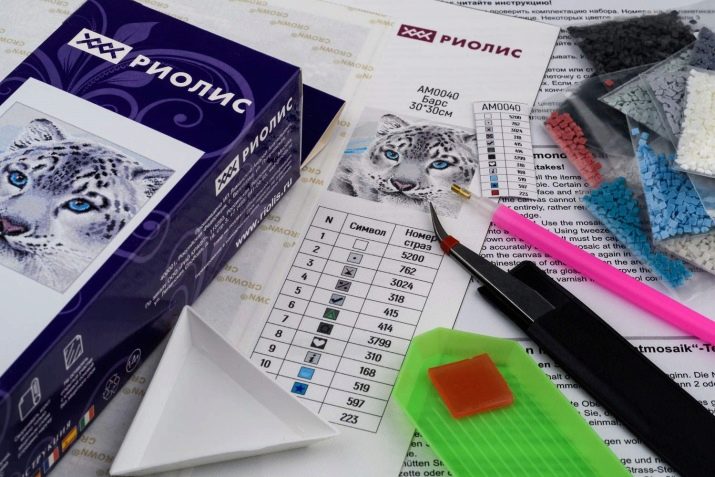
When choosing an image you like, you need to take into account its size, type of layout and the shape of the rhinestones. Before embarking on creativity, you should purchase everything you need and expand it with maximum accessibility within the workplace.
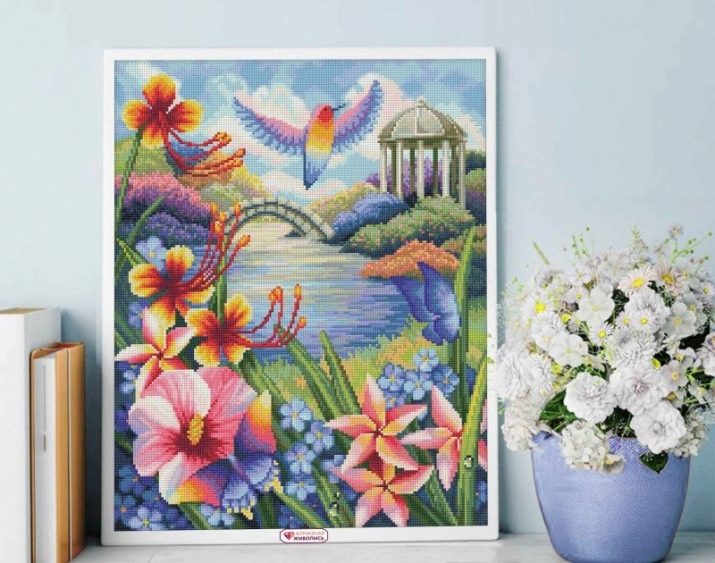
Here's what you need to get started.
Canvas
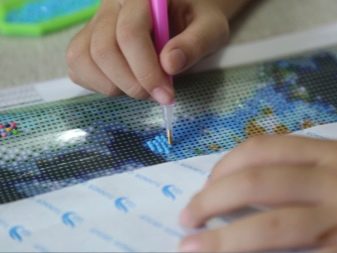
It is easier for a beginner to use a ready-made canvas from the set. It already contains the scheme according to which the embroidery is to be assembled. The canvas has an adhesive layer that is preserved with a protective film. Remove the film before embroidering. In the complete set, the canvas can go on a roll or stretched on a stretcher. The second option simplifies the preparatory work. In the corner of the base, a kind of instruction is fixed - a "legend", on which the numbers of shades are indicated. If in the process of work the canvas becomes dirty with villi, it is wiped off. In this case, the adhesive layer suffers, therefore, after cleaning, the crystals are applied to the canvas with the help of glue.
Diamonds or rhinestones
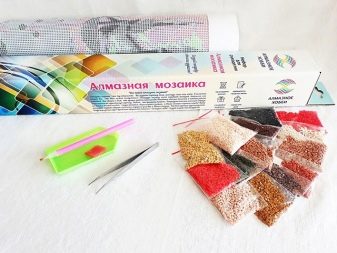
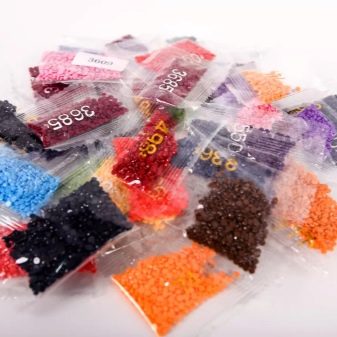
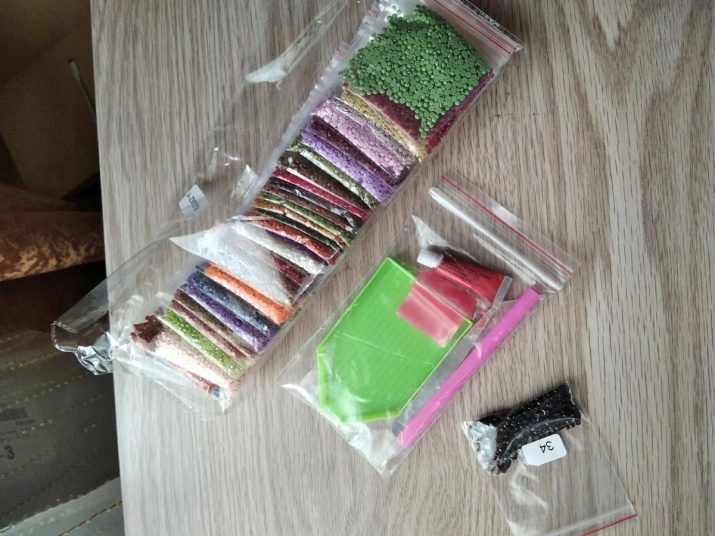
Crystals are packaged in bags, and each of them is numbered according to color. The numbering is also reflected on the working diagram, which allows you to completely eliminate errors. Crystals of different sizes and shapes are on sale, for example, 5d diamonds are multifaceted, contain bulges that add volume and a special shine to the finished picture. To perform a specific job, rhinestones of the same format are chosen.
Diamond embroidery tool
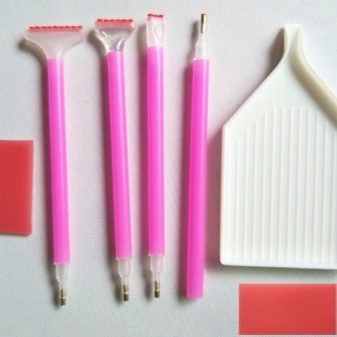
This device does not always come in a set, it can be purchased separately in creative stores. It can be a stylus, applicator, tweezers, manipulator, pen working with special glue (gallerta). You need to choose a tool that matches the shape of the rhinestones. For example, it is difficult to pick up round diamonds with tweezers, but square diamonds are perfectly captured. And the manipulator can place 8 crystals at a time. For convenience, it is equipped with LED backlighting.
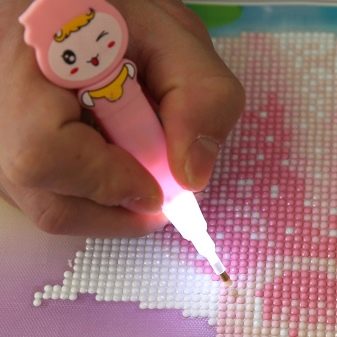
Tray
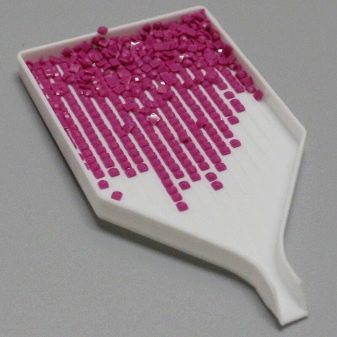
If you work with one color for a long time, rhinestones are poured out of the bag into a tray or saucer. When the creative process comes to a point that requires frequent shade changes, it is more convenient to use a bead organizer or sorter. Crystals of different colors are laid out in them in separate sections, so they are always at hand and do not mix with each other.
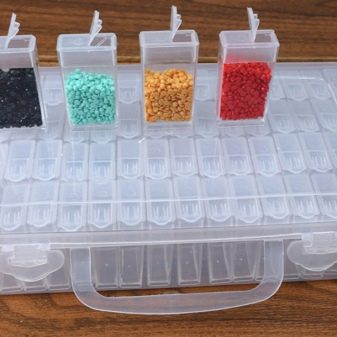
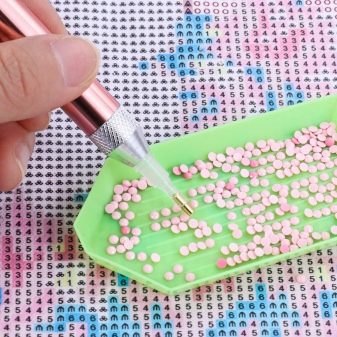
Corrector
This type of tool is not the main one, you can do without it. The proofreader is purchased by those who like to do their job with meticulous accuracy. The device looks like a wide flat spatula, with the help of which the rows of rhinestones are aligned, achieving perfect clarity of the pattern.
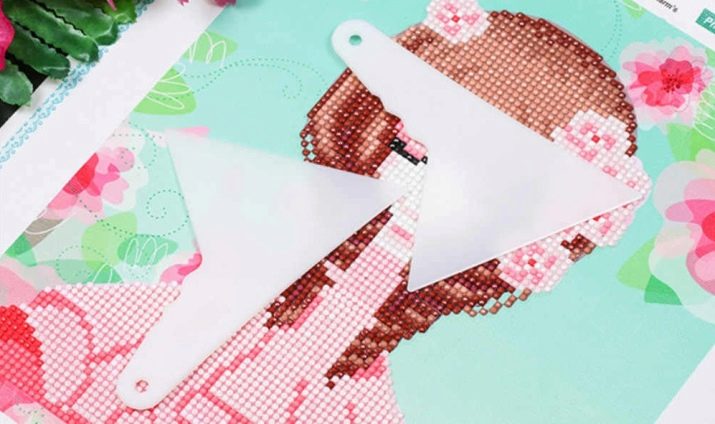
Layout methods
You can lay out a picture with diamonds in whole or in part. When fully laid out, there are no gaps left on the canvas. The canvas looks solid, voluminous, with a beautiful shine.
Partial laying, assumes a fragmentary arrangement of rhinestones, and the rest of the canvas is filled with typographic drawing, tonal field or embroidery without diamonds. In addition to these differences, there are different ways of applying crystals to the canvas.
-
By color. The drawing is filled with the help of laying out the fragments with rhinestones of the same color. When they are over, they start working with a different shade.
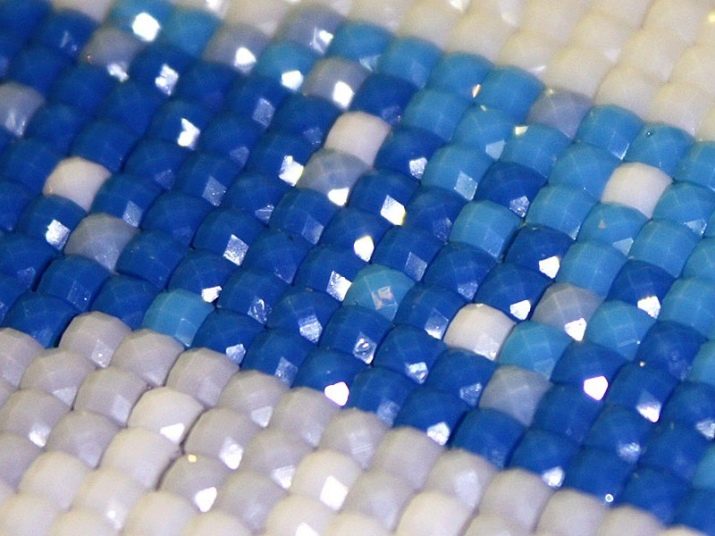
- Staggered. Rows of diamonds alternate in this order: the first is even, the second is odd, and so on. And then the remaining empty cells are filled.
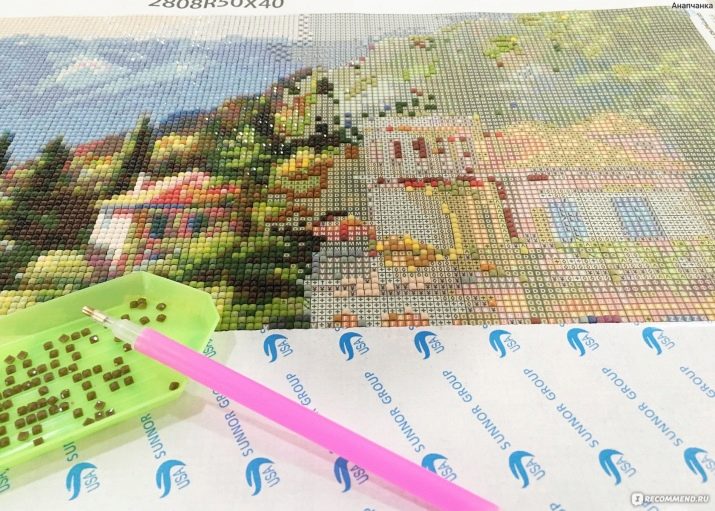
- In rows. They begin to lay out the picture from the top row so that the diamonds do not rub out and do not lose their shine while working on the next line of crystals.
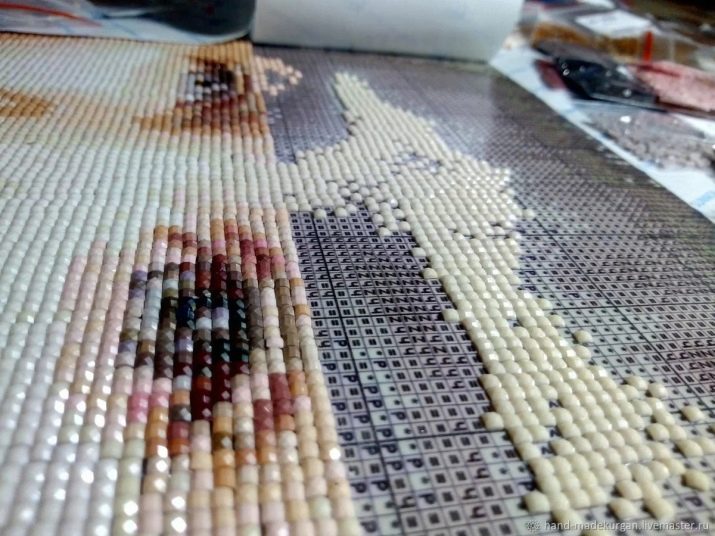
Technology
For those who are interested in the fascinating creation of a diamond mosaic, we offer a master class that will help you make the right layout, achieving an extraordinary, stunning image. The entire creative process can be divided into three stages - preparatory, work on the mosaic, and final (varnishing, decoration).
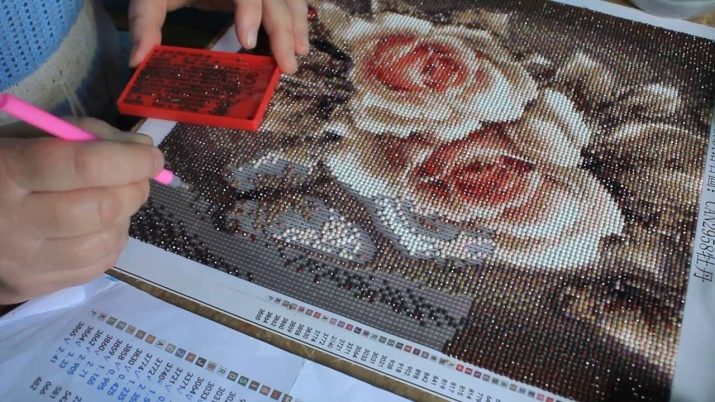
Preparation
The pre-working stage includes the preparation of the canvas, places for creativity, analysis and distribution of tools and material.
Canvas
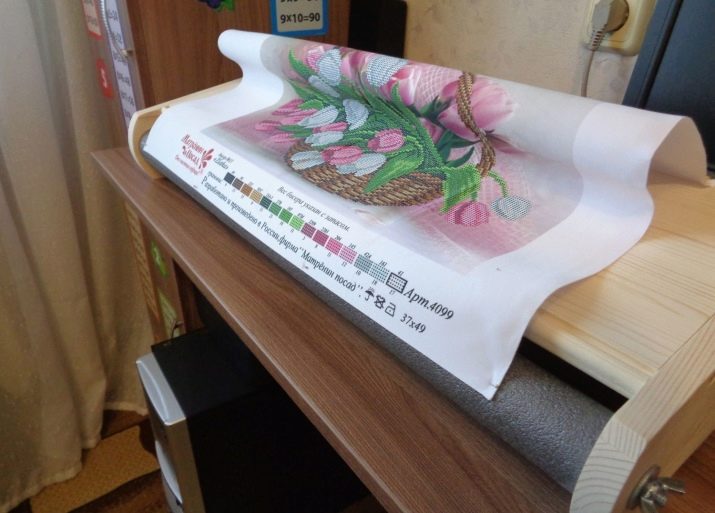
If the canvas is not attached to a stretcher, but rolled into a roll, you will have to work with it a little. You can start laying out the mosaic on an absolutely flat surface, if the canvas is slightly tucked after roll storage, the rhinestones on the hills can come off. Therefore, before starting the creative process, it is necessary to align the canvas. For this purpose, he is placed under a press overnight. It is more convenient to press down the material with thick glass, if it is not there, you will have to do with other improvised means available in the house.
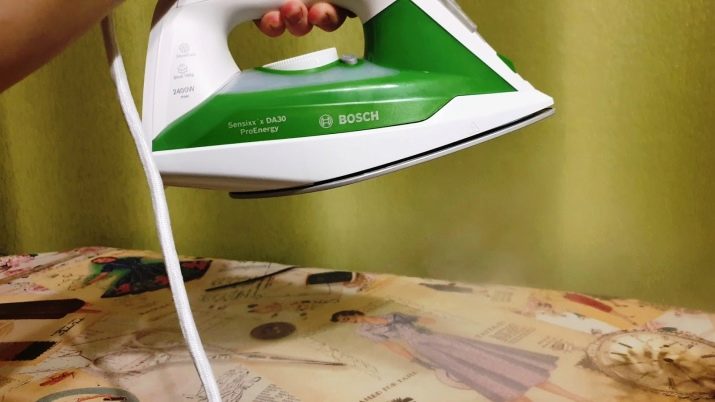
To speed up the alignment, some iron the fabric from the wrong side with an iron. In this case, the temperature is set to the minimum. Keep in mind - ironing dries out the adhesive layer, so it is better to be patient and align the canvas under the press.
Workplace
To work, you need to find a flat, comfortable place. Thoroughly remove debris and dust, wipe the surface dry. From a poorly treated area, fluff and dust particles fall on the glue layer of the canvas and complicate the work on the mosaic.
Lighting
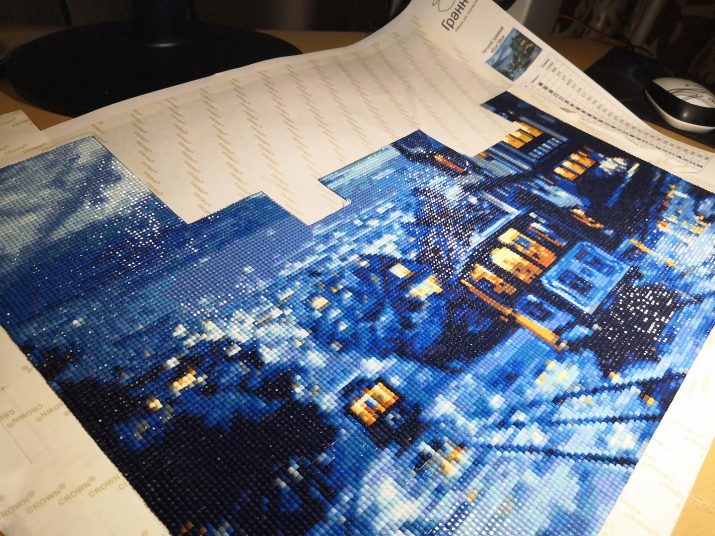
You have to work with very small details. Lighting, both natural and artificial, should be as appropriate as possible. In the daytime, it is better to sit by the window. DFor right-handed people, the light source should be on the left side. A left-hander, on the other hand, needs to sit so that the window is on the right.
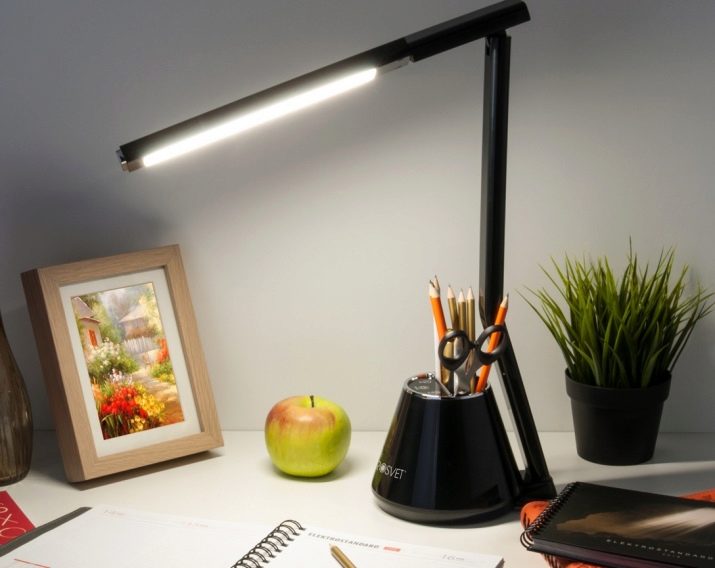
As for artificial lighting, you can use the LED panel with adjustable height and angle. Or adapt a regular table lamp.
Tools and materials
When the workplace is prepared, open the package of the kit with accessories. Suitable types of diamonds are used as materials. They are taken out of the bags and laid out in different sections of the organizer, using number designations. Tools for working with rhinestones are laid out nearby. If the diamond setting devices are to be filled with glue or crystals, do so just before work.
The main stage
When everything you need is collected and laid out within walking distance, you can start the creative process. Let's analyze the stages of work.
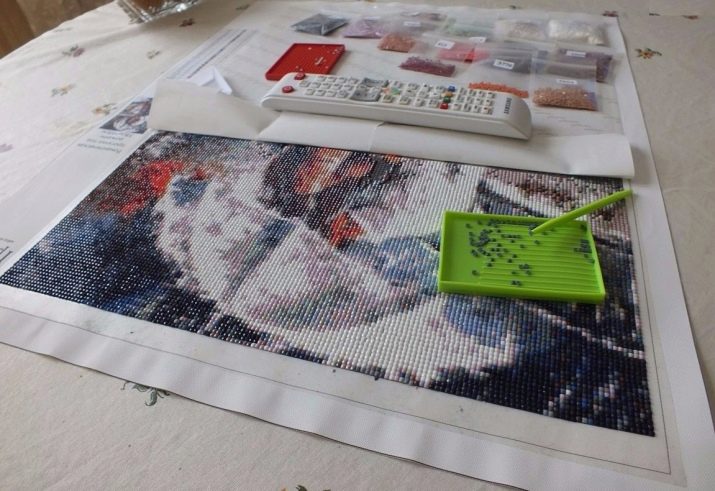
- The canvas with the picture is laid out on a flat, clean surface. Then they deal with the numbering indicated on the canvas and bags with rhinestones, so that you can quickly navigate in the working material.
- The protective film is usually not peeled off all at once., only in the place where work begins, removing it gradually over each work area.
- With a diamond spreading tool place the crystal on the required cell and fix it by pressing. Deformed rhinestones should not be put into work, the material in the set comes with a margin, so only high-quality crystals are selected.
- Having laid out several rows, they are trimmed and pressed for better adhesion to the adhesive using a corrector or a regular ruler. Then they move on to laying the next rows, and so on until the mosaic is ready.
Varnishing
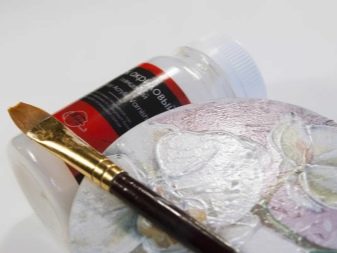
At the last stage of the work, varnishing should be carried out, then the crystals will be securely fixed on the canvas, and the mosaic will acquire a beautiful finished look. Glossy acrylic varnish or liquid glass is used for coating. The surface is covered with a thin layer, taking care that the varnish does not flood the space between the rhinestones too much.

Registration
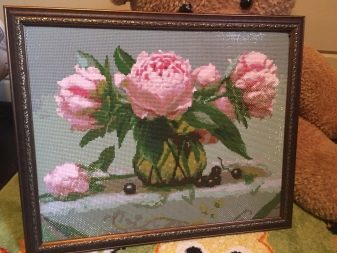
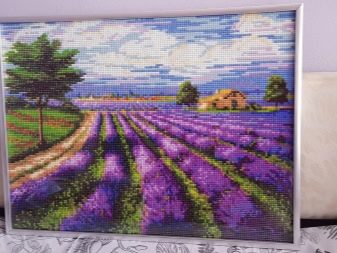
A baguette frame is used as a frame for the mosaic. It is better to choose simple options so that attention is concentrated on the picture, and not on its design. You can decorate the frame with the remaining rhinestones, but the main thing is not to overdo it, show moderation and good taste. Glass is used if the mosaic has not passed the varnishing stage.


Useful Tips
Now let's talk about secrets that can come in handy in the creative process.
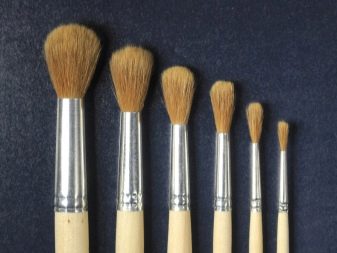
- Dirt on the adhesive layer can be removed with a damp brush.
- If it was not possible to preserve the sticky base of the canvas, you can use a glue gun, applying the composition to each rhinestone separately.
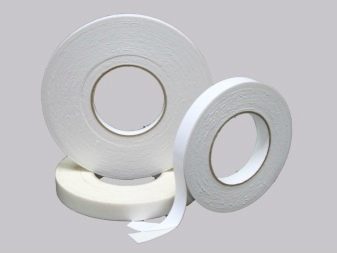
- Before starting work, so that the canvas does not move, it is glued with double-sided tape to the table top.
- When installing the crystal, do not press hard on it; you may need to replace the material before the glue has set.
How to collect a diamond mosaic, see the video.


