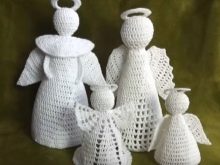
How to crochet an angel using the amigurumi technique?
Knitting makes a person focus and concentrate. Bioenergetics argue that this creativity allows you to create a talisman for yourself that will affect your destiny. The material for work and the thing that a person knits is of great importance.
Peculiarities
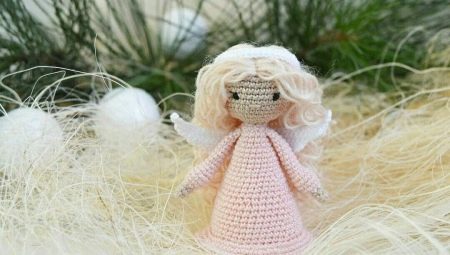
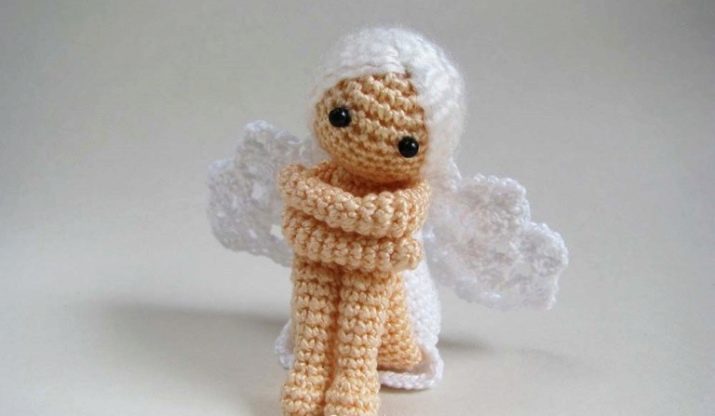
By creating an angel, needlewomen fill life with light and good. Small figurines connected by the amigurumi style will serve as a talisman for loved ones and will allow you to admire the beauty and purity of an angel, to be able to touch his protective wing. The process of creating a figurine is quite painstaking and requires perseverance. Crocheting requires peace of mind and a good mood. Items created in the amigurumi style have their own characteristics.
They are voluminous, small in size and very tightly knitted. They are created by crocheting with half-columns or single crochets.
Tools and materials
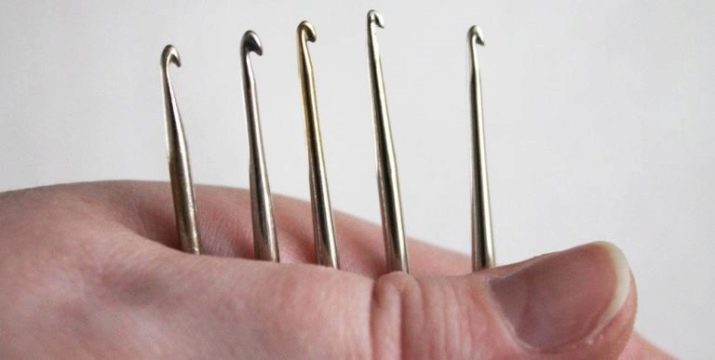
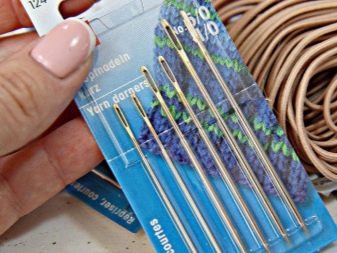
- Hook... The main tool, which should be one size less than the thickness of the thread. Hooks are made from a variety of materials. Depending on your desire, you can purchase a plastic, aluminum or metal copy. For convenience, the metal hooks have a small flattened thumb section. The hinges, knitted with steel tools, slide well and do not snag. The choice of crochet hook is very important to the knitting process. Choosing the right and comfortable one is difficult, but it will provide ease in the knitting process. To keep your hand from getting tired, it is better to work with an ergonomic hook. The handle of this tool is curved and grips well with the brush.
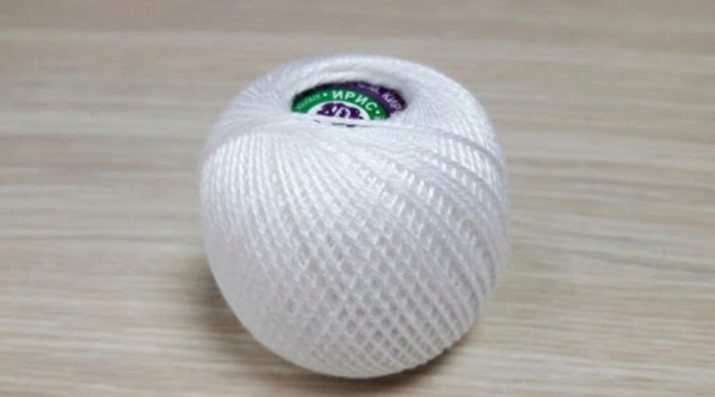
- Yarn. You can use any color of yarn, but the traditional angel is white, so we will do just that. Material is much more important than color. It is better to choose cotton with acrylic, and not woolen (it gets dirty and quickly loses its shape) or plush yarn (it will be more difficult for beginners to knit loops).The wings will need to be circled, it is better to do this with gold lurex (a metal additive connected to a thread). For hair, light brown cashmere is most often used, but you can choose any yarn.
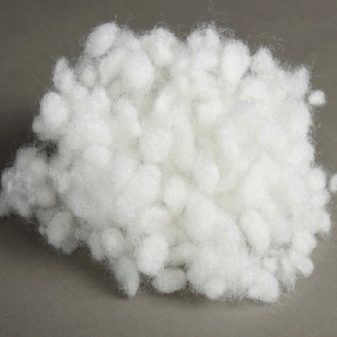
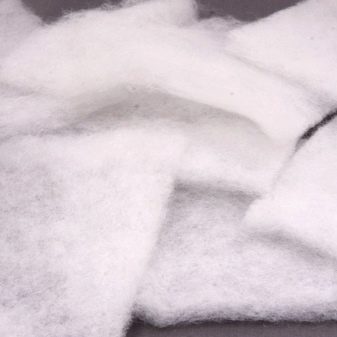
- Filler... The choice is also quite large and complex. You can take wool, but it is an allergen, so a synthetic filler is advised. This includes artificial fluff, which is sold in the form of spirals and balls, holofiber and synthetic winterizer. The latter is most often used by needlewomen.
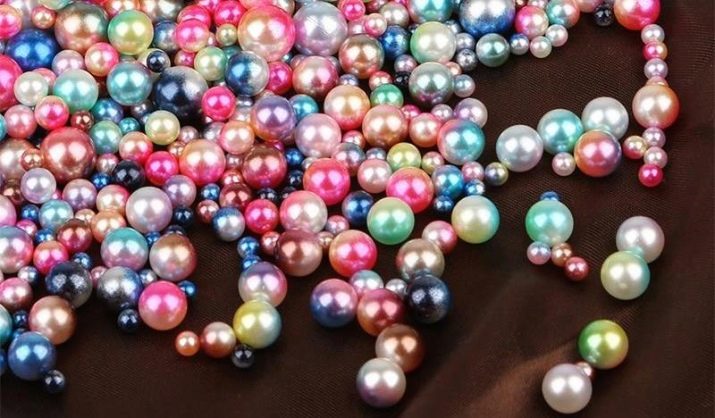
- Beads for eyes and clothing decoration.
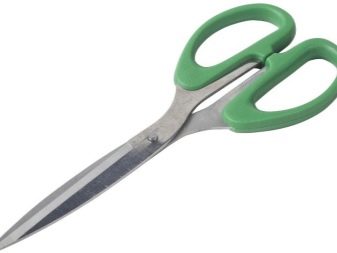
- Scissors and a needle with a large ear.
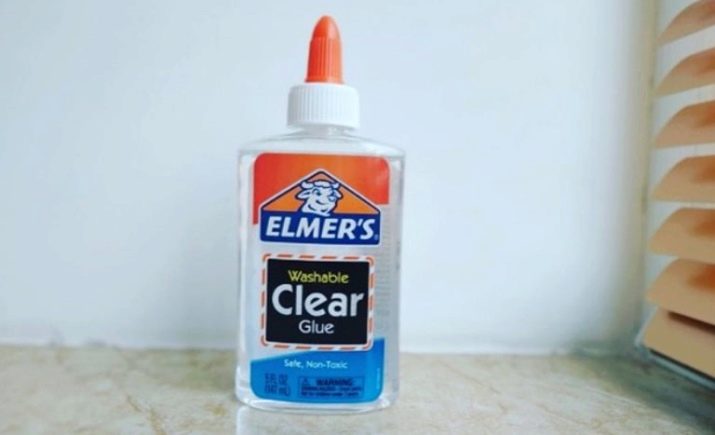
- Transparent glue.
Execution technique
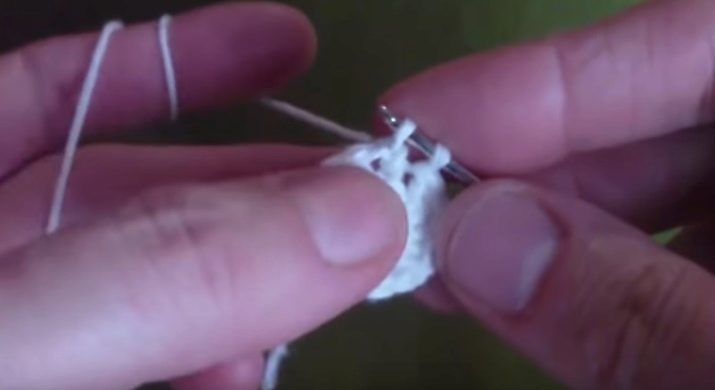
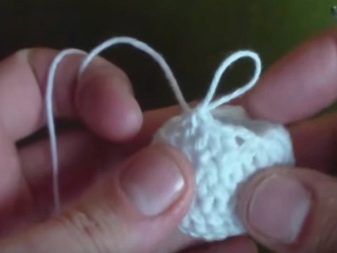
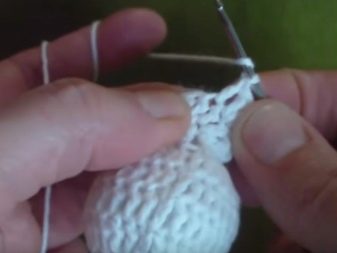
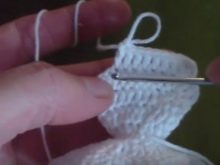
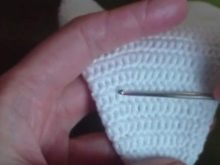
The master class on performing an angel, which is presented below, will be understandable not only for professional needlewomen, but also for polishing. The angel is knitted mainly with single crochet, and the parts are connected with half-columns. The outfit is performed in an openwork style. The wings are knitted with the addition of fluffy yarn. The first part of the product will be the head. Like all dolls, it is knitted in a spiral, starting with the amigurumi ring. It is done in the following way.
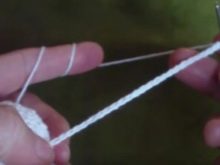
- Begins with 2 turns of thread around the index finger.
- Then, by crocheting inside the turns, you need to pull out the working thread.
- After the loop is knitted, the working thread is pulled out again.
- A single crochet is knitted. In total, there should be 6 columns in the amigurumi ring.
- We tighten the ring and start knitting the head.
Next, you need to make one connecting loop and one air loop (to raise the height). The beginning of knitting is marked with a contrasting thread or a marker is attached so as not to get tangled. With each row, the marker is transferred higher. If 6 loops are being recruited, then each subsequent row is added 6 loops.
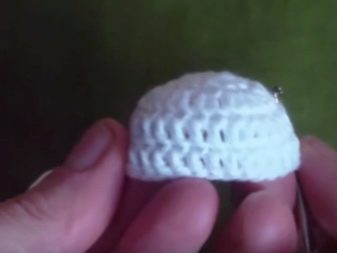
Description of the creation of the head
- The first row should have 6 stitches.
- In each loop, you need to make an increase, that is, knit 2 columns in one loop (12 in total) \
- Increase through the loop (resulting in 18 single crochets).
- We make an increase every 2 loops (24 columns).
- There should be an increase every 3 loops (30).
- and 7 rows without increments (in total, you need to knit 60 single crochet)
- Next, we begin to reduce the number of columns in the reverse order. That is, first we make 24 out of 30 columns, then 18, 12 and 6.
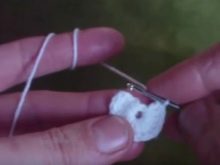
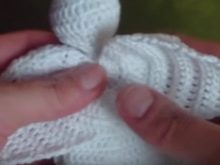
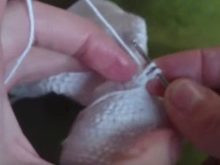
When there are 6 loops left, you can start filling the head with filler and decorating it. A thread of yellow or light brown color is taken on the hair. Cut the hair strands and fold them in half. The hook is inserted into the region of the crown, the thread is captured with it and taken out into the head. Another thread is inserted into the next loop, also brought out inward and two loops are knitted together. Thus, repeat to the back of the head. After that, you need to take glue and smear part of the head, glue and dry your hair. The head is not stuffed very tightly. Next, black beads or buttons for the eyes are sewn on, the eyebrows, nose and mouth are embroidered.
On the shoulders of the angel lies a drape. It is easy to tie it.
Legend:
- VP - air loop;
- RLS - single crochet;
- SS - connecting loop;
- PS - half-column.
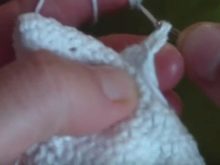
After filling the head, knit 2 rows of 6 loops (this will be the neck). 3 row - begin the increase, knitting 2 columns from each loop. 4 row - without adding, knit on the front wall of the loop. 5 row - the addition is due to air loops. First, 4 VP and 1 RLS, 2 VP and 1 RLS. So we knit to the end of the row, which we end with a connecting loop. 6 row - 6 VP and 1SBN, 4 VP, 1 SBN and SS. This is a simple openwork pattern. You can knit the cape more authentic, increasing the number of air loops.
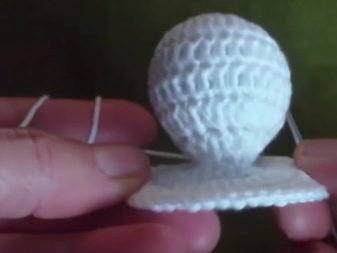
Knitted dress
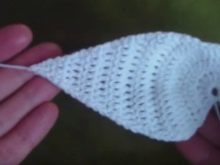
The bodice of the dress begins to knit after 4 rows of cape, behind the lower loops inside the angel. 5 rows in a circle sc. Next, they knit a skirt - 10 rows according to the cape pattern. Another openwork pattern of a skirt can be knitted using the patterns from books on knitting. You can experiment with any knitting pattern and bring your own ideas.
Wings
Openwork wings look light and airy. To tie them, you need to dial a chain of 8 air loops, and then follow the diagram below.
- 1 row - 6 CH (double crochet), 2 BSN, 1 VP for lifting.
- 2nd row - 2 BSN, 5 CH, 2 VP for lifting.
- 3 row - 5 CH, 2 BSN, 1 VP for lifting.
- 4 row - 2 PRS, 4 CH, 2 VP for lifting.
- 5 row - 4 CH, 2 SBN, 1 VP for lifting.
- 6 row - 2 PRS, 3 CH, 2 VP for lifting.
- 7 row - 3 CH, 2 PR.
You get a trapezoidal wing with a wavy edge. They also knit the second part and sew them together with a small fold in the middle. The edges of the winglet are tied with half-columns with lurex.
Hands
In order to make the mini-figure hands, knit 10 sc. Then the edge is sewn and the hand is filled with padding polyester. All the details are ready, now you need to starch the Christmas angel. The preparation of the solution looks like this: 2 tbsp. spoons of starch are poured into a glass of cold water, stir until dissolved. The solution is gradually poured into a container with boiling water, and then the resulting liquid is left to cool to 70 degrees.
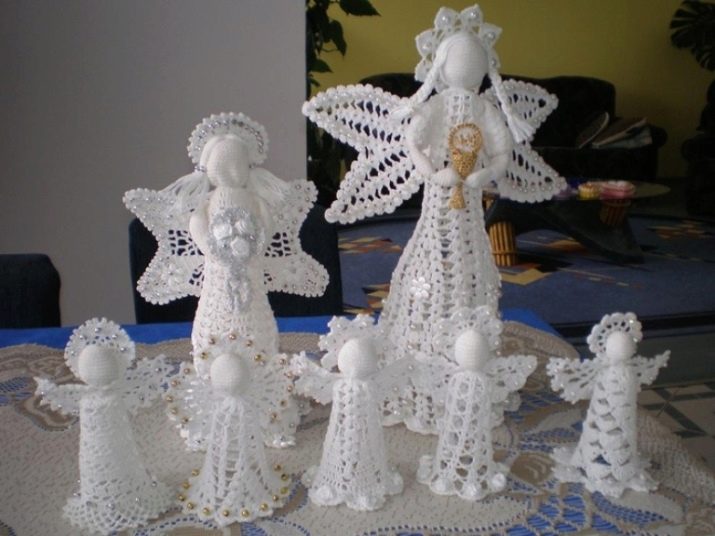
A shallow container is chosen, into which the figure is lowered to the neck. Leave for 15 minutes. Squeeze out excess starch and put on the prepared bottle. Straighten the bottom of the dress and cape. After that, the wings are lowered into the solution, squeezed out and gently spread on a horizontal surface. After drying, the wings are sewn on or glued. If there is no starch, the product is soaked in a strong sugar solution. The angel figure is ready. The products are different. It depends on the size and quality of the yarn. Angels are often knitted from natural threads (cotton, linen). There are many patterns for knitting. They differ in design, complexity, size. Angels are knitted voluminous or flat to decorate towels, tablecloths.
There is another option for making an angel using the amigurumi technique. It can be used to knit a small figurine of a thick iris angel.
- Knitting begins with an amigurumi ring from 7 sc.
- The next step is an increase of 7 RLS (the result should be 14 columns).
- The increase in the next row occurs through the loop (21 single crochets are obtained).
- Increase through 2 loops (28).
- Increase through 3 loops (35).
From 5 to 10 row we knit without changes RLS, and from 11 row each circle is reduced by 7 columns. The head is filled with holofiber or synthetic winterizer. 16 row - 7 loops are knitted without changes. 17 row - there is an increase on the sides according to the following scheme - 2 RLS, an increase, 2 RLS, an increase, 1 RLS. 18 row - 2 RLS, increase, increase, 2 RLS, increase, increase, 1 RLS. 19 row - increase through the loop. 20 row - increase by 13 loops.
The torso is knitted without changes to the required size. After that, 8 loops in a row are reduced. As soon as 15 loops remain, you can fill the body with a padding polyester and add sand or cereal there to make the figure more stable. Tie a circle to the middle of the body and begin to knit one leg of 7 loops in a circle. The second leg begins with a decrease in one loop and down in a circle. For the legs to be of the same length, it is necessary to count the rows.
Before tightening the bottom, the legs need to be filled. Hands are knitted in a circle of RLS and then sewn on. Light-colored threads are glued to the head, imitating hair. Several openwork dresses with wings are knitted separately.
Angels are always among people - both on holidays and on weekdays. Associated with the soul, the angel will keep the warmth of the hands of the craftswoman.
Remember that knitting is not only an exciting creative process and gives a person pleasure, but also benefits the body.
It is known that there are biologically active points on the fingers. Knitting, acting on them, triggers positive physiological processes.
See the video for a master class on knitting an angel using the amigurumi technique.


