Amigurumi for beginners
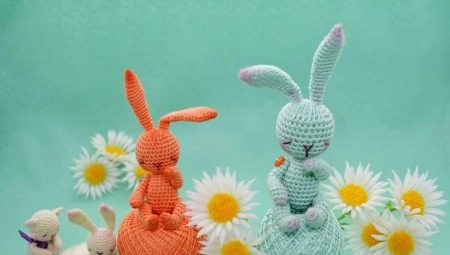
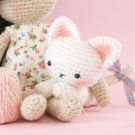
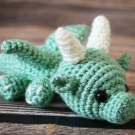
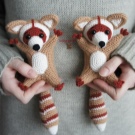
Having gained wide popularity relatively recently, the Japanese technique of making knitted amigurumi toys has already found loyal fans. And it's hard not to fall for the charm of these cute toys. Having moved from Japan to France and Britain, today they seem to have already taken over the whole world. They are used to decorate the interior, they are presented to friends and they learn to do it on their own. Just how to start knitting amigurumi yourself, and will be discussed below.
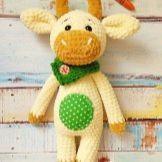
What do you need to knit?
To start the knitting process, you need to acquire all the necessary materials. There are a number of subtleties and tricks here that may not be obvious to beginners, but will help make their life easier.
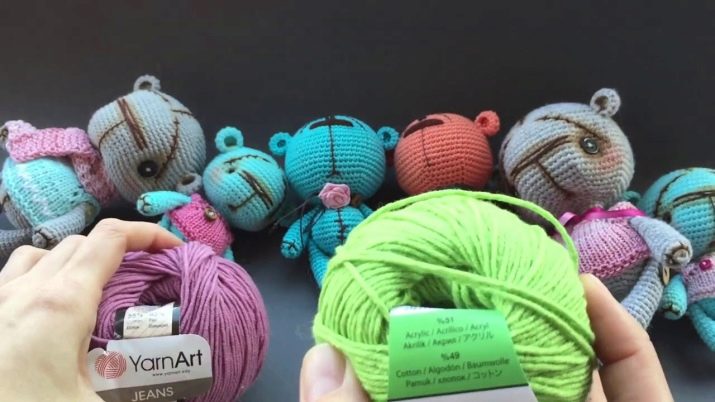
- Yarn... Now the stores are full of the most varied yarn of different composition and density, of any color. For amigurumi, it is better to give preference to threads with cotton, wool and acrylic at the base. However, mohair and angora are fine too.
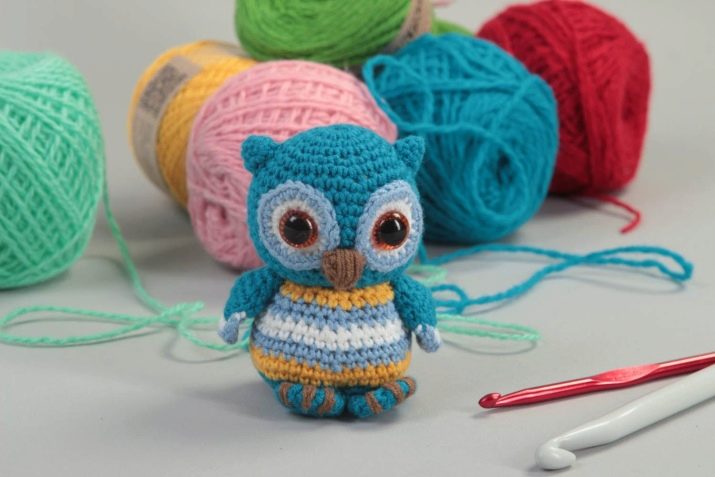
- Hooks... It is better to immediately acquire a set, since in order to avoid "holes" in the toy, the hook must be selected strictly according to the type and thickness of the yarn. The hook should be thinner than the thread. For example, the best choice for acrylic would be # 3, for iris # 1 or even # 0.6. Knitting needles are selected in a similar way, if you decide to knit with them, and not crochet.
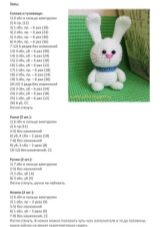
- Description schemas and tables... Finding instructions for making toys is not a problem. If this is your first knitting experience, opt for options with a detailed description, but if you just decided to try out a new technique, a table showing the number of loops in columns and rows should be enough.
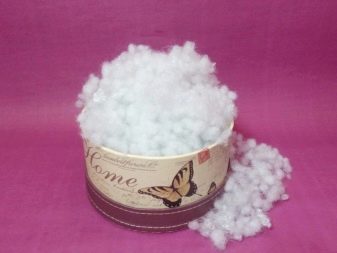
- Filler... Contrary to popular misconception, cotton wool will not work here, it can only be considered as stuffing for trial work or an option for the most extreme case, when it is not possible to find a suitable filler. The fact is that cotton wool quickly crumples and cakes, and as a result, the toy loses its appearance.A good choice would be synthetic winterizer, synthetic winterizer or holofiber.

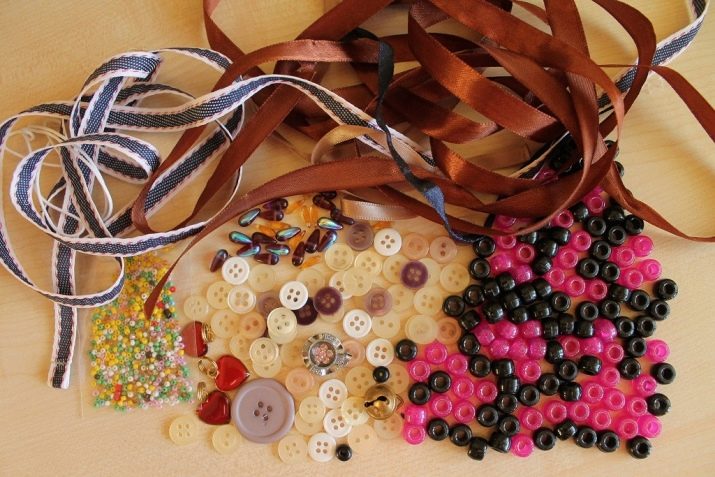
- Decor toys... It all depends on your imagination and the scheme of the doll. The main thing to remember is that jewelry should be in moderation.
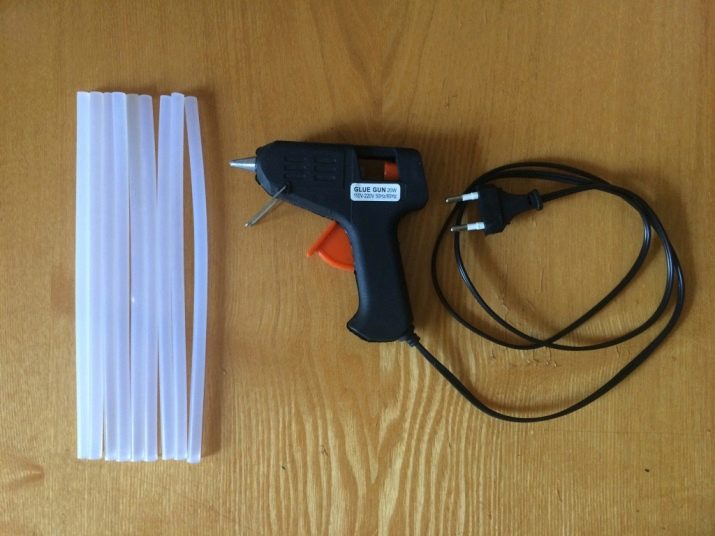
- Glue gun and sticks to it. An optional item, but still having a glue gun will make your life easier when decorating a toy.
- Scissors... With such a starter kit, you can approach directly to knitting.
Where to begin?
Now let's move on to the basics that are necessary for a beginner who decides to learn how to knit amigurumi.
All parts of the toy are knitted separately and only at the final stage, before stuffing and applying the final touches, they are connected together by hinges, if special mobility of the elements is required, or with thick threads.
Amigurumi can be of any size - from very small in a couple of centimeters to half-meter giants.
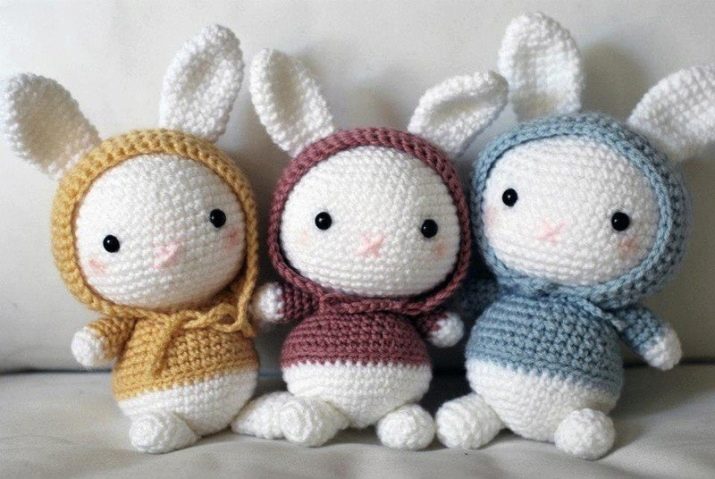
Miniature, well-made and well-designed toys are considered a sign of craftsmanship, but in the process of learning from scratch, it is worth choosing a medium-sized toy to start.
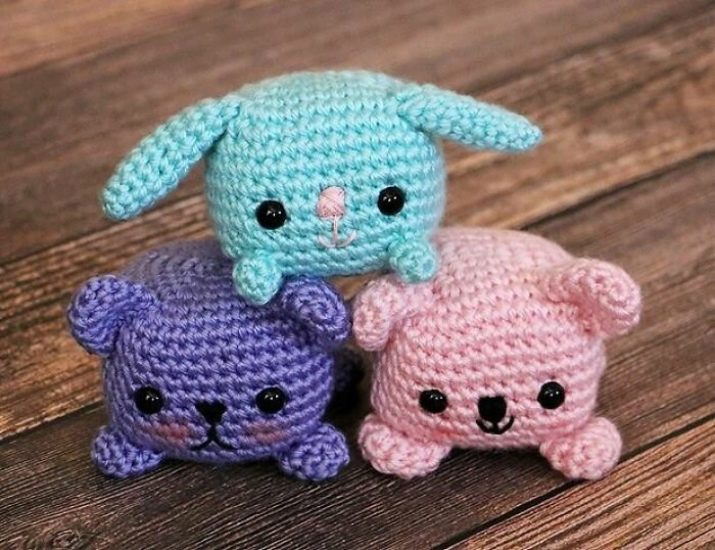
Before we turn to the diagrams and master classes, let's pay a little attention. some knitting terms that will be especially common in job descriptions, and their accepted abbreviations.
- Column without crochet (RLS) - the hook is inserted into the loop, the thread is captured and passed through this loop. After that, a yarn is made, the thread is pulled through the two formed loops.
- Half double crochet (PSN).
- Column with crochet (CCH).
- Connecting post (SS) - the tool is inserted into the loop, a yarn is made and the thread is pulled through all the loops.
- Air loop (VP).
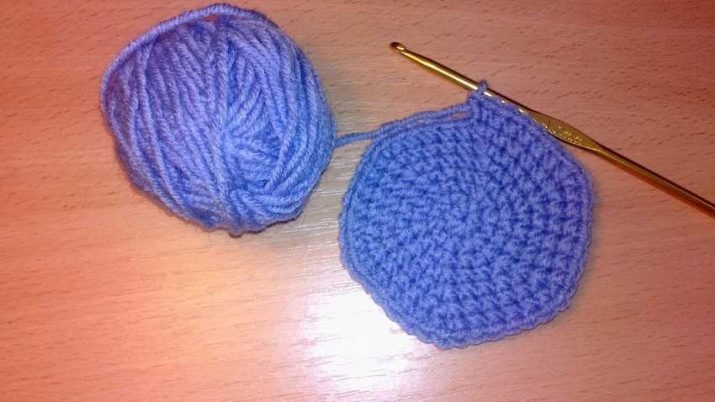
- Amigurumi ring (KA) - the thread is folded into a ring, a short piece is left. The hook is threaded into the center of the ring. A yarn is made, a loop is formed. After that, another yarn is made and the thread is pulled through so that the first loop is formed. This loop does not count as the first sc. Knitting according to this formula must be continued until the moment when the number of loops becomes acceptable for the first row. When finished, pull on the tip and connect the ring.
- Increase (P) - adding loops. Two scs are tied into a base loop.
- Decrease (U) - two RLS are knitted together.
- Invisible decrease (OU) - hidden decrease in loops. Two RLS are knitted with each other at the front walls of the loops. All operations need to be performed only with the front walls of the hinges.
These abbreviations are not the only possible ones, and in the diagrams of different authors you can find other ways of recording loops and stitches.
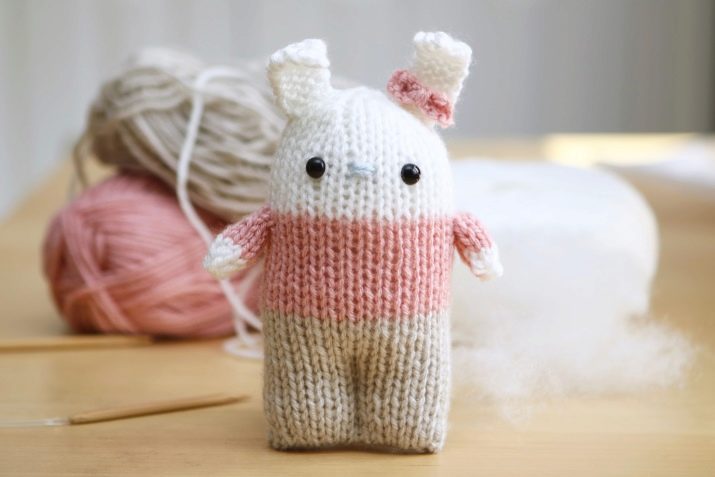
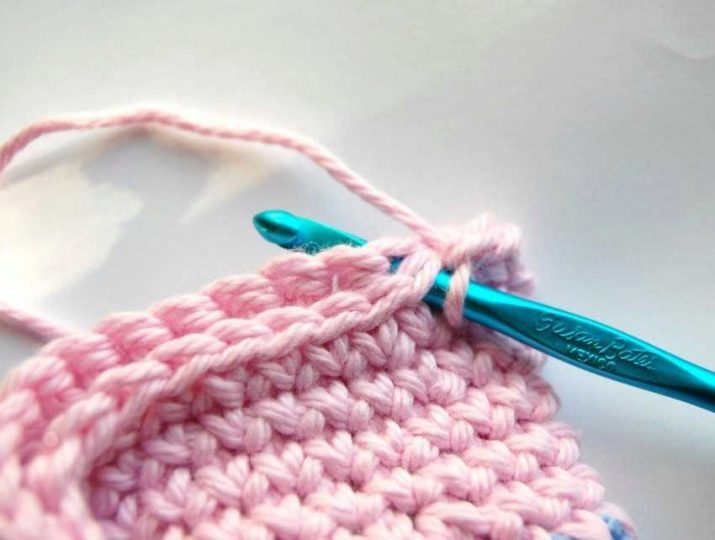
In addition to what has already been said, it is important to remember how to change the color of the thread. You must insert a hook into the loop, grab and pull the thread through the loop. After that, form a yarn over with a different thread and pass it through the loops on the hook.
Then you can continue to go step by step according to the scheme.
How to knit the simplest toys?
Now finding free step-by-step instructions on how to make small (and not so) DIY amigurumi toys online is not a problem, it is much more difficult to make a choice and decide which doll to start with. We have selected some fairly easy schemes that you can take a closer look at.
Unicorn
Materials:
- hook 3 mm;
- hook 10 mm (for a scarf);
- tapestry needle;
- 70 grams of light yarn;
- 20 grams of dark colored yarn (hooves);
- yarn for scarf and mane, fluffy;
- filler;
- beads or buttons for the eyes;
- dark thread for eyelashes;
- pink crayon on fabric for blush (optional).
The average height of the product is 30 cm.
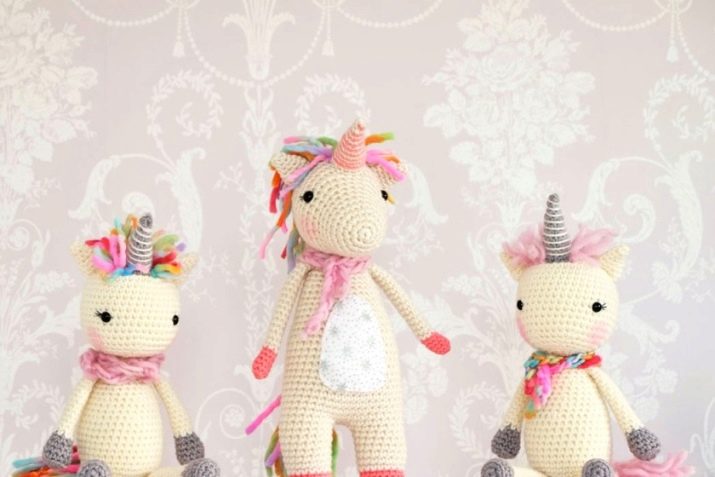
Head:
- 6 sc in the magic ring, tighten and position the marker (6);
- (P) (12);
- (1 sc, p) (18);
- (2 PRS, P) (24);
- From 5 to 8 row of sc in each loop (24);
- (3 PRS, P) (30);
- (4 PRS, P) (36);
- From 11 to 15 row of PRS, 6 times P, 15 PRS (42);
- 12-16 rows - sc in each loop (42).
Set eyes between rows 11 and 12. The distance between them should be approximately 11 loops. With your eyes fixed, fill the part with filler.
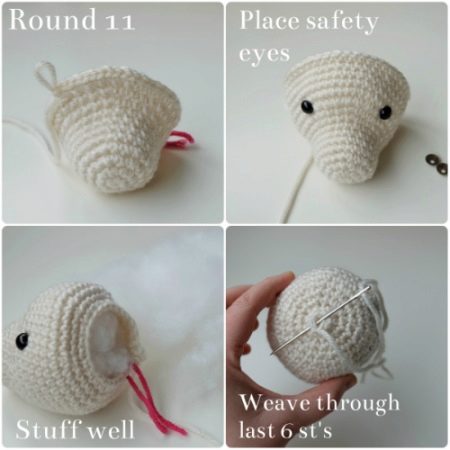
Further:
- (5 PRS, OU) (36);
- (4 PRS, OU) (30);
- (3 PRS, OU) (24);
- (2СБН, НУ) (18);
- (1 PRS, OU) (12);
- NU (6).
To finish the section, pass the thread through the 6 remaining loops.
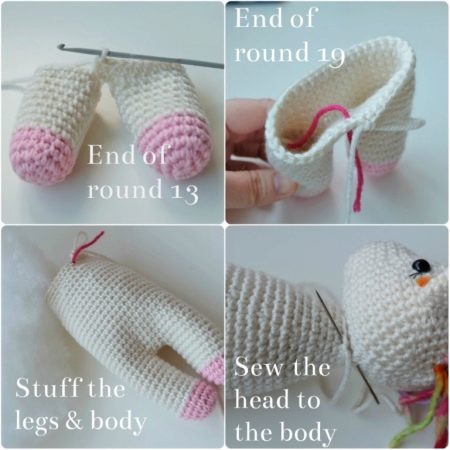
Ears (two parts):
- 5 sc in spacecraft (5);
- (Sc in each of the loops) (5);
- (1 sc, p), continue, finish 1 sc in outer loop (7);
- (Sc in each of the loops) (7);
- 5 row - (1 RLS, P), repeat, complete 1 RLS in the outer loop (10);
- 6-7 row - (sc in each loop), repeat.
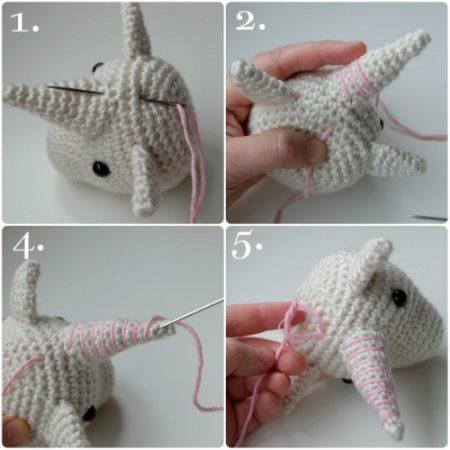
Complete the CC, leave the long ponytail. The unicorn ears are filled at will.
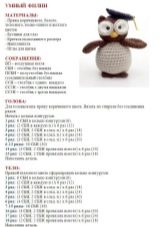
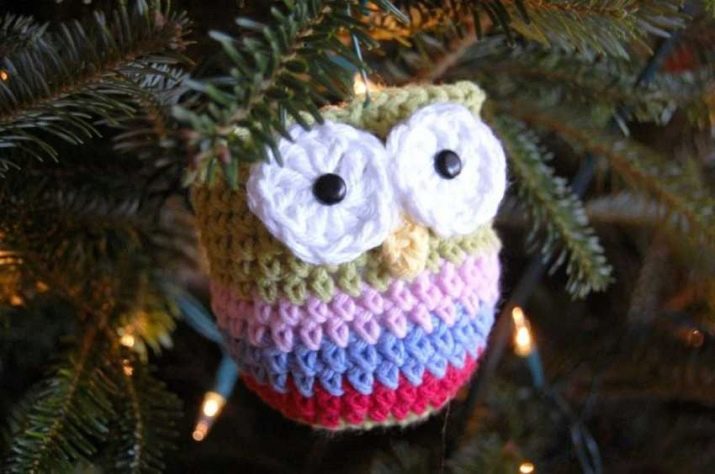
Owl
Materials:
- hook # 1.5;
- cotton yarn (purple, black, white and blue);
- yellow felt;
- brads (3-4 mm);
- stuffing.
The torso. Purple yarn is used.
- 6 sc in spacecraft (6).
- 6 P (12).
- RLS, P x 6 times (18).
- 2 sc, p x 6 times (24).
- 3 sc, p x 6 times (30).
- 4 PRS, P x 6 times (36).
- 7-18. 3 6 RLS (36).
- 19.4 PRS, Y x 6 times (30).
- 20.3 PRS, P x 6 times (24).
- 21.2 sc, p x 6 times (18).
Fill the carcass with filler.
22.SBN, P x 6 times (18).
23.6Y (6).
Close the hole.
Eyes x 2. White yarn is used.
- 6 sc in spacecraft (6).
- 6P (12).
- RLS, P x 6 times (18).
Finish knitting, first leave a long thread, then sew on the eyes. Complete the element with a diagonal stitch with black thread.
Wings (two parts). Blue yarn is used.
- 6 sc in spacecraft (6).
- 6 P (12).
- RLS, P x 6 times (18).
Ears x 2. Purple yarn.
- 3 sc in spacecraft (3).
- 3 P (9).
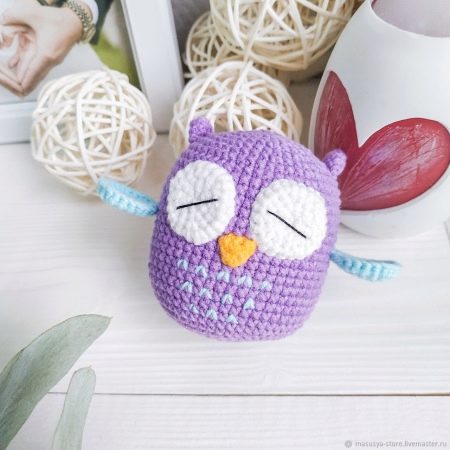
Sew the eyes to the torso. Cut the iris out of felt and glue them in place. Glue the brads on the edges of the eyes. Attach the wings to the sides of the carcass.
Sew on the ears last.
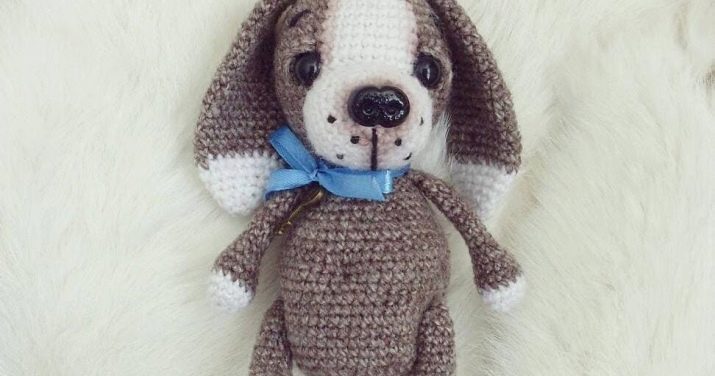
Dog
Material:
- hook 4.5 mm;
- plush yarn;
- cotton yarn (eyes, nose, fastening elements);
- filler.
The approximate height of the product is 22 cm.
Head.
- 6 sc in the spacecraft.
- P x 6 (12).
- (1 sc, p) x 6 (18).
- (2 sc, p) x 6 (24).
- (3 sc, p) x 6 (30).
- 6 - 9.30 СБН (4).
- 10. (3 PRS, U) x 6 (24).
- 11. (2 PRS, U) x 6 (18).
- 12. (1 sc, u) x 6 (12).
- 13.12 sc.
- 14. (1 sc, p) x 6 (18).
- 15. (18).
- 16. (2 sc, p) x 6 (24).
- 17-22.24 RLS (6).
We stuff the dog's head.
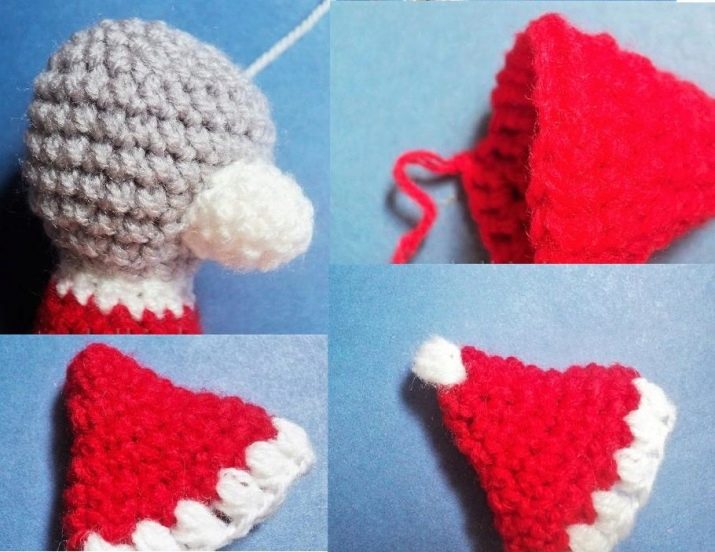
Legs x 2. We knit without breaking the thread from the head.
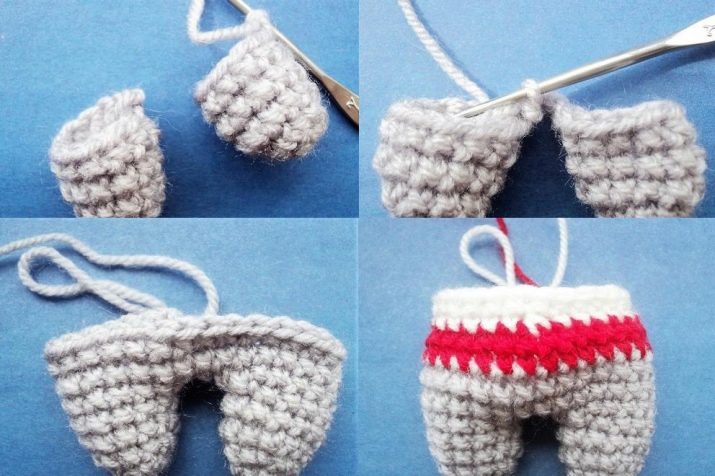
10 sc. We knit 11 stitches in the first, forming the beginning of the row. We make 4 rows of 10 loops. Then five Wu, thread trimming. Total: 23-27 rows of 10 sc.
We retreat from the first 2 loops, repeat the same manipulations as when knitting the 1st leg.
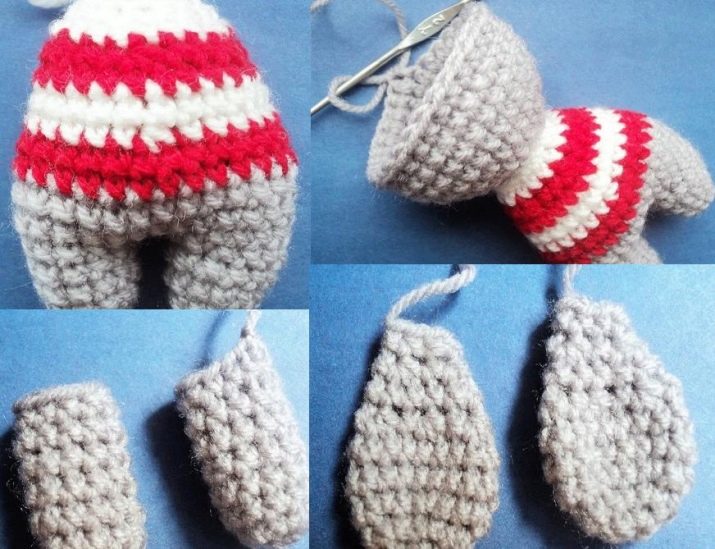
Front legs x 2.
- We collect 2 loops, in the second we knit 4 sc.
- P x 4 (8)
- 3 - 9.8 sc
Add filler, fold the foot, knit 3 sc over the edge.
Ears x 2.
- 6 sc in the spacecraft.
- P x 6 (12).
- 3 - 7.12 sc.
- 8. (4 PRS, U) x 2 (10).
- 9.10 sc.
Fold the ear, knit 4 sc. Cut off the thread, hide the tip.
Muzzle.
- 5 VP. In the 2nd loop from the hook - P, 2 RLS, 3 RLS to the extreme, knit in a circle, 3 RLS.
- P, 2 sc, 3 p, 2 sc, p (16).
- (16), cut off, fix the thread.
Tum. We use white yarn.
- 6 sc.
- P x 6 (12).
- PSN, 2 CH in one loop in the second - PSN.
We fix, cut off.
Tail.
6 sc - further as you wish.
Eyes.
- 6 sc.
- P x 6 (12).
We make the nose from a connected RLS triangle.
To decorate the dog, you can optionally knit a scarf for it.
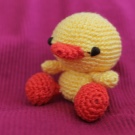
Chickens
Materials:
- hook # 1.5-2;
- yellow, white, red yarn;
- beads for eyes;
- filler.
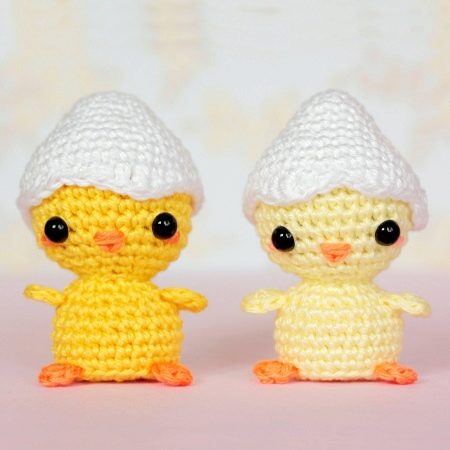
Chick.
- 6 sc in the spacecraft.
- P x 6 (12).
- (1 sc, p, 2 sc, p) x 2, 1 sc, p (17).
- (3 sc, p) x 4, 1 sc (21).
- (6 sc, p) x 3 (24).
- 3 sc, p, (7 sc, p) x 2, 4 sc (27).
- (8 sc, p) x 3 (30).
- 5 sc, p, 16 sc, p, 7 sc (32).
- 15 sc, p, 16 sc (33).
- 32 SBN, P (34).
- 11-13. 34 sc.
- 14. (Y, 15 PRS) x 2 (32).
- 15.8 sc, u, (9 sc, u) x 2 (29).
- 16. 3 sc, u, 8 sc, u, 7 sc, u, 5 sc (26).
- 17.5 sc, u, 8 sc, u, 7 sc, u (23).
- 18.2 sc, u, 3 sc, u, 4 sc, u, 3 sc, u, 2 sc (18).
- 19. (1 sc, u) x 6 (12).
We stuff the chicken.
- 20.Y x 6 (6)
We tighten the hole, remove the end of the thread.
Eggshell.
- 6 sc in the spacecraft.
- P x 6 (12).
- (1 sc, p) x 6 (18).
- (2 sc, p) x 6 (24).
- (3 sc, p) x 6 (30).
- (4 sc, p) x 6 (36).
- 7-10. 36 sc.
We process the edges of the shell with a "crustacean step".
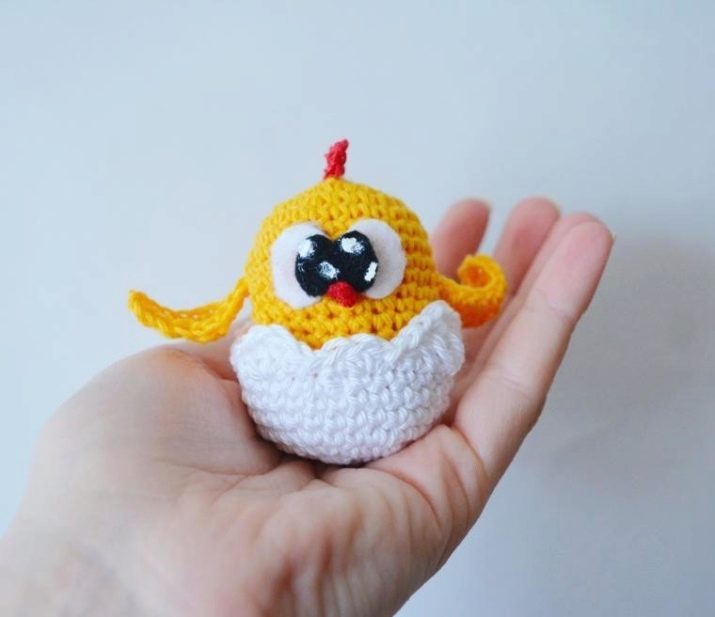
Bow.
- In the spacecraft we knit: 3 VP, 5 CCH, 3 VP, 1 SS (one side of the bow).
- We continue to knit in CA: 3 VP, 5 SSN, 3 VP, 1 SS (second side).
- We tighten the ring, cut the threads. With the long end we wrap the center of the bow, leaving the tip in order to sew on the part.
Beak.
- We start between rows 9 and 8 from the top.
- 3-4 VP, 1 CC between the 7th and 8th rows.
- We cut the thread, we sew a plus with its end.
We collect the toy, add the eyes.
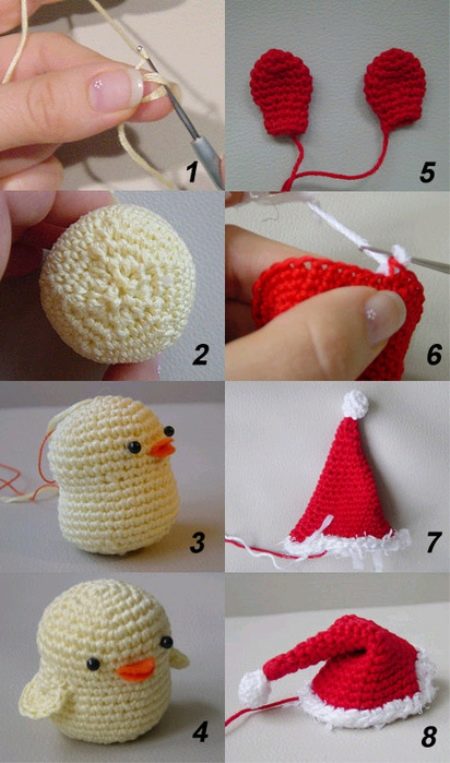
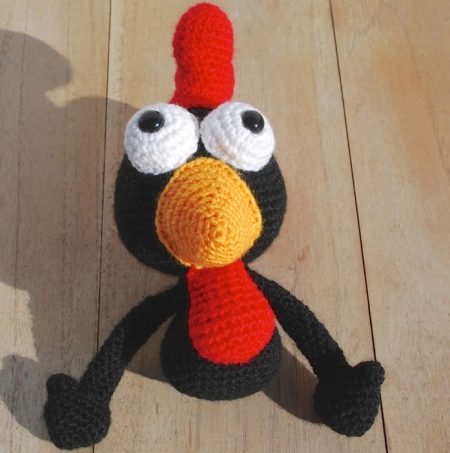
Cockerel
Materials:
- hook;
- black, scarlet, white, orange yarn;
- beads;
- padding material.
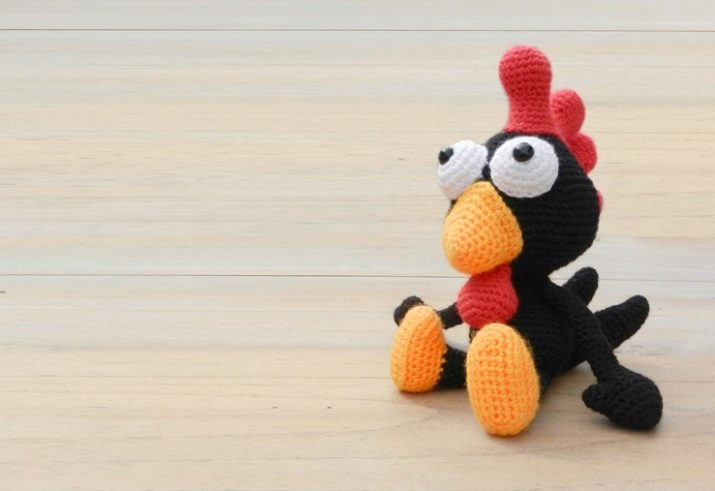
Head. Black yarn is used.
- 6 sc in the spacecraft.
- P x 6 times (12).
- (1 sc, p) x 6 (18).
- (2 sc, p) x 6 (24).
- 24 sc.
- (3 sc, p) x 6 (30).
- 30 sc.
- (4 sc, p) x 6 (36).
- 36 sc.
- (5 sc, p) x 6 (42).
- (6 sc, p) x 6 (48).
- (7 sc, p) x 6 (54).
- (8 sc, p) x 6 (60).
- 14-19. 60 sc.
- 20. (8 PRS, U) x 6 (54).
- 21. (7 PRS, U) x 6 (48).
- 22. (6 PRS, U) x 6 (42).
- 23. (5 PRS, U) x 6 (36).
- 24. (4 PRS, U) x 6 (30).
- 25. (3 PRS, U) x 6 (24).
We stuff the head of the toy.
- 26. (2 sc, u) x 6 (18).
- 27. (1 sc, u) x 6 (12).
- 28. Y x 6 (6).
We tighten the loops with a thread, leave the tail for attaching to the body.
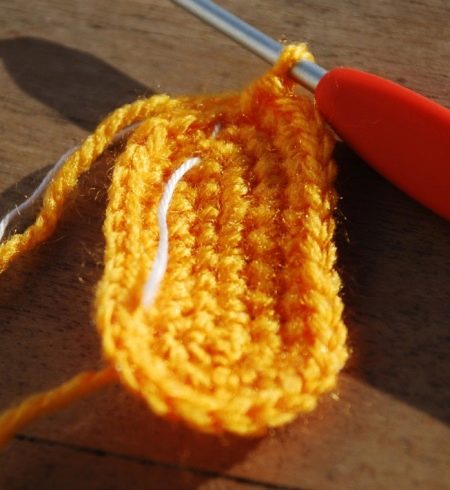
Beak. Orange yarn is used.
- 6 sc in the spacecraft.
- (1 sc, p) x 3 (9).
- (2 sc, p) x 3 (12).
- (3 sc, p) x 3 (15).
- (4 sc, p) x 3 (18).
- 5 sc, p, 2 sc, 2 p, 2 sc, p, 5 sc (22).
- 5 sc, p, 4 sc, 2 p, 4 sc, p, 5 sc (26).
- 5 sc, p, 5 sc, 2 p, 7 sc, p, 5 sc (30).
- 5 sc, p, 7 sc, 2 p, 9 sc, p, 5 sc, ss (34).
We fill the beak already during assembly. Do not forget about the connection tail.
Eyes x 2. Light yarn is used.
- 6 sc in the spacecraft.
- P x 6 times (12).
- (1 sc, p) x 6 (18).
- (2 sc, p) x 6 (24).
- (6 PRS, U) x 3, SS (21).
In the center of the part, you need to sew a pupil bead.
Goatee. Red yarn.
- 6 sc in the spacecraft.
- P x 6 (12).
- (1 sc, p) x 6 (18).
- (2 sc, p) x 6 (24).
- 5-6. 24 sc.
- 7. (2 PRS, U) x 6 (18).
- 8. (4 PRS, U) x 3 (15).
- 9. (3 PRS, U) x 3 (12).
- 10-11. 12 sc.
After that, the part must be folded, along the edge, grabbing both canvases, knit 5 RLS.
Leave the securing thread.
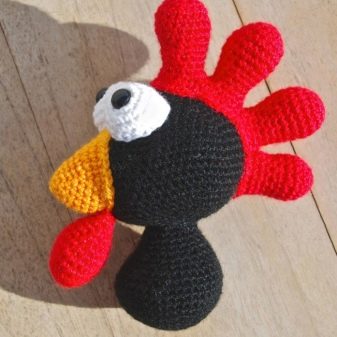
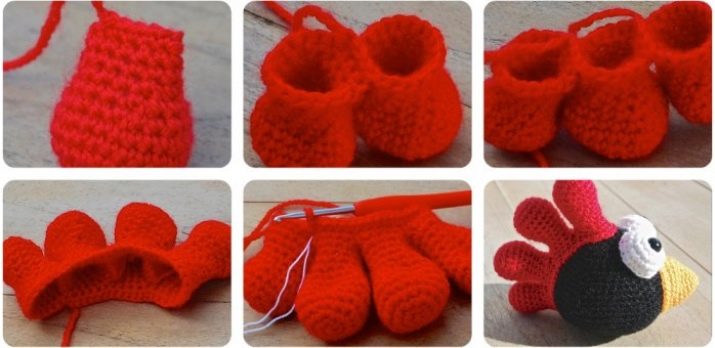
Crest. Red yarn is used.
The part consists of 4 elements, 3 long, 1 short. When all the parts are ready, they need to be fastened by folding the front side to each other and knitting 4 RLS over the edge.
Long comb elements:
- 6 sc in the spacecraft.
- P x 6 (12).
- (1 sc, p) x 6 (18).
- (5 sc, p) x 3 (21).
- 5-6. 21 sc.
- 7. (5 PRS, U) x 3 (18).
- 8. (4 PRS, U) x 3 (15).
- 9. (3 PRS, U) x 3 (12).
- 10-12. 12 sc.
- 13. (1 sc, p) x 6 (18).
Short element:
- 6 sc in the spacecraft.
- P x 6 (12).
- (1 sc, p) x 6 (18).
- 4-5. 18 PRS.
- 6. (4 PRS, U) x 3 (15).
- 7. (3 PRS, U) x 3 (12).
- 8-9. 12 sc.
- 10. (1 sc, p) x 6 (18).
- We leave the fastening thread, connect the fragments and continue working in a circle.
- 11. Full circle.
- 12. Full circle, evenly 6 W.
We finish the SS, leave the thread for attaching the comb.
Body. We turn to black yarn.
- 6 sc in the spacecraft.
- P x 6 (12).
- (1 sc, p) x 6 (18).
- (2 sc, p) x 6 (24).
- (3 sc, p) x 6 (30).
- (4 sc, p) x 6 (36).
- (5 sc, p) x 6 (42).
- 8-11. 42 sc.
- 12.10 sc, (y, 2 sc) x 5, y, 10 sc (36).
- 13.7 sc, (y, 2 sc) x 5, 7 sc (30).
- 14. (3 PRS, U) x 6 (24).
- 15.24 sc.
- We begin to stuff our cockerel.
- 16. (2 PRS, U) x 6 (18).
- 17-19. 18 PRS.
- We finish the SS, leave the thread.
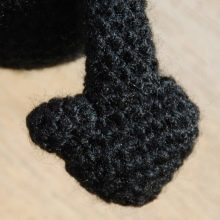
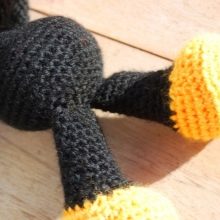
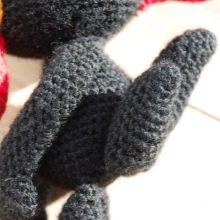
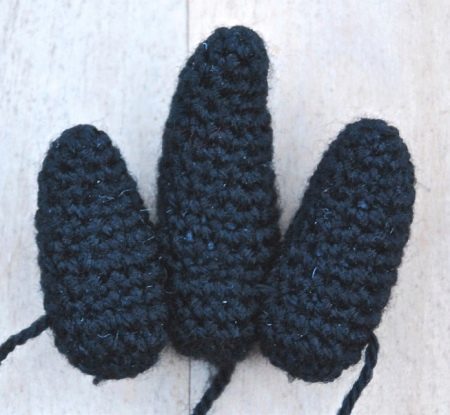
Hands x 2.
- 6 sc in the spacecraft.
- (1 sc, 2 p) x 2 (10).
- (3 sc, 2 p) x 2 (14).
- (4 sc, 3 p) x 2 (20).
- 5-6. 20 sc.
- 7. (4 sc, 3 y) x 2 (14).
- We fill it lightly.
- 8. (3 sc, 2 y) x 2 (10).
- 9. (3 PRS, U) x 2 (8).
- 10-28. 8 sc.
Thumb x 2.
- 4 sc in the spacecraft.
- P x 4 times (8).
- 8 sc.
Legs x 2. Switch to orange.
- 10 VP.
- Starting from the second loop, we knit 7 RLS, 3 RLS in 1 loop, continue on the reverse side of the initial VP — 7 RLS, 3 RLS in one loop (20).
- P, 7 sc, 4 p, sc, p (26).
- 1 sc, p, 7 sc, 2p, 4 sc, 2p, 7 sc, p 1 sc (32).
- 32 sc for the back wall.
- 32 sc.
- 9 RLS, (2U, 1 RLS) x 2 times, 2 Y, 9 RLS (26).
- СБН, У, 1 СБН, 2У, 1 СБН, У, 8 СБН (22 СБН).
- Go to black.
- 9. У, 4 СБН, 2У, 2 СБН, 2У, 4 СБН, У (16).
- 10. У, 4 СБН, 2У, 4 СБН, У (12).
- 11-19. 12 sc.
- We fill it somewhere by half.
Tail. Consists of 3 parts.
- 6 sc in the spacecraft.
- 6 sc.
- (1 sc, p) x 3 (9).
- 9 sc.
- (2 sc, p) x 3 (12).
- 2P, 3 SBN, 2U, 3 SBN (12)
- 7-8. 12 sc.
- 9.2 sc, 2p, 3 sc, 2u, 1 sc (12).
- 10-11. 12 sc.
- 12.3 sc, 2p, 3 sc, 2u (12).
- For a large part, we continue to knit. We finish the little ones at this stage.
- 13-14. 12 sc.
- 15.3 sc, 2p, 3 sc, 2u (12).
- 16.12 sc.
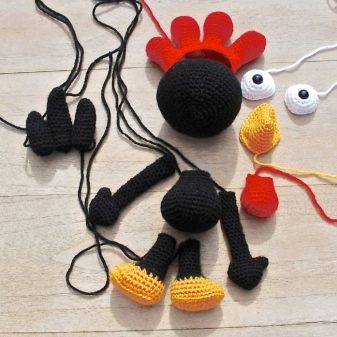
End of all details:
- 12 sc;
- Y x 6 (6).
We connect, stuff. Everything!
Turtle
Materials:
- hook;
- threads for embroidery of the mouth, other small details;
- acrylic or cotton yarn.
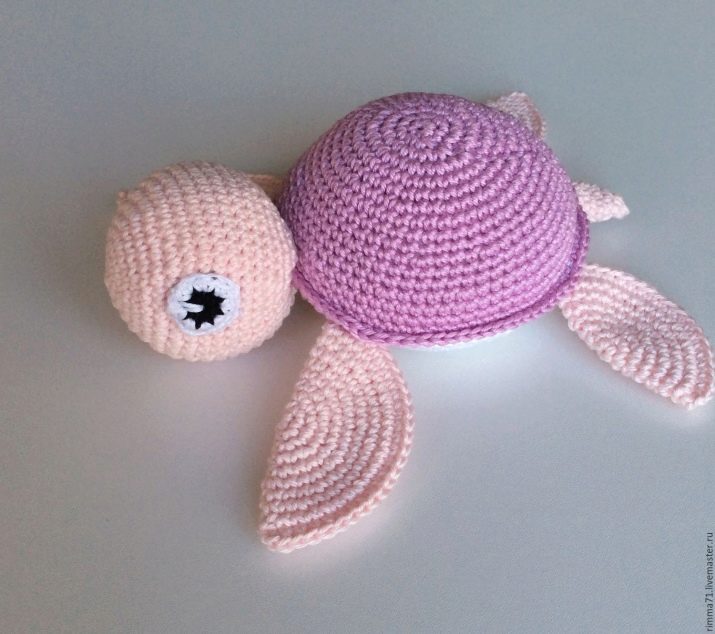
Head.
- 6 sc in spacecraft (6).
- P x 6 (12).
- (1 sc, p) x 6 (18).
- (2 sc, p) x 6 (24).
- (3 sc, p) x 6 (30).
- 6-9. RLS in a circle (30).
- 10. (3 PRS, U) x 6 (24).
- Need to attach the eyes. You can tie them in the same way as the eyes of an owl, making the necessary adjustments in size.
- 11. (2 PRS, U) x 6 (18).
- 12. (1 sc, p) x 6 (12).
- We interrupt to embroider our turtle's mouth.
- 13-14. RLS in a circle (12).
- We leave the thread for attaching the element and stuff the head.
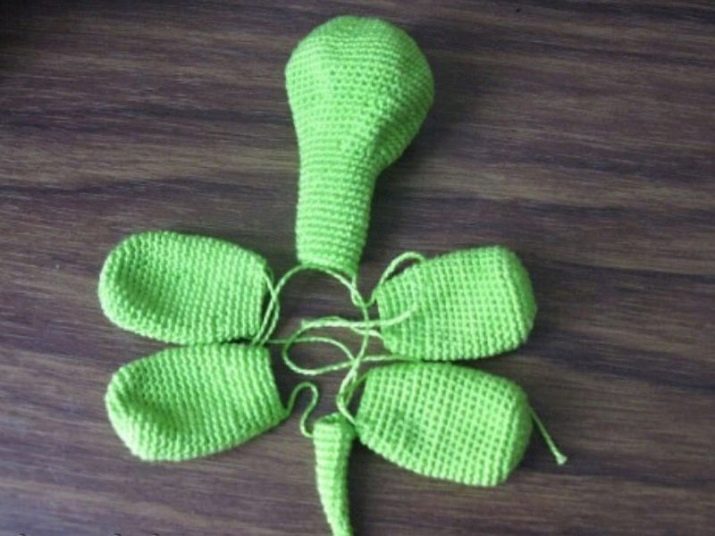
The upper part of the carapace.
- 6 sc in spacecraft (6).
- P x 6 (12).
- (1 sc, p) x 6 (18).
- (2 sc, p) x 6 (24).
- (3 sc, p) x 6 (30).
- (4 sc, p) x 6 (36).
- 7-8. RLS in a circle (36).
- We leave the thread, fill it.
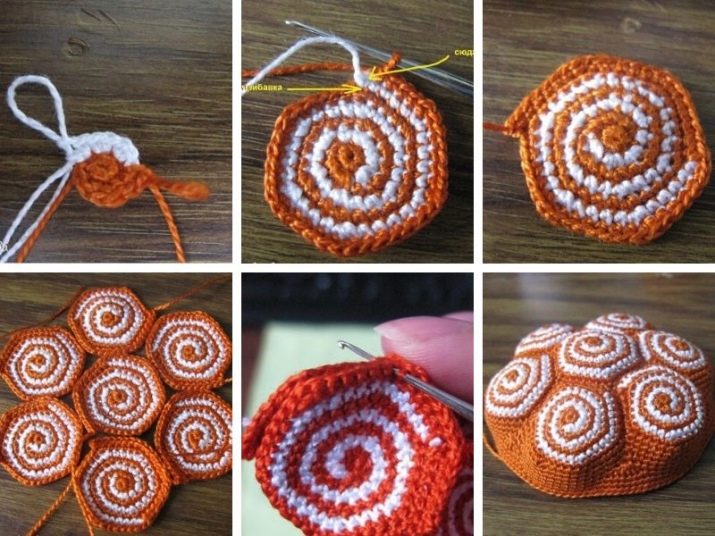
The lower part of the shell.
- 6 sc in spacecraft (6).
- P x 6 times (12).
- (1 sc, p) x 6 (18).
- (2 sc, p) x 6 (24).
- (3 sc, p) x 6 (30).
- (4 sc, p) x 6 (36).
Front fin x2.
- 6 sc in spacecraft (6).
- P x 6 (12).
- (1 sc, p) x 6 (18).
- (2 sc, p) x 6 (24).
- (3 sc, p) x 6 (30).
- RLS in a circle (30).
You do not need to fill the part, but we leave the thread for fastening.
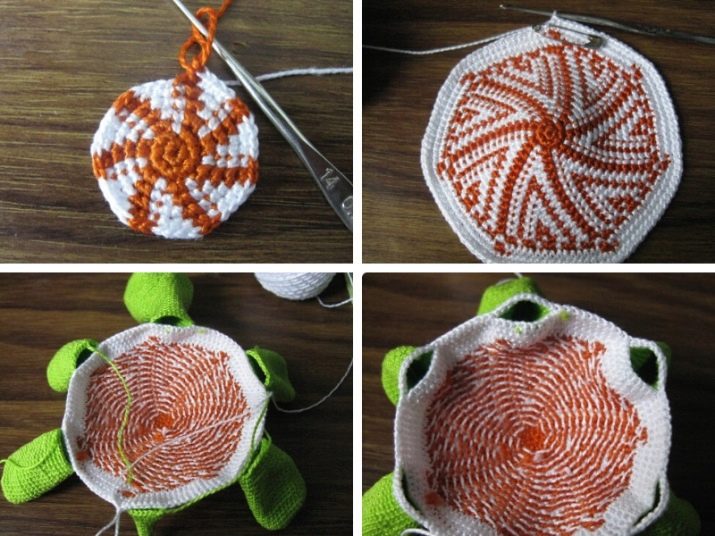
Rear fin x 2.
- 6 sc in spacecraft (6).
- P x 6 (12).
- (1 sc, p) x 6 (18).
- RLS in a circle (18).
As with the front fins, do not stuff. Fold the fins in half, and then either knit at both edges of the RLS or sew along the edge.
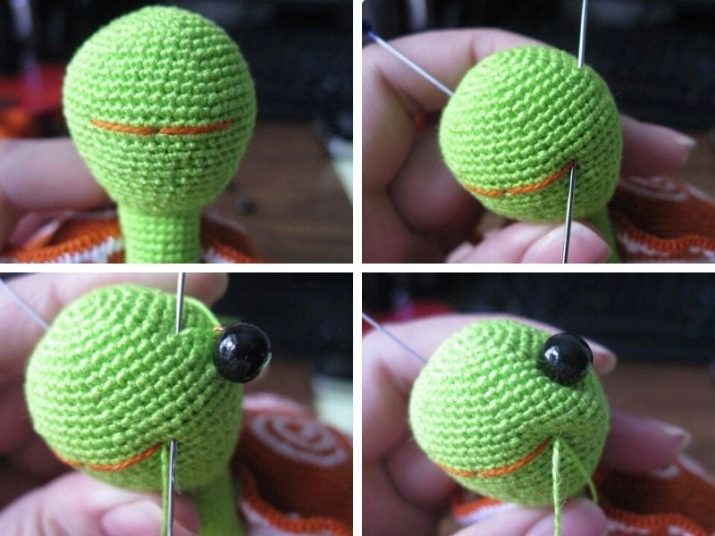
Tail.
- 4 sc in spacecraft (4).
- RLS in a circle (4).
No tail stuffing required. But it's time to connect the parts of our turtle together.

Emoticon
Materials:
- hook # 2;
- embroidery needle;
- yellow downy yarn;
- threads for face embroidery;
- stuffing.
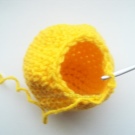
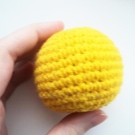
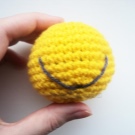
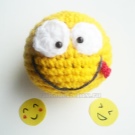
Any of the patterns that we used for round details, for example, for the eyes, will work for the smiley.
You just need to fit it to size.
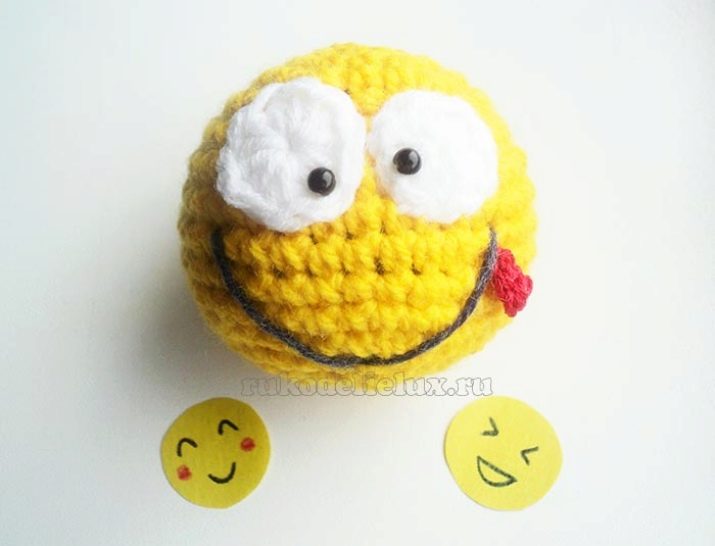
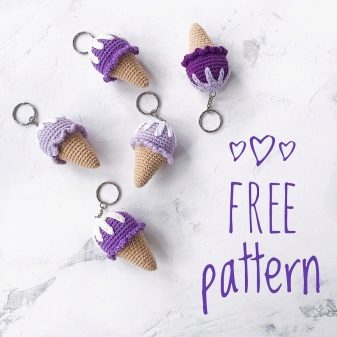
Ice cream keychain
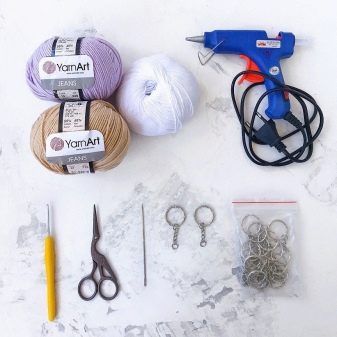
Materials:
- hook 2 mm;
- white yarn;
- beige yarn for the horn;
- pastel or, conversely, the brightest yarn for the "filling";
- keyring ring;
- filler;
- glue gun.
Ice cream.
- 6 sc in the spacecraft.
- (1 sc, p) x 3.
- (2 sc, p) x 3.
- (3 sc, p) x 3.
- 15 sc.
- (4 sc, p) x 3.
- 18 PRS.
- (5 sc, p) x 3.
- 21 sc.
- (6 sc, p) x 3.
- 24 sc.
- (7 sc, p) x 3.
- 27 sc.
- We take a thread of a different color and continue to knit 2 rows, now for the back half loop (14 and 15).
- 14. (2 sc, p) x 9.
- 15.36 sc.
- 16.36 sc.
We act similarly until the 20th row.

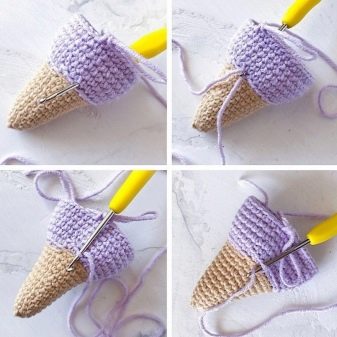
Making the filling.We knit the CA, not forgetting about the thread for fastening.
- 6 sc in the spacecraft.
- 6 P.
- (1 sc, p) x 6.
- We fasten the filling in the middle, bring the thread to the center and fasten the fittings.
- We attach the thread. We tie the bottom of the front half loop (filling): (1 RLS, 2 VP) and repeat so until we complete the row. We withdraw the thread in columns, we tie the ends.
- 21. (4 PRS, U) x 6.
- 22. (3 PRS, U) x 6.
- 23. (2 sc, u) x 6.
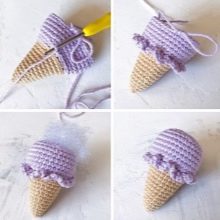
- We stuff the toy.
- 24. (1 sc, u) x 6.
- 25.6 W.
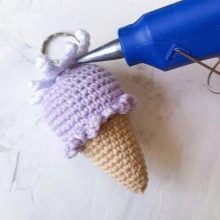
- We hide the thread, use a glue gun to fix the filling to the end.

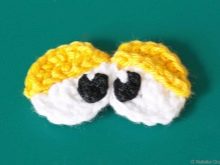
Smesharik
You will need:
- hook # 2;
- the hook is smaller than the main one;
- yellow, brown, orange, white and black cotton yarn;
- filler;
- wire.
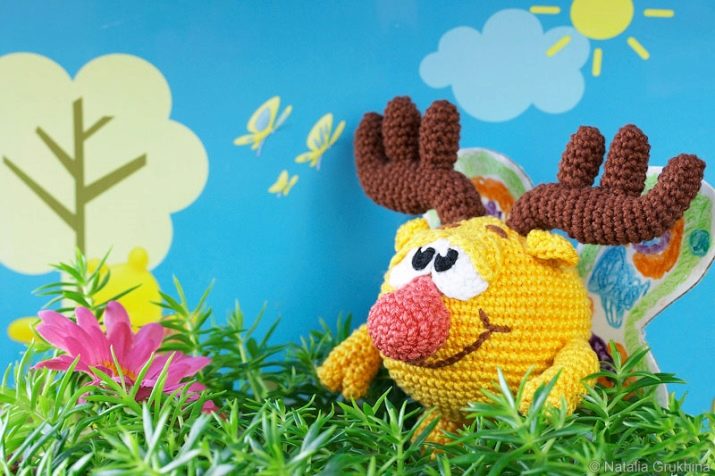
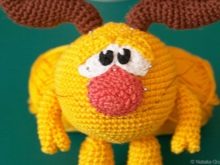
In this scheme, Losyash will be an example, but all Smeshariki have one common feature - they are round. So we knit the body of our Losyash in the same pattern as any round piece.
It won't be difficult to tie your nose and eyes if you've done it before.
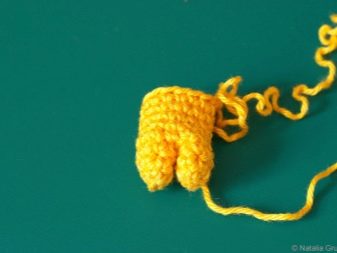
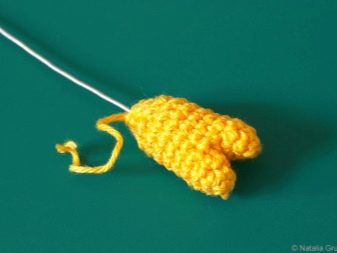
Legs.
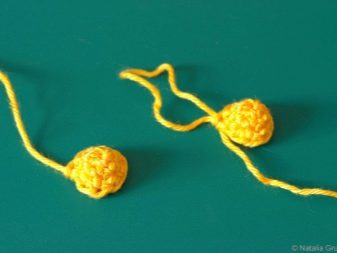
- Yellow thread 2 VP. Close in a ring. 6 STB (= 6 STB). We continue to knit in a circle.
- P, 2 STB x 2 (= 8 STB).
- P, 3 STB x 2 (= 10 STB).
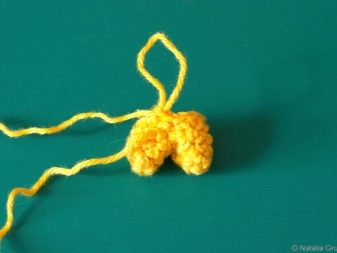
We break off the thread, leaving the tip for fastening. We make one more detail of the same. We do not break the thread in the second part. We connect the parts (4 STB). Next, we knit in a circle, taking the thread from the second part, 5 circular rows.
We wrap the wire with filler, wrap it with a thread and insert it into Losyash's leg. We make 2 circular rows, where we alternate U and STB.
Hands.
- Yellow thread 2 VP. Close in a ring. 6 STB. (= 6 STB) We continue to knit in a circle.
- P, 2 STB x 2 (= 8 STB).
We make the second part, we connect it according to the same principle as the legs, but we make 3 STB. We knit 7 rows in a circle (12 STB). We insert the wire frame.
We complete the arms by analogy with the legs.
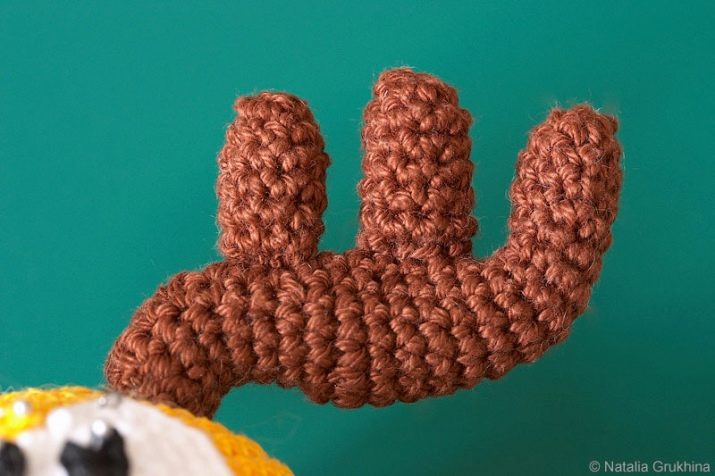
Horns.
Each Losyash horn will consist of 2 short and 1 long fragments.
Long detail. We work with brown yarn.
- Close 2 VP in a ring. 5 STB. (= 5 STB).
- P x 5 (= 10 STB).
- 3-7. No change (= 10 STB).
- 8.P, 9 STB. (= 11 STB).
- 9.P, 10 STB. (= 12 STB).
- 10. P, 11 STB. (= 13 STB).
- 11. P, 12 STB. (= 14 STB).
- 12. P, 13 STB. (= 15 STB).
- 13-14. No changes (= 15 STB).
- We insert a wire frame (15-17cm) into the horns.
- 15.5 STB, U, U, 6 STB. (= 13 STB).
- 16. U, 11 STB. (= 12 STB).
- 17-18. No changes (= 12 STB).
- 19-22. No changes, except that 3 tbsp. on the one hand, it is necessary to perform the PSN.
Short piece x 2.
- Close 2 VP in a ring. 5 STB. (= 5 STB).
- 5 P (= 10 STB).
- 3-7. No change (= 10 STB).
We fill in short parts and, having connected all parts of the horns, we bend the frame as required.
Ears x 2. We work with yellow yarn.
- 4 VP, 1 STB in the second loop from the hook, 1 STB, 3 STB in one loop, unfold the part and continue clockwise, 1 STB, 1 STB into the initial loop (= 8 STB).
- P, 1 STB, 3 P, 1 STB, 2 P (= 14 st.).
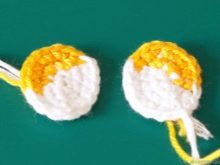
Putting the details together, decorating the Smesharik's face. Ready!
Useful Tips
To make matters argue, and your mini-animals come out no worse than those of the masters, according to whose schemes you work, it is worth following a number of simple rules that are easy to remember.
- Don't try to repeat complex patterns right away. Start with simple, few elements, and build up the complexity gradually.
- Do not forget to knit on both sides of the loop, otherwise ugly scars will appear on the doll.
- remember, that after 2-3 rows it is necessary to turn the product out and start knitting clockwise, not counterclockwise. The starting thread remains inside the toy.
- Try not to skip the loop in the decrease. The thread is threaded through both loops, and they are knitted together. Otherwise, the doll will come out full of holes.
- Do not be afraid to dissolveif you didn't notice the error right away. The time spent will be reimbursed by a figure pleasing to the eye.
You can watch the amigurumi master class for beginners in the next video.


