How to make an amigurumi dragon?
The amigurumi dragon is not just a funny toy or symbol of the year, but also an ancient powerful patron revered in Asian countries. It is not surprising that master classes on creating such fabulous creatures are very popular. Detailed diagrams and descriptions of crocheting a Chinese dragon, Toothless toys and other characters will help you to make them yourself.
Peculiarities
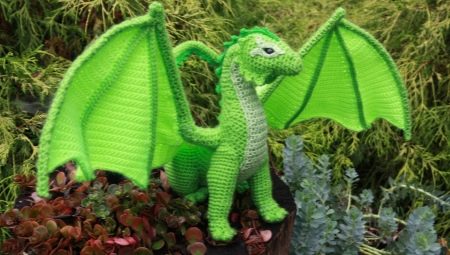
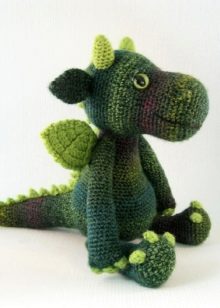
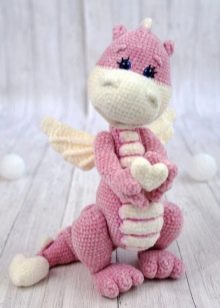
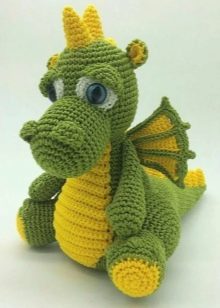
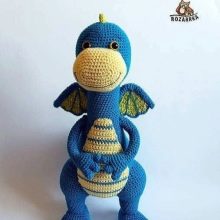
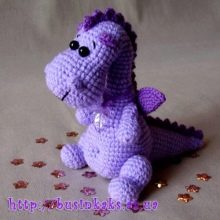
Crocheted toys in a circle have gained popularity in dozens of countries around the world. The amigurumi dragon is no exception. This character has a number of characteristic features: large expressive eyes, a reptile's tail, a comb on the back. In the tradition of amigurumi, such toys are not scary at all, rather they are cute and funny, they look very attractive.
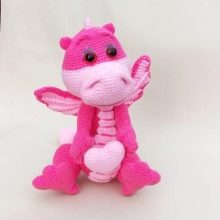
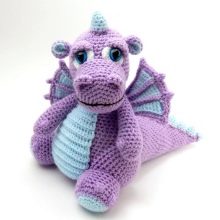
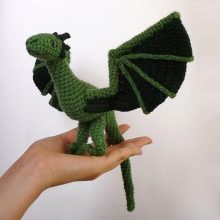
Another must-see detail in the form of an amigurumi dragon is the wings, which can be either gigantic or miniature. The Chinese versions also emphasize the nostril area. They can be two-color or one-color. Toys are always knitted from smooth yarn - it is better to leave bulky and terry options for other products.
For the rest, general rules must be followed: the head is made larger than the body, and the product itself should be no higher than 40 cm.
Tools and materials
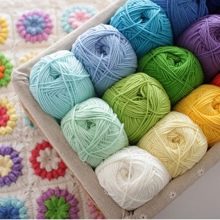
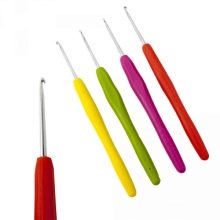
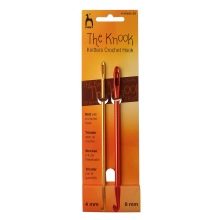
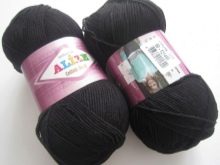
Crocheting dragons using the amigurumi technique requires a fairly standard set of materials. When working with ordinary acrylic or woolen yarn, it is better to choose a hook among No. 2-2.5. If the threads are plush or marshmallow, you need # 4-6. In general, it is worth focusing on the thickness of the material itself. Very small dragons are knitted from Iris-type threads.
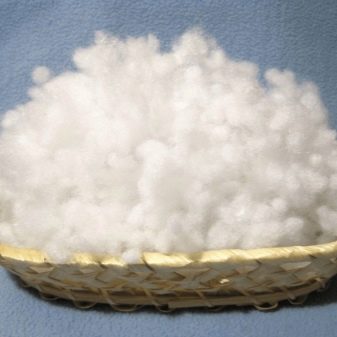
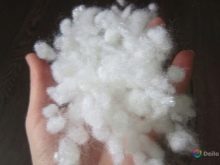
Holofiber, synthetic winterizer or synthetic winterizer are well suited for filling the product. They do not crawl out even with dense packing, they are evenly distributed.Large toys are additionally supplied with weighting materials - glass balls, which allow balancing a massive product. Sometimes there is a recommendation for stuffing amigurumi figurines with cereals: this is not worth doing, such a filler cannot be washed, and if it is damaged, the product will pose a biological hazard.

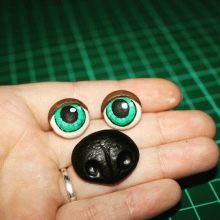
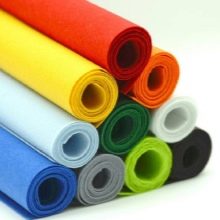
Eyes and noses are sold ready-made today, but you can replace them with beads or embroidery. In the case of dragons, bits and pieces of felt work well for the face. The set of tools should be supplemented with needles and scissors. They will come in handy when assembling the product.
Knitting technique
In order to knit a Chinese (oriental) dragon amigurumi or a popular toy Toothless from a cartoon with your own hands, it is enough to choose a suitable master class with diagrams and a description of the order of work. A detailed listing of all the steps will make it easy to master unfamiliar work techniques.
Knitted products for beginners are best chosen among the simplest options.

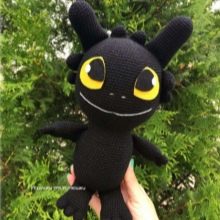
Dragon Toothless
This popular cartoon character has won the hearts of children and adults alike. The desire to crochet it with your own hands is understandable for an experienced needlewoman. To make a toy you will need:
- black yarn Alize Cotton Gold or similar;
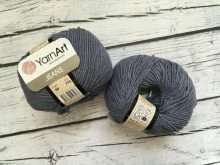
- gray thread - you can take YarnArt Jeans, for the mouth and nostrils;
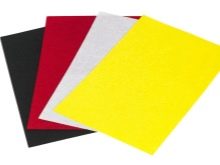
- yellow, white, pink and black felt;
- synthetic fluff or holofiber filler;
- hook number 2.25;
- thermal gun or transparent second glue.
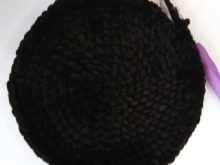
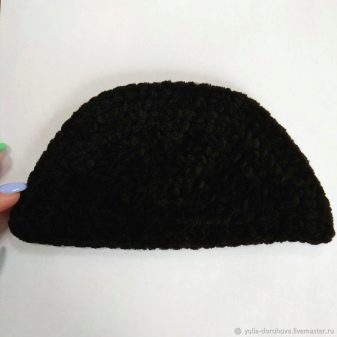
The head and body of Toothless are formed into one piece, they do not need to be sewn on. For the manufacture of these parts, black (base) yarn is taken. The order of work will be as follows.
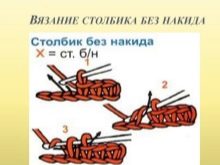
- Create a 6 single crochet amigurumi ring.
- In rows 2 and 3, add 6 loops each.
- On the 4th circle, 1 and the last column are knitted without a crochet, the rest with an increase after 2 - only 5 times. There should be 24 loops.
- On the 5th row, 6 loops are added evenly.
- On the 6th circle, the following pattern is introduced: the first 2 and the last 2 loops are knitted as usual. 3 - an increase, then 5 times the loops are added with a pass through 4 columns.
- On the 7th row, 6 more loops arrive. The total should reach 42.
- On the 8th row, at the beginning and at the end, 3 single crochets are knitted. Between them - an increase of 6 loops, as usual, an increase - so 5 times.
- On 9, 11, 13, 15 rows, 6 loops are added.
- For 10, 5 columns are knitted at the beginning and end. Between them, an increase is alternated 5 times, 8 loops and 1 more additional. There should be a total of 60 columns.
- On the 12th row, there is a further increase. There should be 5 single crochets at the beginning and end. Between them 5 times, 2 increments with an interval of 10 loops.
- On the 14th row, at the beginning and at the end there are 6 single crochets. Between them, 2 increments with an interval of 12 loops, repeated 5 times. The total number reaches 84 columns.
- On the 16th row, the last increase is made. At the beginning and end of the circle, 7 single crochet are placed. Between them 5 times, 2 increments with an interval of 14 loops.
- From 17 to 36, the row is knitted in 96 columns without changes.
- From row 37, a decrease begins in the reverse order, similar to the previous scheme, evenly, 6 columns each. By the 47th circle of loops there should be 36. It is knitted without change, the head is stuffed.
- In 48, 50.52 rows, an increase of 6 loops is made. At 49, 51, the same amount is added, evenly, but with an indent at the beginning and end of 3 and 4 columns, respectively. The increase occurs through an equal number of loops.
- From 53 to 71 row, the main part of the body is knitted without changes. There will be 66 loops in each.
- From the 72nd row, a decrease in 6 loops begins.
- On the 73rd circle, at the beginning and at the end, 4 single crochets are knitted. Then 6 loops are evenly reduced.
- On rows 74 and 76, 6 columns are removed.
- On circle 75, the number of loops decreases with indentation. The first and last 3 are knitted in single crochet, then evenly reduced. After the torso is stuffed.
- From 77 to 80 rows, the decrease continues in 6 columns until there are 12 loops left. The stuffing is completed.The last row is closed in a ring of 6 loops, the thread is pulled together and fixed.
Next, you need to tie the paws.
The bottom pair starts with 3 toes. Each of the amigurumi rings with 6 single crochets, in the 2nd row there is an increase of 3 loops, then 2 more circles are made without changes. No need to stuff. The thread is not cut for 3 parts, knitting continues, uniting all the elements.
From the 5th row, 4 columns are knitted without a crochet for 2 fingers, 9 for the third, again along the middle 5 and 1 further 9 loops. There will be 27 of them in total. Then the foot itself is formed. From 6 to 8 rows unchanged, on rounds 9 and 16, decrease by 3 loops. There is no need to decrease from 10 to 15.
From 17 to 20 rows are knitted in 21 loops, the foot is not tightly packed. The part folds in half. Knit 10 single crochet stitches on both sides. The end of the thread is left for sewing. Connect the finished paws to the body.

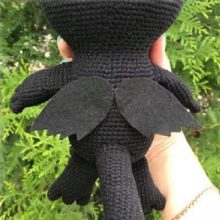
The top pair on the fingers is knitted in 3 rows of 6 single crochet from the amigurumi ring. Then they are all connected by a common row - a total of 18 loops will turn out. In 5 there are the same number, on the 6th circle 3 loops are added. From 7 to 13, the row is knitted by 21 columns without increasing. 3 loops are reduced by 14.
From 15 to 19 rows, the number of columns does not change. Details are stuffing. Fold in half, knit over the edge of the product in 9 loops. Sew on with the remaining thread.
The tail is knitted from the amigurumi ring in 6 loops, 6 columns are added on rows 2 and 3. From 4th to 29th circle, their number - 18 pieces, remains unchanged. The tail does not fill very tightly, and is decorated with a pink felt tassel at the end. Sewn on.
It remains to decorate the dragon with eyes - they are collected from black, yellow and white felt, to embroider the nose and mouth. If you wish, you can knit or cut out decorative spikes for the head and wings for the back of the amigurumi dragon from felt. The toy is ready.

For information on how to make an amigurumi dragon from plush yarn, see the next video.


