How to make amigurumi from plush yarn?
Amigurumi toys made of plush yarn are decorative and attractive. This type of thread is distinguished by its increased volume, it is more difficult to achieve the desired density of rows with it, therefore they are mainly suitable for experienced needlewomen, but beginners may well try themselves in working with such material. It is enough to carefully study the patterns of crocheting plush toys, and then follow the instructions exactly.
Choice of materials
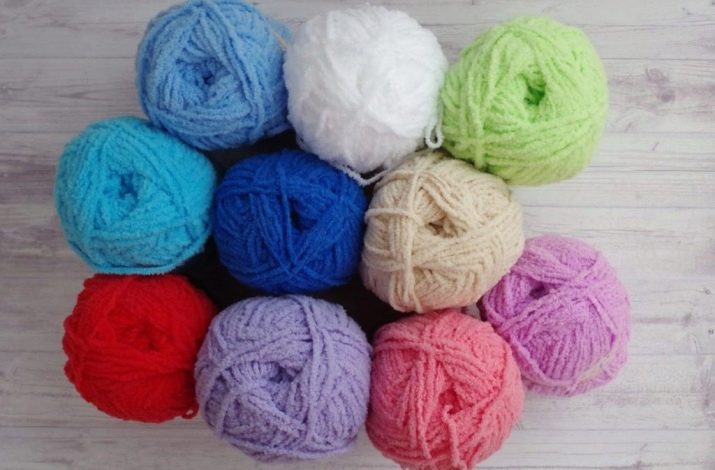
Plush yarn is also called marshmallow for its volume and airiness. Indeed, products made from this material are very attractive in appearance. The material itself is a thick thread with a silky bristle sheath. The base is synthetic, it lends itself well to coloring - the color range allows you to choose not only tones, but also the subtlest shades to create magnificent toys and whole compositions from them. All plush yarn is made from micropolyester - a hypoallergenic artificial fiber, completely safe even for babies, easy to care for and durable enough.
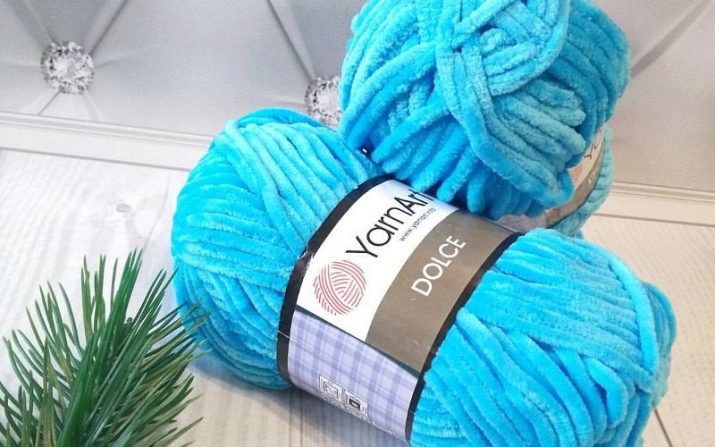
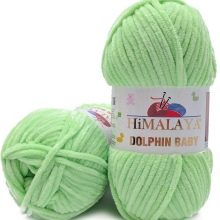
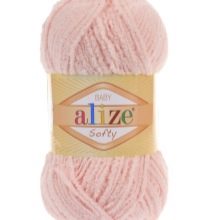
As for the choice of brands, everything is individual here. Plush yarn Dolce by YarnArt more suitable for experienced craftswomen, since it crumbles heavily. The brands IRIS, Sofia, Alize Baby Soft, Himalaya Dolphyn Baby received good recommendations. "Alize" is perfect for beginners - the threads can be loosened, they do not crumble, they allow you to experiment with the shape of the product.
In addition, the finished work from such yarn does not look knitted at all with a sufficient density of rows.
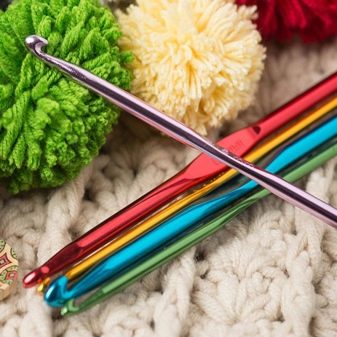
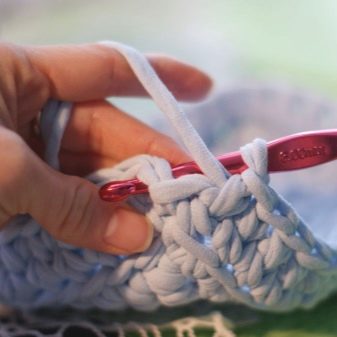
A hook for working with marshmallow threads needs a fairly thick one, especially if they are folded in half during knitting. It is worth considering numbers at least 3-6, depending on the specific product. It is better to choose holofiber or synthetic fluff as a filler. They are quite elastic, keep their shape well.

Knitting technology
There are general rules to follow when knitting plush yarn amigurumi toys. Whatever schemes and master classes are chosen to create a product, the following recommendations will be relevant for both beginners and experienced craftsmen.
- Plush tied things do not dissolve. If the warp has been damaged, the villi crumble, leaving only the central thread, much more rigid and thin. You can dissolve the product 1 time, but very carefully - no more than a row.
- It is better to fasten parts made of marshmallow yarn with a thick needle and acrylic or woolen threads. A floss and a thin needle are used to embroider the muzzle. If you sew a toy with plush thread, it can crumble over time due to the fragile seam.
- When crocheting, some types of yarn lose pile quite abundantly. For beginners, this feature of plush thread products can be a serious problem. You can avoid it by creating 2 air loops in front of the amigurumi ring and in the 2nd loop by tying a chain without a crochet. When tightening, the pile will not be lost, the hole will close well.
Given these points, you can go directly to knitting. Moreover, toys from threads with a plush texture are very beautiful and pleasant to the touch.
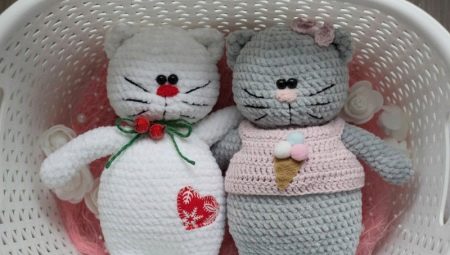
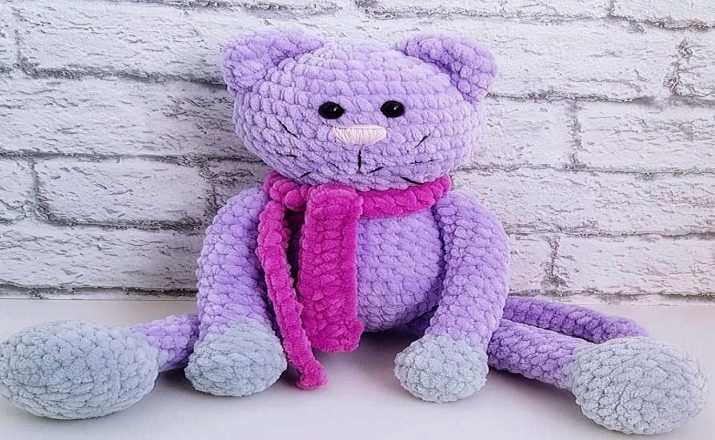
Big cat in a scarf
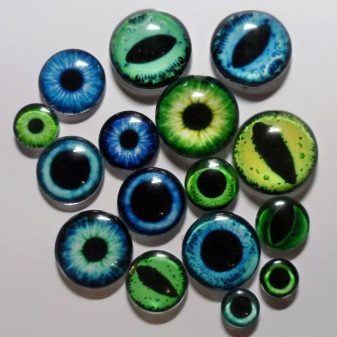
For making a large, handsome 34 cm tall cat wearing a fashionable scarf you will need 1 skein of Alize Baby Soft or Himalaya Dolphin Baby plush yarn for the body and head, 1/2 part of the thread (about 25 g) in a contrasting shade for the legs... Crochet hook number 4 is useful for knitting. Acrylic or woolen yarn is taken for the scarf and embroidery of the muzzle. It is also worth purchasing filler and ready-made eyes that have a secure attachment.

The order of work step by step looks like this.
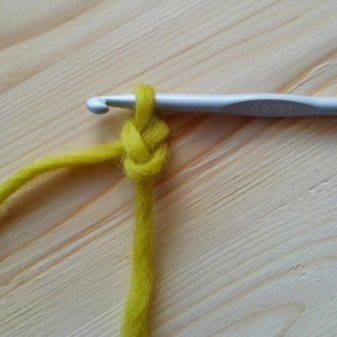
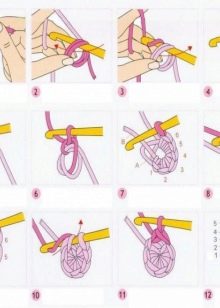
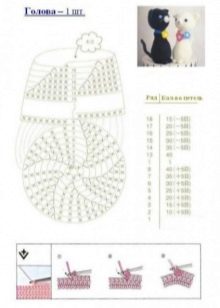
- The head fits. Collecting an amigurumi ring of 6 single crochet.
- Loops are added from rows 2 to 7. On each circle 6 - so that in the end there are 42 columns. In front of the 7th row, eyes are inserted. They are placed in the center of the muzzle with a distance of 1 loop.
- 8-11 rows are knitted without an increase.
- From 12 to 15, 6 loops per row are reduced. There will be 18 loops in total. The part is stuffed, tightened.
- The ears are knitted from the amigurumi ring with an increase of 6 loops in the 2nd and 3rd rows. The fourth fits entirely. Finished ears are sewn on the sides of the head obliquely from row 2 to row 7.
The body and lower legs are knitted entirely. On the 11th row, the threads change to background, from the beginning of the formation of the ring they are contrasting. The order will be like this.
- 6 single crochet stitches are knitted into an amigurumi ring.
- From 2 to 4 rows, there is an increase in 6 loops at equal intervals.
- The 5th circle is knitted in 24 columns behind the back wall. 6 in the same way, but behind the front of the loop.
- On rows 7 and 8, 6 loops are reduced. By 9, there are only 12 of them, there is no need to reduce the number. On row 10, the first and last loops are reduced. The part is packed tightly.
- Then the background color is used, the threads are changed. From 11 to 23 rows, the knitting pattern is as follows: 10 single crochet + connecting. Then the thread is tightened, cut off. 2 parts are made according to the same scheme. It is not necessary to cut the end of the yarn on it, the connection is made.
- On the 24th row, 4 air loops are knitted. Details are connected by 1 single crochet in a connecting one. Then a combination of 2 RLS + an increase is repeated three times. The single crochet is knitted again in the connecting one and 3 times in 2 RLS with the addition of 1 loop. It remains to knit RLS again in the SS, go through 4 more air loops and start a new row.
- If done correctly, there will be 36 stitches in round 25. This number is kept for 7 laps in a row.
- On row 32, a decrease is made by 6 loops. The next 2 are fully knitted.
- On the 35th row, again, a decrease of 6 loops. 36 and 37 do not decrease.
- On row 38, the last decrease is made by 6 columns, the part is stuffed. The last circle of 18 stitches is knitted. The body is ready.

The upper legs begin to knit in a contrasting color. It is necessary to make an amigurumi ring of 6 single crochet, add another 6 loops in 2 and 3 rows. There will be 18 loops in 4, no decrease.The 5th row is reduced by 6 loops, in the 6th circle 12 columns are knitted completely. At 7, there is a decrease in the first and last, the parts are stuffed with a strong seal.
Then the threads change to background, from 8 to 20 rows are knitted 10 single crochet stitches. This part of the part is packed quite a bit. On row 21, 5 loops are reduced, the hole is closed. Finished legs are sewn to the body. The tail for a plush cat is knitted from an amigurumi ring in 6 columns over 20 rows, when closed, it folds in half. No padding required. You can secure it in place.
A scarf for decoration can be chosen in any color. A chain of 75 air loops is recruited. Knitting begins with the 3rd loop from the hook, and CCHs are knitted to the end. All that remains is to tie a scarf, embroider a nose, mustache and a smile. The plush yarn cat is ready.
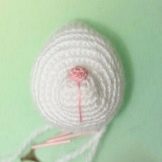
Miniature bunny
It can be knitted from yarn of the most delicate tones - pink, blue, beige. For work, hook No. 5 and stuffing, ready-made eyes or beads, floss for embroidery of the muzzle are useful. The order of work will be as follows.
- Knitting begins with the legs. 2 parts are created from an amigurumi ring with the addition of 3 loops in the 2nd row and 6 in the third. Then 15 single crochet stitches are knitted 7 times. The finished parts are connected by air loops, 3 on each side. You should get a closed ring of 36 single crochets.
- Then 4 loops are added. 6 rows are knitted by 40 columns without changing their number. Then there is a decrease in 2 loops until there are 34 of them. This number remains 2 more times.
- The legs of the toy are knitted. 2 parts from the amigurumi ring with an increase of 2 loops on the 2nd row and in 1 - on the third. Then there is 1 decrease, another 3 circles are knitted in 8 columns. Then 3 rows of 7 loops. Finished paws are knitted into a common fabric on the sides.
- The next row consists of 36 loops. Then there is a decrease by 6,4,4,6 and 2 columns until there are no 14. From this place the head is tied.
- In the 1st row from the neck there is an increase of 4 columns, then 2 times 6 and 1 10 per row. This is the widest part of the toy. 40 stitches each knit 3 rows.
- Ears are knitted. For them, you need a 6-loop amigurumi ring. In the 2nd row, there is an increase by 2, in the third by 8 columns, then by another 4 in the fourth. Then 9 rows are knitted by 20 loops, 6 circles by 16 and 3 by 8. The finished parts are connected to the head.
- Continuing knitting in a circle, we knit 36 double crochets. In the next row, there is a decrease by 12. Then the circle decreases by 8 loops, the last one by 8 more, tightens and fixes.
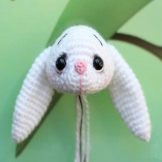
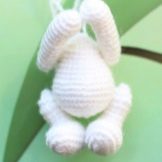
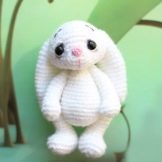
The bunny is almost ready. You just need to glue the eyes and embroider his face.
Beautiful examples
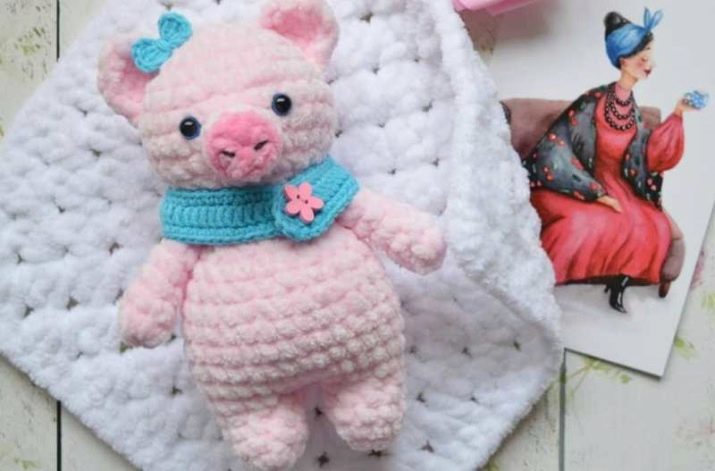
The adorable marshmallow pig is asking for your hands. The padded blanket supplement allows you to offer your child the opportunity to swaddle or wrap a plush friend while sleeping together.
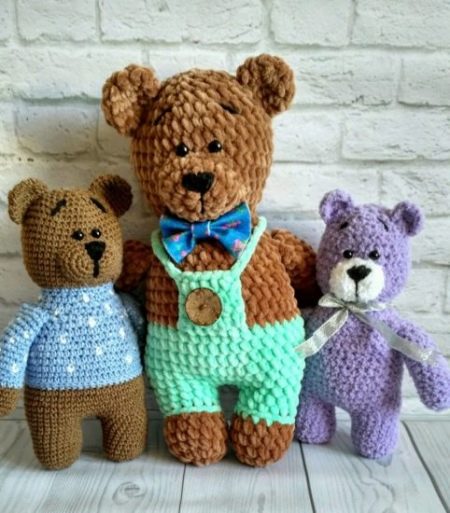
The difference in textures is clearly shown here. A large bear made of bulky plush yarn looks much more spectacular than its counterparts made of simple woolen or acrylic threads.
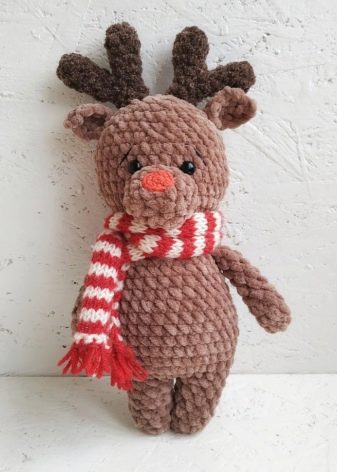
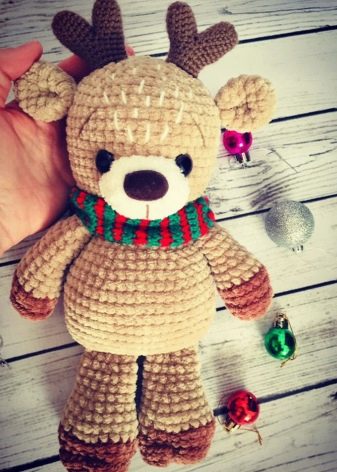
Small children are delighted with plush-textured toys. Such a deer can be designated as the main supplier of Christmas miracles and New Year's joys.
For information on how to knit an amigurumi ring from plush yarn, see the next video.


