How to tie an amigurumi lion?
Amigurumi is a popular Japanese art of knitting or crocheting. This technique is often used to make small animal toys. Today we will talk about how to make such a product so that you end up with a lion cub Simba.
Peculiarities
Amigurumi lion can be easily done using hook and yarn... Most often, when creating such figures, they first knit their individual elements, and at the end they are all sewn together into a single product.
Various additional elements (eyes, mustache, nose) are most often made using ready-made parts (beads, pearls, artificial decorative stones). But some of these components can also be linked.
Tools and materials
Before you start knitting an amigurumi lion, you need to prepare all the necessary elements.
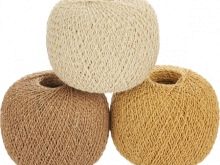
- Yarn... Better to get all the colors you need right away. You should not choose too thick types of such material, otherwise it will be difficult to work with it. To make a toy in the shape of a lion, you will need threads of yellow, terracotta, white, brown colors.
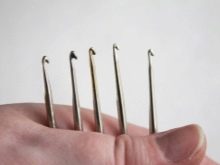
- Hook... The most commonly used tool is 2.0 millimeters.
- Fabric scissors... They will be convenient for cutting the buckle. In addition, it is imperative to prepare threads to match the color of the material and needles. It is better to choose a long needle with a large eye, it will be needed in order to make a tightening and thread fastening. You also need to prepare a small needle for sewing together the individual parts of the toy.
- Beads... They will be needed for the eyes and nose. It is better to choose such details in black.
- Filler... Without it, the toy will turn out to be flat and ugly. Most often, holofiber or synthetic fluff is used as a filler.
When using all of the above materials and with an average knitting density, the total length of the product will be about 15 centimeters.
If you make the amigurumi more dense, then the size of the finished toy will be much smaller.

Knitting technology
Currently, there are various step-by-step master classes and schemes, thanks to which almost anyone can make a toy according to detailed descriptions using the amigurumi technique.
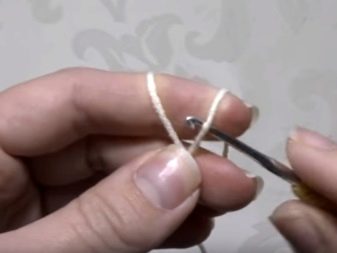
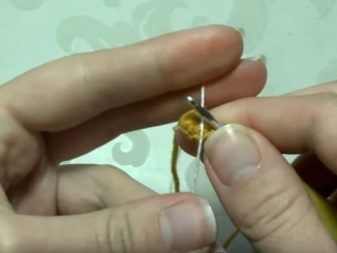
It is recommended to start knitting from the head. To do this, you should take a white thread.
Cast on five stitches and start at the second stitch from the crochet hook. First, make an increase, and then 2 simple single crochets and 3 single crochets (RLS) in one loop. At the end, make 2 sc (10). Thus, we should get the first row of the head.
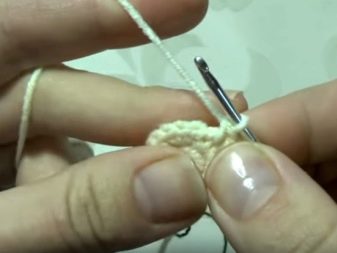
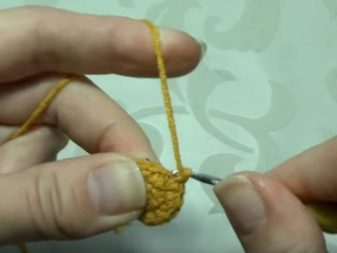
Second row starts with two increments and 2 sc. To continue knitting, you need to make 3 more increments (PR), repeat 2 RLS, PR (16).
Third row head starts with (1 PRS, OL) 2 times. Then it is done again 2 RLS, (1 RLS, PR) 3 times, PR 22. After that, you should go to 4-6 rows, for this they do 22 RLS (22). As a result, the head of the future lion will be completely ready.
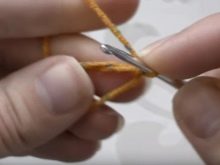
All the resulting threads are carefully cut and secured so that they do not bloom.
On the longest part of the part, you should mark the middle five loops. After that, the workpiece is laid aside.
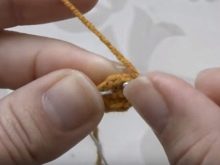
Recommended immediately start shaping the top of the spout... To make it, it is better to take yellow yarn and dial six air loops, while leaving the longest end of the thread, since it is with its help that the part will be sewn to the muzzle.
Knit from the second loop. You need to make only 5 single crochet, an air loop, later you should turn it over and continue working by doing 5 RLS again. The resulting part is tied with RLS on three sides. The resulting detail is immediately sewn to the lion's face. Do this to the place where five marks were previously made. So do seventh row on the face, which consists of 5 RLS (while these elements are connected) and 17 RLS (22). Work 14 stitches of offset. Thus, this place will become the starting point for a new row, it should be located under the muzzle. The spout itself is sewn using the left end of the thread.
After that, rows from 8 to 19 are performed... They are done in the same way as the previous rows, but each new strip should be slightly larger than the previous one. Through the remaining hole, the head can be immediately filled with a special filler. The hole is tightened as much as possible and carefully sewn up.

After that, you can start creating the ears. The first row of this element consists of six RLS in the amigurumi ring (6), the second row is made using 6 increments (12). Rows 3 to 4 knit, making 12 sc (12).
After the ears are shaped, you can start creating the lion's paws. You need to start with the first row, consisting of 6 single crochets in the amigurumi ring. The second row can be done by tying PR 6 times (12), row 3 consists of (1 PRS, PR) 6 times (18). The rest of the rows should be knitted in the same order; you can make long legs to make the toy look more original.
At the same time, you can start knitting. the body of a lion. For this, yellow yarn is also used. The first row of this part includes 6 SNBs with an amigurumi ring (6), the second row should consist of PR 6 times (12). To make the third row, knit (1 PRS, PR) 6 times (18). Thus, you need to make the entire body of the animal.
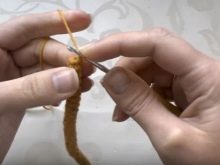
In the end you need to tie lion's tail. First, cast on 15 air loops of the same yellow color. The thread is neatly cut, but a small end of the thread should be left for further sewing on the rest of the details. Prepare ten pieces of terracotta yarn in advance... They should be eight centimeters long. They need to be folded in half and take a hook with a larger diameter (4 or 5 millimeters).A chain is threaded through the first loop and fastened. The brush should be trimmed slightly.
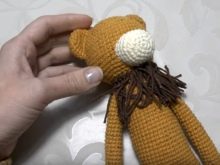
The final stage is the assembly of ready-made individual elements.... First, you should attach the eyes to the muzzle. In this case, it is better to use medium-sized black beads. When connected, they will go a little deeper.
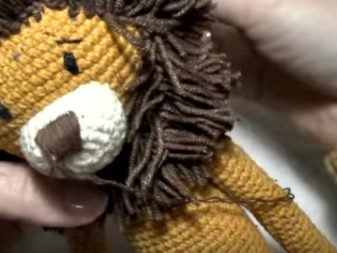
Lion nose additionally you can embroider with brown thread. After that, you should make the eyebrows and mouth with the same yarn. Ears it is better to sew to the head between 17 and 18 row. Head and tail neatly attached to the body.
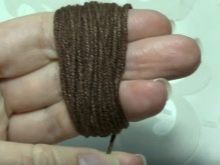
At the end to the workpiece attach paws... To make a mane, you need to prepare cuts of terracotta yarn. The length of each of them should be about 9-10 centimeters.
The segments are wound on the index and middle fingers, and then cut in the middle. These strips are attached to each row of the lion's head (you need to start with row 15).
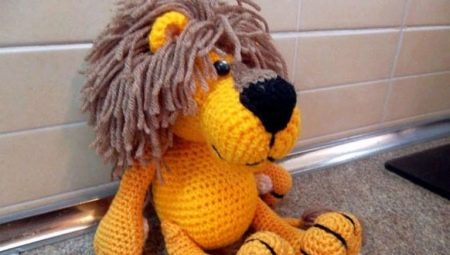
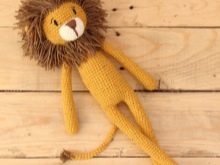
When the head of the toy is fully formed, you can trim the ends of the yarn from which the mane was made a little. If you want it to be as lush as possible, you can use a thin needle to slightly delaminate each piece of yarn. As a result, you get a toy in the form of a long-legged lion cub, similar to the cartoon character Simba.
See the video for a master class on knitting an amigurumi lion cub.


