How to crochet a cow using the amigurumi technique?
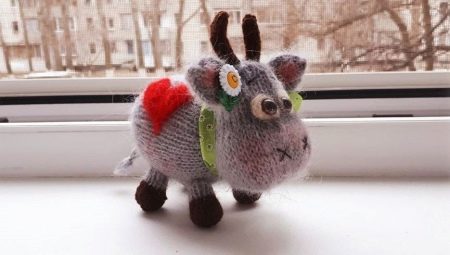
Plush crocheted amigurumi cows look very cute. You just want to hug them, and from one glance at the toy, a smile immediately appears on your face. Moreover, small bright cows look best. The use of a variety of colors adds charm to any cow. In order to independently knit a dairy beauty, you need to choose the master class you like, and also prepare the necessary tools.
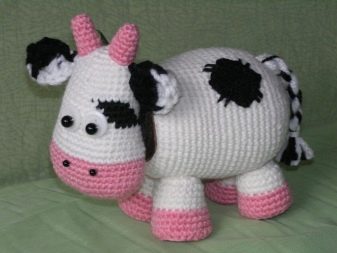
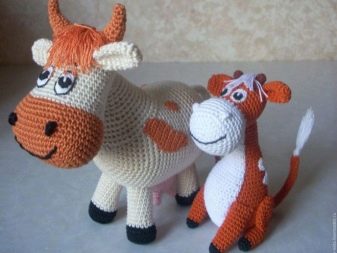
What is required?
The first thing to start with is choosing the cow you like. It is important that there is a detailed diagram for it. It is precisely by strictly following it that you can create the toy you like.
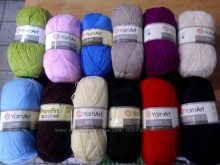
Next, you should pick up the yarn. Suitable for both pure cotton and cotton and polyacrylic. As for the colors, everything here rests solely on the fantasy of the master. It is desirable that there are at least three colors. The thickness of the threads should also be chosen based on your own preferences.
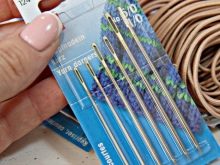
Most often, knitted cows are small, so it is better to choose hooks No. 2, 3 or 4. In this case, you must take into account the selected yarn.
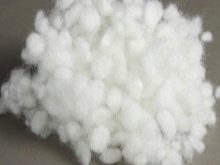
To make the toy voluminous, you should use a filler. You can stuff a cow with padding polyester, cotton wool, siliconized down, komorel, shreds or wool. Any of these options will be pleasant to the touch and will be able to keep in shape.
Toy black eyes can be chosen at your discretion. And the same both small versions with a diameter of 5-6 millimeters look good, as well as very large ones.
Work description
A cow is crocheted in parts, and then they are connected by sewing or knitting. For each element of the toy there is an exact scheme, according to which it is quite easy to knit an amigurumi ladybird yourself.
Usually, knitting starts from the head. To do this, six loops are typed into an amigurumi ring.Next, an increase is made in each loop, one at a time, and as a result there should be 12 of them.
On the 4th row, one loop is knitted, and then an increase is made. On the 5th, it is added in a loop after two knitted, on the 6th - after three knitted. Thus, the number of loops at the end of the sixth row should be 36 pieces. From the 7th to the 11th rows, you just need to knit with single crochets.
In the 12th row, after five knitted loops, an increase must be made to end up with 42 loops. The thirteenth and fourteenth rows just fit, without any replenishment. From the 15th to the 19th rows, it is necessary to decrease the loops by 6 pieces in each. This is done, respectively, after the 5th, 4th, 3rd, 2nd and 1st loops. It should be noted that the head of a cow can be knitted in one or two or three colors, depending on your own preferences.
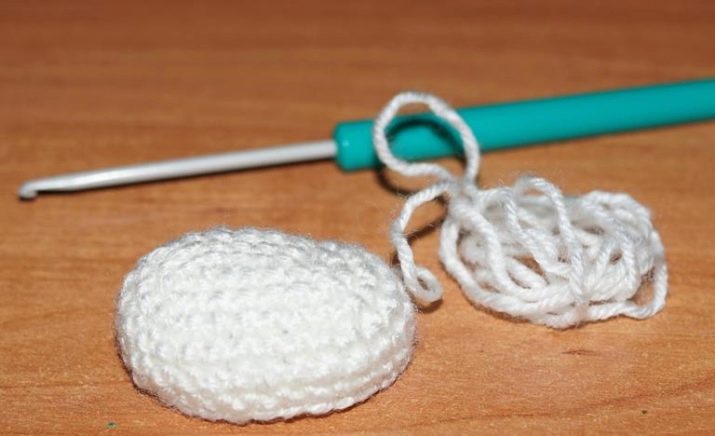
Now you can start making the muzzle. To do this, you need to dial 7 air loops. In the 2nd loop, you need to knit 2 single crochets (sc), knit the next 4 loops with sc, in the next loop 3 single crochets, then knit 4 loops again. You need to complete the row in a loop with which the row was started. As a result, a total of 14 loops are obtained.
The next (3rd) row is knitted as follows: an increase, an increase, 4 single crochets, an increase, an increase, an increase, 4 sb, an increase. At the exit, 20 loops are obtained, which are knitted on the 4th row.
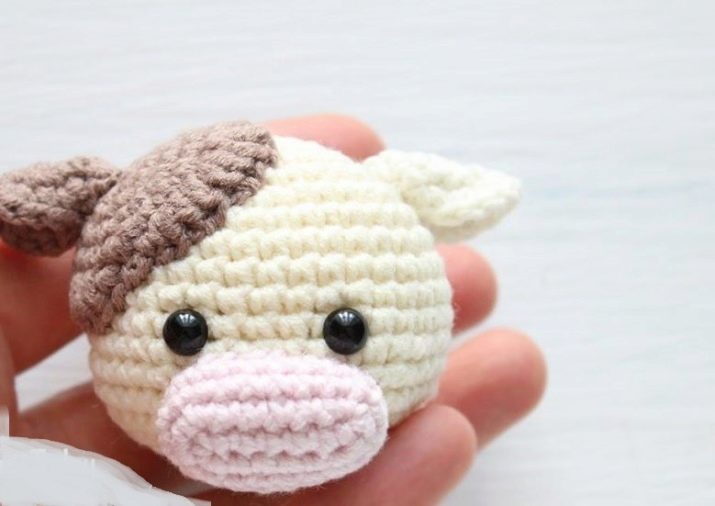
Ears are knitted very simply and can be of different colors. First, 6 sbn are recruited into the amigurumi ring. On the second row, one is added to each loop to make 12. In the third row, after each single crochet, an increase is made. As a result, the number of loops reaches 18.
For horns, which are also paired parts, 6 sbn are recruited into an amigurumi ring. The second row - one loop is simply knitted, and an increase is made in the next. From the 3rd to the 9th row, all 9 loops simply fit sbn. The upper hooves, of which there should be two, are knitted similarly to the horns. Only the color of the yarn is taken differently.
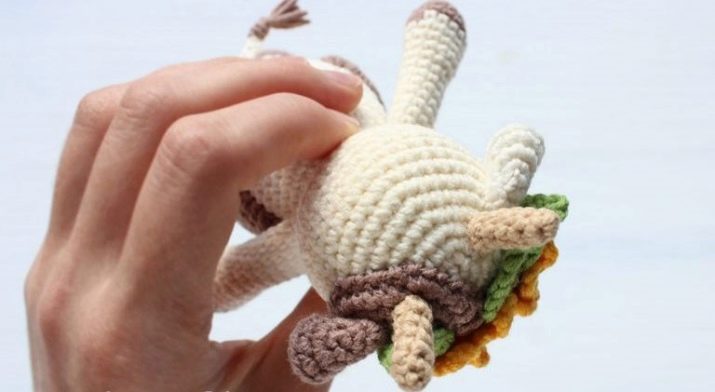
You need to start knitting your legs with a set of 6 sc in a magic ring (amigurumi). From the 2nd row, one loop is knitted, and then an increase is made one loop at a time. In the 3rd and 4th, an increase is also made, but after two and three knitted loops, respectively. As a result of the 4th row, 15 loops should be obtained.
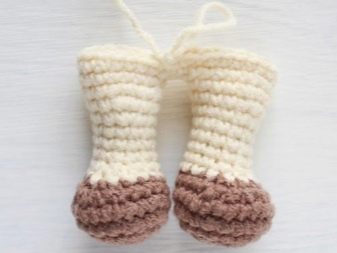
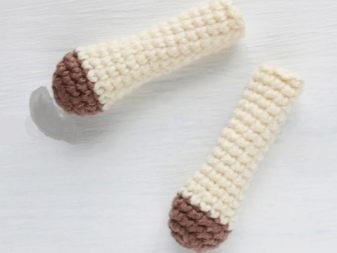
Further, the legs smoothly merge into the body. This is done by tying loops on two legs and connecting them in a single row (1st row of the torso). The next row just needs to be knitted with single crochets (2nd row). On the third row, after every fourth loop, an increase is made. From the 8th to the 13th, all 36 sts should be knitted with sc.
On the 14th row, you need to decrease the loop after every fourth knit. The 15th is simply knitted with single crochets. At the 16th, a decrease is made again, but now after every third loop. Then the resulting row is simply knitted sbn. In the last row, there is also a decrease in the loops after two knitted, as a result, 18 sts are obtained.
It is best to fill the legs and torso with padding gradually as you knit. This will make it easier, and the filler will be able to distribute more evenly. When the torso is ready, you can cut the thread.
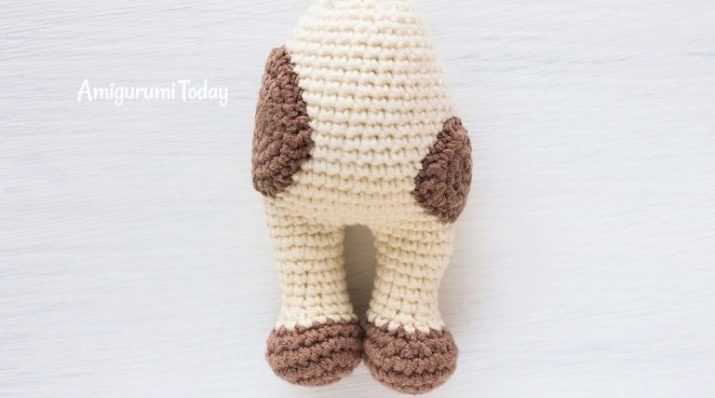
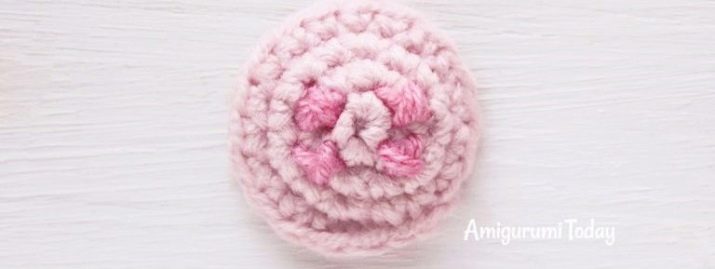
Now you can start making one of the most important part of the cow - the udder. For him, you need to knit 6 sc in a ring, and on the 2nd row add one loop to each. On the 3rd row, after each knitted loop, we make an increase. As for the 4th row, we just knit all 18 sts. The nipples on the udder should be marked with cross stitching.
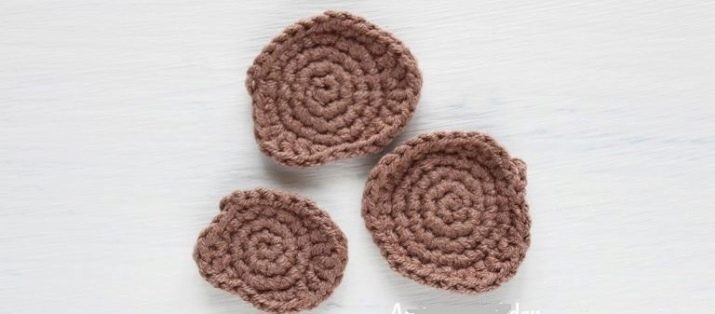
If you want to make the cow more cheerful, you can also make spots for it. The easiest option is to connect 6 sbn amigurumi in a ring. On the 2nd row, an increase is made in each loop. In the 3rd, 4th, 5th and 6th rows, an increase is made one loop after 1 sc, 2 sc, 3 sc and 4 sc, respectively. In the sixth row, the number of loops should reach 36.
Another optional but fun element is the tail. The first row of the part is made with 15 air loops.On the 2nd, starting from the second loop, connecting posts are knitted to the very end. For a brush, you can use pieces of yarn with a length of 4 cm. They must be threaded into the end of the tail, and then fastened around the base.
Before assembly, all necessary parts are filled with filler. In this case, it is advisable to fill your hands only half. Before filling your head, you should fix your eyes on it. This is done between the 11th and 12th or 8th and 9th rows. A distance of 5-6 points should be left between the eyes.
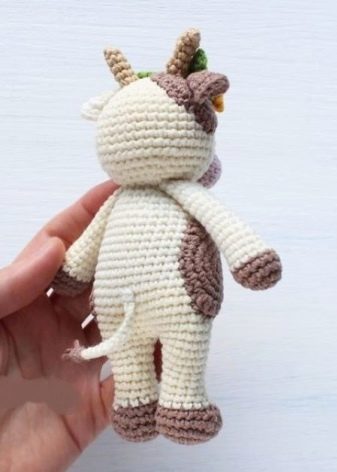
If there are spots, then they are sewn onto the head and body. The horns have a place in the center of the head. They are located at a distance of 6 rows from each other. Ears are attached across a row from them. The muzzle is filled with padding before sewing.
Next, all parts of the cow are assembled into a single whole. The udder should also be made bulky before sewing. The result is a funny amigurumi ladybug that is popular with both adults and children.
Beautiful examples
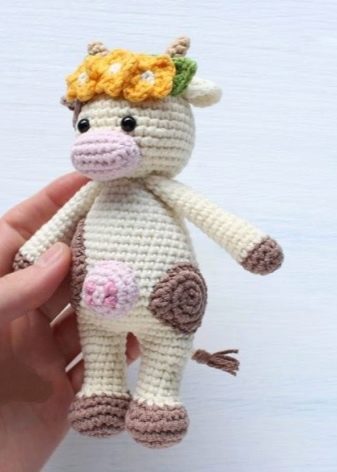
There are a lot of options for funny, cute and cute cows. Each of them can choose the cow he likes. Additionally, you can decorate the cow with a funny blouse or skirt. Moreover, the latter can be knitted or made from a shiny translucent material.
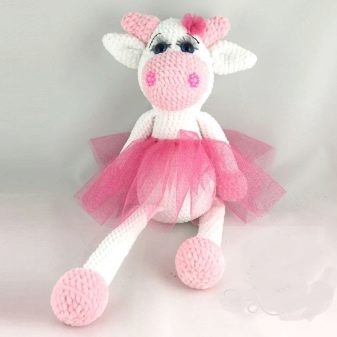
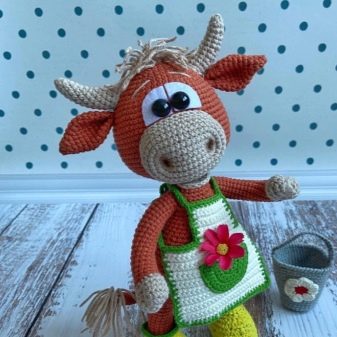
It is very interesting to get cows, which are decorated with wreaths of flowers. Moreover, you can choose very bright and voluminous options with flowers and leaves. With such decorations, the animal will look even more impressive.
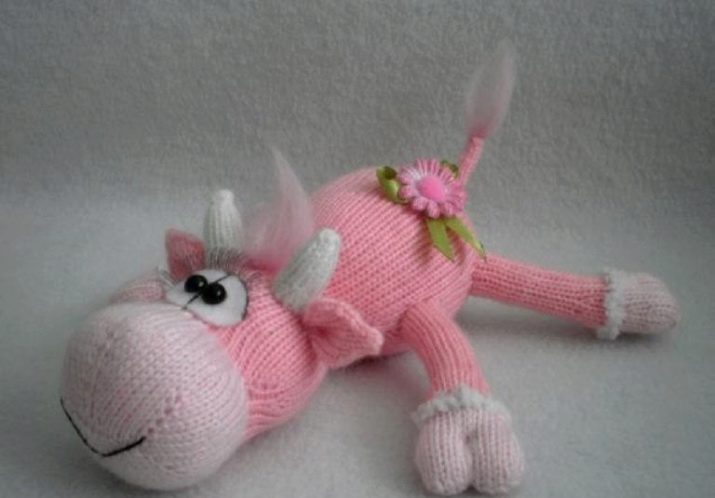
Cows with big hooves and udders are funny. You should also experiment with the color scheme.
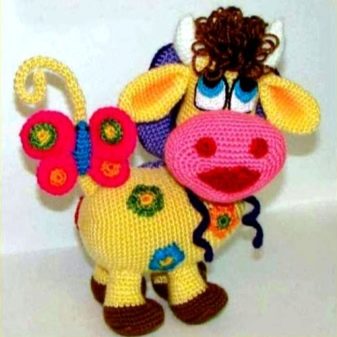
It is not necessary to choose traditional black, white and brown colors, because cows in shades of pink, blue or yellow will look very cute.
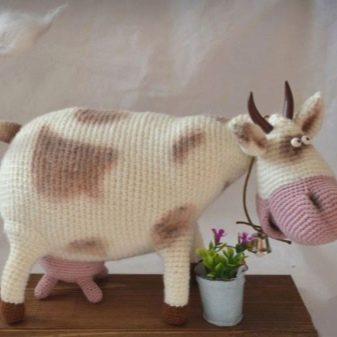
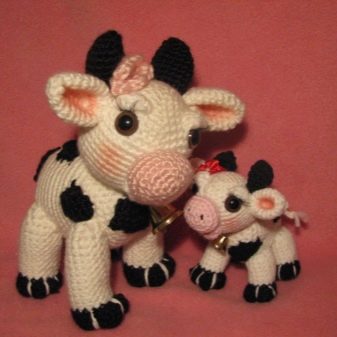
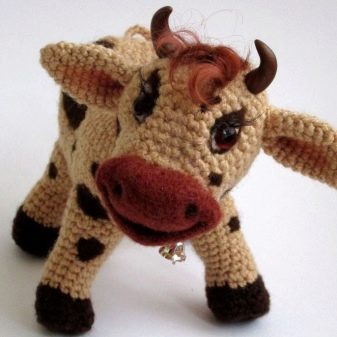
Additional accessories can help make the cows more beautiful and cute. For example, a vase of flowers, a basket, a bright butterfly on the tail, thick bangs between the horns and any other little things. There are never many cute cows, so you can knit whole flocks of funny cows.
Watch a master class on knitting an amigurumi cow in the video.


