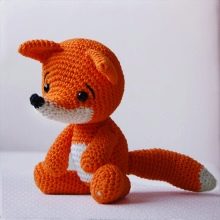
Fox amigurumi: knitting pattern and description
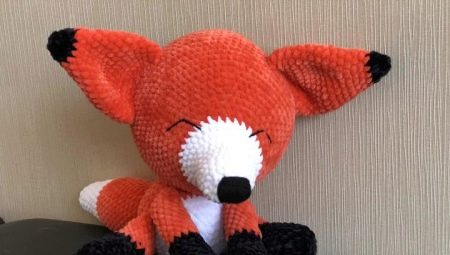
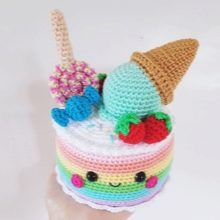
In modern handicrafts, there are many directions for every taste. Knitting is one of the most popular types of making various products from artificial threads or wool. Girls have been knitting since ancient times, and to this day this type of creativity remains relevant and acquires many techniques and trends. Today, an unusual knitting technique - amigurumi - is of great interest. This is the art of crocheting or knitting small stuffed toys. Often these are animals, but there can also be food items (muffins, cakes, fruits) or household items (bottles, handbags, etc.).
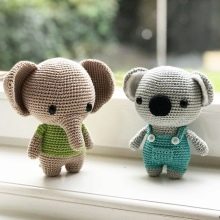
This art came to us from the Land of the Rising Sun and is an integral part of modern Japanese culture. It is quite easy to master the amigurumi technique if you have already formed the knitting skills. There are a huge variety of video tutorials and master classes on making funny animals and other plush toys on the Internet. In this article, we will analyze this technology using the example of crocheting a marshmallow fox.
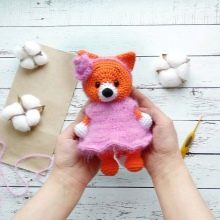
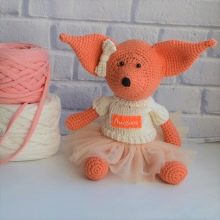
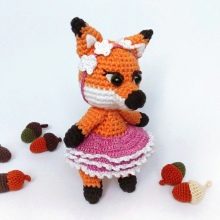
Materials (edit)
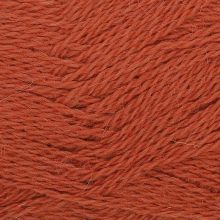
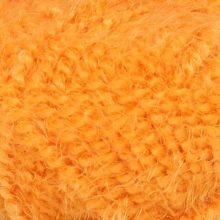
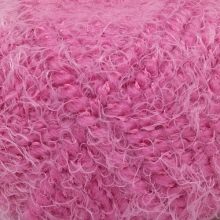
First of all, you need to decide on the material and color palette of the threads used. When making toys in the amigurumi style, pehorka, grass, acrylic or plush are most often used. The choice of color is exclusively individual for each specific craft. You can use both bright, saturated colors, and threads of delicate pastel colors.
Next, you need to choose the right knitting tools.
It is logical that the yarn and the hook should match in thickness and size, but the individual style of the craftswoman's work should also be taken into account: someone knits tightly and tightly, while others, on the contrary, are very weak.
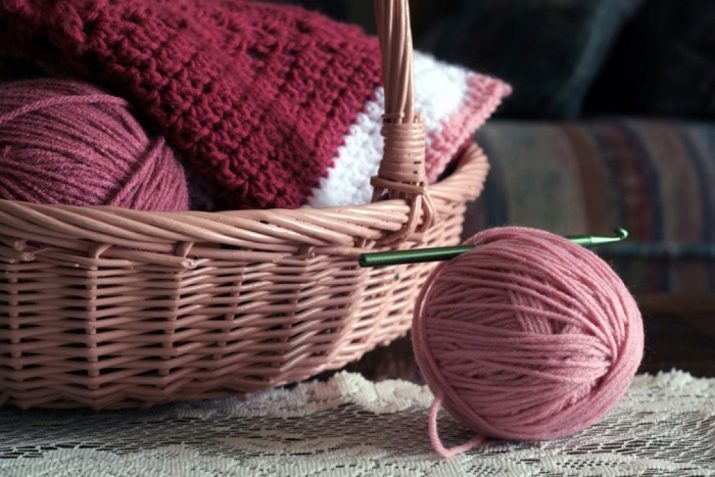
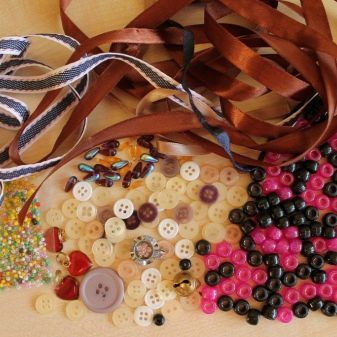
You may need an additional tool: needles, sewing thread for fastening parts, glue, beads, beads, buttons or plastic eyes. It all depends on the idea of the master.
Knitting pattern and description
So, when the material and tools are selected, you can get to work. The pattern for knitting a fox in the amigurumi style is best printed or written on a piece of paper so as not to get confused in the rows, especially if this technique is used for the first time.
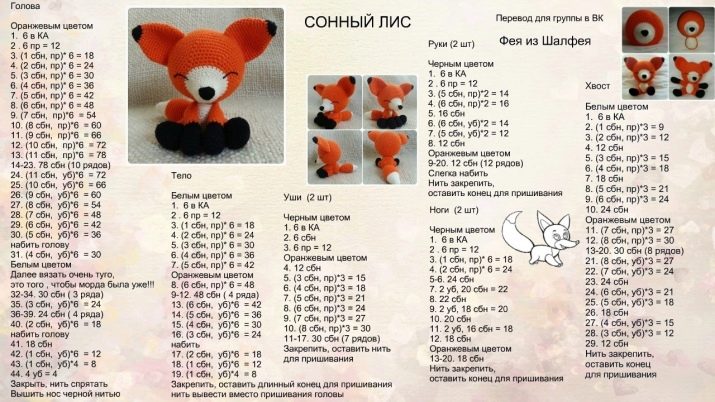
Let's start with the head of the fox. We will knit it with a small crochet made of red yarn.
- 1 p. 2 chain stitches with 6 single crochet stitches.
- 2 p. From each loop of the previous row, knit one increase (you get 12 loops).
- 3 p. 1 tbsp. b / n, 1 increase. Repeat 6 times (made 18 loops).
- 4 p. 2 tbsp. b / n, 1 increase - x6 (it turned out 24 loops).
- 5 p. 3 tbsp. b / n, 1 increase - x6 (it turned out 30 loops).
- From 6 to 12 rows we knit without an increase in single crochet columns of 30 loops.
- 13 p. 3 tbsp. b / n, 1 decrease - x6 (it turned out 24 loops).
- 14 p. 2 tbsp. b / n, 1 decrease - x6 (it turned out 18 loops).
- 15 p. 1 tbsp. b / n, 1 decrease - x6 (12 loops turned out).
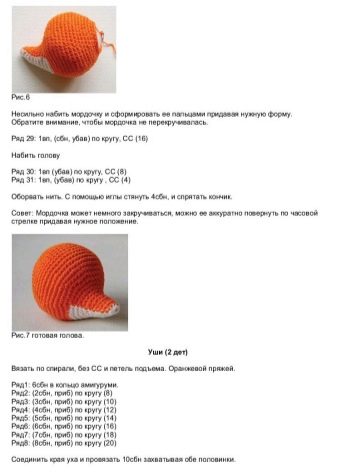
- Stuff your head with filler (foam rubber or cotton wool) to a round shape.
- 16 p. Perform 6 decreases (6 loops left).
- 17 p. Continue to decrease until complete contraction, tighten the end of the thread with a knot and hide it with a hook or needle with a thick eye inside the workpiece.
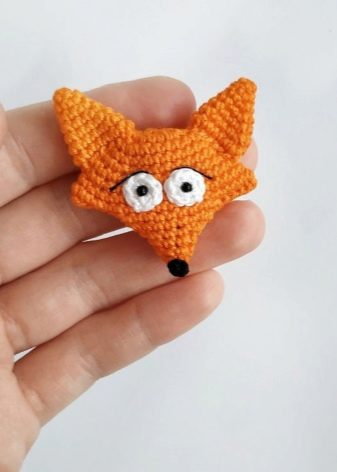
Then we knit the face of the fox (you can use lighter threads - white or yellow).
- 1 p. 2 chain stitches, of which 6 single crochet stitches.
- 2 p. 1 tbsp. b / n, 1 increase (it turned out 9 loops).
- 3 p. 2 tbsp. b / n, 1 increase (12 loops turned out).
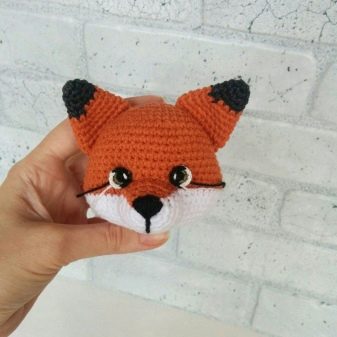
- Sew the muzzle to the head with the remaining thread.
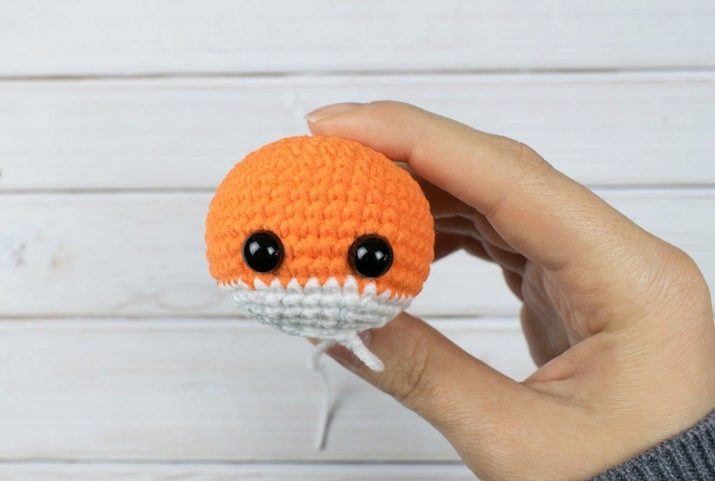
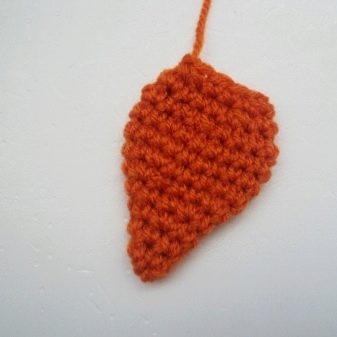
We knit the ears separately.
- 1 p. 2 chain stitches, of which 6 single crochet.
- 2 p. 1 column b / n, 1 increase. Repeat 3 times (it turned out 9 p.).
- 3 p. 2 columns b / n, 1 increase. So 3 times (it turned out 12 p.).
- 4 p. 3 columns b / n, 1 increase. So 3 times (it turned out 15 p.).
- Leave the thread for sewing.
Fox body (you can choose white yarn).
- 1 p. 2 loops, of which 6 single crochet.
- 2 p. 6 increments of 2 in each loop. It turned out 12 p.
- 3 p. 1 tbsp. b / n, 1 increase. So 6 times (total 18 p.).
- 4 p. 2 tbsp. b / n, 1 increase. So 6 times (total 24 p.).
- Further, from 5 to 9 rows of 24 st. b / n round.
- From row 10, the same thing in reverse. Tie or sew the head with the calf.
Upper legs.
- 1 row. From the ring 7 single crochet.
- From the next row, impose 63 b / n columns in a spiral. If desired, you can reinforce the legs with wire to give them the desired shape, fill.
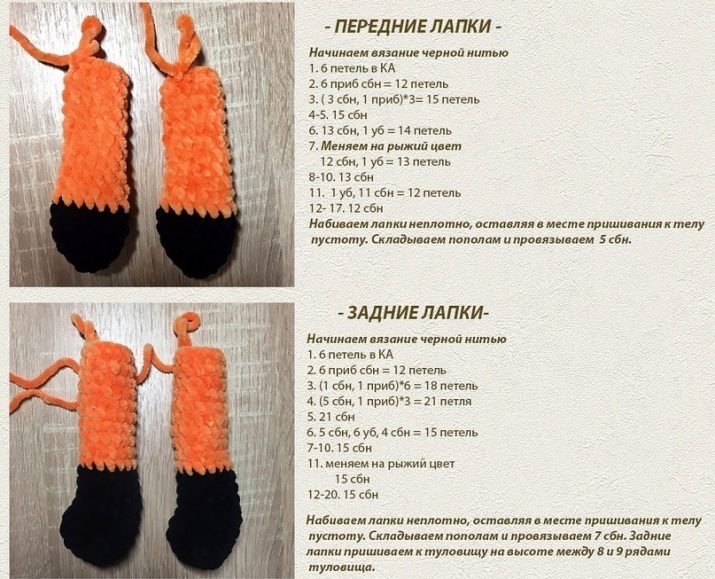
Lower legs.
- 1 row. From a ring 8 single crochet.
- 2 row. 8 single crochet.
- From 3 to 5 rows 4 double crochets, 4 connecting columns (8 stitches turned out).
- From 6 to 8 rows of 8 single crochets.
- 9 row. 1 single crochet, 1 raise, 2 single crochet, 1 raise, 3 single crochet (10 stitches).
- Rows 10 and 11: 10 single crochets.
- If desired, we also reinforce, lay the printed material.
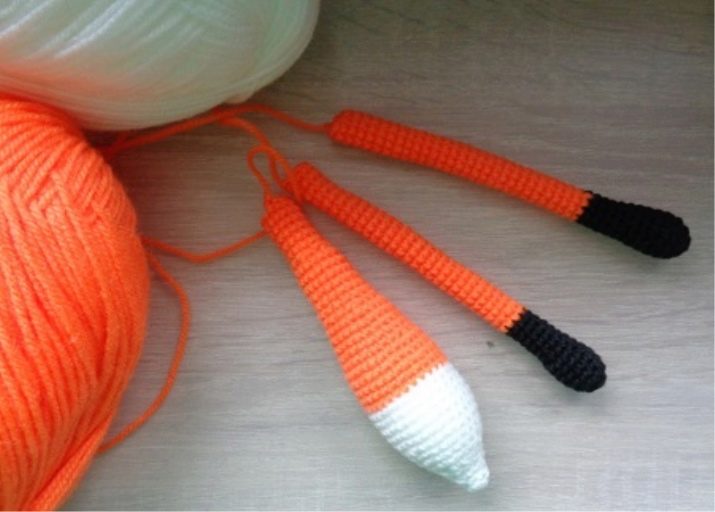
We knit the tail from threads of two colors - red and white. We start at the tip.
- 1 p. 4 b / n columns from an air loop.
- 2 p. 1 column b / n, 1 increase. Repeat 2 times for 6 stitches.
- 3 p. 1 column b / n, 1 increase. So 3 times, it turned out 9 loops.
- 4 p. 2 columns b / n, 1 increase. So 3 times, it turned out 12 loops.
- We change the yarn.
- 5 p. 3 columns b / n, 1 increase. So 3 times, it turned out 15 loops.
- From 6 to 12 rows round the columns b / n with 1 decrease. We leave the thread for sewing the tail to the little body.
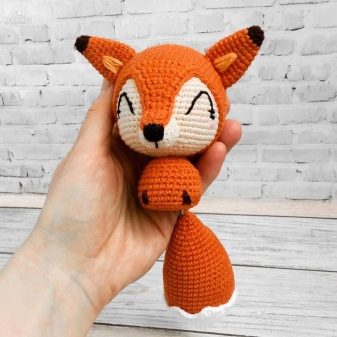
Embroider the nose with black threads, sew on the beads-eyes.
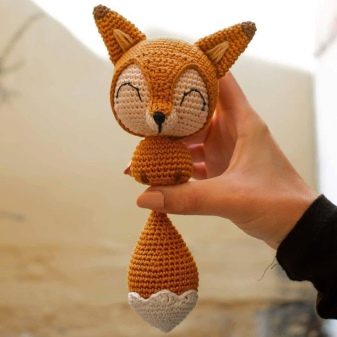
Sleepy fox looks equally attractive and cute. You can embroider 2 arcs - you get a sleeping amigurumi fox.
Tips & Tricks
Amigurumi toys are distinguished by their miniature size. Most often they are used as doll accessories or key rings. Therefore, not all yarns are suitable for making these tiny toys.
- Acrylic - differs in softness and rich colors, the thread does not double, keeps an elastic shape and, which is important for little owners of the future product, does not cause allergies.
- Mohair - gives the future toy fluffiness and extraordinary softness, however, there are also disadvantages: it is quite difficult to hook a mohair thread, so this yarn is suitable for experienced needlewomen.
- Cotton - due to the fineness of the thread, the product turns out to be as miniature and neat as possible with a certain uniformity of the tightening of the loops.
- Plush - gives an unprecedented softness to the product, but this yarn is quite bulky, so small plush toys are unlikely to work out.
- Iris - great for making tiny toys. The thread itself is thin and even along its entire length, does not double or tangle.
- Grass - suitable for knitting, because an inexperienced craftsman can easily hook on the wrong thread and when stuffing a toy, all the work can go down the drain.
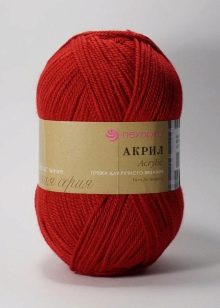
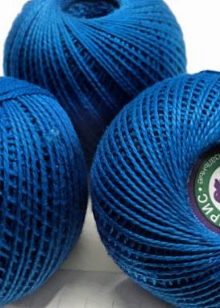
The yarn should be chosen according to the experience of the craftswoman: for beginners, smooth threads are suitable, and for those who already knit "blindly", you can use fluffier materials.
When choosing a yarn, you should pay special attention to the quality of the threads. Poor quality yarns with seals, pellets and knots are often found. For amigurumi, such threads are absolutely not suitable! After all, all the beauty of technology is in a miniature and neat design.
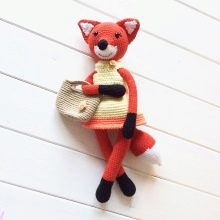
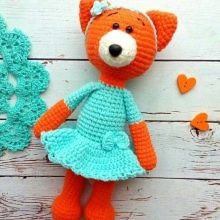
A master class on knitting a fox with amigurs in the video below.


