Amigurumi frog: knitting pattern and description
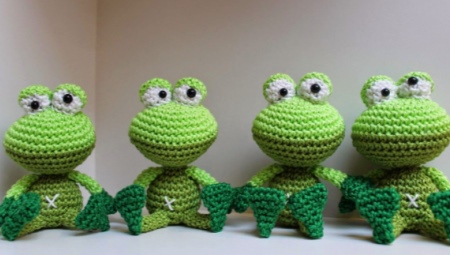
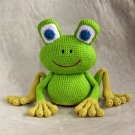
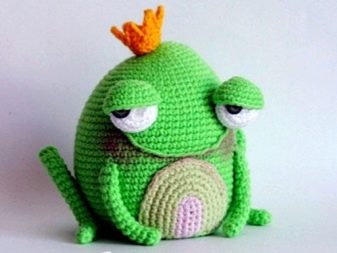
There are a lot of ideas for amigurumi toys. Many funny animals become close friends for many children and adults. But do not forget about amphibians, for example, about frogs. These vibrant beauties can easily draw attention to themselves. In addition, you can choose a lot of funny images for croaking princesses.

Materials (edit)
In order to knit a frog using the amigurumi technique, you will need very little.
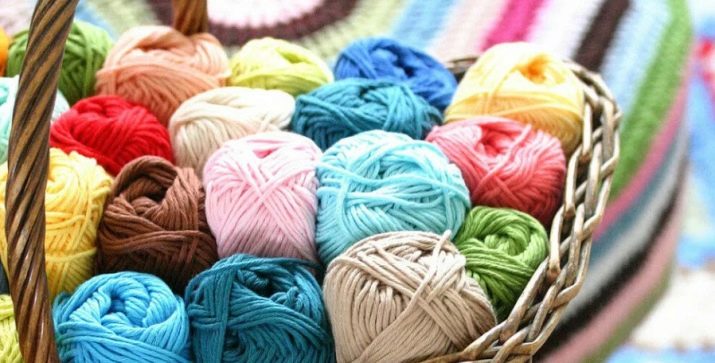
Multi-colored skeins of yarn. Monochromatic frogs, like green frogs, also look cute, but using two or more colors can create a funnier toy. Moreover, all shades of brown, beige, white, pink, yellow and other bright colors look good. The choice is limited solely by imagination and your own preferences.
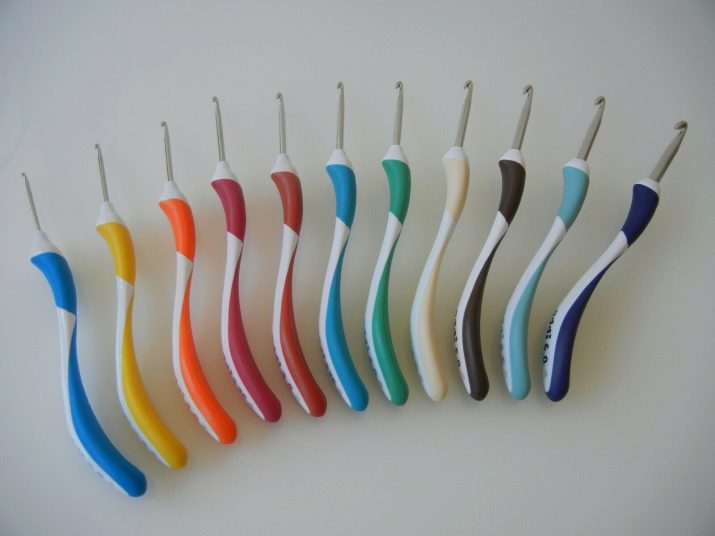
It is best to choose a crochet hook that is smaller than initially needed for the selected thread.
Often, craftsmen use the tool number 2. It is considered the most suitable for this Japanese technique.
Eyes can be plastic, fabric, embroidered or knitted. However, the most cute frogs look with plastic black beaded eyes on a knitted background. This option is the most expressive and will suit any yarn color.
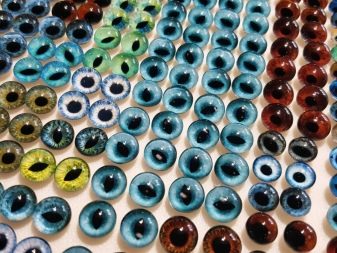
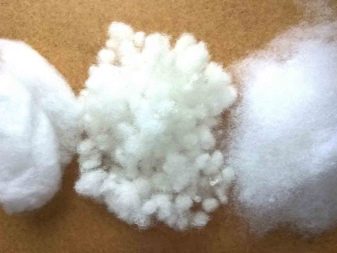
Any modern stuffing material is perfect as a filler. Recently, the most popular synthetic winterizer, holofiber, synthetic winterizer or eurosintepon. For lovers of everything natural, there are also many options. For example, cotton or wood wool, wood shavings, wool, bird fluff.
You can also make an anti-stress toy by filling it with styrofoam balls, plastic granules, or small spherical glass.
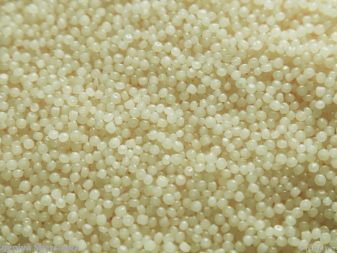
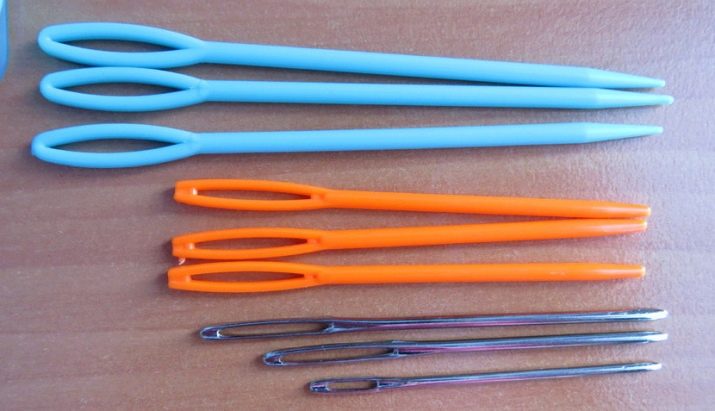
If the frog will be made from separate parts, it is advisable to take care of the availability of a suitable sewing needle. It is important that the selected yarn can be threaded into it.Indeed, in this case, it will be possible to sew the toy so that the seams are as less noticeable as possible.
Knitting patterns and techniques
Today there are a huge number of patterns according to which a crocheted frog can easily and simply turn out. There are a lot of ideas, it is enough to dwell on one of them, the most liked. Then you should choose the appropriate description and follow it.
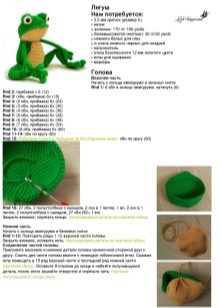
The head with the body is most often a single whole.
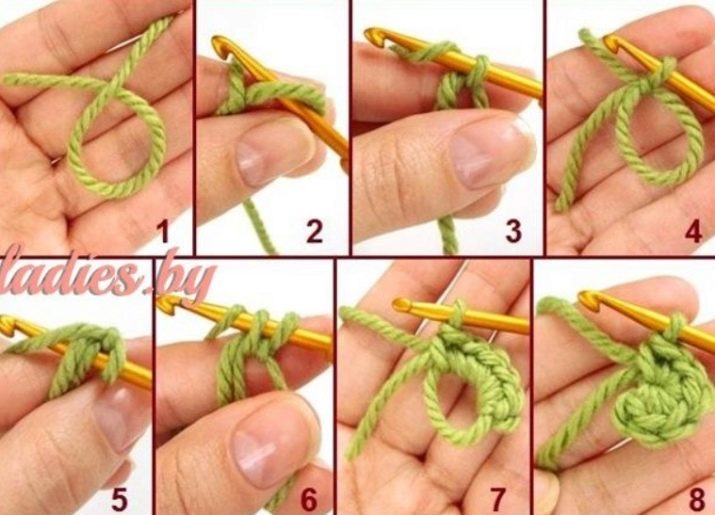
First, the head is knitted, for which you need to make 6 single crochet (sbn) in a circle of amigurumi. On the 2nd row, an increase is made in each loop, on the 3rd through one loop, and on the 4th through two loops. The result is 24 loops.
On the 5th, 6th, 7th, 8th and 9th rows, an increase is also made, only after 3, 4, 5, 6 and 7 loops, respectively. On the 10th row and the next five, the resulting 54 sbn just need to be knitted. From the 11th to the 16th row, a decrease is made after 7, 6, 5, 4, 3 and 2 single crochets. At the end of the sixteenth row, you should get 18 sc.
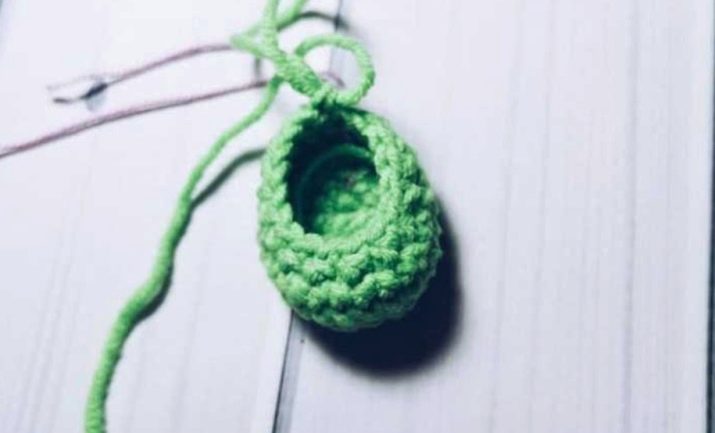
Next, the body is knitted, for which, on the 17th row, an increase is made in each column, so that in the end there are 36 of them. On the eighteenth, an increase is made every 6 sc. From the 19th to the 26th row, all 42 columns just need to be knitted without a crochet. From the 27th row to the 31st, it is necessary to make a decrease after five, four, three, two and one columns. The result is 12 loops.
On the 32nd row, a decrease is made in each column to make a total of 6. At the end, you need to fill the resulting head with the body, tighten the hole and hide the thread of yarn.
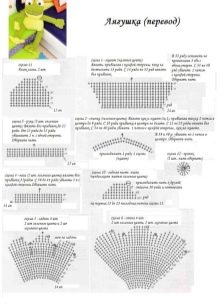
Now you can proceed to the lower legs, of which you should end up with 2 pieces. The beginning, as before, consists of 6 single crochets, collected in an amigurumi ring. On the 2nd row, an increase is made so that the number of columns increases to 12. On the 3rd and 4th rows, an increase is made after one and two sc, respectively. On the 5th, the resulting 24 columns are knitted for the back half loop.
The next two rows (6th and 7th) just need to be knitted with single crochet. On the 8th, 6 sbn are knitted, then 6 decreases are made, then 6 sbn again, and as a result, 18 columns are obtained. The ninth row starts with 7 sc, then 4 columns are knitted together, then another 7 sc. On the 10th, you need to make 5 sc, knit 3 stitches together, and then another 6 sc. The eleventh row is the alternation of a single crochet and a decrease, so that in the end it turns out 9 sc.
Nine rows from the 12th to the 20th just fit sbn. On the 21st, 1 sbn alternate with a decrease until 6 sbn is obtained, and on the 22nd they just fit. On the 23rd, there is an alternation of a double crochet and an increase until you get 9 sc. From the 24th to the 32nd rows, you just need to knit all the columns. After fastening, a thread with a length of 20 centimeters or more should remain.

The upper legs begin with 6 sc, collected in a ring of amigurumi. On the 2nd and 3rd rows, you just need to knit the resulting columns. On the 4th, a decrease is made after a single crochet and as a result, 4 columns are obtained. The resulting hole must be left loose. According to this scheme, you need to knit 3 balls on each of the legs, and then sew them together.
On the 8th row, you need to knit the resulting 8 sbn, and on the 6th row, make an increase, and then knit 8 columns. From the 7th to the 14th rows, the resulting 9 sbn simply fit. On the 15th row, a decrease is made through one single crochet until 6 sc is left. You just need to knit them on the 16th row.
On the 17th, 1 sbn is alternated and the increase is until 9 columns are obtained. From the 18th to the 25th rows, it is necessary to knit with single crochets. After fastening the thread, an end should be at least 20 cm long.
To create a peephole, knit 6 single crochets and collect them in an amigurumi ring. On the 2nd row, we make an increase in each column so that they total 12. On the 3rd, after a single crochet, an increase is made until the number of sbn reaches 18.From the 4th to 6th rows, you just need to knit 18 single crochet ... On the 7th row, the posts should be knitted behind the back half loop. The eighth row consists of 18 single crochets.On the 9th, you need to make a decrease through each sc, until the number of columns decreases to 12. On the 10th, six decreases are made to get 6 sc. The resulting hole must be pulled together, and the thread must be hidden.
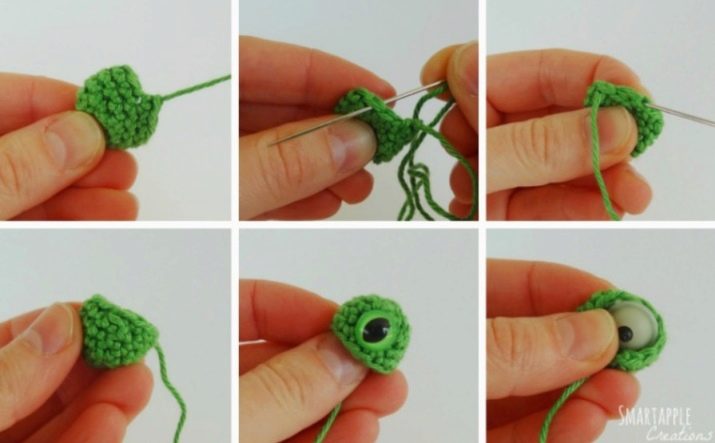
When all the details of the frog are ready, you can proceed to connecting them.
You should not forget to fill them with stuffing during the manufacture of toy elements.
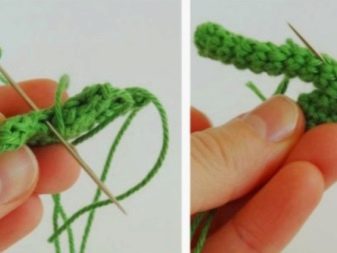
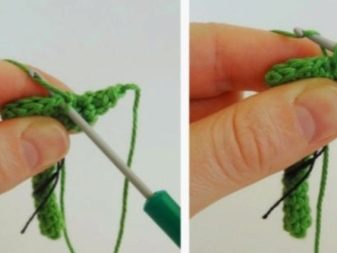
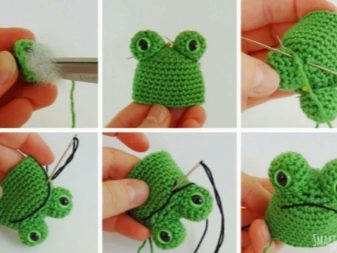
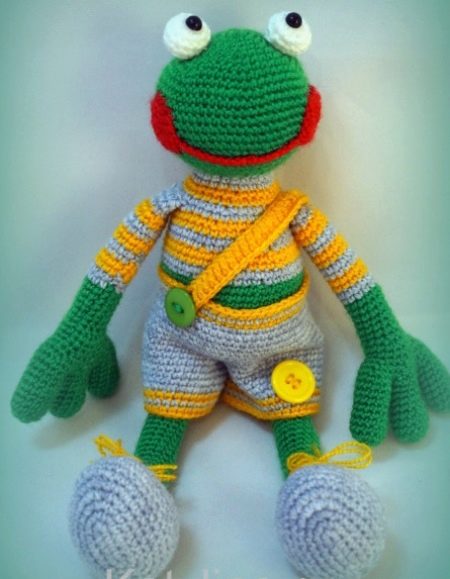
The first to sew on are the upper and lower legs. Sew beads on the eyes, hiding the thread. Now you need to sew the eyes together so that they don't dangle, and then attach them to the head. All that remains is to embroider a big, friendly smile and dress up the frog.
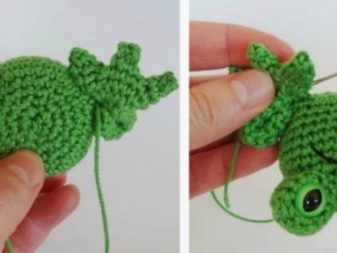
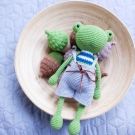
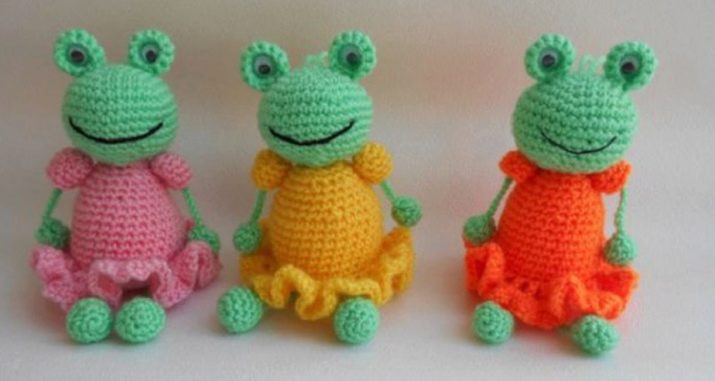
In this case, the outfit can be either a sewn dress or a knitted skirt for a girl or a sewn tie with a shirt or pants for a boy.
Ideas
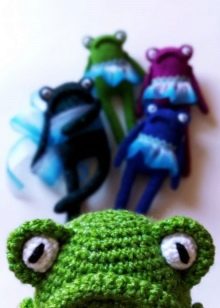
Toys in the form of amigurumi frogs always look very funny. Green or multi-colored frogs can be either large with huge dangling legs, or very small. Everything is limited only by fantasy.
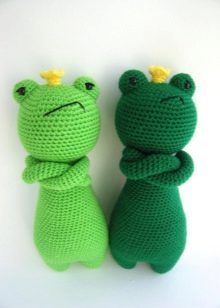
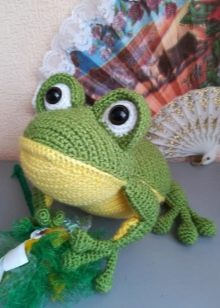
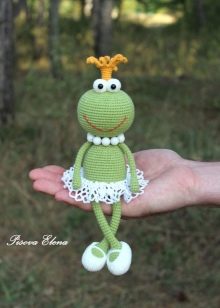
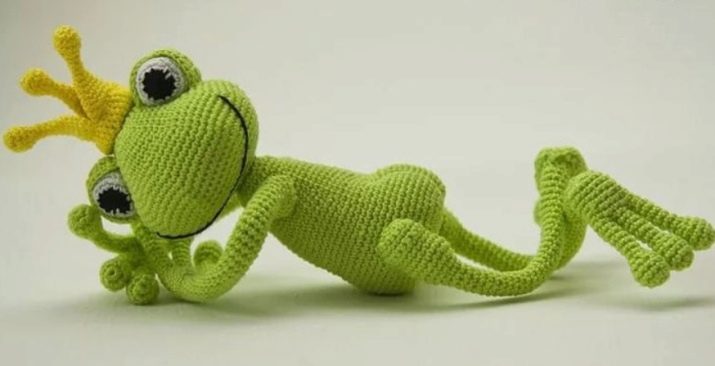
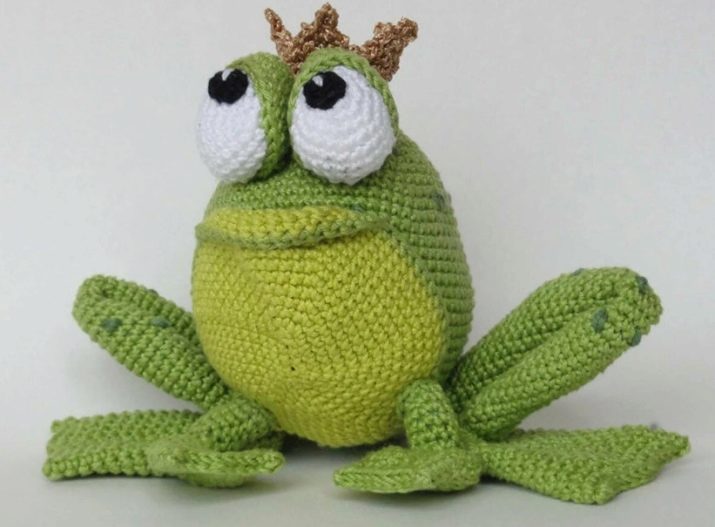
The frog princess with a crown, known to children and adults from fairy tales, looks very original. Moreover, you can make not only her, but also a frog retinue. Also, a frog can make an interesting bookmark for a book.
A small basket looks very funny, in which a whole family of various croaks in bright clothes lives. Moreover, the latter can be put on both a ready-made frog and knitted directly in the manufacture of a toy. Frogs with headphones, flowers, butterflies and other funny accessories also cheer up.
The following video presents a master class on knitting an amigurumi frog.


