How to make an amigurumi raccoon?
Nowadays, when shops are full of various children's toys, it is sometimes very difficult to choose, and you really want to please your child! Stuffed toys occupy a separate niche and require maintenance and frequent cleaning. No wonder adults call them "dust collectors". Where does a child get a love for certain soft toys? In the modern world of gadgets, you can't get away from educational, informational or traditional videos. This is where the little ones get to know their idols - cartoon characters. So we come to the goal of this article. This is not a trivial gift bought in a store, but a handmade soft toy. A knitting style such as amigurumi is gaining popularity.
Peculiarities
What is this? The mysterious word came to us from Japan - this is a type of crocheting small toys. Besides the size, they are distinguished by their disproportion - a huge head and a small body. However, now toys are no longer very similar to Japanese ones, which are used as amulets and decorations. In Russia, they are used only for the entertainment of children.
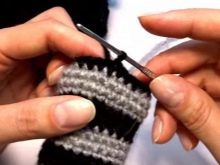
Knitting is done in circular rows. The density is very high. To achieve this, tools are used smaller than the yarn itself. This technique is used so that the finished product, which will be filled with a special material (filler), does not let it out and keep its shape. The toy is knitted with single crochet, this also allows you to maintain the density of the product.
Do not forget, we are going to create a toy for a child, so you need to take into account that the product will be exposed to as much impact as our little one will have!
The muzzles of these characters are pretty, conducive to a good and kind mood of the child.According to the style of amigurumi, you can knit animals, little people, revive absolutely any objects - from chamber pots to the sun. Here the flight of fantasy has no boundaries.
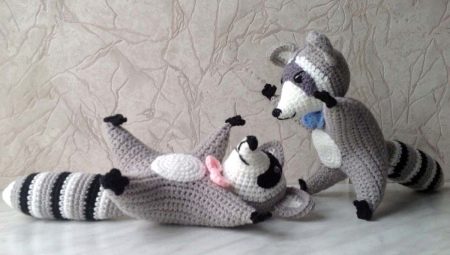
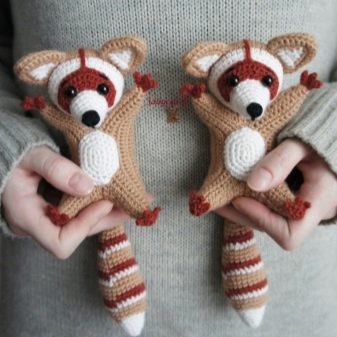
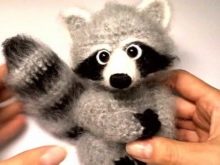
As an example, let's take an animal that both boys and girls love - this is a raccoon, we will crochet it using the amigurumi technology. The product itself is 7 centimeters or less in size, you can knit a toy up to 50 cm, but this is your desire and goal. In our case, the tail is of great importance - it will be voluminous. Consider a method for making a raccoon using separately connected parts.
Tools and materials
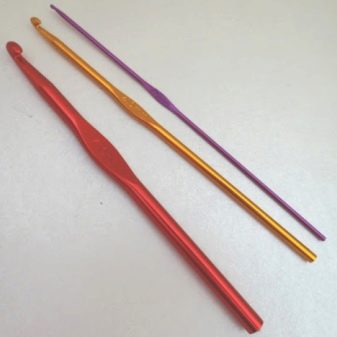
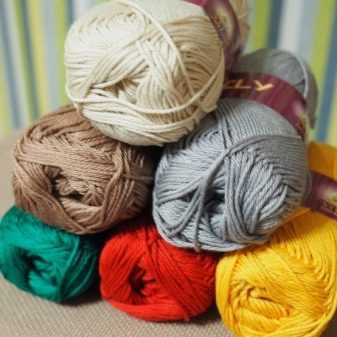
In order to knit a small toy, we need a crochet hook, yarn and a good mood. Since the toys are small, we need a hook - 1.0 or 1.5 mm. The recommended size of the hook for knitting clothes is indicated on the yarn, therefore, for toys, they proceed from the size of the yarn, we select the hook 1-1.5 sizes smaller. Since we are knitting a frame, dense toy.
There are a huge number of knitting patterns for toys and videos on creating an amigurumi ring, from which it all starts. However, for beginners, they are unlikely to help if there is no good and understandable description. Now is the time to move on to a master class on knitting a raccoon. Below you will find detailed instructions describing each step. This will allow even a beginner to learn how to knit quickly.
Knitting technology
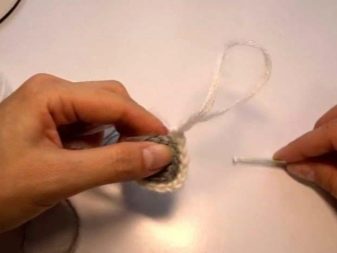
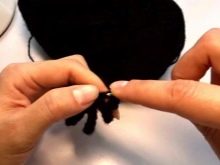
Knitting of any piece begins with an amigurumi ring (sliding loop), it is done as follows.
- First, take the yarn and drag it over your index finger. It is better to leave the end of the yarn longer.
- Then, with the free tip of the yarn, make another yarn over your finger to get a ring. Use your thumb to hold the junction of the ring to prevent it from unraveling.
- Then we insert the hook inside the ring and grab the working thread, which was initially held with the rest of the fingers of the hand. We stretch the thread inside the ring.
- Now grab the working thread again and knit an air loop. Now the structure is better fixed, you can continue to make air loops, grabbing and pulling the working thread from the inside of the ring.
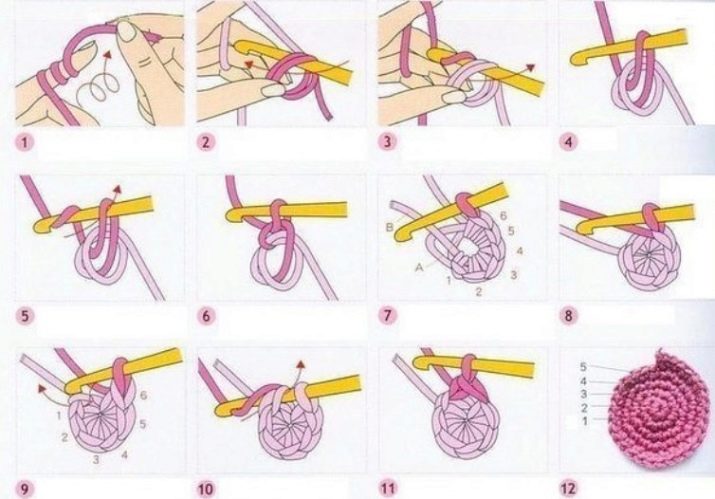
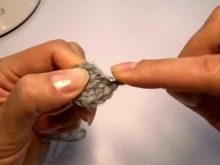
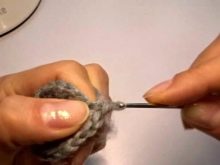
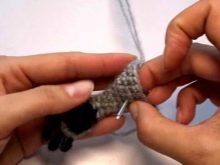
Usually, to start knitting parts, you need to make 6 single crochets, then pull the amigurumi circle by the remaining tip and pull off all the knitted loops so that there is no hole left in the middle of the circle. An important point - before making the first loop, you need to take into account that the short thread that forms the ring lies in the direction of knitting. It turns out that we insert the hook into the ring with two strands. One of which is the main one, the second is short for the loop tie. We have got the initial row.
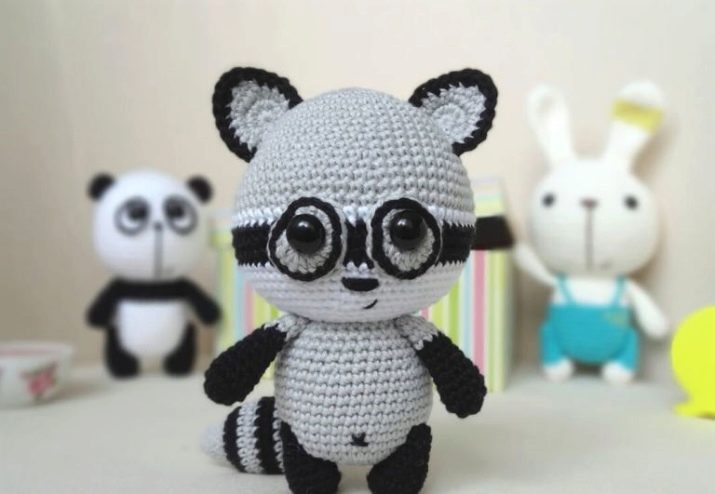
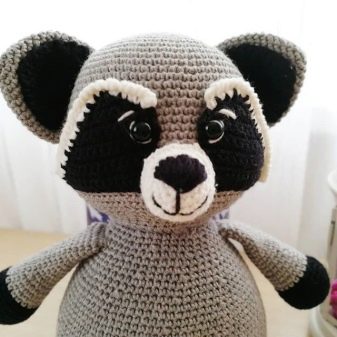
Now we knit the shape of a circle using the method of adding and decreasing loops - this will be the head of our raccoon, and we will knit the ears and muzzle separately. The raccoon's muzzle is dark in color, so we will use black or dark brown threads. The ears are also small semicircular, it is better to make them in dark colors.
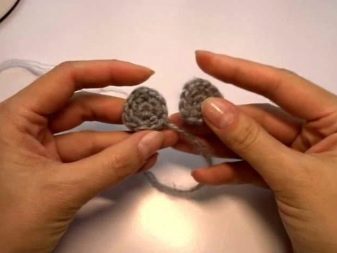
These parts are knitted separately and sewn on during the assembly of the toy.
The first row of the head is a 6-column amigurumi ring. To link the following, you need to use the increase. In the second row, you need to make an increase in each loop (12). In the third - through a loop (18), in the fourth, an increase through 2 loops (24) and so on according to the scheme. On the 12th row and further, a decrease is made in the same way.
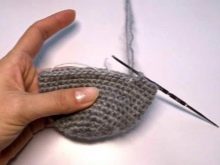
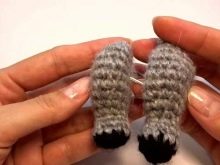
We knit the body in the form of a cone, narrowed upwards, so it is better to start from the bottom - from the wide part of the part. The legs can be knitted in different sizes, depending on your imagination, but mostly these are small elongated limbs, tied with a dark thread at the ends to display pads with claws.
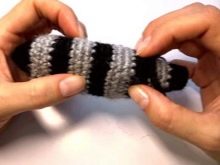
The tail in our toy plays an important rolemost likely, as observations show, this is the main place to pick up a toy, no matter how regrettable it may sound! But children like it so much, and it is also convenient. Therefore, we make the tail large, approximately head + body.
The tail must also be knitted from the end of the part, knit in striped colors - we will have a raccoon!

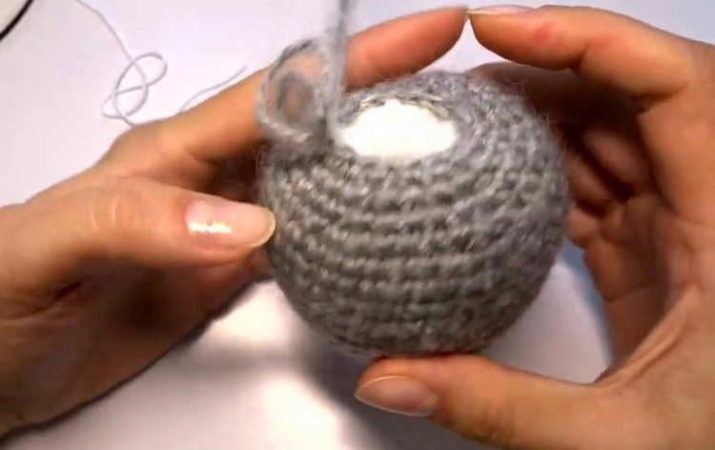
Now you need to fill the cavity with some kind of stuffing materials, it can be cotton wool, synthetic winterizer, wool and even sawdust. Often used in combination with a soft filler, sand, granules, small stones, which will stabilize the weight of the toy so that it does not fall. You can also add natural herbs (lemon balm, pine needles, lavender) to the filler for aroma, but getting wet should be avoided when using such additives. It is convenient to use tweezers for stuffing, they evenly distribute the filler throughout the space.
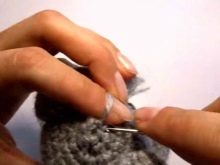
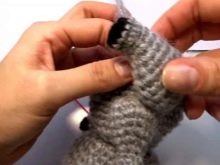
Once all the parts are ready, you can start assembling, stitching and fastening them together. To do this, you need to take a needle with a strong thread and carefully sew all the details. To design the muzzle, you need to tie the nose separately or glue the semicircular black plastic.
The eyes can also be tied, or you can buy special buttons with a movable pupil. The place between the eyes and the nose of the raccoon must be tied in the shape of a mask or painted over this part, like an animal. All these details can be performed in any way and way, as you like. Most often, they use synthetic winterizer, foam rubber or komerel. You can use absolutely everything as a decoration - from bright ribbons to unusual buttons.
So, the gift is ready! It remains to wait for the moment when it is better to present it. The main thing is that it was made by you with special love and awe, and this is very important. There is so much positiveness and tenderness in this toy that your child will definitely feel. Such homemade toys are of great moral and aesthetic value. With a little effort, everything will turn out great.
A master class on knitting an amigurumi raccoon in the video below.


