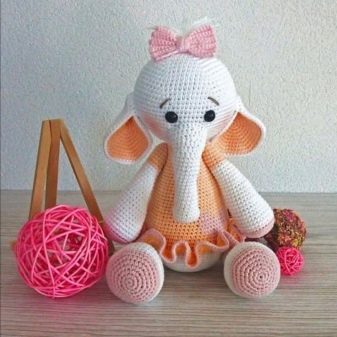
Crochet an elephant amigurumi
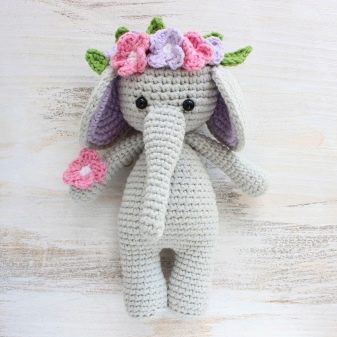
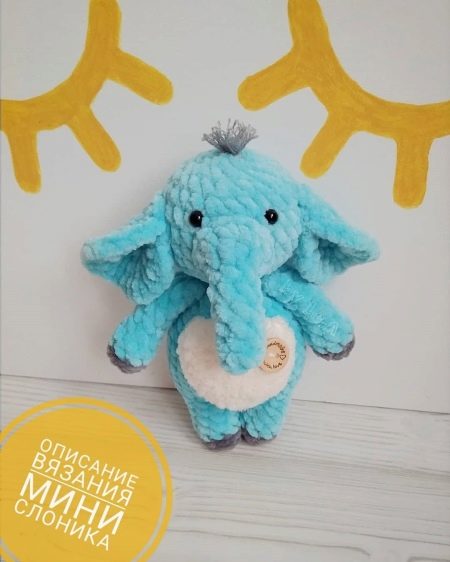
An amigurumi elephant is a cute toy that even a novice needlewoman can crochet on the basis of a detailed master class today. It is enough just to acquire the necessary materials and tools, and then apply them in practice. The scheme and description of crocheting a pink elephant is so detailed that it leaves no doubt of success.
Peculiarities
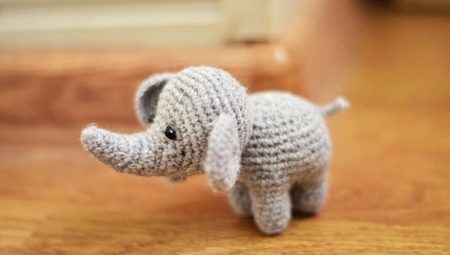
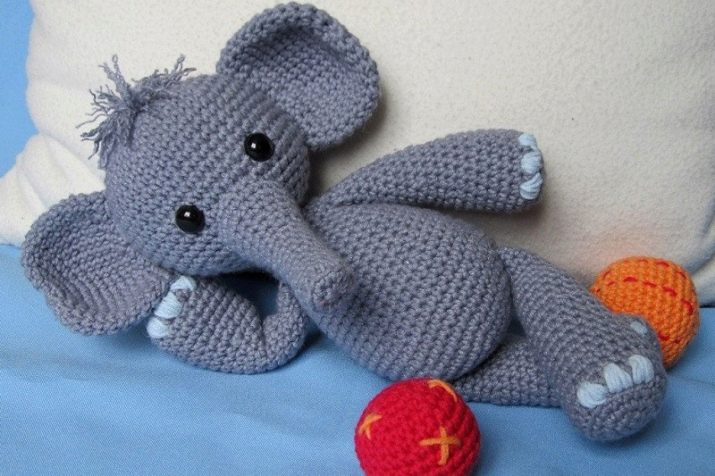
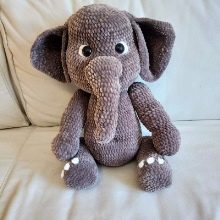
The crochet amigurumi elephant can be crocheted in different ways. The simplest options have a height of no more than 10 cm, which gives them a certain charm. These toys look especially good when knitted from plush wool. It gives them additional volume and pleasant tactile sensations. Usually elephants using the amigurumi technique are knitted on 2 legs, with a thread connection of parts, leaving small parts moving.
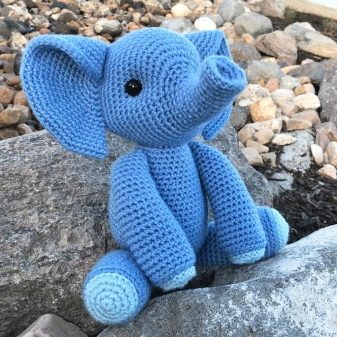
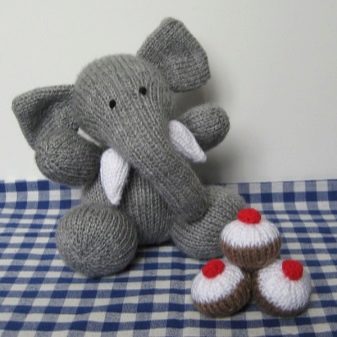
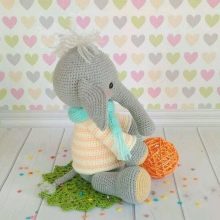
The characteristic features include the use of two or three colors of wool - blue and gray, white and pink.
Tools and materials
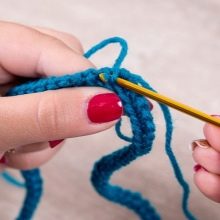
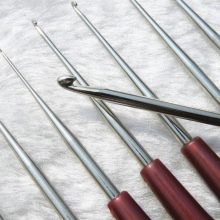
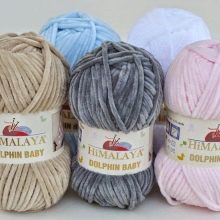
The basic set of necessary components for knitting an amigurumi elephant is as simple as possible. The thickness of the hook is determined by the type of yarn and the size of the toy. For example, No. 4, 5 are suitable for working with plush yarns. You should take the tested threads - Himalaya Dolphin Baby will do... To mark the beginning of the row, you should stock up on a marker.
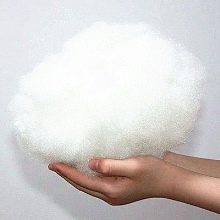
A simple padding polyester or other lightweight filler is suitable as stuffing. For toys in a standing position, leg weights are required. Eyes are also useful - you can take beads or special ones for soft toys.
To create a hairstyle, you will need a small amount of thin knitting threads in a contrasting shade.
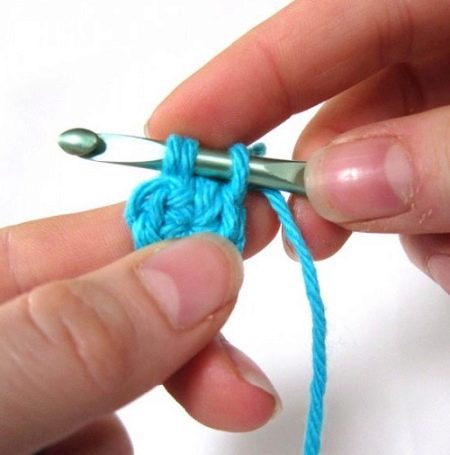
Knitting technique
A master class on making a pink or blue amigurumi elephant allows everyone to create such a product on their own. A detailed diagram and description of work will help you to get a beautiful knitted toy in a short time. In order to simplify the work, first the master creates small details, and then large-format - head and torso.
Elephant legs
For this part of the toy, you need to make 2 parts. For the legs, you need to collect 4 single crochet columns in a ring of amigurumi from threads of a contrasting color. Tie a row with an increase - you get 8 loops. This number is maintained for the next 5 rows. Then the thread on one leg is cut off and fixed, the packing is laid inside. On the second leg, the tip of the knitting yarn is left to connect the parts during assembly.
For pens, the diagram will be as follows.
- Create an amigurumi ring by analogy with legs - from 4 loops with single crochet.
- Tie 1 row with an increase, change the color of the yarn.
- 2 circles do not make additional loops.
- On the 5th row there are 2 decreases. Each is done through 2 double crochets, at the end there will be 6 loops.
- 5 rows are knitted without a decrease.
- The toy has only a part with palms in handles.
- The edges of the handles are folded, closed with single crochets along the edge, secured.
The details are ready, you can continue knitting with the transition to larger details.
Body and head
The peculiarity of knitting this part of the amigurumi elephant is gradual filling of the product with padding as it is created... In addition, the legs are connected by two air loops and immediately become the basis for the entire toy. On the first leg, in order to close the circle, they knit 3 single crochet, 4 - with a crochet. On the air loops, you will also have to make 3 new RLS in order to exclude the formation of gaps. The second leg and air loops on both sides are knitted in the same way - there will be 24 loops in a closed circle.
Then the knitting pattern for the torso will be as follows.
- A row with an increase every 3 single crochet. There should be 30 loops by the end of the circle.
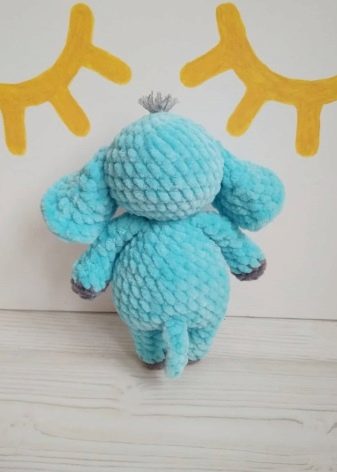
- You need to knit 5 rows without an increase. Further, in the center of the back of the toy, a tail is knitted from 13 or 14 loops of a row. It is made from air loops - 6 is enough in each direction. Then the row is tied in the usual way.
- On the next round, a decrease is made by 6 loops - up to 24. The decrease occurs for every 3 double crochets.
- A simple row of 24 loops is knitted without any reductions.
- The number of loops on the next circle is reduced to 18. Every 2 steps, a narrowing is made.
- The next row remains unchanged.
- Decrease to 12 loops. Decreasing alternates with regular single crochets. On the next row, toy handles are tied in place.
- The ring decreases to 6 loops - it becomes the basis for the head.
- On the next row, an increase is made up to 12 loops, by 2 to 18, by 3 to 24. On the 4th circle, there should be 30 loops.
- Further, without increments, 4 rows are formed at once, from 5 to 8. You can insert a support from a cotton swab into the neck - so the head will not fall to one side.
- Between the 8th and 9th row, eyes are inserted into place. It is better to secure them more securely.
- On the 9th row, there is a decrease to 24 loops, by 10 to 18, by 11 to 12.
- The last row is reduced to 6 loops, closed. The thread is hiding.
Ears are crocheted No. 5, from a ring of 8 loops, with an increase of 8 each row. There will be 4 laps in total. Then the part is folded in half and sewn or left rounded, connected along the edge. No padding required.
The trunk is tied out of the ring in 6 loops, 6 single crochets are attached to the back half loop. 5 rows are also knitted, then done in a circle with 3 and 6 increments. The trunk is not stuffed, it is sewn in a circle after securing the thread.
It remains to fasten the bundles of yarn for the hairstyle, after which the amigurumi elephant will be completely ready.
For more information on how to crochet an elephant, see the video below.


