How to tie an amigurumi snowman?
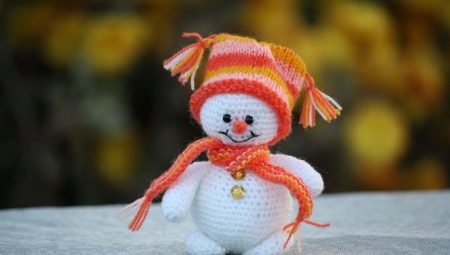
Amigurumi is a special Japanese technique for knitting bulky toys. It allows you to quickly and easily create a variety of interesting and beautiful products. Today we will talk about how to tie an amigurumi snowman, what materials and tools you need for this.

Peculiarities
When creating amigurumi products, either a hook or knitting needles can be used. But most often the first option is taken. Individual parts of such figures should be made in a circle without seams. Knitting is carried out with a dense fabric. It must be stuffed with special fillers. The hook must be selected depending on the thickness of the yarn used. The tool should be smaller, otherwise it will be difficult for you to knit the loops.
A snowman in the Japanese amigurumi technique will be an excellent toy for a child or just an original decor item for your home.
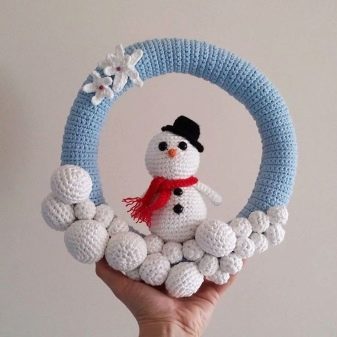
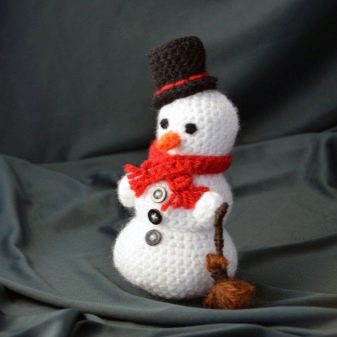
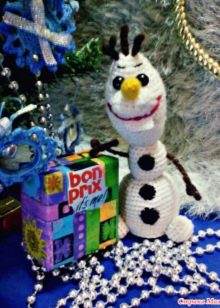
Often, such knitted products are put under the Christmas tree on New Year's holidays. Such a craft can be further decorated with multi-colored beads, buttons or other knitted elements made using the same technique. You can make a toy that looks like your favorite cartoon character Olaf the snowman. The optimal length for such a product is approximately 20-25 centimeters. Often, special plush yarn is taken to create Olaf. It is more voluminous, softer and more pleasant to the touch than ordinary threads, so the finished product will turn out to be more beautiful and larger.
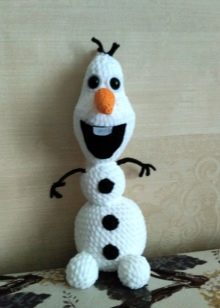
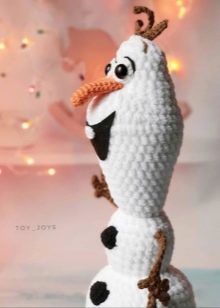
Tools and materials
Before proceeding directly to knitting itself, you should prepare all the necessary elements in advance.
- Yarn. Prepare all the necessary colors for this material at once.In addition to white yarn, you will also need other colors (light blue, blue, orange) to make a small hat and scarf for the snowman. Most often, acrylic thread is used for amigurumi, since it is quite soft and is presented in a variety of colors. You can also take cotton or plush thread. If you want to add bulk to the toy, use a wool base.
- Hook. It is better to choose a 2.5 mm tool.
- Beads. They will be used as eyes for the toy. It is better to purchase such items in black.
- Buttons and beads. These details will be needed to decorate the finished product. And also, if you wish, you can add some sequins.
- Scissors and needles. Prepare a small thin needle for sewing the individual pieces of the toy together and a longer needle for making ties.
- Cardboard. In this case, you will need a small piece of cardboard, which will be used as the basis for the snowman's feet. It will be tied with yarn.
Knitting technique
Various master classes and schemes describing the technique of knitting with amigurs will help anyone to make a beautiful toy Olaf the snowman with their own hands. Let's take a look at the easiest way, which is suitable for beginners.
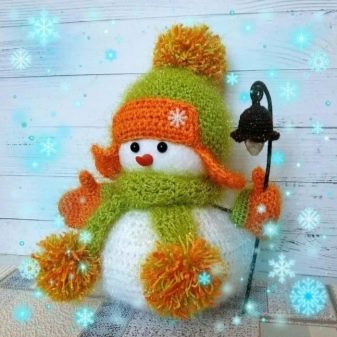
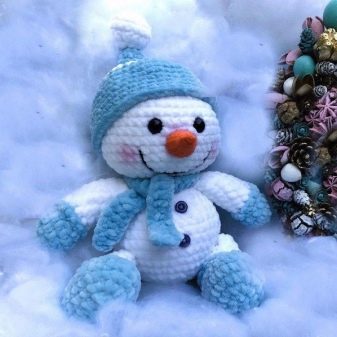
It is better to start knitting from the head of a snowman.
- To do this, make two air loops (VP) and in the second VP from the hook knit six single crochet stitches. This will create the first row.
- To make the second row, you need to knit two single crochets in each loop obtained (SNB). As a result, you should have them in total 1 For the third row, 2 SNBs are knitted in every second loop, they should turn out to be 18. The remaining rows are made in the same way up to 10. In this case, each of them will be slightly larger than the previous one.
- Having reached the 10th row, you should make one single crochet without an increase. Do the same on 11, 12 lines. Row 13 should be started differently, every 8 and 9 loops are knitted together.
- Line 14 is formed in such a way as to get one RLS in a circle. In total, 48 such elements should be formed as a result. Rows 15 to 21 are sewn in the same way as 13, paired loops are sewn together.
- At the end, the thread is well fixed so that it does not bloom. In this case, a small segment is left for further sewing to other parts of the toy. Eyes can be attached immediately. It is better to glue them between 12 and 13 lines. And also the head is immediately stuffed with filler and tightly sewn up.
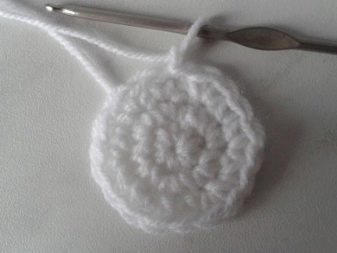
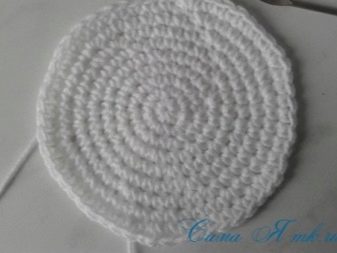
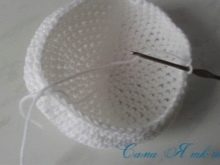
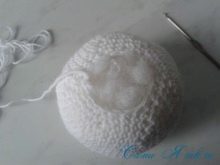
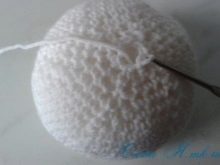
After that, you can start creating the body of the snowman.
- For the first line, one VP is made and 6 single crochet stitches are knitted into the second loop from the hook.
- For the second row, you need to sew 2 SNBs into each loop. They should turn out to be 1 To create the third line, you should knit 2 single crochets in every second loop. All rows up to 12 are knitted in a similar way.
- Lines from 12 to 16 are knitted so that one column is formed without a crochet, there will be 66 in total.Row 17 begins with knitting 10 and 11 loops together and all other lines are also created, it is necessary to sew up to 25 rows. The body is filled and tightened tightly, after which this part will be completely ready.
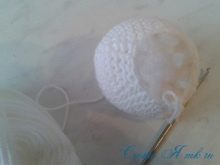
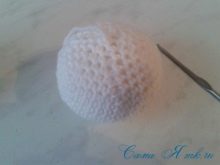
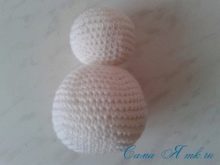
Then you can start making legs and handles. To form them, it is worth preparing in advance an adhesive tape and cardboard, which will act as a basis for the feet.
- For the first row, you need to dial 6 VP, 3 RLS are knitted into the second loop from the hook. Then one column is made into each loop (3 RLS are knitted into the outer one, and then one RLS in the next three loops).
- For the second line, you will need to knit 2 single crochets in the next three loops, one column in the other three and repeat everything. As a result, an oval should form.
- For the third row, in the next 6 loops, knit 2 SNB, 1 SNB in turn (three times). In the other three loops, make one single crochet. Repeat everything one more time.
- In the other 9 loops, 1 SNB, 2 SNB, 1 SNB are alternately knitted three times.In the other 3, there is only one column each, all this should also be repeated again, so we will make the fourth line.
- To form rows 5 and 6, knit without increments in a circle. It is necessary to complete the workpiece by knitting 7 decreases in a row, making 5 single crochets and repeating 3 decreases. The remaining threads should be secured well.
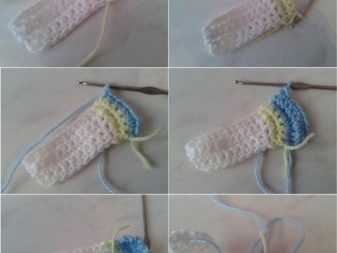
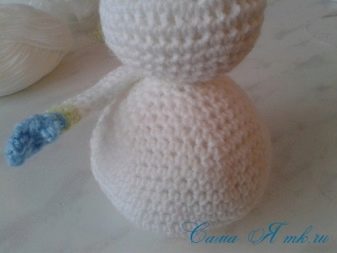
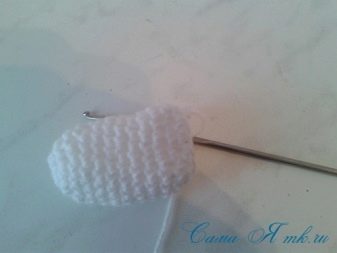
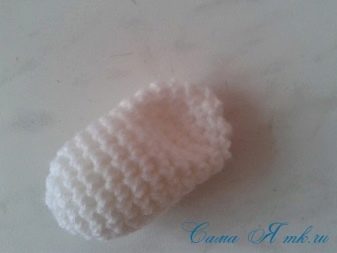
For a snowman, you also need to tie a carrot nose. To begin with, 2 VP are formed, and then 6 columns are knitted in the second from the tool. After that, 2 SNBs are sewn into every third loop. The other 4 lines are formed in the same way.
All the workpieces made are connected to each other. First, the head and torso are sewn together. Then the legs and handles are attached. Don't forget to embroider your smile with black yarn.
A ready-made small snowman scarf can be purchased separately.
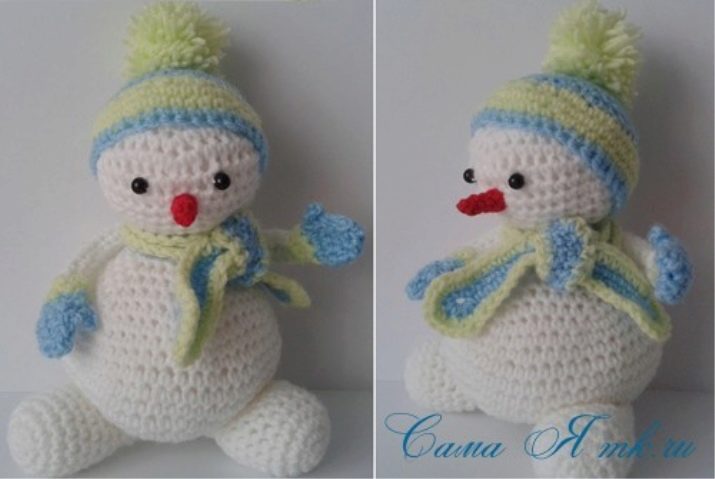
If you do it yourself, then remember that it knits from right to left. A chain of air loops is typed, at the end of the thread they are fixed and cut off.
The beanie can also be purchased separately. If you want to knit it yourself, then you need to dial a chain from the VP and connect it so that a total of 56 loops are formed. Next, continue to knit the workpiece in the same way as the torso of the toy. You can sew a fluffy pom-pom to it. A scarf and a hat are neatly put on a sewn snowman. You can also sew several colored buttons to the finished garment.
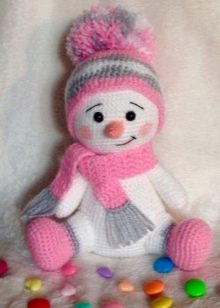
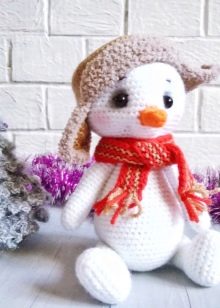
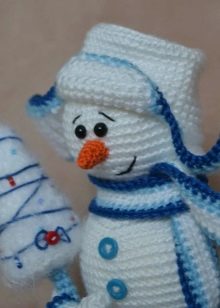
How to knit an amigurumi snowman, you can see in the next video.


