All about amigurumi knitting needles
Today, a huge number of types of needlework, including national ones, are known. Hobbies are a very interesting way to spend your leisure time. The creation of soft toys in various techniques takes a worthy place. In this article, we will look at everything about knitting amigurumi.
What it is?
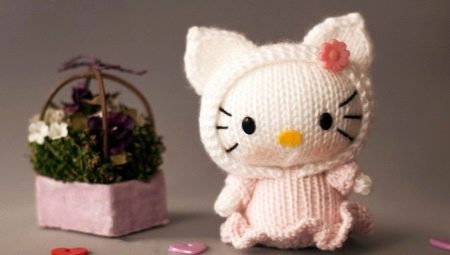
Amigurumi came to Russia, as well as to other countries, from Japan. This is a technique for creating small knitted toys. Amigurumi can be made with knitting needles or crocheted. The main features of the amigurs that distinguish them from other stuffed animals are as follows:
- disproportionately large and round head;
- in the classic version, small Japanese toys are minimalistic, which is expressed in monotony;
- classic amigurumi are very small, their size is about 10 cm in height, but today many create both large and very small amigurumi;
- very thin tools are used for knitting so that the knitting is very small and dense, not loose.
Materials and tools
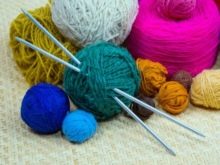
To knit amigurumi, you need very few tools and materials, since the toys are very small and simple. This method is suitable for wasting the leftover thread from large knitted items. So, to make amigurumi knitting needles, you need to prepare the following tools:
- knitting needles (thin knitting needles are of small length, since toys are knitted from fine yarn and in a circle);
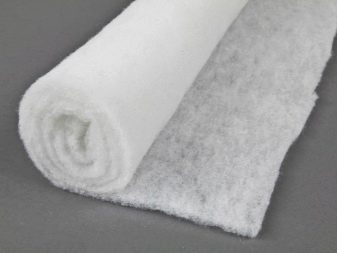
- a needle (to complement the finished product with elements and materials);
- threads for embroidery of eyes, nose, mouth;
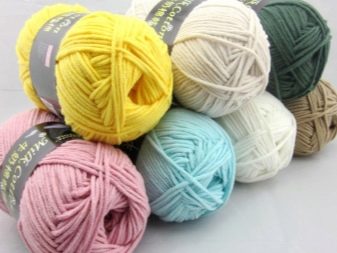
- yarn.


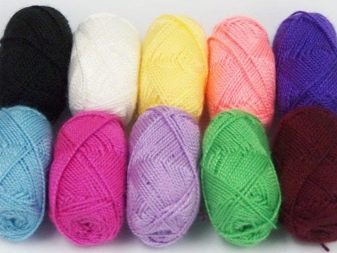
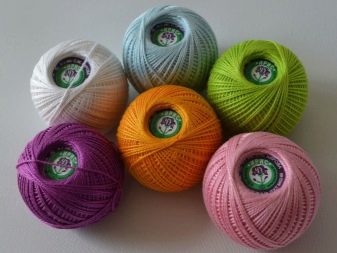
The choice of yarn depends on the exact results you would like to achieve. For the smallest toys without lint, it is better to use "Iris". If you already have good knitting experience, you can use cotton. For beginners, this type of yarn is not suitable, although it is the most common, but it is difficult to knit dense products from such threads.You can use fluffy wool, then the toy will look like woolen and shaggy, which adds size to the toy. Very interesting toys are made from Grass yarn.
You can combine different types of materials to achieve a certain effect.
Master Class
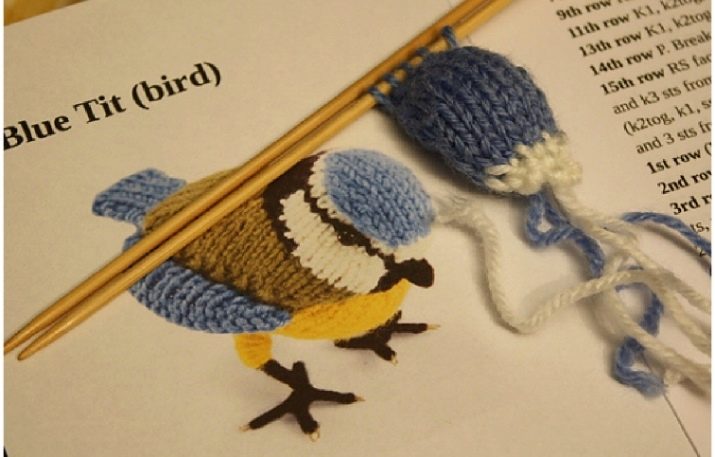
The network has a huge number of knitting patterns for toys. In fact, knitting amigurumi is a very easy task, since the method and technique of knitting are the same for any toy. The most important thing for beginners is master the principle and learn to knit very tightly. Below is a very simple master class on creating a toy with a description of all the steps.
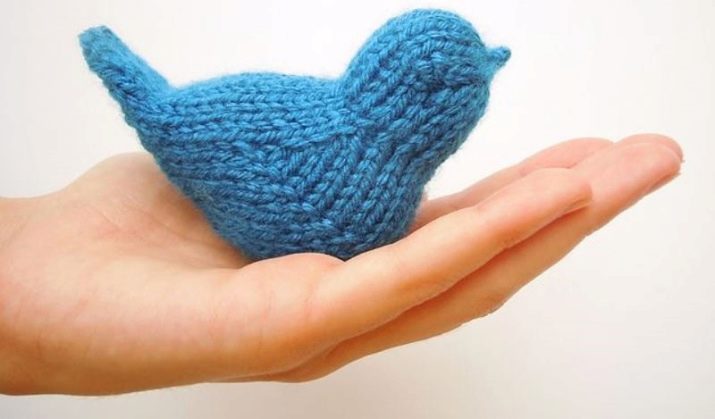
To knit a bird, you need a small amount of yarn of any color, in our case blue, as well as very little gold and black, 4 knitting needles 4.5 mm thick, a needle, synthetic winterizer or other filler, marker. Let's consider in more detail the algorithm of work.
Body
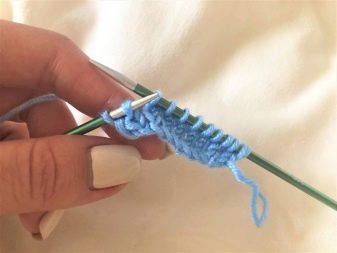
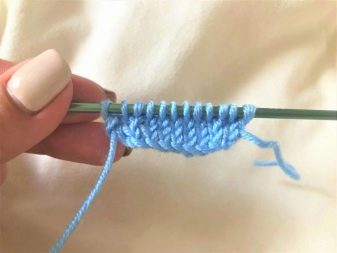
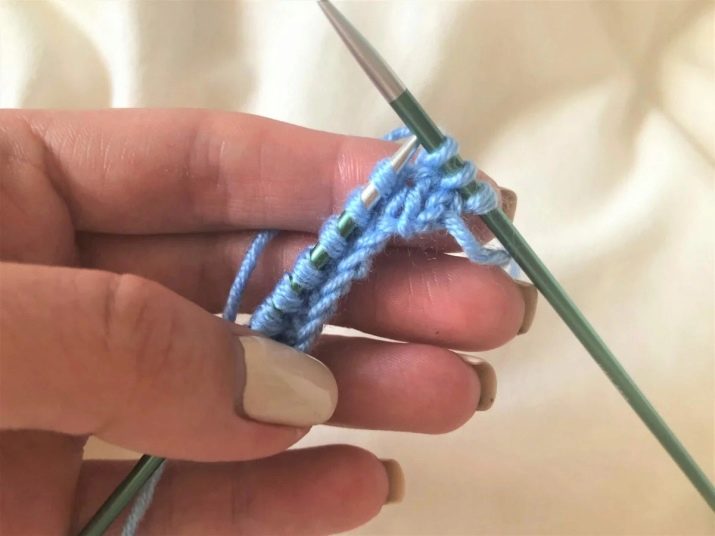
Let's start by creating the bird's body. Cast on 9 loops on a knitting needle, then dividing into three knitting needles, and close the knitting in a circle. Mark the beginning of the circle with a marker or colored thread. Odd rows are facial. It should be knitted according to the following pattern:
- 2nd row: (1 l. P., Add a loop from the broach, 2 l. P.) Repeat 3 times (12 p.);
- 4th row: (1 l. P., Add a loop from the broach, 3 l. P.) Repeat 3 times (15 p.);
- 6th row: (1 l. P., Add a loop from the broach, 4 l. P.) Repeat 3 times (18 p.);
- also knit 6 rows so that there are 10 loops on each knitting needle.
Then start decreasing. Decrease is done like this: remove one loop, like the front one to the right on the knitting needle, then remove another one as well, pull the left knitting needle through these two loops to the right in front, knit both loops together as front loops, behind the back wall. It is worth doing the following:
- 1st row: (decrease the loop, 1 person., 2 cm., 5 l. P.) Repeat 3 times (24 p.); make 2 front rows;
- 2nd row: (decrease the loop, 1 person., 2 cm., 3 l. P.) Repeat 3 times (18 p.); make 2 front rows;
- 3rd row: (decrease the loop, 1 person., 2 cm., 1 l. P.) Repeat 3 times (12 p.); make 2 front rows;
- 4th row: (decrease the loop, 2 cm.) Repeat 3 times (6 p.); make 2 front rows.
Cut the thread, pass the long end through the loops, fill with padding polyester or other filler, tighten.
Wings and tail
Wings and tail - 3 pcs. Follow these steps:
- the first loop of each purl row is removed as a front loop;
- cast on 8 loops;
- 1st and 2nd rows are facial;
- 3rd row: knit, except for the last 2 loops, 2 cm., 1 l. p. (7 p.);
- knit the last row 4 times (3 p.);
- cut off the yarn, thread through the loops, pull off.
Beak
Remove the first loop of each front row as the front one. Remove the first loop of each purl row as purl. Cast on 8 stitches of golden color and follow the following algorithm:
- 1st row: purl all;
- 2nd row: knit, except for the last 3 loops, 2 cm., 1 l. p. (7 p.);
- 3rd row: purl, except for the last 3 loops, 3 cm., 1 and. p. (6 p.);
- repeat rows 2 and 3 (4 p.);
- cut the thread, pull through the loops, pull off.
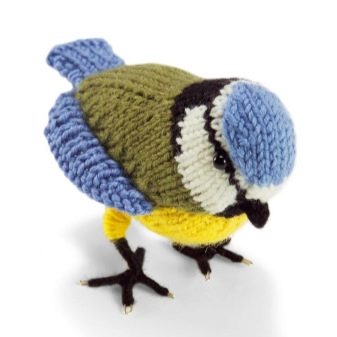
Head
Using a blue thread, make a neck: pulling it through 1 loop at the level of one third from the top, pull it off. Then attach the wings, tail, beak. Make eyes. The bird is ready.
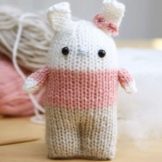
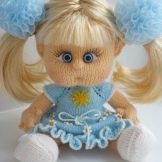
Important! From colored yarn, you can knit any additional elements for all toys. The simplest is a scarf, dress or sweater. For this, you can use the remains of bright yarn.
For information on how to knit a cat with knitting needles, see the next video.


