How to crochet crochet when knitting amigurumi?
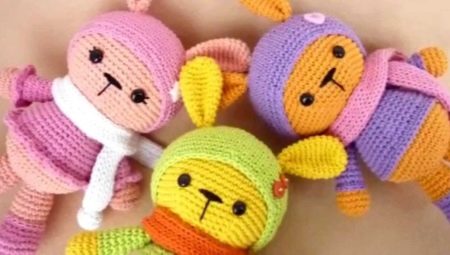
Handicraft has been very popular at all times. One of its varieties is crocheting, especially toys. The most difficult moment for beginners in knitting amigurumi toys is the need to periodically crochet. But if you practice, then everything will not be as difficult as it seems at first glance.
Knitting features
It is worth saying that small crocheted cartoon creatures appeared quite recently - in the 20th century. And they began their journey to many countries from Japan.
Translated from Japanese, the word "amigurumi" means "dolls" or "toys".
Originating in Japan, cute crafts quickly spread throughout the world.
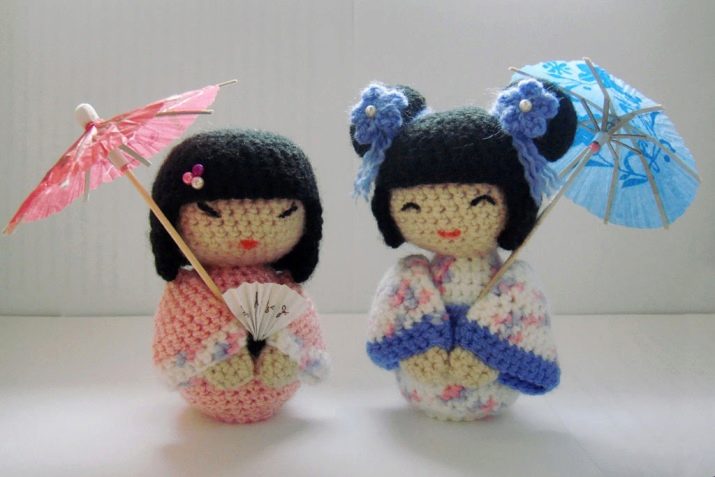
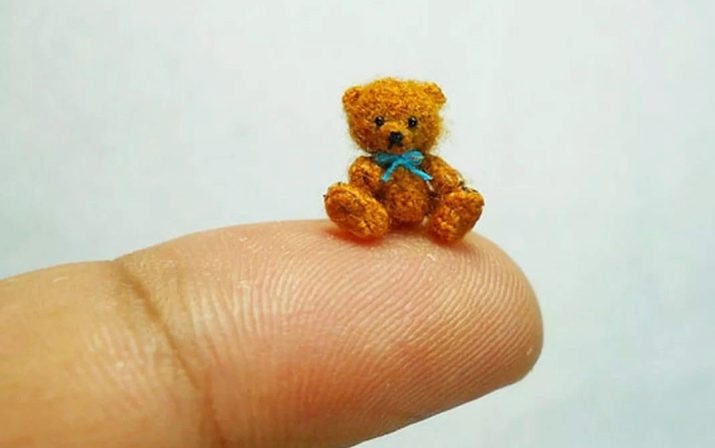
As for the knitting itself, then to create these unusual toys, only basic types of loops are used. In addition, a characteristic feature of amigurumi is their small size. If we talk about classic figures, then their size should be within 7-9 centimeters (either in width or in length). However, there are also craftsmen who can knit a toy with a size equal to only 10 millimeters.
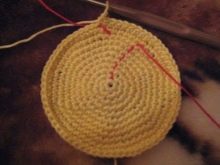
Amigurumi are knitted from separate pieces, which are very neatly sewn together. To do this, you need a small hook so that the toy is dense enough and without holes. Each of the parts is knitted in a spiral so that the product is even.
It is worth remembering that the last loop in each row is best marked. This is necessary in order not to lose the number of knitted columns.
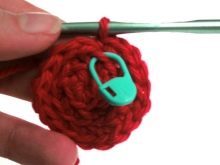

To make the toy beautiful and flawless, it is necessary to master not only ordinary air loops, but also double crochets and without. However, the most important thing in knitting toys is the ability to make an amigurumi crochet decrease.
The basis of any part of a mini-toy is a ring, which can be knitted in two ways.
Usually a chain of two air loops is knitted. After that, in the second loop, you need to knit the number of single crochet columns that will be required for the first row. This does not require any additional skills. However, when using this method, most often there are small holes in the toy, which does not look very beautiful. True, if you practice well, then here you can achieve the perfect appearance.
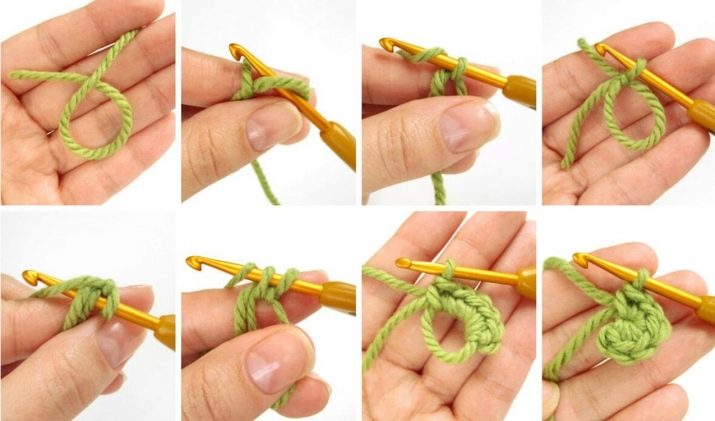
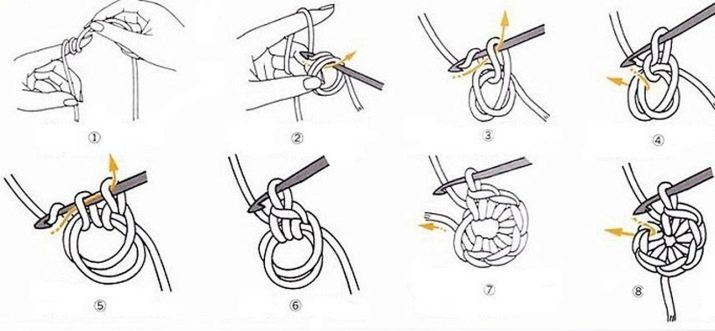
For those who have mastered the technique well, you can start working on the double ring. To do this, you will need to wrap the thread around your index finger on your left hand. In this case, the free end of the thread should be on the side of the thumb. As for the working thread, it is at this time located on the side of the middle finger. Next, you need to take the hook and, on the right side, insert it under the threads that are on the index finger, making an unfixed loop. After that, you need to stretch the working thread through it to make an air loop.
Now you can remove the threads from your fingers without removing the hook from the loop. You should get a ring with the free end of the thread passed through it. Next, you need to knit a row of single crochets. Most often, its length is six loops. When the last loop is tied, you will need to tighten the amigurumi ring. It is very important that there is no hole in the middle.... Then you can start knitting the second row. To do this, his first loop must go through the initial column of the first row.
The ways
There are several options for decreasing the loops in the knitting technique of toys. However, the following description schemes are most suitable for beginners.
- Decrease in a circle
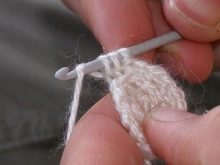
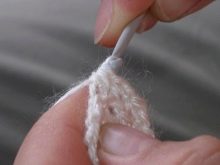
To reduce the required number of loops, you will need to take several steps. You need to start with a regular single crochet.

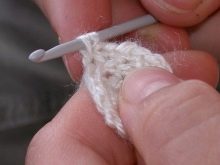
To do this, you need to grab the thread, and then pull it through the adjacent loop. You should have two pieces on one hook. Next, you need to grab another loop. So there should be three on the hook at once. After that, you need to stretch the main thread through them and combine everything together. Thus it is necessary to decrease the loops around the whole circle.
Invisible decreases
This is another easy way to reduce loops.
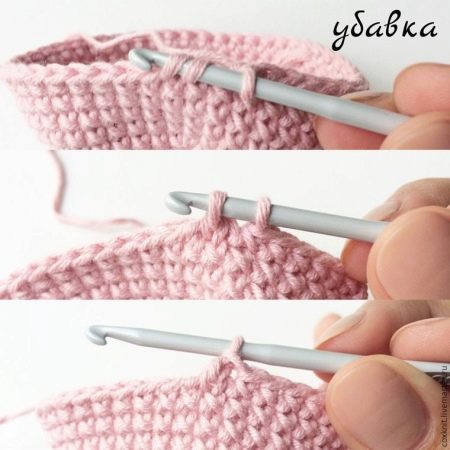
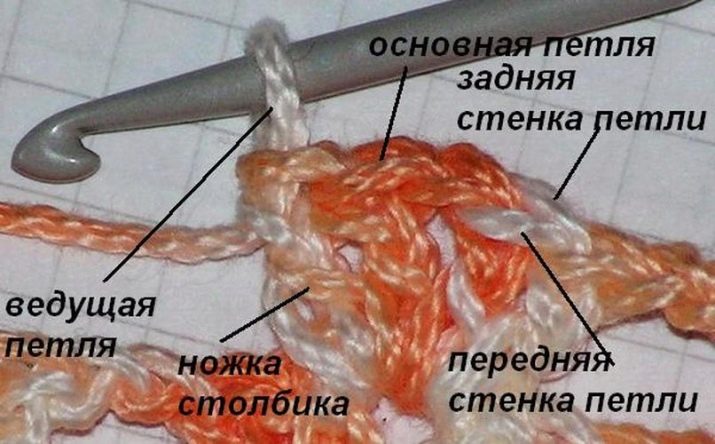
- First you need to simultaneously insert the hook into the front wall of the first loopas well as the front wall of the second hinge. There should be three loops on the hook at once. One of them is the main one, and the next two are half loops.
- Further it is necessary pick up a work loop, and then stretch it through the half-loops. After that, there will be only two loops on the hook.
- Next action - knitting a working loop through the remaining two half loops.
Recommendations
To knit a small amigurumi toy, you will need to take a slightly smaller crochet hook. This will make the canvas denser. If the toy has holes, it will immediately ruin its appearance, especially for those amigurumi that are made of dark yarn and light filler.
Following the rules, toys need to be knitted only in a spiral and for two adjacent loops... In some cases, according to the scheme, one or another row can also be tied behind the front walls. In this case, the toy will be more stable and durable.
Another important point in knitting toys is assembling them. This will take a lot of patience. First of all, it is worth balancing the amigurumi, that is, finding the center of gravity. In this case, the craft can not only stand well, but also sit.
Thus, having mastered the basics of crocheting, you can create a large number of mini-toys from your favorite comics or animated series.
An illustrative example of knitting amigurumi using a ball as an example can be seen in the following video.


