How to make an amigurumi wolf?
The amigurumi wolf is a popular toy that can please both children and adults. Using a simple master class, diagram or description, everyone can make it with their own hands. You just need to take a closer look at the process of crocheting a wolf, prepare materials.

Peculiarities
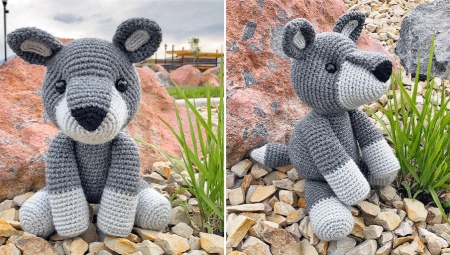
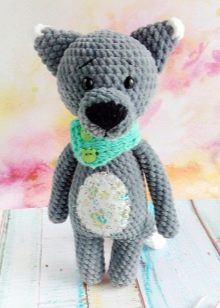
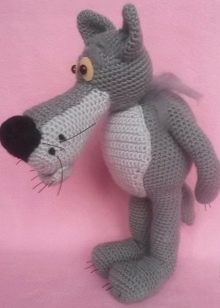
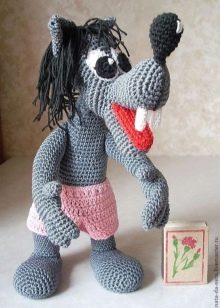
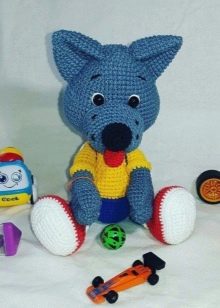
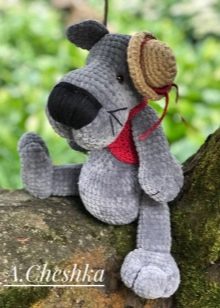
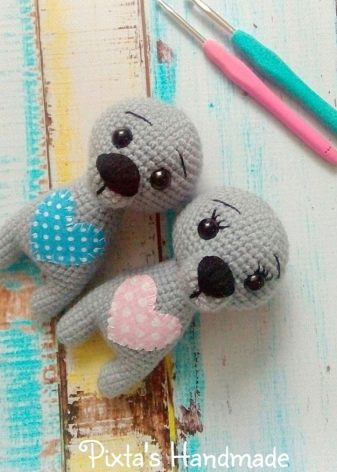
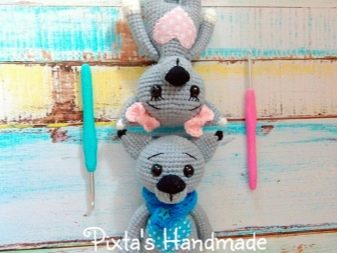
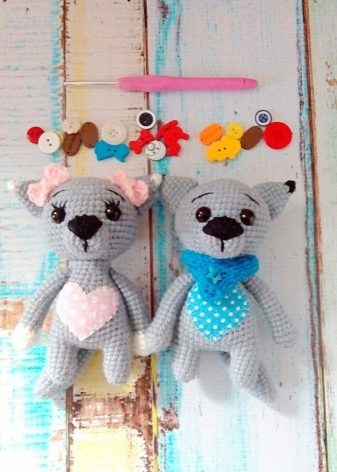
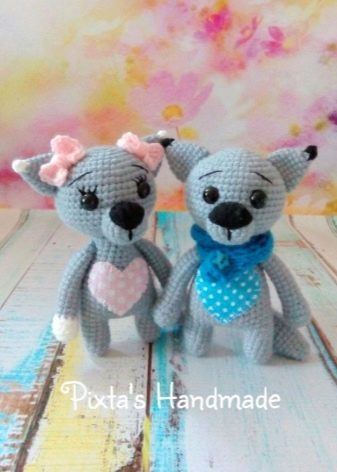
A miniature or medium-sized amigurumi wolf can be crocheted in just a few hours. The toy has a rather dense padding, a pretty muzzle, and an increased head size relative to the body. Amigurumi wolf cub can be not only gray - the master reserves the choice of color. The originality of the product can be given by sewing clothes for it or tying a scarf, a hat, - so the hero will have a bright personality.
Using voluminous plush threads, you can enhance the effect, add fabulousness to the character, but it is more difficult for a beginner to work with them.
Tools and materials
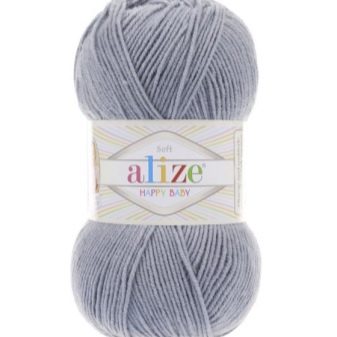
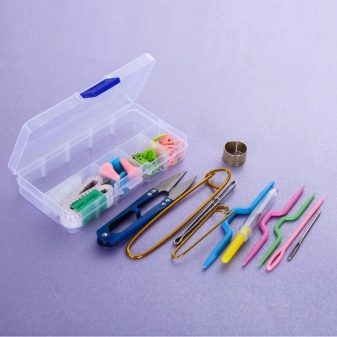
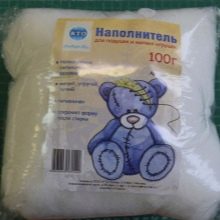
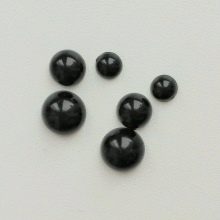
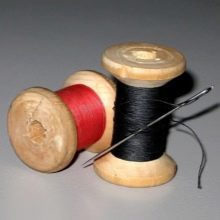
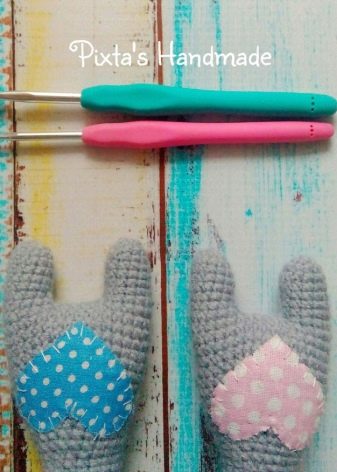
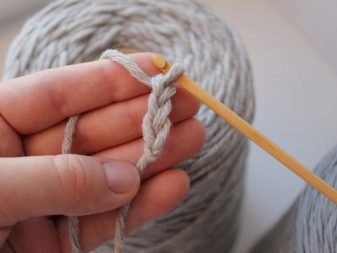
You need yarn to work - the best option would be Alize Happy Baby in gray, black and white. You can knit toys from other threads of the same thickness. Also come in handy ready-made eyes, filler, scissors and a needle, hook number 3, thin contrasting thread for the formation of eyebrows and eyelashes, a flap of bright chintz for decorating the breast.
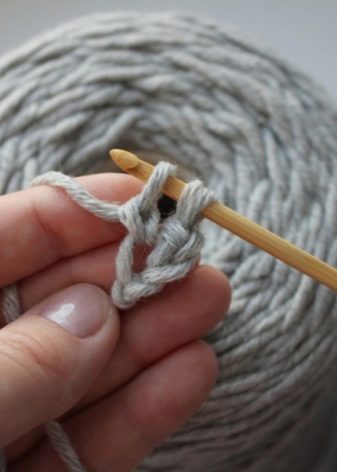
Knitting technology
Using a simple master class with a pattern and description of knitting, you can create a charming wolf cub with your own hands. Legs and body are created in one piece. The procedure will be as follows.
- 1 paw is created. 6 loops are tied with columns without a crochet in an amigurumi ring, on the 2nd row there is an increase in another 6, from 3 to 8 circle this diameter remains. The thread is fixed, a small tail is kept for pulling. The second leg is knitted according to the same pattern, connected to the first 6 air loops, then the columns go in a circle.
- 12 loops are passed through 1 foot, then you need to tie 6 connecting air loops to close the ring.After finishing the rest of the row, you need to set the marker. It will determine the beginning of the circle for subsequent knitting, should indicate the back. In total, at this stage, the row consists of 36 loops.
- From 10 to 13 rounds, you must keep the number of columns.
- At 14, a decrease is performed every 10 loops. At the end of the circle, there will be 33 of them. This number remains on the 15th row.
- Further from the 15th to the 22nd circle there is an alternation. The scheme is as follows - 1 row of decrease by 3 loops, 1 without it. On the 23rd and 24th circles, the columns do not decrease, there are 21 of them in total.
- On the 25th row, the number of loops is reduced by another 3, to 18. Another 2 circles are knitted with single crochet, the body is stuffed. The thread is fastened with the preservation of the "tail" for attaching the head.
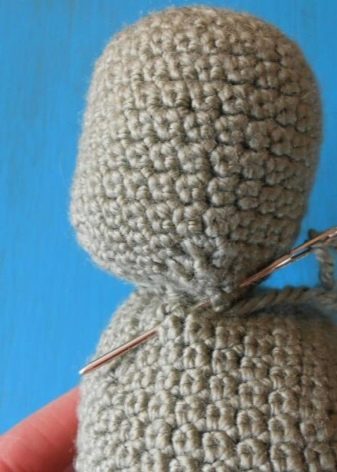
The head is knitted from 2 parts - the base and the muzzle. The first part is created from the amigurumi ring with an increase of 6 loops per row until the total number of columns reaches 48 (on 8th round). Then you need to keep the number of loops. From 9 to 15 rounds, no increase is made. From 16 to 20 rows, a decrease of 6 loops is performed. At the end, the thread is fixed, between the 8th and 10th circle, eyes are inserted from the beginning, the head is stuffed.
The muzzle is knitted from the amigurumi ring with an increase in rows 2 and 3 of 6 loops. Then 4 more circles are knitted with single crochets without changing the number. The muzzle is stuffed, the rest of the thread is sewn to the head in the area of the 16-17 row. The nose is embroidered with dense black yarn.
On the collected muzzle, eyebrows and eyelashes are made over the eyes with thin yarn.
Ears: 2 pieces knit with white or black tassels at the ends. The ring needs to be made of 4 columns, in a contrasting shade, add 4 more in the next row. Then the threads change to the main, background ones. With an increase in 2 loops, 3 circles are knitted, then the last 2 rows, the number of loops - 16 - does not change. The ears are folded in half, tied around the edge without padding, sewn to the head.
The upper pair of legs is knitted, starting with white yarn from a ring of 6 single crochets, then 6 loops are successively added in the 2nd row and 3 in the third. 4 circle of 15 loops is created without changing their number. Then there is a decrease by 5 columns, the color changes, 13 circles are knitted with the background yarn. In the latter, 5 loops are reduced, the foot is stuffed, attached with a free thread attachment to the body in order to maintain mobility.
The wolf cub's chest is decorated with a heart made of fabric. The tail is tied out of the ring with amigurumi (black threads) - 1 row of 6 loops, 2 and 3 with 9 columns. The color changes to white. A row is knitted with an increase of 3 loops, then another 1 with the same number of columns, in 6 again an increase by 3 - in total there will be 15.
The rest of the tail circles are knitted with gray threads. An increase is made by 3 loops, then 4 rows are knitted in 18 columns without changes. Decrease begins. On the 12th row, there are 15 of them, then 2 circles do not change the number. A decrease is performed to 12 columns, then to 9. The tail is stuffed, sewn on. The toy is ready.
For information on how to make an amigurumi wolf, see the next master class.


