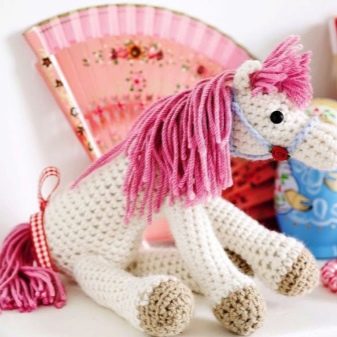
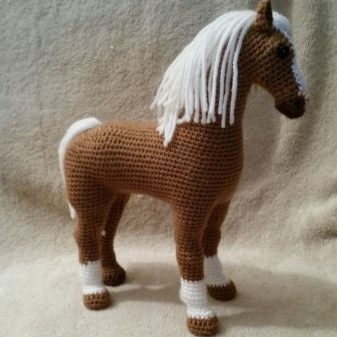
We knit an amigurumi horse
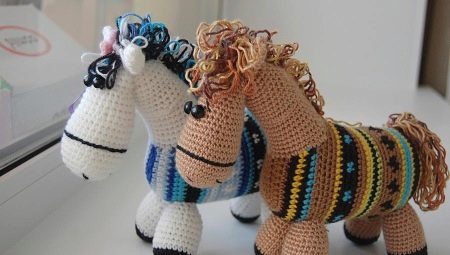
The amigurumi horse is a miniature knitted toy that can delight both a child and an adult. Its compact size allows even a novice master to cope with the work - it is enough to carefully study the description and crochet patterns. But before knitting a horse from plush yarn, it is worth learning a little more about the preparation and some of the features of such needlework.
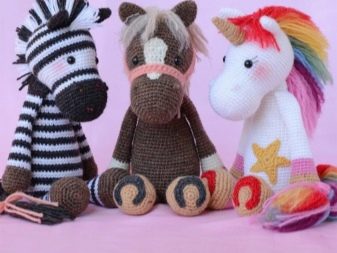
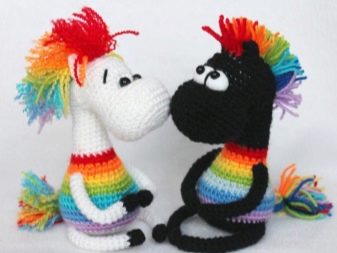
Preparation
Before you start knitting amigurumi toys, you should figure out the choice of materials and tools for work. For example, not all yarns are suitable. Most often, acrylic and cotton threads are used, which are not prone to double vision, and are hypoallergenic. From plush yarn, toys are very cute and tactilely pleasant, but micropolyester also has a drawback - a product made of it is quite easily wrinkled. Mohair horses look attractive, but it is better to take on this material only if you have enough experience - it is rather difficult to process.
When preparing yarn for amigurumi it is important to take skeins that do not have knots, thickenings in their structure. For this technique, the uniformity and proportionality of the product is very important. For the smallest horses fit threads "Iris" or "Narcissus", are considered universal materials of the brands "Acryl", "Baby Best", "Children's Caprice". The hook must be selected according to the thickness of the thread, the fabric should be quite dense.
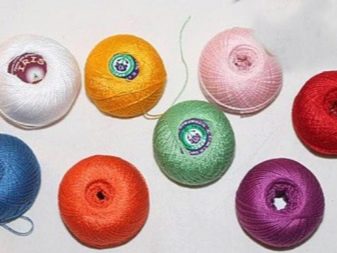
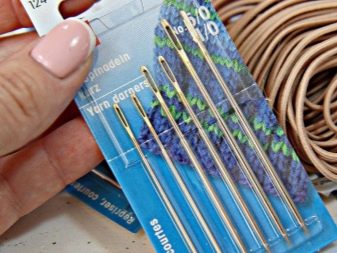
For beginners for a horse, you can take a hook number 1.5 and several skeins of bright iris. Also in the process of work will come in handy:
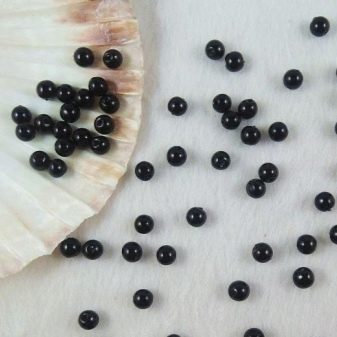
- 2 beads for eyes;
- floss and a needle for embroidering the details of the face;
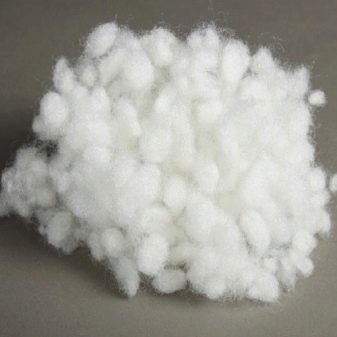
- filler (synthetic winterizer, synthetic fluff);
- granular weighting agents;
- woolen threads for the mane and a fine needle.
This set will be enough. To get a larger piece, you just need to change the iris to acrylic.
Work description
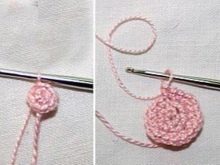
To crochet an amigurumi horse, you should adhere to a certain pattern. The head is always made first. Knitting begins with a row of 6 loops - they are closed in a ring, then along the rows.
- On 2, add 1 loop each (12 in total).
- For 3, single crochet alternates with an increase.
- An increase of 4 occurs on every 3 loop.
- 5 additional columns are knitted in every 4 cases.
- At 6, 36 loops should be obtained, an increase in each 5th column.
- 7 and 8 rows are knitted with simple loops without a crochet.
- On the 9th row, there is a decrease by 6 loops, by 1 decrease - 4 columns without it.
- At 10, the entire row is knitted without changing the quantity. This is the final solid color element of the head. Further, for each row, a different shade of thread is taken.
- From 11 to 13 rows are knitted in 30 loops with single crochets.
- In row 14, there is 1 decrease through 3 regular loops. By the end of the row, there will be 24 of them.
- From 15 to 19, the number of loops remains unchanged. Head stuffing in progress.
- In row 20, 1 decrease falls on 2 columns, then in 21 the number of loops is reduced to 12. At this stage, you can add filler.
- Row 22 completes the knitting of the head, the loops are reduced in a circle to 6. The hole is tightened with a needle.
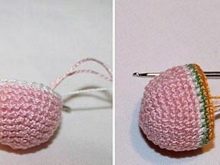
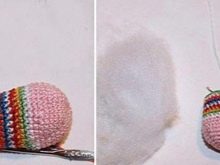
Auxiliary parts
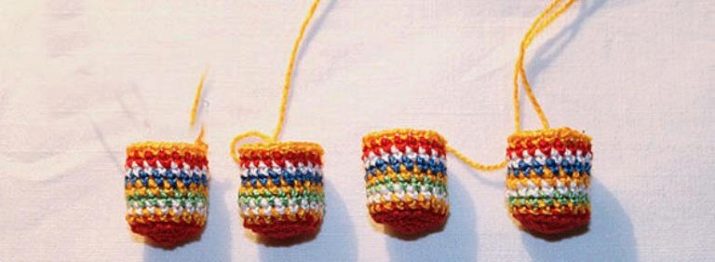
Further elements are created. Four legs are knitted first with a red thread, then with colored ones from 4 to 11 rows. The ring is created from 6 amigurumi loops. The increase on rows 2 and 3 is another 6. From 4 circles, 18 loops are knitted to the end, with single crochet. Legs are stuffed before sewing to the body, it is worth leaving a long enough "tail" of the thread to connect the parts.
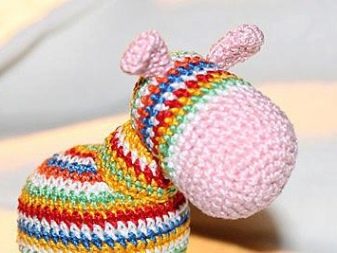
The ears are created from the same threads as the muzzle. A ring of 6 loops in the 2nd row is complemented by 3 more, single crochet stitches are knitted. From 3 to 6 rows, knitting is performed without an increase - only 9 loops. By 7, 3 columns are reduced, a thread is left for sewing to the head. Ears are not stuffed - they are flattened by squeezing them with your fingers.
Also, the amigurumi horse will need a neck. It is knitted like this.
- A chain of 19 air loops is closed in a circle.
- The resulting ring is knitted in 3 rows with single crochet. There should be 18 loops without an increase. The color of the threads is alternating.
- From the 4th row, an increase is made for every 4th column. There should be 22 loops in total.
- 5-7 rows are knitted without any increase.
At the end, a thread is left for sewing the part with the body and head.
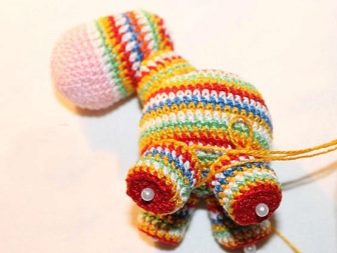
Horse torso
The body immediately knits in color, with an update along the rows. The first row is a ring of 6 loops. Then, from 2 to 8, you need to add 6 more columns, until the total number reaches 48. From 9 to 17 rows, the body of the amigurumi horse is knitted without an increase. There should be 48 stitches. From rows 18 to 24, a decrease in 6 loops is made, at the end the ring closes, the thread is tightened and hidden with a needle.
It is important not to forget to lay the packing in time.
This is done on 21 rows, when the number of loops is still quite large - 24 per circle. It is better to put granulate in the abdomen of the horse, otherwise the voluminous head can outweigh the body, shifting the center of gravity. Without a weight, the toy will simply not maintain the correct position.
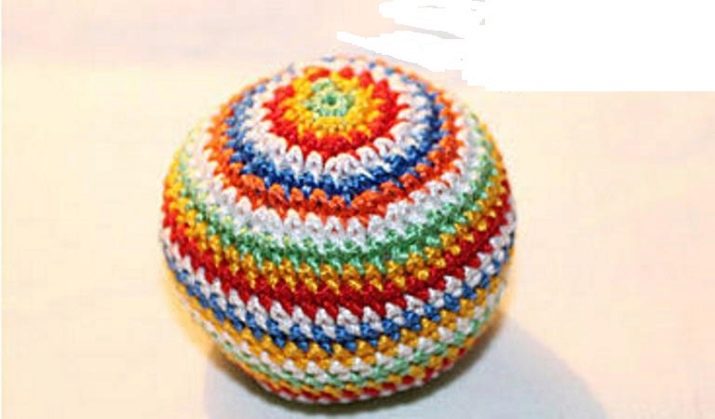
Assembly
Once all the body parts of the amigurumi horse are connected, you can proceed to assembling the toy. The procedure will be as follows.
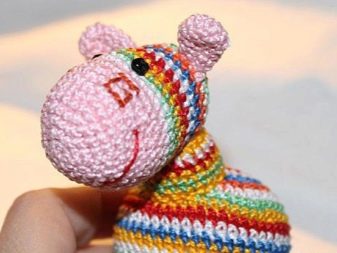
- The ears are sewn to the head. Bead eyes are sewn into place. The nose and smile are embroidered with bright floss.
- Attach the neck to the head... Fill it with padding polyester or other stuffing.
- Add the torso. It is important that the fit of the head on the body is not too low.
- Pin the legs... Find a stable position, secure each with a thread and a needle. Beads can be attached to the hooves as horseshoes.
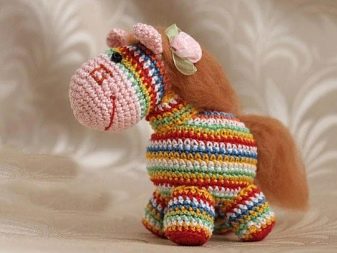
- Fold tail and mane. This is done with a thin needle and special wool. You don't have to fix anything specially - all the parts are perfectly welded and so on. You can glue or attach a flower to the mane. If you don't want felted, you can make it out of acrylic threads.
Recommendations
Granules and other weighting agents are added not only to the body. It is also better to put it in the legs of the horse, otherwise the stability of the toy will be reduced. To find the correct position of the parts during assembly, it is worth using pins. They will provide fixation of the legs or ears during assembly.
When creating toys using the amigurumi technique, it is important to remember the proportions: a voluminous round head and a small oval or cylindrical body are always used here.
Each piece is knitted in a circle, starting with a chain of 6 loops. It is better to take the hook a little thinner than the yarn itself. The increments are performed on the 1st and the last column of the wedge. This will give you a more beautiful and neat result.
Watch a master class on knitting an amigurumi horse in the video.


