We make an application "Rowan"
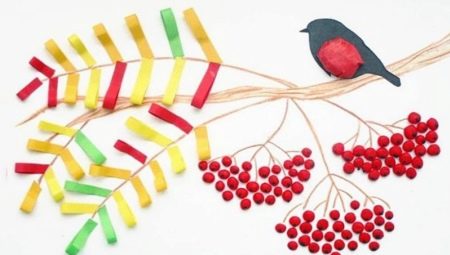
Most preschool children love to make different crafts and applications with their own hands. This develops fine motor skills, imagination, instills diligence, the ability to work independently. In this article, we will offer ideas for creating an autumn craft in the form of a bunch of rowan from colored paper.
Simple option for toddlers
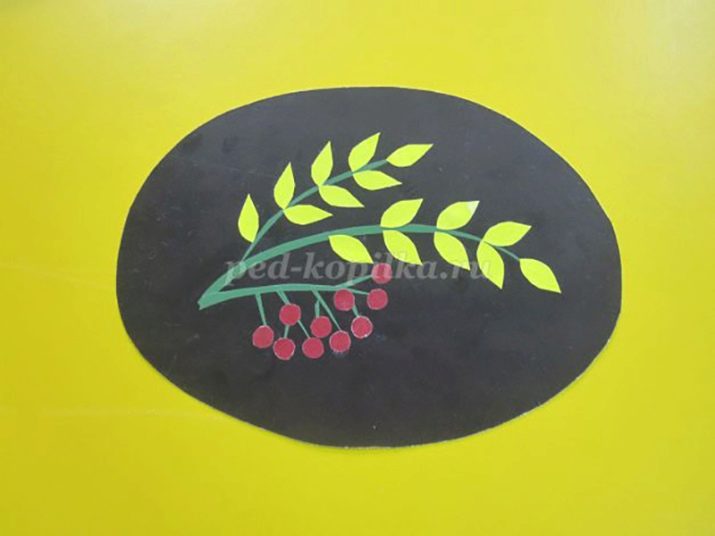
It will be easiest for kindergarten kids to make a flat applique in the form of a bunch of mountain ash. Children will be able to cope with such a craft on their own without resorting to help from adults.
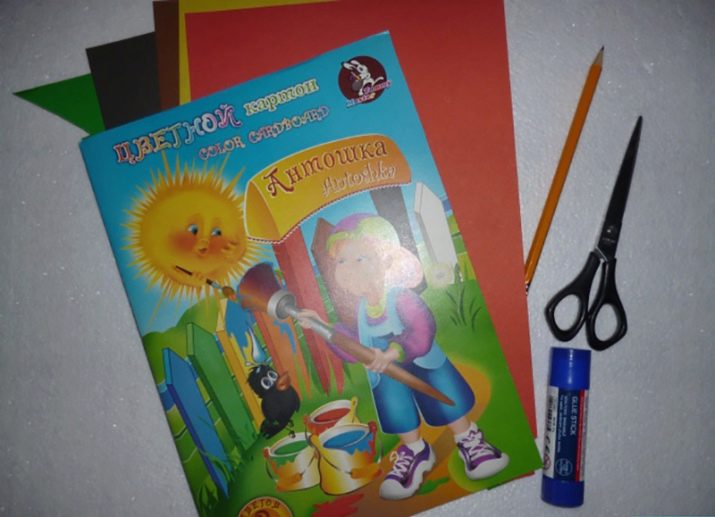
For crafts, you will need materials such as cardboard, a simple pencil, colored paper, scissors, glue stick or PVA glue along with a brush.
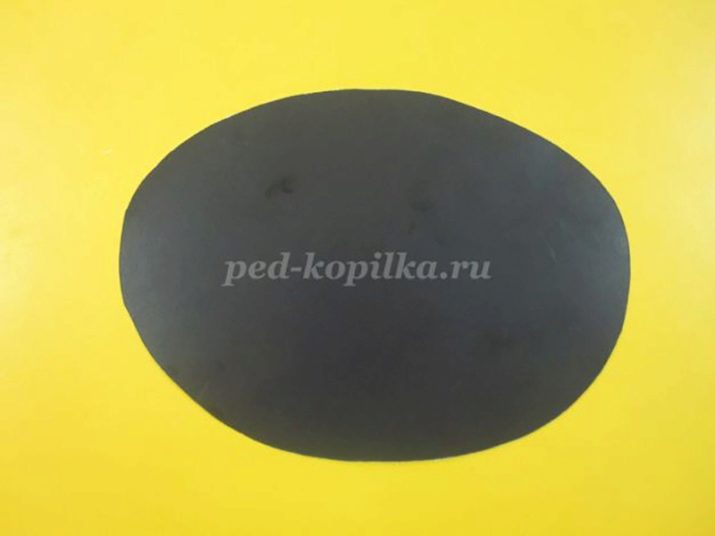
Having prepared everything you need, you can start creating crafts. First of all, you need to cut out the base for the applique in the form of an oval.
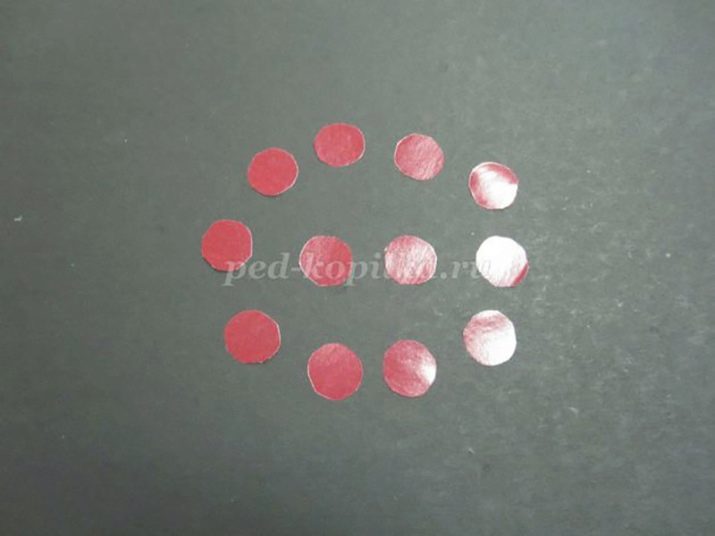
After that, you need to make blanks. In order not to cut each berry separately, you can do this: cut out a strip of red paper, fold it like an accordion, draw a circle and cut it out. Thus, you will get several identical parts at once.
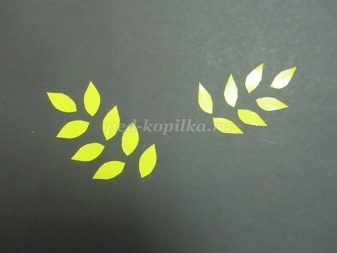
In the same way, you can cut out leaves for a mountain ash brush, using already green paper. After that, we make thin twigs. To do this, draw thin stripes and cut them out.
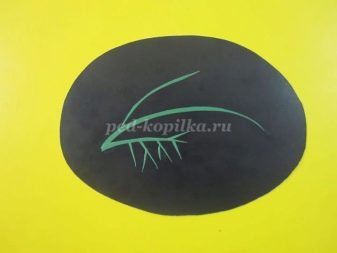
Now you need to arrange all the finished parts on a cardboard base, forming a rowan branch, and glue everything in the desired sequence.
When working with PVA glue, be careful not to accidentally flood your work with it.
The craft is ready! Such an application can not only be given to an exhibition, but also presented as a gift to a mother or grandmother for a particular holiday.
How to make from curled paper?
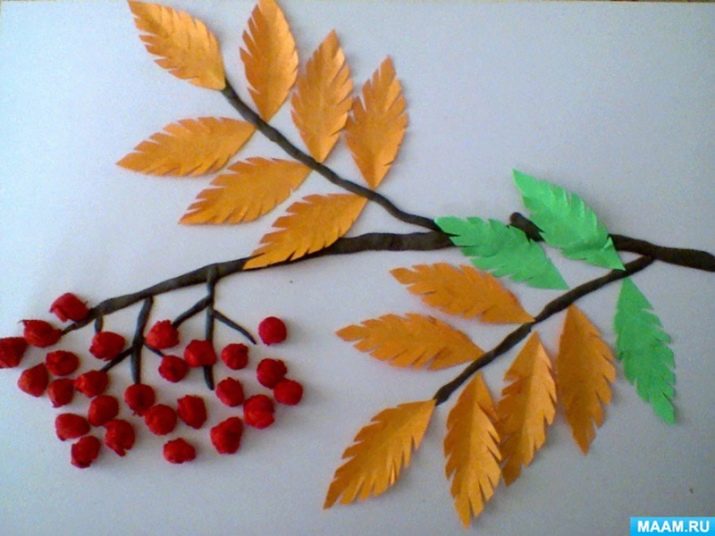
Rowan bunch can also be made from curled paper. In this case, it will turn out to be voluminous and more lush.
Making such a craft will be easy even for a preschooler. For work, you will need the following materials: cardboard, napkins, glue, a glue brush and a simple pencil.
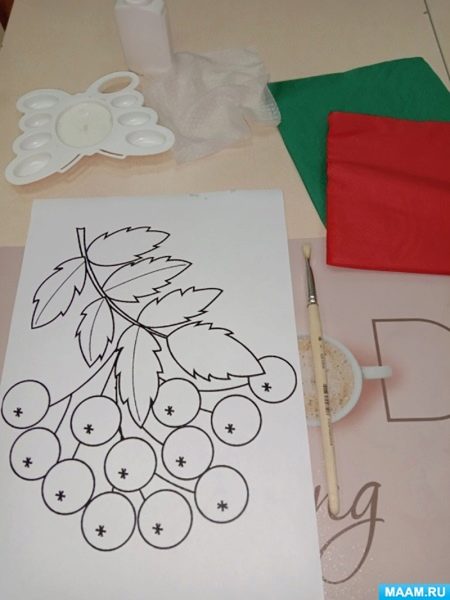
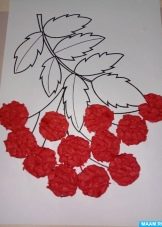
Before you start, you need to make a small drawing with the image of a bunch of rowan, which you will subsequently fill in with paper. You can go a simpler way, make it easier for yourself by printing a ready-made rowan pattern on a printer.
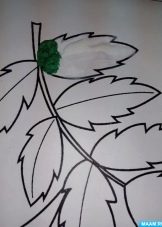
After that, you need to prepare green and red napkins. They need to be broken into small pieces.
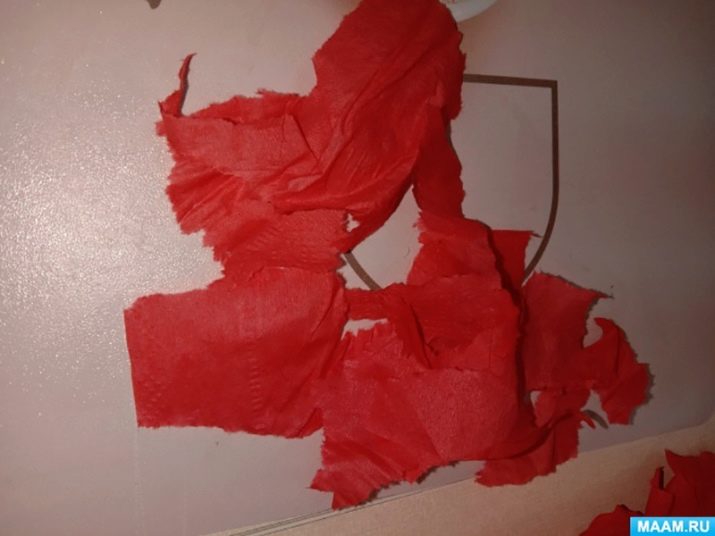
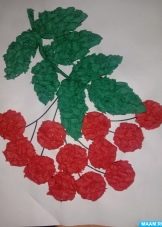
When gluing the lumps, make sure that there are no gaps between them, otherwise the craft will not look very beautiful. Having finished work on rowan berries, we form green foliage and twigs in the same way. Ready!
More ideas
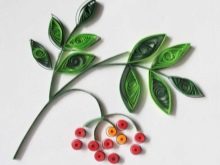
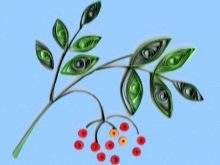
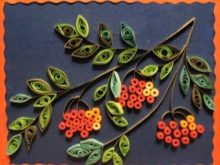
A rowan twig made using the quilling technique will look no less beautiful. For such a craft, you will need pre-cut long strips of green and red colors about 5 millimeters wide, a simple pencil, PVA glue and brushes for it, toothpicks and cardboard.
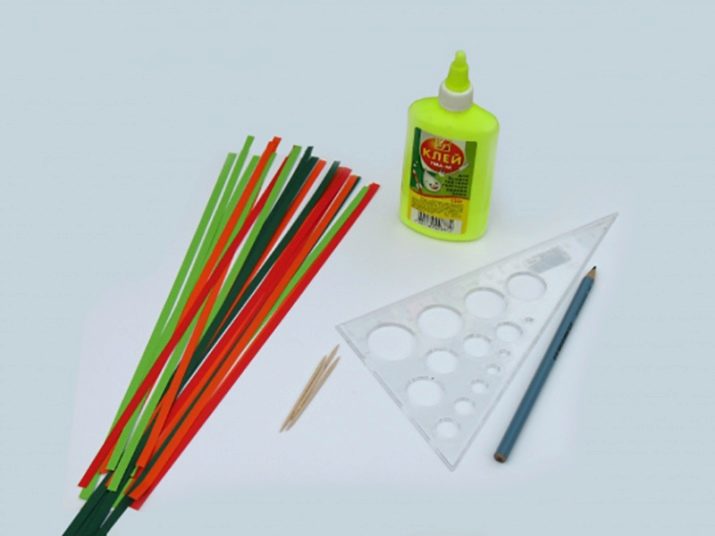
First you need to make a drawing of a rowan branch on cardboard. It is not necessary to draw it in detail, it is enough to make only a schematic sketch. In this case, a bunch of rowan can look completely different, this is done at your discretion.
If you wish, you can draw not just one bunch, but a whole rowan tree, but in this case the process will be somewhat longer.
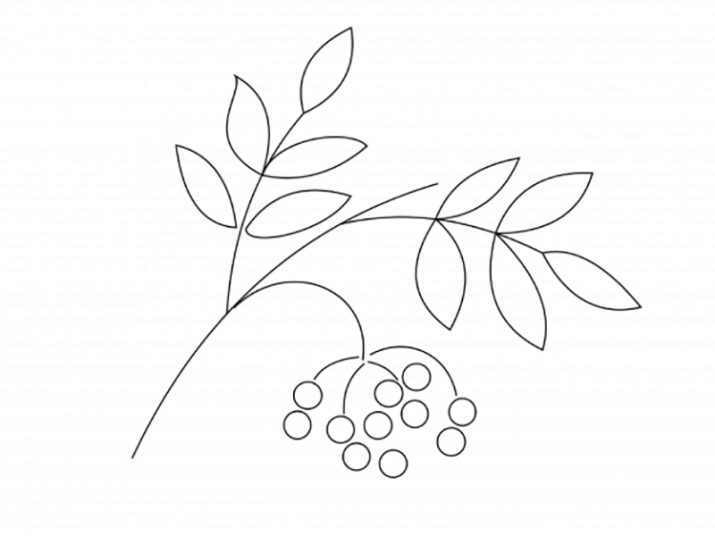
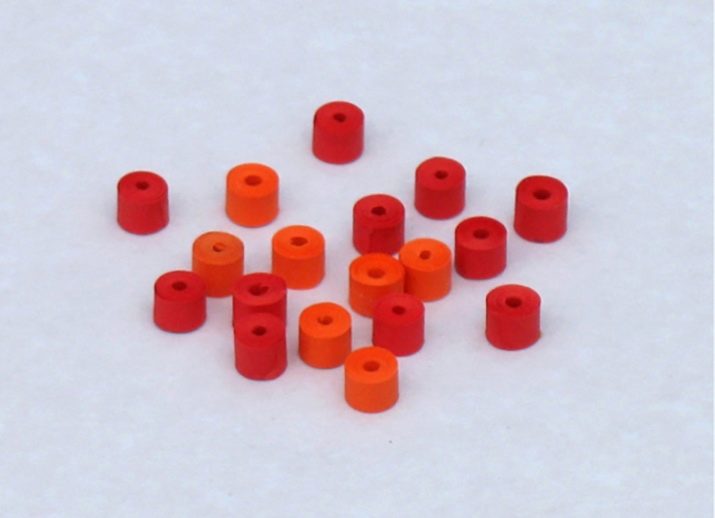
After that, we start working with pre-prepared strips. Let's start with the red stripes. We take its edge, apply it to the tip of a toothpick and wind it tightly so that the curls overlap. Pull out the toothpick carefully. Apply glue to the edge of the curl and press down until it grabs. Repeat the same the required number of times, thereby forming the required number of red berries.
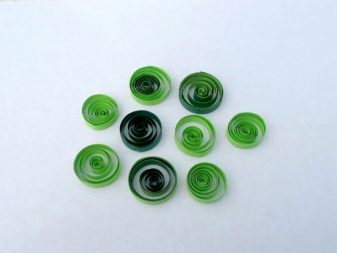
We act in a similar way with the green stripes, from which the leaves will be formed. To get them in different sizes, you can use a ruler with special round holes. Place the curl in one of these holes, carefully remove it so that it does not accidentally fall apart, and glue. Now we form a full-fledged leaf with our fingers, pinching it along the edges.
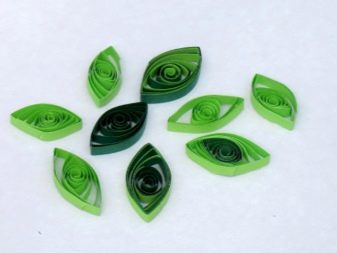
We put the details on the finished drawing, and then glue them one by one. The rowan is ready!
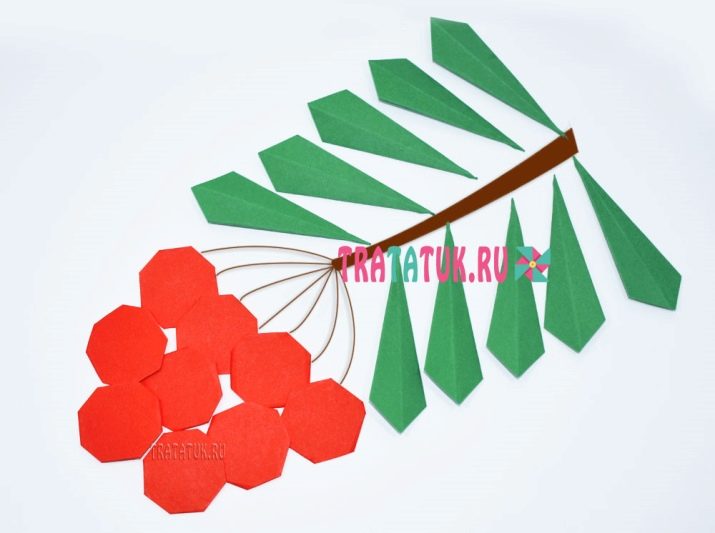
You can also make an applique in the form of a rowan branch using the origami technique. For work, you will need all the same materials: paper, glue, a simple pencil, cardboard and scissors.
We make about 10 small squares from red paper and 10 - green, but already larger.
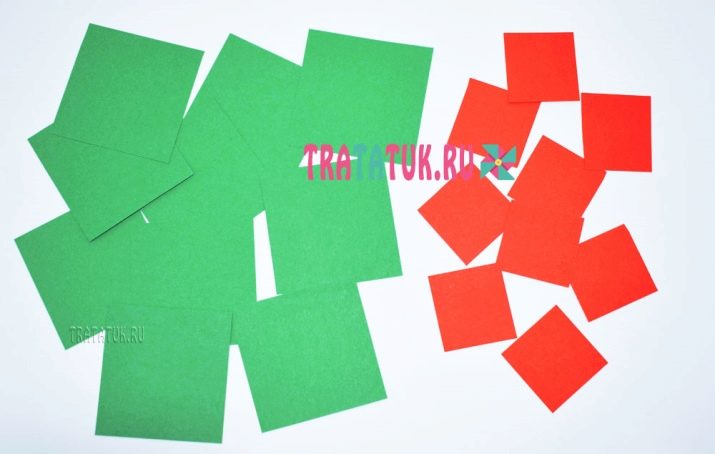
We begin to form berries from the red squares. To do this, bend the corners of the squares. You don't need to overdo it. It is enough just to bend the corners slightly. Otherwise, you simply reduce the size of the berry.
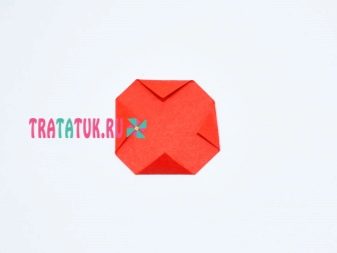
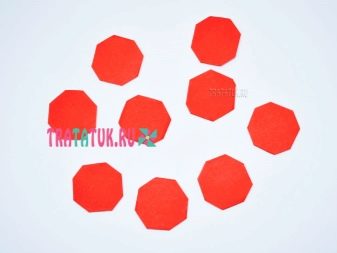
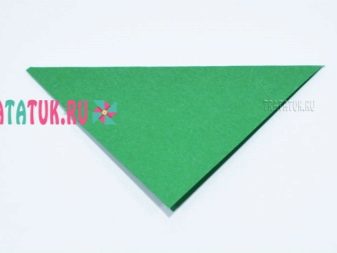
Having finished with the berries, we proceed to the rowan leaves. We fold the square corner to the corner, thereby obtaining a triangle. Now expand the triangle and bend the two sides of the square to the center line. Bend both sides towards the center again. We do this with all the green squares.
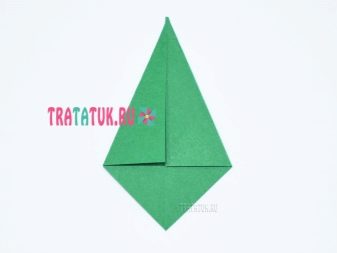
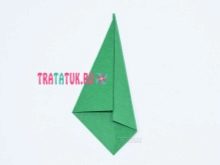
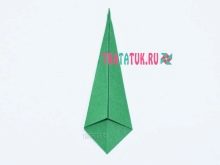
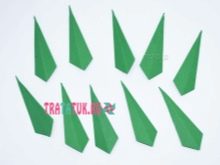
Now we draw or cut out the branches for the rowan bunch. We arrange all the other parts in the desired sequence, forming a bunch, and glue them. The application is ready!
