Satin ribbon bow

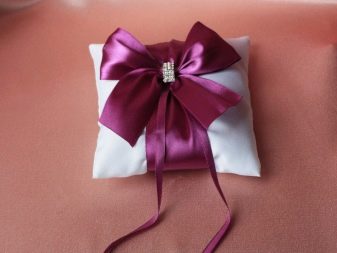
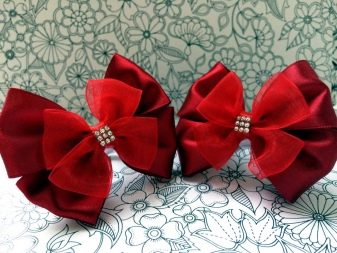
Beautiful satin ribbon bows can be used both for decorating various hairstyles and for decorating gifts. Anyone can learn how to create them with their own hands, if desired.
What will it take to work?
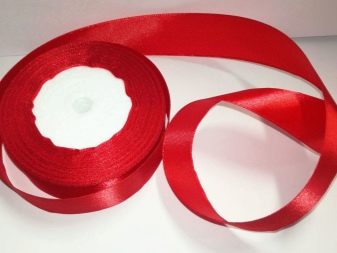
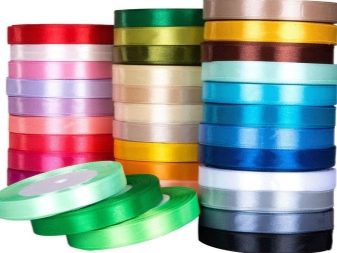
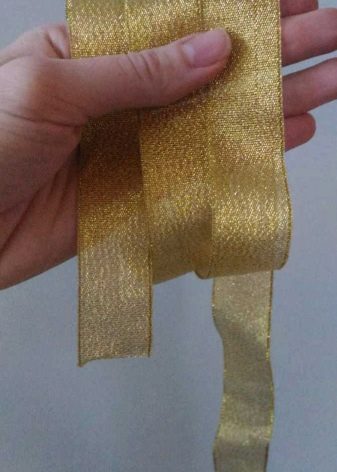
In the process of creating spectacular bows, bright and high-quality satin ribbons are usually used. They are smooth, shiny and pleasant to the touch. Moreover, this material is quite durable. Therefore, products made from it remain attractive for a long time. You can buy quality ribbons at regular handicraft stores.
In addition to ribbons, a person will also need the following tools and materials to create beautiful bows.
-
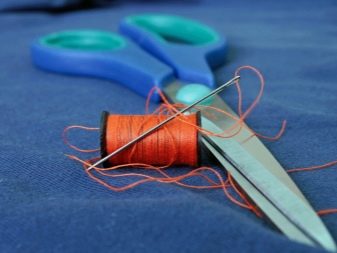
Scissors. They must be very sharp. In this case, all the cuts will be smooth and neat. As a rule, ordinary nail scissors are used in the work.
-
Threads and needles. A thin needle and multi-colored threads will come in handy for attaching individual elements and sewing the base of the bow.
-
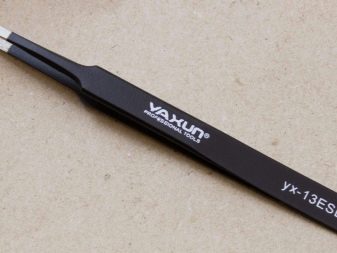
Tweezers. Small tweezers are useful for working with small parts.
-
Lighter. It is needed to seal the edges of the tapes. You can also use a burning candle or matches instead of a lighter.
-
Glue. For gluing bows, you can use a glue gun or Moment glue. The main thing is that the selected product is, indeed, of high quality.
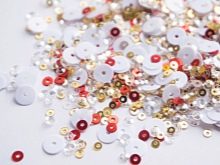
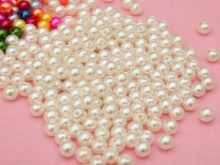
Finished products are usually decorated with beads, beads, rhinestones or even unusual buttons. They allow you to make the finished piece of jewelry more attractive.

Little bows on a fork
A thin, narrow ribbon is used to create this cute bow. The process of creating such a small accessory is as follows.
-
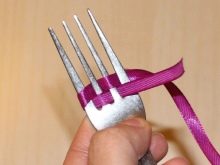
First you need to take a neat thin ribbon. It must be bent and inserted into the fold of the fork. There should be a short end of this ribbon in front, which will not be used in the future.
-
Then the long part of the tape is passed between the middle teeth of the fork. In this case, the material must be pulled.
-
The tip of this ribbon should be circled around the teeth and brought forward.
-
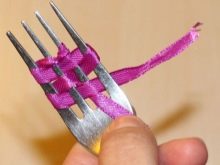
Having made a small loop, you need to create the second free edge of the future bow.
-
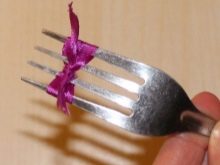
Using the long section of the tape, tighten a tight knot. The bow will turn out to be simple and cute.
-
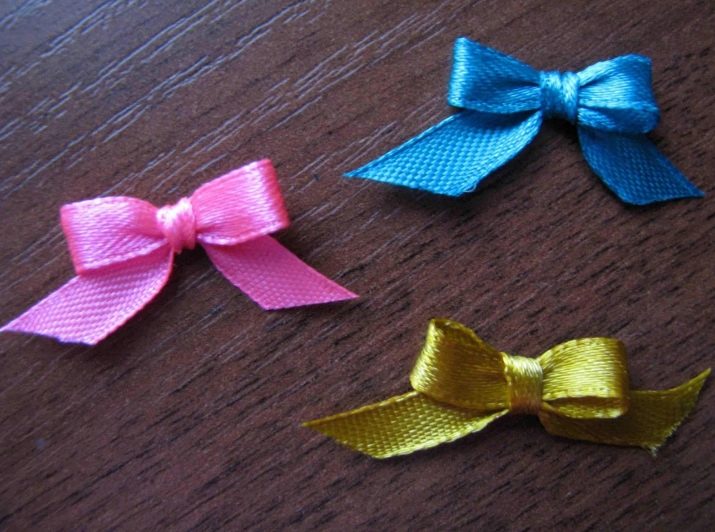
In this form, the bow must be removed from the device. Its edges must be carefully trimmed. The edges of the craft must be scorched with a lighter. In this case, they will look neat.
A similar bow can be used to decorate postcards or attached to a bezel. Any craft with such a decor will look much more beautiful.
How to make a bow for a gift?
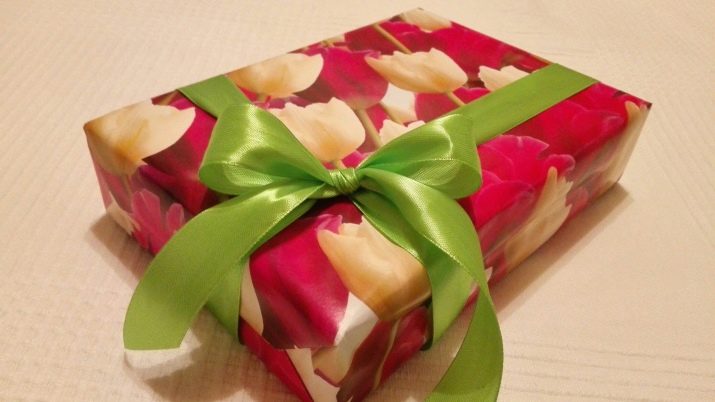
You can also decorate a gift for a loved one with a simple satin ribbon bow. The step-by-step process for creating such a decor is as follows.
-
First you need to wrap the box with tape of the chosen color. Usually ribbons 5-7 cm wide are chosen for this purpose.
-
Next, the edges of the ribbon must be wrapped around the box again and tied with a knot.
-
Using its free edges, you need to form a beautiful bow. If necessary, the tape must also be scorched using a lighter or candles.
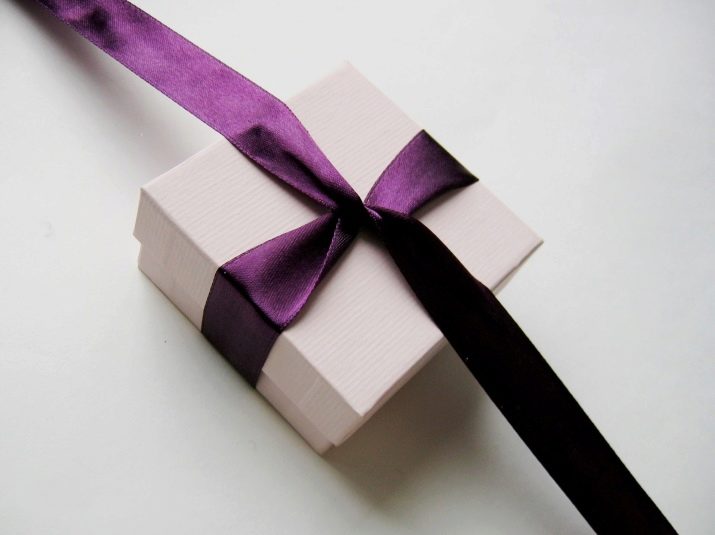
Anyone can make such a cute bow with their own hands. It is quite possible to decorate with such an accessory a gift for an extract for your beloved wife. He will definitely pleasantly surprise a loved one.
Hair bows for school
Satin ribbons are often used to create simple school decorations.
Simple
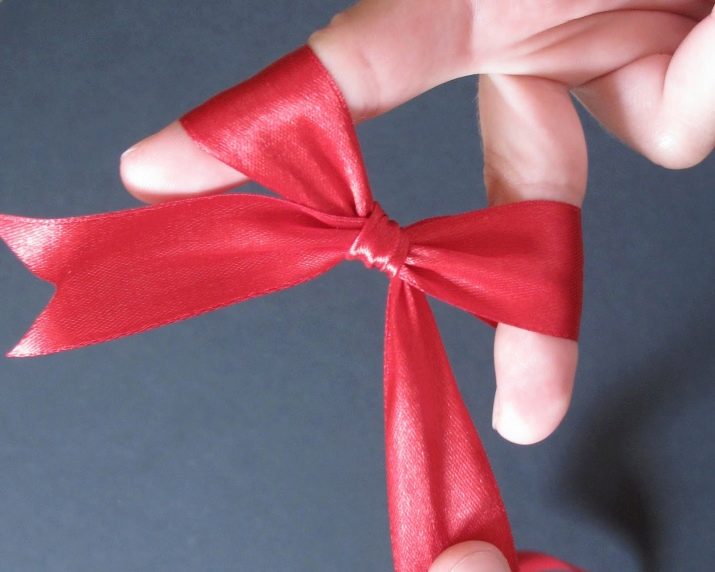
This basic bow can be used to create a hairstyle for September 1st. It is customary to make such decorations from white or light pink ribbons.
To create a voluminous bow, the tape must be folded. Place the two halves over the index fingers. Next, these two parts must be crossed. Loose ribbons are pushed into the loops. Next, the base of the product is carefully pulled together. The bow turns out to be simple, but very cute.
With double tape
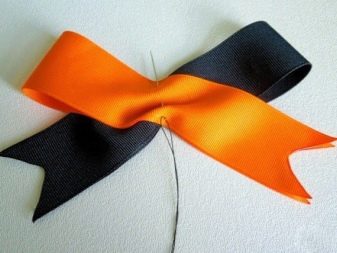
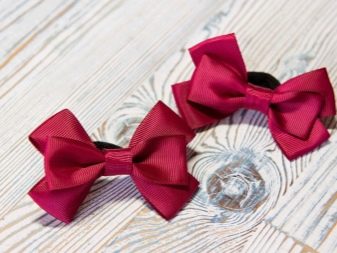
Two colored ribbons are usually used to create a beautiful double bow. This craft is great for beginners.
To create a bow, identical parts are cut from two beautiful ribbons. They are folded into a ring. In this case, one edge is superimposed on the other. After that, the parts are sewn in the middle with a thread. Do it with small neat stitches.
At this stage, the two blanks are connected together using a thread. The edges of the ribbons are carefully scorched. The central part of the bow is decorated with a small part of the ribbon.
The craft can be used to decorate a prom hairstyle in kindergarten or elementary school.
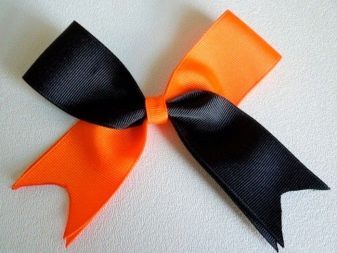
Twisted
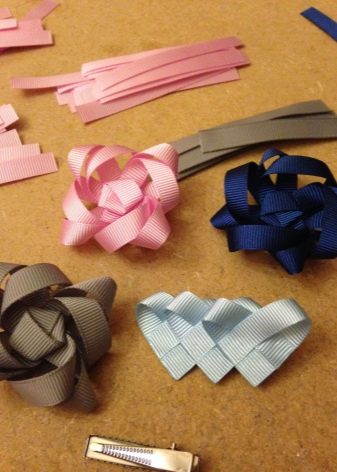
A similar bow is created from three to four ribbons. Making it is not as difficult as it seems. First of all, each workpiece must be folded in the form of an infinity sign. The middle must be sewn with short stitches. Thus, it is worth preparing a few parts.
Further, each of the blanks is superimposed on the previous one. Using this pattern, you can easily create a nice big bow.
To make it look more spectacular, it is worth using not only satin, but also lace or translucent ribbons. In this case, the craft will look especially beautiful.
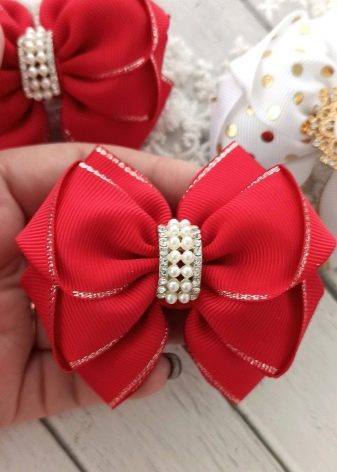
Volumetric in several layers
You can decorate a bunch with a similar multi-layered bow. Lush decoration is quite simple. The process of its creation consists of the following steps.
-
First you need to make a piece of wood. On the base, you need to fix two skewers.
-
They begin to lay a bow around them. The edges of the tape are wrapped around wooden sticks several times.
-
The edges of the resulting bow-ball are carefully straightened. They must be symmetrical.
-
The resulting lush decoration is carefully fixed using a thread that matches the color.
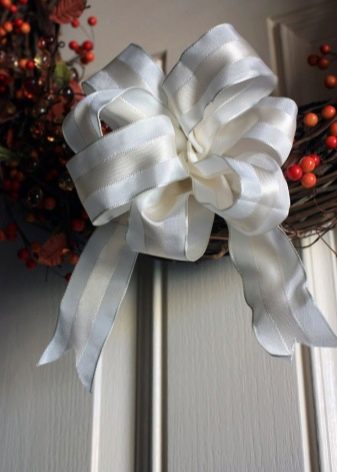
A ready-made multi-layered bow is great for creating an unusual head ornament.
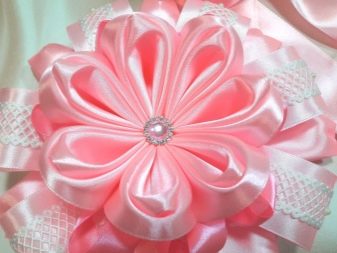
Variant in the kanzashi technique
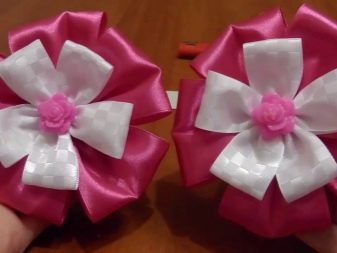
This art originated in Japan several centuries ago. Earlier, geisha were engaged in the creation of beautiful voluminous bows in a similar technique, who used similar crafts to decorate kimono. Now such products are created with pleasure by girls all over the world.
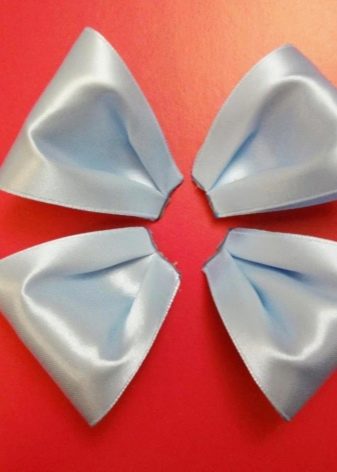
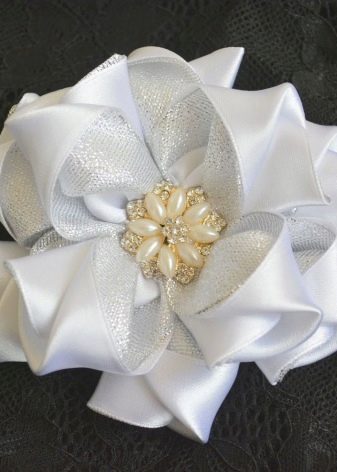
The instructions for creating a simple bow from a thin ribbon are as follows.
-
First, you need to choose a tape of a suitable width and cut it into pieces of the desired length.
-
Next, small blanks must be folded in half.
-
The lower edges of the small petal must be stitched with a needle and thread of a suitable color.
-
In the same way, others are attached to the first part.
-
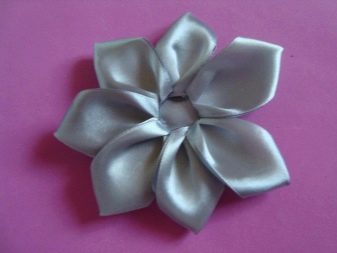
When all the petals are united in a circle, the threads must be pulled together.
-
You need to tie a decorative translucent tape to this blank.
-
In the same way, a light pink silk piece is attached on top.
-
The middle of the bow is made from thin strips.
-
The center of the craft is decorated with colored beads.
-
An elastic band or hairpin is attached to the back of the craft.
As such, the product can be used to decorate hairstyles. This same technique can be used to create holiday outfits as well. Such crafts turn out to be nice and neat.
Other nice ideas
In addition to these popular options, there are others that are no less interesting.
Bow on the fingers
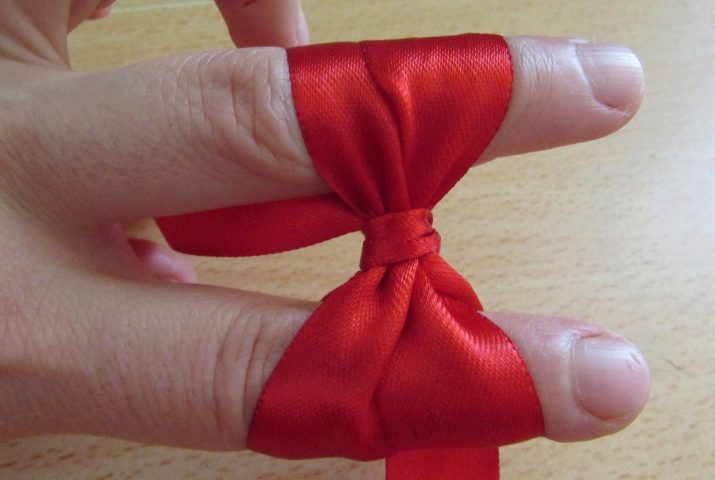
Such a bow can be made from both wide and narrow ribbons. A master class on its creation is as follows.
-
First you need to take the tape and bend it in half. The fold should look neat.
-
The ribbon needs to be wrapped around the fingers two times.
-
Next, you need to tie a neat knot. It should not be too tight.
-
The free edge of the tape must be passed through the place of its fold.
-
Next, you need to form a voluminous bow from this part. Its edges need to be straightened.
-
The excess tape must be trimmed. The edges of the material are required to "comma" using a lighter or matches.
Such decoration can be easily made by both small children and adults.
Decoration with lace
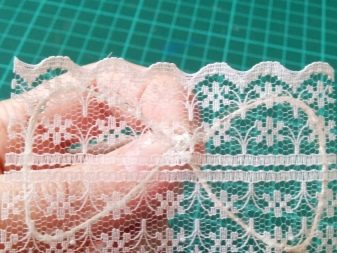
To create such a craft, not only a wide satin ribbon is used, but also a blank made of light thin lace. The process of creating it looks very simple.
First you need to cut a large blank from a wide satin ribbon. It must be wrapped with a lace strip. Next, the resulting workpiece must be carefully squeezed in the middle. The base of the bow needs to be stitched.
After that, the central part of the bow must be fixed with a thinner ribbon. It is also secured with thread or glue.
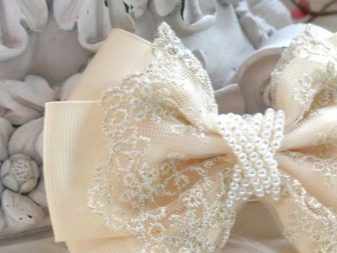
Original satin and lace crafts look great both on hair and on fabric. The main thing is to create them with pleasure and attention to detail. In this case, the crafts will definitely turn out beautiful.
How to make a bow with your own hands, see below.


