Sauna on the balcony: pros and cons, recommendations for creating
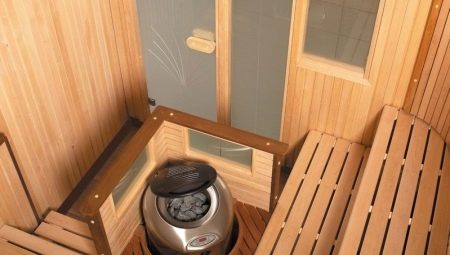
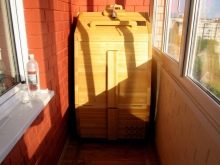
Everyone dreams of having their own sauna at home, however, not everyone knows that it can be constructed even on a small balcony. Lovers of dry steam can buy a personal ready-made sauna or build it with their own hands. This does not require any special skills and abilities, all you need to do is follow the instructions and take into account all the recommendations that will be described in this article.
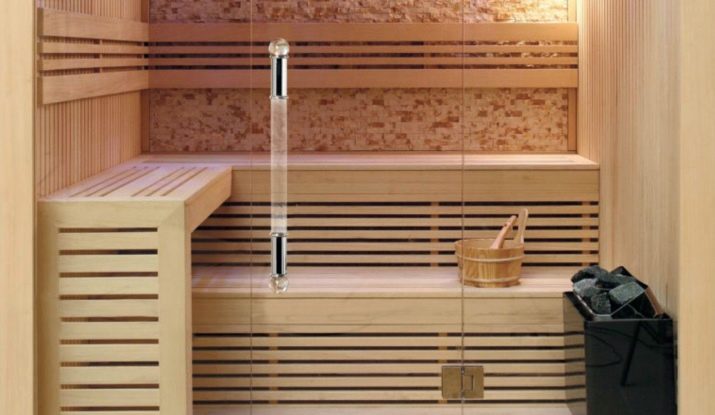
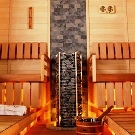
Positive and negative sides
By building a sauna in their apartment, the owners can significantly save on periodic visits to health centers. Such a room does not burden the heart, unlike a regular bath, so both old people and children can take a steam bath here. In this sauna, household members can calm down and relax after a hard day at work.
The advantage is that owners can make efficient use of previously unused balcony space, significantly increasing living space. Plus, you don't have to install a powerful oven here. Of the negative sides, the dimensions are noted. No more than 2-3 people can take a steam bath in such a sauna.
It is not possible to legally install such a complex in every apartment, but only in brick and monolithic houses.
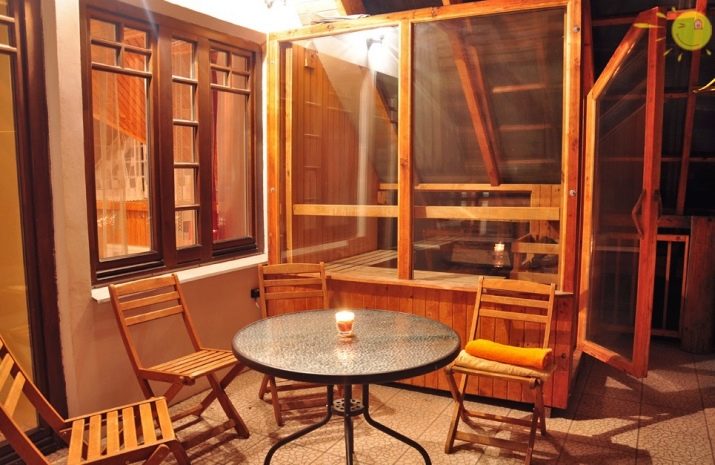

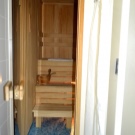
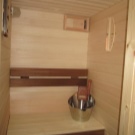
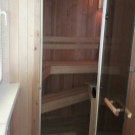
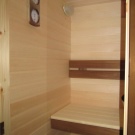
How to prepare a balcony?
Before starting construction work, the owners must make considerable calculations, this process should be taken seriously. The balcony must be carefully prepared before facing. Take care of its glazing, waterproofing and insulation in advance. Thanks to these actions, neighbors will not have to worry about flooding them.However, it is important that the sauna rests on a load-bearing wall; such a technique significantly reduces heat transfer.
For fire safety purposes, you will have to comply with some standards: the dimensions of the room should not exceed 80 cm in width and 210 cm in height. This is another drawback, since it will be difficult to turn in such a narrow room.
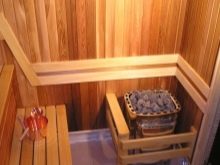
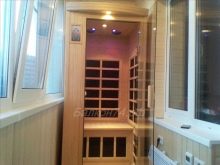
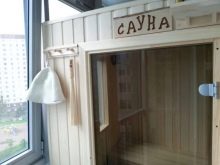
If the owners decide to save on height in favor of width, then the sauna will be too hot. During the decoration, wood is most often used. During construction work, damp wood must not be used; it must be impregnated with an antiseptic. If the moisture content of the finishing surface is more than 10%, then it will begin to crack and swell over time.
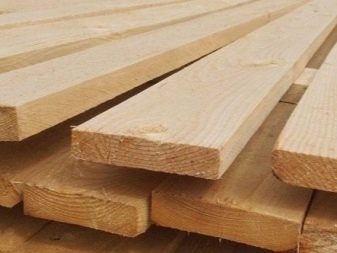
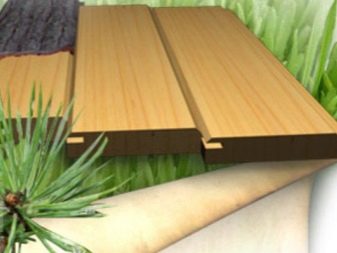
Wood is an environmentally friendly material that is not afraid of high temperatures... Experts say that linden, aspen and poplar are best suited for these purposes. It is better not to use conifers, since if they are heated to 110 degrees, the boards will begin to emit the smell of rosin, which will not be the best reflected on the human respiratory system.
If hot resin drips onto the skin, it will cause severe burns. Plus, the resin tends to ignite spontaneously when heated.
How to build?
Please note that brick and concrete coverings should be completely excluded when designing a mini-sauna. How to properly design a sauna will be described below.
- The first step is to assemble the frame. The section of the board is 60x60 cm, the distance between the beams is about 45 cm. A vapor barrier is installed between them.
- Next, the insulation is laid. Please note that in this case, you cannot use polystyrene and polyethylene, since under the influence of high temperatures they will begin to emit harmful substances that can be poisoned later. The best solution would be mineral wool.
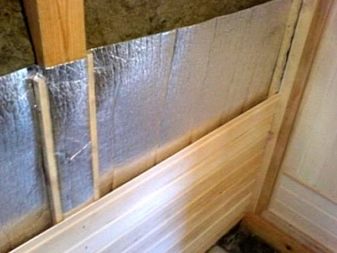
- After that, the aluminum foil is mounted using a stapler. The shiny side should be on the inside. The denser the insulation, the faster the steam room will heat up.
- The ceiling should be thermally insulated in 2 layers, as the hot air flows will be directed upwards. The bayonets are closed with adhesive aluminum tape.
- At the very end, the structure is covered with a cladding board. There is no rush here, so as not to accidentally tear the foil.
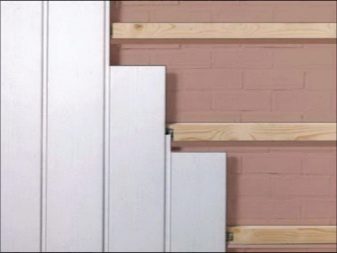
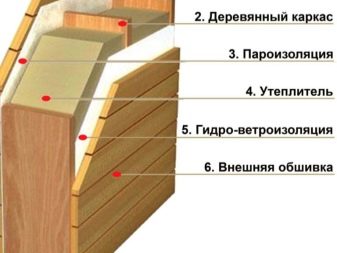
In almost every home, the balcony walls are very crooked; in order to align them, the frame should be sheathed with 4 mm plywood. When installing the door, try not to open it inward, otherwise it will be much more difficult to get out of the room. note that metal perfectly transfers heat, so all metal products, including bolts and self-tapping screws, can be hidden with decorative plugs.
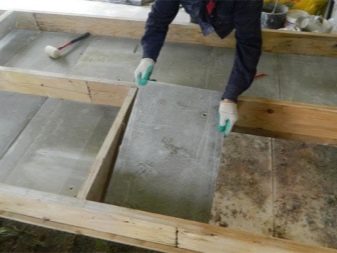
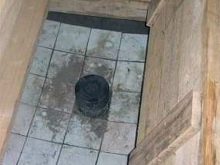
The wooden floor should be about 15 cm higher than the concrete base, with a slight slope towards the door. Thanks to this technique, the water will not stay inside.
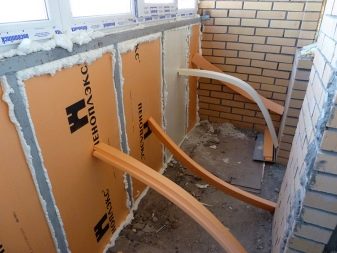
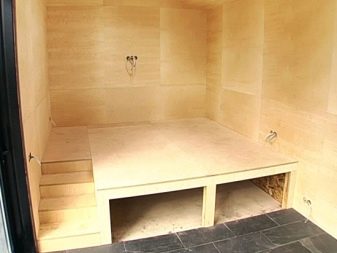
Consider the stages of laying the floors.
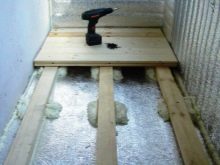
- First of all, you need to lay a waterproof coating.
- Next, install 25- or 40-cm beams with a distance of 45 cm.The height from the concrete is 7 cm.
- Insulation is installed between the boards, which must be covered with another protective layer.
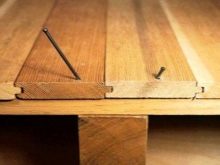
- The last step is to install the floorboards. Please note that the metal mount will heat up, so it is installed at the edges of the room.
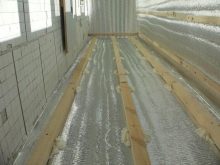
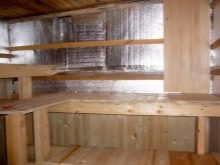
After the above points are completed, you can start designing the shelf. For him, separate fasteners should be made so that the structure is reliable and can withstand several people.
- Boards with a section of 80 mm are fixed to the floor.
- On top of them, beams with rounded corners, about 50 cm thick and 1 cm thick, are fixed so that air can circulate freely.
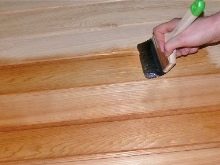
- At the end, the structure is treated with special oil.
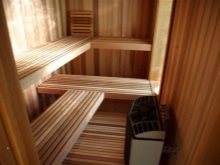
If the room is rather high, you can put the upper deck and bring a staircase to it.
Summing up communications
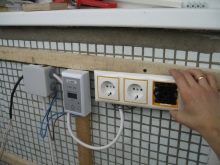
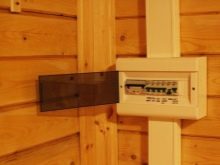
Electrical installation must be carefully considered.It is better to install an automatic shutdown system in the house. When buying wires, stop your choice only on those that will withstand 170 degrees. The following formula will help to correctly calculate the required energy consumption: for a good heating of the steam room for one hour, 1 kW per square meter is required.
Hence, for good warming up of a sauna with an area of 4 sq. m will require 4 kW of electricity... Based on this, the owners will have to keep track of the counter a separate powerful cable that is not afraid of changes in temperature and humidity.

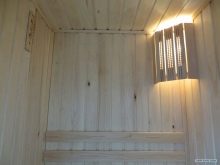
If you decide to put lamps in the room, then they must be moisture resistant. The difference between waterproof luminaires from ordinary ones is that the latter are made of heat-resistant silicone. It is not recommended to install sockets and switches inside the steam room. Many owners forget about installing ventilation. In this case, moist air will not be blown away, and carbon dioxide will impede free breathing.
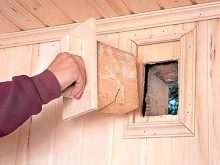
If you do not take care of the installation of the ventilation system, then mold and mildew will not be long in coming. An air intake must be installed from the bottom of the frame, so cold air flows will pass through the oven, heat up and rise to the ventilation.
You need to make a hole in the wall 25x25 cm and close it with a plug. It is made independently from a piece of board measuring 25.5 cm.
Choosing a stove
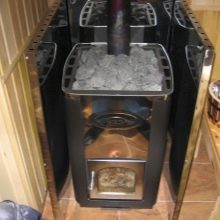
After you have completed the basic repair work, you can proceed to installing the stove. Experienced masters advise to opt for electric heaters, which are specially produced for saunas in the apartment. These inexpensive products meet safety requirements and are designed for small rooms. If you decide to buy a ready-made stove, then purchase it exclusively in the store. If the budget is limited, then the heating device can be made independently, but it is unlikely to last long and will guarantee safety.
The place where the electric furnace is mounted must withstand high temperatures and heavy weight. Craftsmen advise covering the floor with asbestos cardboard. The stove is usually placed at the entrance.
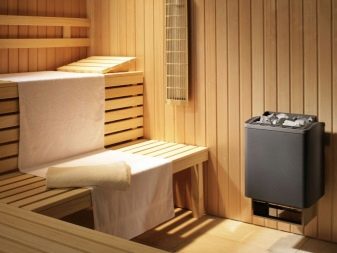
note that for fire safety reasons, you must not start heating the sauna until the stones have been placed in the heater. They should be spread out so that there are visible gaps between them. Thanks to this technique, the heat exchange between the oven and the air is increased.
In the modern world, infrared heaters are replacing electric stoves. The difference between an infrared heater and a conventional stove lies in the method of heat transfer. In a classic sauna, heat comes from a fire (or heating element), heats up the stones, which, in turn, heat the air. Infrared devices allow a person to feel warmth, even if the air in the room is not fully warmed up. Such items are often referred to as "artificial" sun.
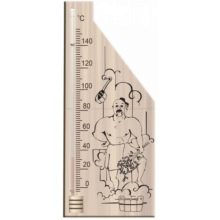
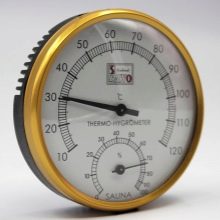
After the sauna is ready for use, do not forget to put the clock and thermometer on.
Is registration required?
Almost all families who are going to make a sauna on the balcony wonder whether it is part of an apartment or a component of the facade. Not everyone knows if the balcony belongs to the apartment or is it a house, and if there is a difference in the case of a loggia. note that the load-bearing wall is both yours and your neighbor's, and the floor of your apartment is the ceiling of the one below. And many have a fair question about the ownership of the apartment.
In short, you do not own the walls, but only what is inside, including finishing: putty, parquet, sheer ceiling, etc. Based on the above, you can understand that the balcony slab does not belong to the owners of the apartment, but to everyone home owners. However, this does not mean at all that everything that is inside is also considered common. The sauna or the glazing of the loggia is the property of only the owners of the apartment, and if someone suffers from the installation of the steam room, then the responsibility will lie only with the owner.
Interesting ideas
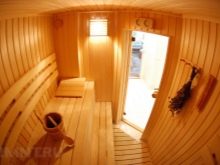
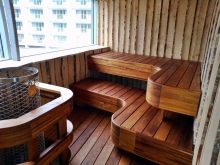
If you are the owner of a small apartment, and there is not enough space on the balcony for a full-fledged sauna, you can put a sauna-jar there. Even a small steam room can be a lot of fun. On the negative side, it is noted that there is no shower or changing room nearby. Modern style lovers can experiment with lighting. The tree goes well with any lighting fixture. They can be placed on shelves or walls.
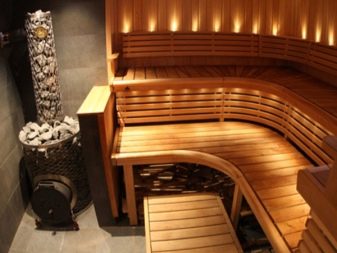
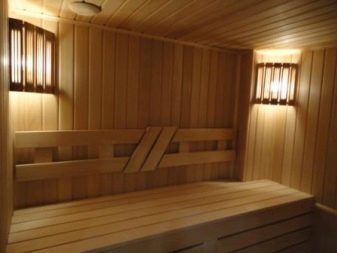
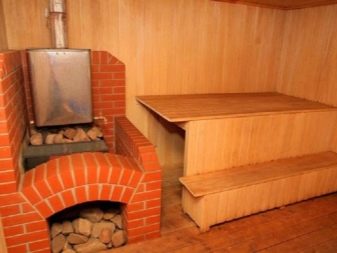
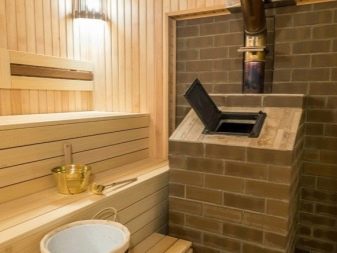
This solution will add comfort to the room. If you prefer a rustic interior, then instead of an electric stove, you can use a stone one, setting it in a corner, and make large shelves next to it. Such a room with all its appearance will resemble a Russian bath, in which you can take a great steam with your family or in a company of friends.
For tips on setting up a sauna on the balcony, see below.


