How to make binoculars from bushings?
It is much easier to make binoculars, in contrast to a microscope and a telescope. At the same time, there is no need to buy a full-fledged marine or field device - an amateur model aimed at beginners, which are children and adolescents, will help them get used to more "advanced" versions from various manufacturers.
Tools and materials
The following consumables and parts are suitable for making cardboard binoculars.
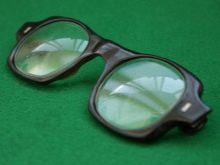
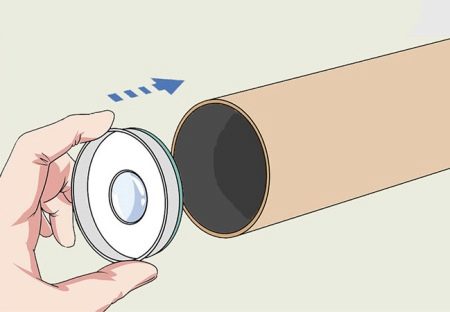
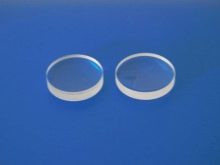
- Lenses from old glasses.
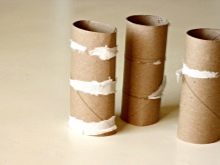
- Cardboard inserts from toilet paper rolls that have already run out.
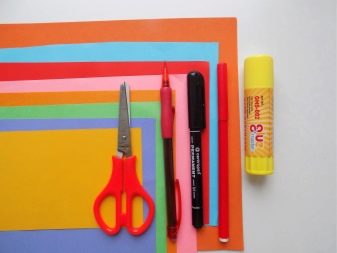
- Masking tape, glue (paper can be used).
- It is better to use hot melt glue for installing lenses - for children it is relatively harmless, since it does not contain components that emit toxic fumes at room temperature.
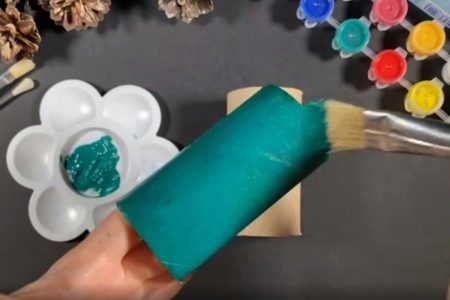
- Decorative paper (colored) or paints such as watercolors. It is important that they are, like the glue itself, environmentally friendly and non-toxic.
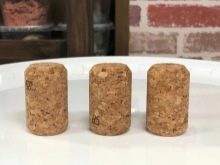
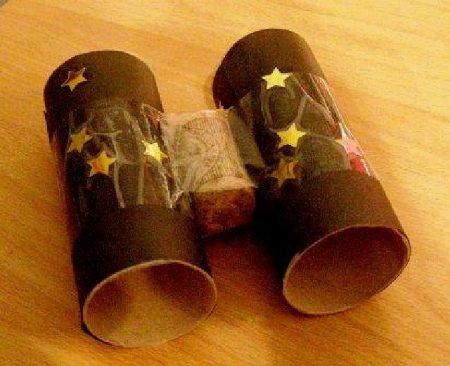
- Champagne Stopper - This is used to create a transition between the eyepieces of binoculars. The structure of the human face is such that the eyes are spaced apart. The optical centers of both eyes - and both lenses - must be strictly aligned.
- Additional paraphernalia, for example, sequins.
The following tools will be required:
- brushes - for applying ordinary glue, as well as for painting;
- scissors and / or utility knife;
- the hot glue gun itself.
Make sure there is a hot melt stick in the gun. After checking the availability of tools and consumables, parts, proceed to assembling the binoculars.

Making crafts
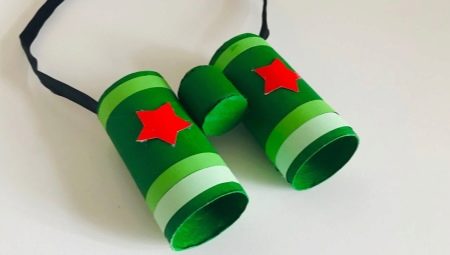
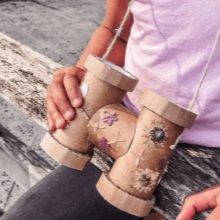
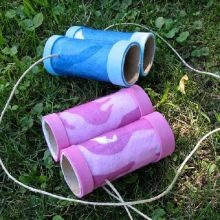
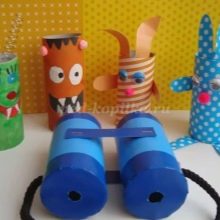
Binoculars from bushings - and they, in fact, are cardboard inserts of paper - are made according to the following master class.
- Saturate the bushings themselves with glue - and let them dry. Cardboard, additionally impregnated with glue, gains greater strength.
- Insert lenses into each of the eyepieces. Apply a layer of hot melt glue - that will keep them from accidental loss - around the entire circumference of the inner surface of the cardboard sleeve. Before inserting the second lens into each eyepiece, glue the first from the inside. Do not hurry. The hot melt glue hardens in at least a few minutes. Make sure that the lenses are level - they should not be skewed, otherwise the optical equilibrium (alignment of the optical centers) will be disturbed, and using such binoculars will be tiring on the eyes.
- After gluing the lenses, check the strength of the assembled eyepieces. Place a champagne cork between them. Glue the entire structure with hot melt glue. Do everything carefully - smooth out the excess glue beforehand until it cools down, or carefully cut it off with a clerical knife after hardening.
- Cover the assembled structure with regular glue. (you can use PVA glue, which you impregnated with cardboard sleeves) and wrap the assembled binoculars with decorative paper. If you have purchased decorative paper tape, similar to painting, then your work is greatly simplified: you will not need to re-coat the bushings with glue from the outside.
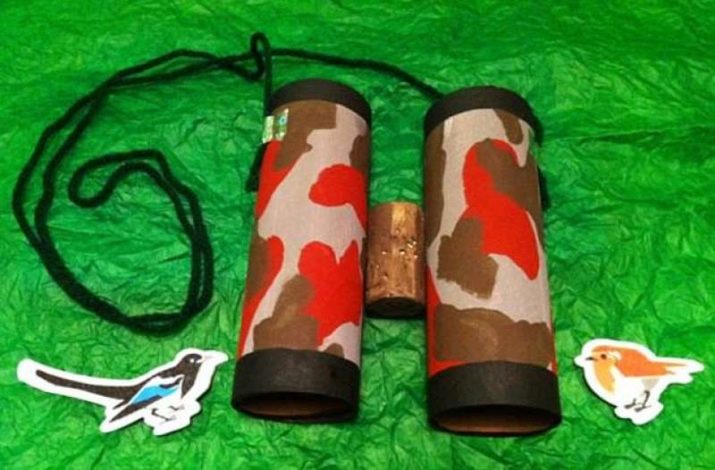
If you want to give binoculars, for example, a “camouflage” look, similar in color to a soldier's (field) uniform, then such decoration is used, for example, on February 23, when the recipient of such a souvenir is a child or a male teenager.
The military theme of hand-made souvenir binoculars - when the boy went through the main steps step by step himself, guided only by your tips and help in especially difficult moments - will inspire the future defender of the Motherland, for example, to land or naval service, to introduce him to the army in advance. And black binoculars will make the child feel like, for example, a character in a fictional pirate team.


Useful Tips
It is recommended to use collecting (magnifying) glasses from the outside, and lenses from the inside (closer to the eyes of the observer). If only collecting lenses are used on both sides of each of the two eyepieces of the binoculars, then you get a kind of telescope, in which it is necessary to maintain the focal length for maximum magnification. Such a device is suitable only for observing the stars and planets and will no longer be considered binoculars - the image, if it can be enlarged, it will be inverted. To avoid the flipping effect, one of the lenses must be diffuse. And if the scattering and collecting ones are confused in places, then you will get a distance, and not an approximation of the object you are observing.


By entrusting a child or teenager with a glue gun, make sure that he has learned how to properly use the hot glue and the tool itself. Use gloves that do not melt from hot glue and do not conduct heat well - a child or teenager will not get burned. Experience shows that children from 5-6 years old, under the supervision of adults, can use more complex tools and consumables - including hot melt glue.
A razor-sharp blade requires careful handling - in case of hasty or careless actions, an adult or a teenager, not to mention a child, can cut it.
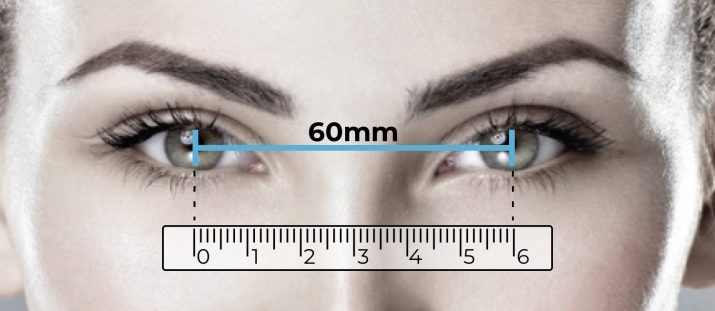
When making binoculars, keep the correct distance between the pupils of a child or teenager. It can be measured with a building tape or a simple student ruler. If this is not achieved, then the person will seriously spoil his eyesight - with frequent use of binoculars in which the optics are not optimally aligned. The situation is reminiscent of the manufacture of spectacle frames - they use the same principle of compatibility, without which vision will significantly deteriorate over time. After all, homemade binoculars are still an optical device.
Next, watch a workshop on making binoculars from bushings for a child.


