Patterns of blouses for obese women
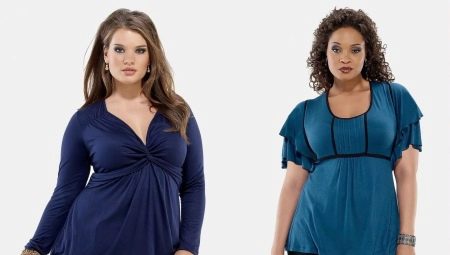
Curvy girls should not wear shapeless clothes. A fitted cut of clothing will visually slim the figure. Loose style of things will give comfort when driving.
Today we will tell you what can be sewn for girls who find it very difficult to find clothes.
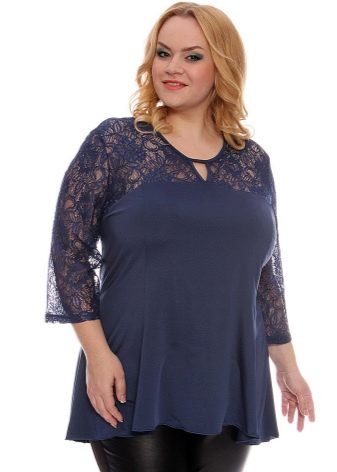
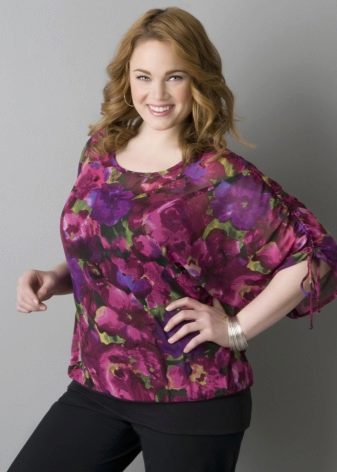
Simulation of various models
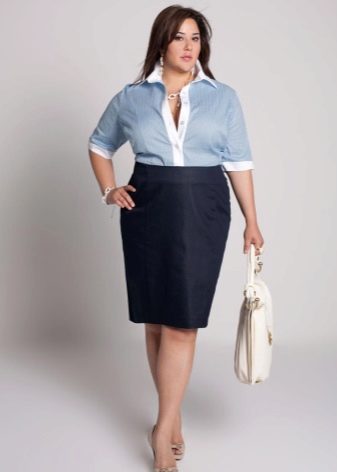
Girls with a non-standard figure must have office blouses in their wardrobe. The practicality of such clothing is known to everyone. Fitted blouses can be combined with any clothing: straight skirt, trousers and jeans.

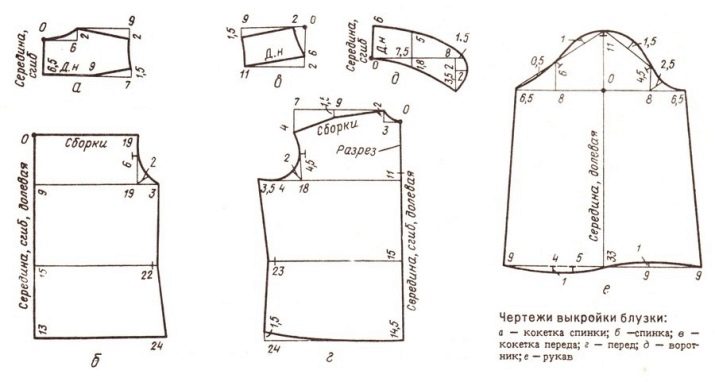
An example of a blouse pattern can be seen in the photo. The style is a blouse with a yoke, with long sleeves.
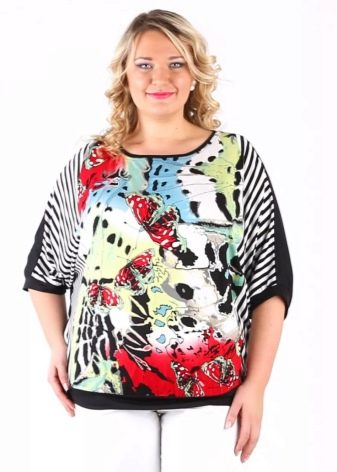
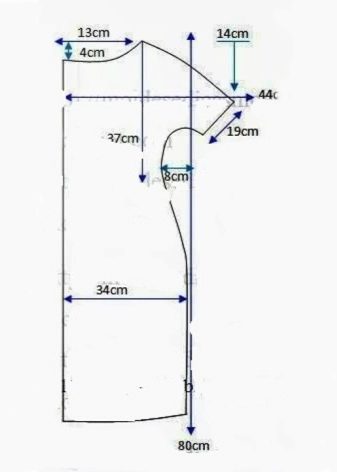
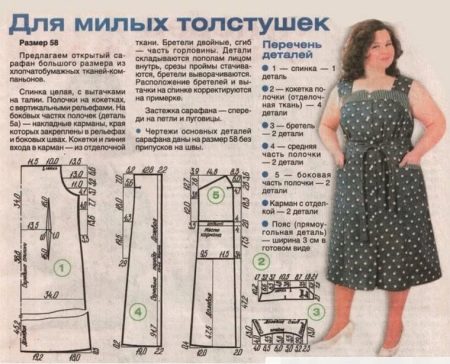
The next model is sewn on the basis of a dress pattern for overweight girls. Short sleeve blouse - a great solution for work and everyday meetings. The length of the blouse can be taken at your discretion.
One-piece sleeve reduces blouse sewing time. The sleeves and bottom are hemmed with a closed hem. The neck is processed by turning.
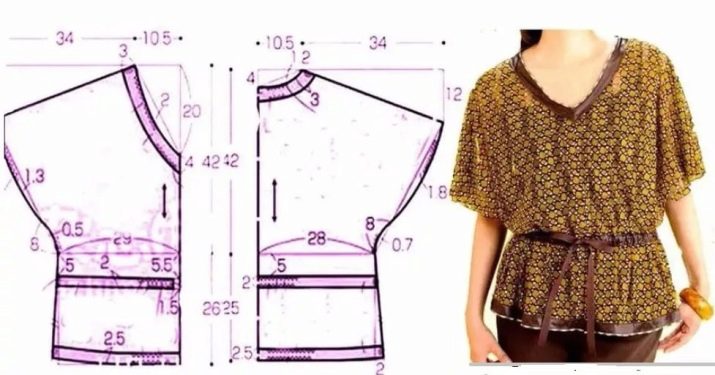
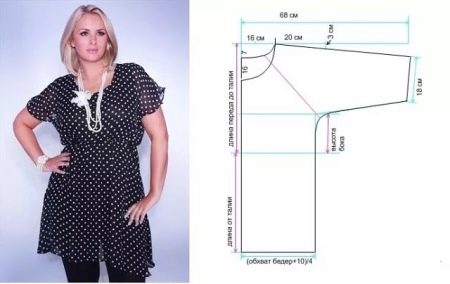
Loose Drawstring Blouse will definitely appeal to those women who prefer a free style. V-neck, beautiful folds of one-cut sleeves will add zest to the image of any girl.
Sexy Cami Top will allow girls to wear their favorite jewelry. To sew such a stunning top, a ready-made sundress pattern will do. The length on the pattern is adjustable to your liking.
The photo shows that the yoke was cut out of a different fabric that matches the color. A two-material combo top will look amazing.
Polka dot tunic blouse cut out in 2 details: backs and shelves with one-piece sleeves.The waist is gathered with an elastic band. The style of the blouse allows you to combine it with narrow trousers.
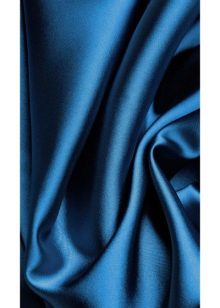
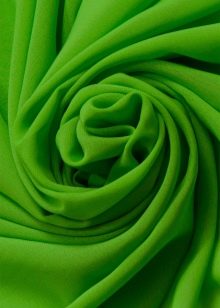
You can choose any material for all of the listed blouses: silk, chiffon, satin, cotton. The satin blouse is perfect for special occasions and holidays. Silk, chiffon - if the blouse is intended for birthday celebrations, work and study.
Office work involves spending a long time in stuffy offices. Silk and chiffon blouses will be a real lifesaver. Fabrics are breathable and dry quickly.
Tunic blouse pattern
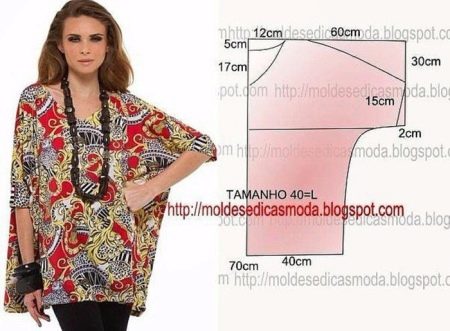
Tunic is a universal model for all women. The style of a blouse with a dropped shoulder, one-piece sleeves and a v-neck - three advantages to sew such a tunic for yourself.
The drawing is done with a ruler and a pencil on paper. The pattern is suitable for beginners in sewing.
The neckline and bottom of the sleeves can be finished with piping or any bias tape. The contrasting bias tape will give the product a beautiful look. This option is suitable if the main fabric is solid or the color of the inlay will overlap with one of the colors on the fabric.
Sewing workshops
Summer beckons with its heat. And in the women's wardrobe, more and more clothes with short sleeves appear.
Cutting does not require great sewing skills. The absence of darts is another opportunity to try yourself in the role of a skilled seamstress. The style of the blouse will visually remove the excess on the figure.
Summer model tank top
Where does the creation of a sleeveless blouse begin? Further detailed instructions:
- Create a drawing of the pattern on paper, outline the main outline of the pattern with a bold line and cut it out.
- Separately, on paper, redraw the neckline and armholes and make a piping pattern. The width of the edging is 3 cm.
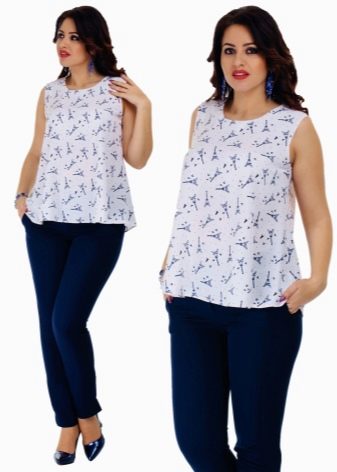
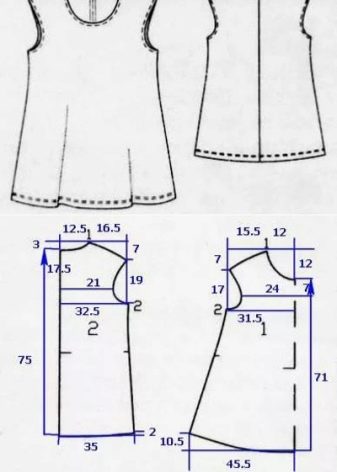
- Fold the fabric in half along the lobe thread. Pin the pattern of the back and the shelf with pins so that the middle of the fabric coincides with the middle of the shelf and back. Outline the pattern with a simple pencil. Further from the contour, you need to postpone seam allowances. Cut out the cut details.
- Cut open the hem on the fabric. If there is not enough material, then the facing is cut out in parts. In this case, all parts must be sewn together.
- A zipper needs to be sewn into the middle of the back. In the back detail, make a cut to the length of the zipper (see video). Seam open cuts with a zigzag stitch or a special overcasting stitch.
- Baste and sew on the sides of the blouse and shoulders.
- Trim the neckline and two armholes.
- Hem the bottom of the product
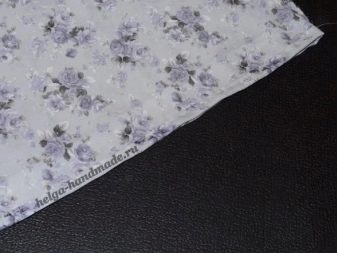
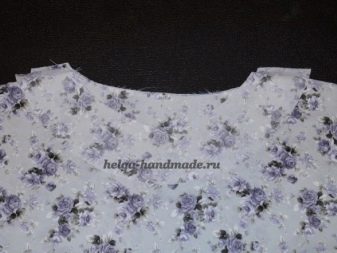
How the zipper is sewn in, see the next video.
"Bat"
Blouse with sleeves - the original style immediately attracts attention.
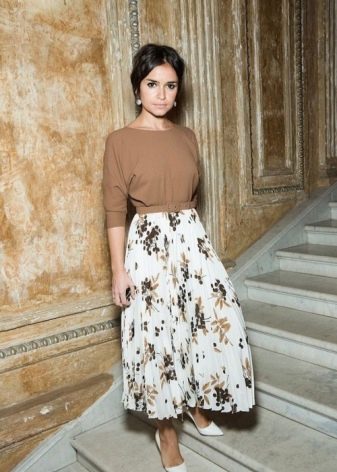
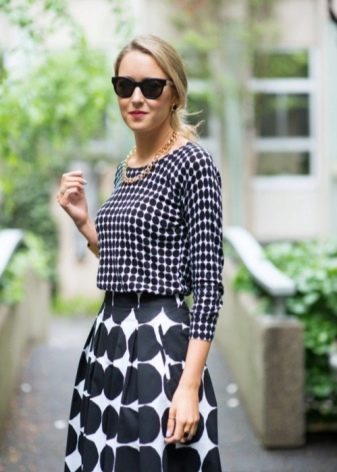
Before sewing a blouse, you need to prepare a pattern. Cutting takes place taking into account the generally accepted cutting standards. You can read about this in the description of the previous blouse.
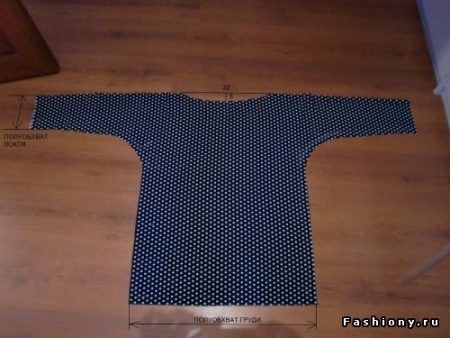
Then proceed as follows:
- Sew the blouse along the shoulder lines.
- With a seam in a hem with a closed cut, hem the edge of the sleeves.
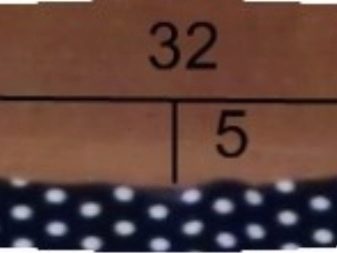
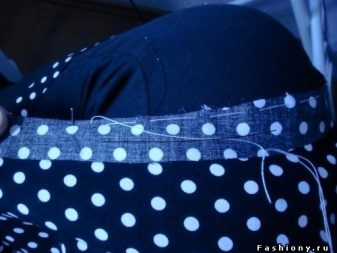
- Grind the neckline. The V-neck of the blouse should be clear. After the trim is sewn on, cut off the corner in the corner of the cutout (without affecting the machine stitch).
- As soon as the piping is sewn to the neckline, it is necessary to make a rolling edging from the inside. In the finished form, the edging looks like this: the joint of the facing seam and the neck should be on the inside. The front side in the cut-out area of the blouse turns out to be beautiful and even.
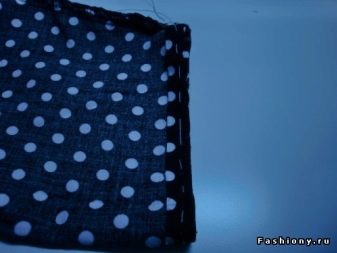
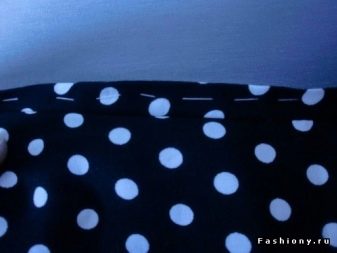
- It's time to sew the sides of the blouse. Align the shelf and back along the side lines. Beginners in sewing are advised to use sewing pins to stab them. Sweep and stitch the sides.
- Hem the bottom in any known way.
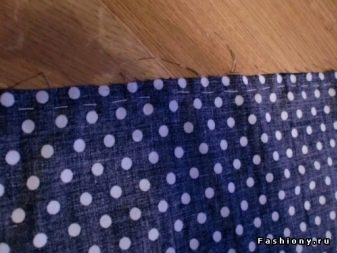

Straight fit shirt
Part of the business style.
How to sew it? Let's consider all the details below.
- Sew up darts on the shelf and back.
- There is a button fastener on the shelf. Finish the edge of the shelf at the fastener with a non-woven hem. The hem is a narrow placket for loops and buttons. It needs to be cut out in 2 details. Border and non-woven fabric must be present.Otherwise, the hinges will be flimsy. The interlining makes the buttonhole and button placket stronger and more durable.
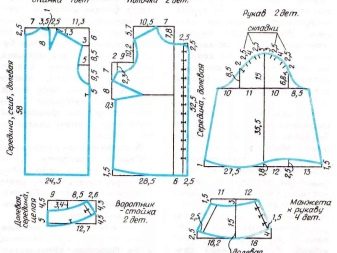
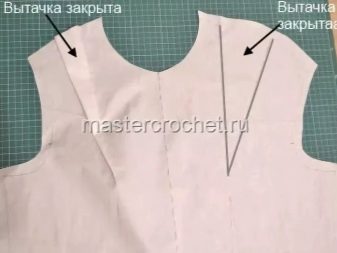
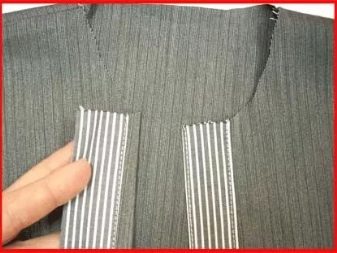
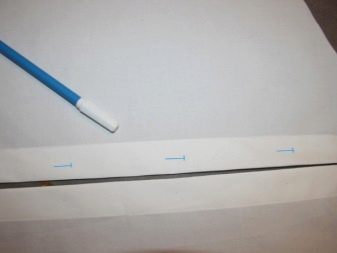
- Sew the sides and shoulders.
- Sew on the side of the sleeves.
- On the edge of the sleeve, make an assembly or pintucks. The collar of the sleeve should match the armhole of the shirt. Pintucks are made evenly from the center of the sleeve ridge. The shoulder seam can serve as a guide.
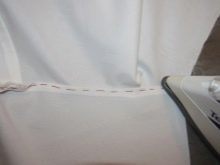
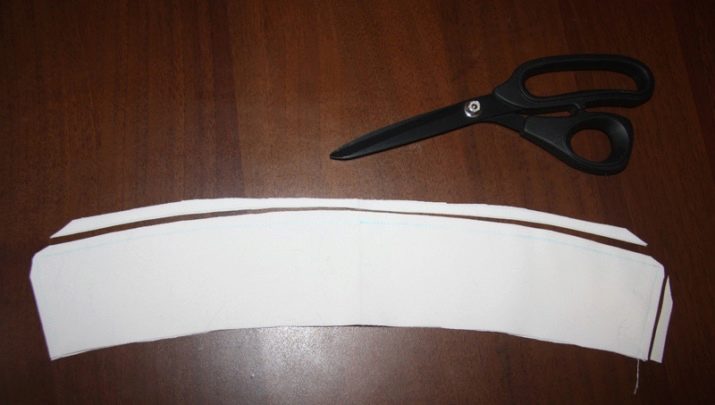
- The cuffs are cut out in 3 pieces each. Fold the cuffs right side in, attach the non-woven part. Sew the cuff along the rounded large edge and sides. Make notches, cut off corners and turn out.
- Sew cuffs to sleeves. The collar is cut out in 3 parts: 2 parts from the main fabric, 1 part - non-woven.
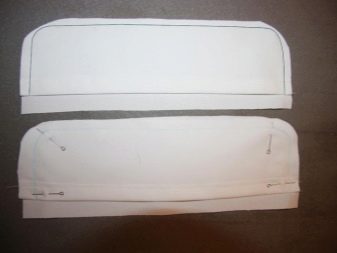
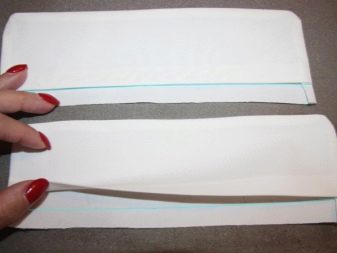
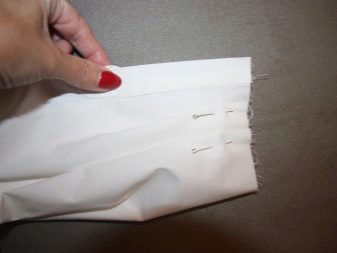
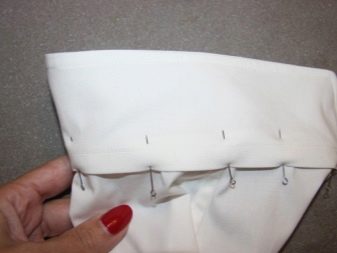
- The collar is made in a similar manner to cuffs. Machine stitching can be done on the front of the collar along the edge.
- Sew the collar to the shirt neck.
- Hem the bottom of the product.
- Iron the shirt with an iron.
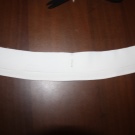
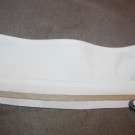
- Use the special buttonhole foot or hand-sewn buttonhole to sew buttonholes. The length of the buttonhole must match the length of the button. Add 2-3 mm to the length. The increase will provide free entry of the button into the buttonhole.
- Cut the loops with small scissors or a ripper.
- Sew on buttons. Contrasting buttons can be a beautiful decoration in a product.
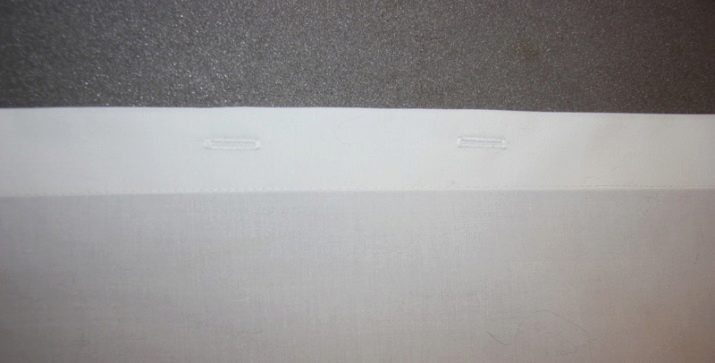
Girls, be careful and careful when constructing patterns, cutting and each stage of sewing. Then the finished thing will delight you every day. A straight cut blouse can be combined with skirts of any style, classic trousers and jeans.
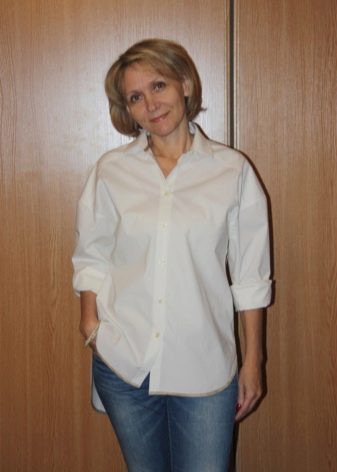
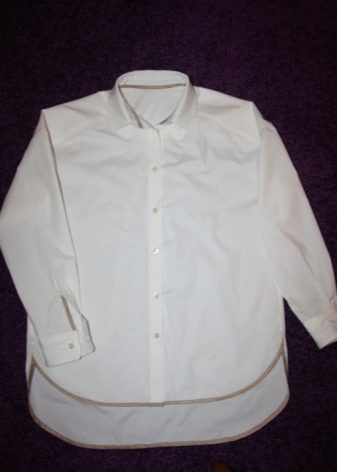
You can find out in more detail how a votnik is sewn from the video.
And the following video will tell you how to sew on the cuff.


