Options for decoupage eggs with napkins
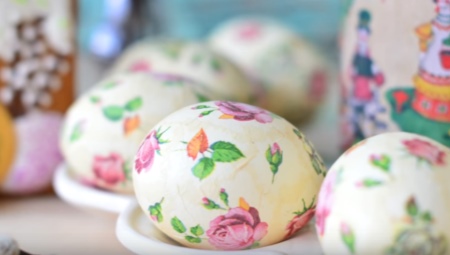
On Easter, we all become a little bit of children: we come up with new options for decorating eggs, fantasize with patterns. Recently, the technique of decoupage eggs with napkins has gained particular popularity. This is such a fun activity that everyone will want to repeat it.
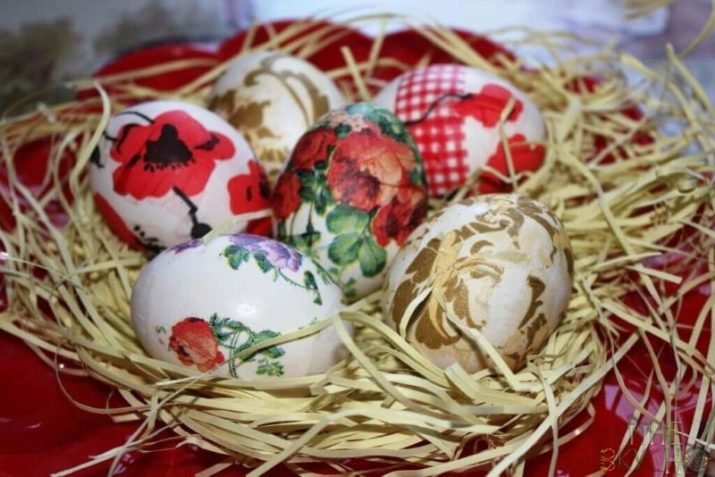
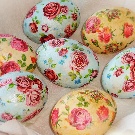
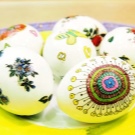
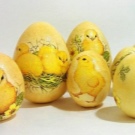
How to decorate with protein?
Decoupage is decorating an item with paper or napkins using glue. In this case, we will decorate the eggs for Easter.
To decoupage eggs with colored napkins, you will need boiled eggs, egg white, napkins with a pattern, a brush, vegetable oil, a cotton pad, scissors, paste.
Introducing a step-by-step master class.
- You must first boil hard-boiled eggs, cool them. We recommend preparing three-layer napkins for the technique. They are convenient in that they will lie flat, and the joints between them will be invisible. Choose a predominantly small floral pattern.
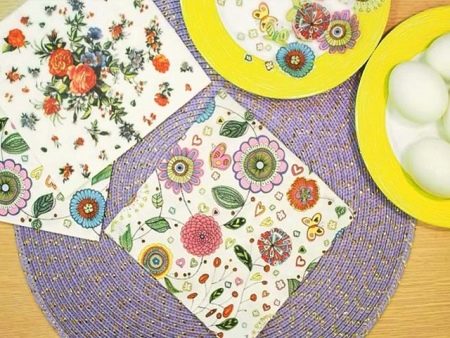
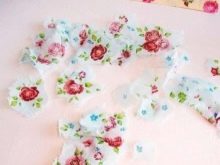
- Preparing the drawing... To do this, we tear off small details from the surface of the napkin, leaving small white transitions. Such a background will look more presentable, resembling the effect of a drawing, rather than an applique. But if you can't do it, don't despair: take it and cut it out with scissors. We recommend drawing torn off details on the surface.
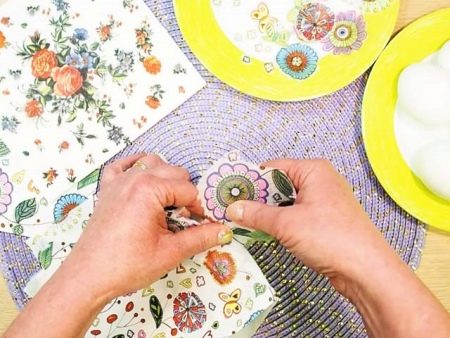
- Prepare the protein... It should be soggy, not whipped. We simply separate it from the yolk, place it in a separate container. If you don't want to waste protein, cook the paste from a mixture of starch and water, or use gelatin mixed with sugar.
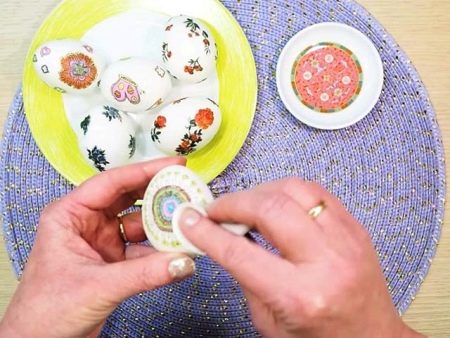
- After the preparatory stage, we proceed to the creative one. We take a certain drawing, apply egg white on it with a brush, apply it to the egg. After that, lubricate again with a brush dipped in protein.
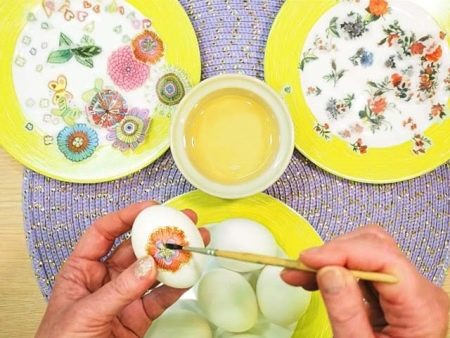
- In this way, we apply all the elements of the picture, so we do with all the eggs cooked.
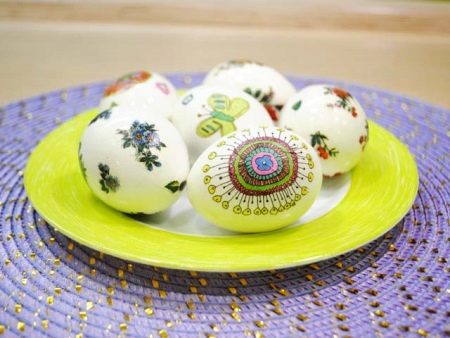
After the work is finished, we saturate the cotton pad with vegetable oil, gently wipe all our drawings. Masterpieces are ready to eat!
Decoration with napkins and acrylic paints
Easter eggs have long become an invariable decoration of the Bright Resurrection of Christ. Decorate them with your own hands in various ways. We offer to make the decoration with paper napkins and acrylic paints.
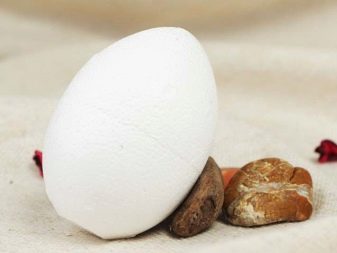
- Let's prepare: a ready-made form of foam or a real egg, varnish, scissors, three-layer napkins, glue, brush, acrylic paints.
- Before starting work, boil the egg in slightly salted water... In the previous case, it was convenient to decorate boiled eggs with certain elements. Here we will act differently: at the initial stage, the entire area of the workpiece is primed with white or light blue paints.
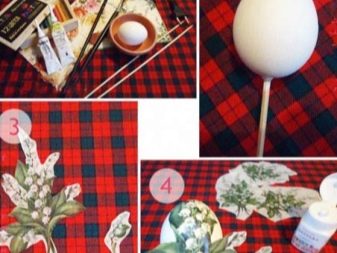
- After complete drying with paints, we apply a drawing using napkin pattern elements. And first we apply patterns on a paper sheet, press it with the painted side to the surface of the egg, and only then we carefully tint the elements that are poorly printed.
To make it convenient to work, we advise you to insert a skewer into a foam blank, or place an egg on a stand. The finishing layer is applied from PVA glue and varnish.
Starch decoration
We offer to decorate boiled eggs using starch.
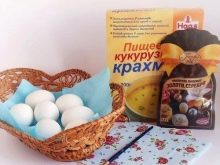
Prepare: gold and silver dyes, starch, boiled white eggs, water, napkins, a brush. The decoration will take no more than an hour, but it all depends on the amount of raw materials.
Phased implementation.
- We cut off the edges of the pattern using the patchwork technique.
- We distribute the elements of the pattern over the surface of the Easter egg using water and a brush. We try to carefully and neatly spread the drawing on the paper and the surface of the shell.
- Pre-cook eco-glue from cornstarch and water in a proportion of 2 teaspoons of starch and 500 grams of water. Stir the mixture, bring to a boil, cool.
- During this time, the patterns lay flat on the surface of the shell. It's time to soak them in cooled starch. Allow to dry.
- Soak it again with a paste with the addition of a decorative dye.
- Dry the eggs thoroughly on the wire rack. You can give or eat.
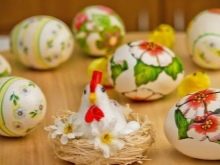
More ideas
Consider other options for how you can decorate eggs using decoupage techniques and other elements.
With butterflies
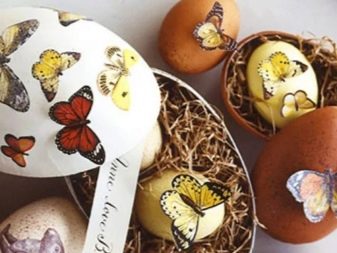
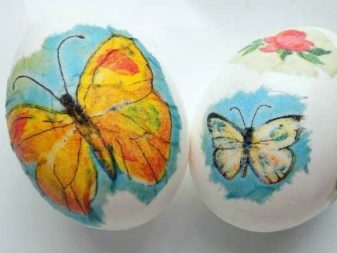
It is easy to work in this way, in a technique familiar to us, even with children. Everything is quite simple: we cut out butterflies from napkins of different density and color, fix them on the surface of the shell with glue.
Not all paper insects are completely "put on glue"; you can lightly blot the center or edges of the wings with glue. This method will revive butterflies on Easter eggs.
With semolina
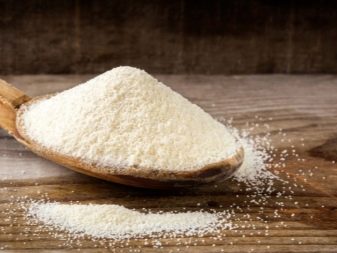
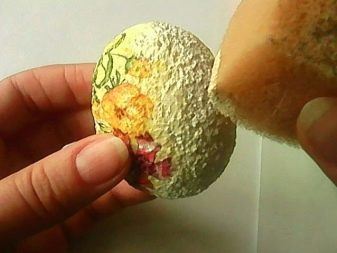
Quite an unusual design method. For work, we take semolina, acrylic paints and varnish, paper napkins. You will need more glue, but you can replace it with gelatin, previously soaked in water. Semolina, if desired, can be replaced with the smallest beads.
Lubricate the shell with glue or gelatin, immediately roll the sticky eggs in the semolina. After the surface is completely dry, cover it with light acrylic paint. After the next drying, we carry out a decoupage pattern from napkins. We apply a finishing coat with acrylic varnish.
This craft is best used for Easter souvenirs.
Patchwork technique
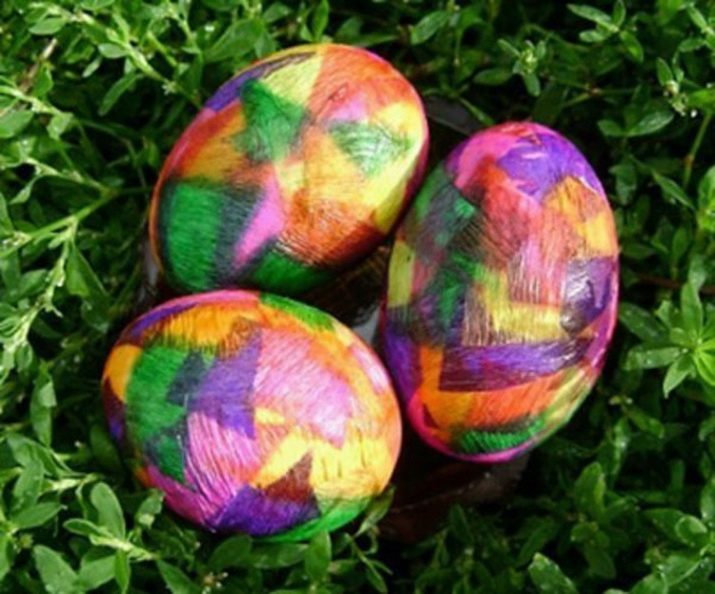
There is nothing complicated in this method. All that is needed is perseverance, imagination and patience. All the scraps of colored napkins that were going to be eliminated will come in handy here. Carefully apply the protein on the egg surface, smooth out all folds, irregularities, and bubbly slits with a brush. After complete drying, apply glue or acrylic varnish.
Antique technique
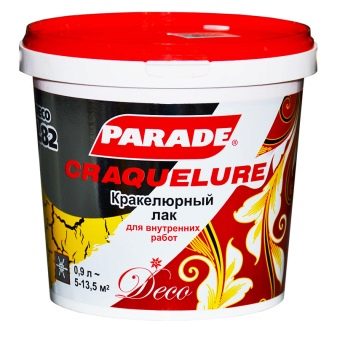
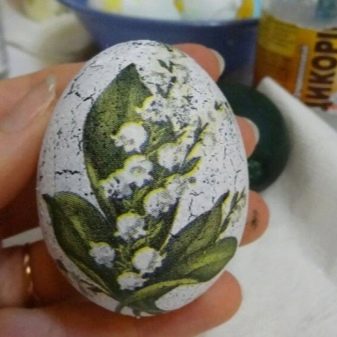
We will warn you right away - we only decorate souvenirs, because we will use craquelure varnish. By analogy with paste or protein, we lubricate the surface, apply a previously planned and prepared drawing from napkins.
After drying, we saturate everything with craquelure varnish: it will provoke the formation of small cracks.
Decorating wooden blanks
Decorating is a pretty fun process. But this method is only suitable for souvenir products.
- We take: wood blank, decoupage glue, multi-layer napkins with the pattern you like, scissors, acrylic or whitewash, glue.
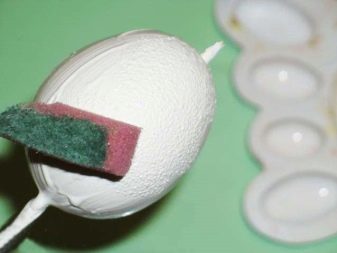
- Initially align the wooden surface using ordinary sandpaper. After that, we cover the surface with whitewash in several layers, give time to dry. You can work with both a brush and a foam sponge.
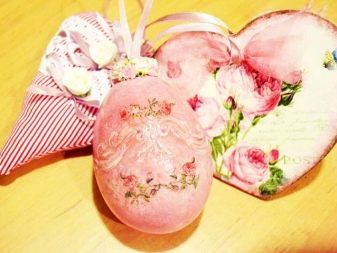
- We dilute the glue with water in a ratio of 1: 3. We put glue on the drawing, fix it on the model. After drying, we use decoupage varnish. The painted egg is ready.
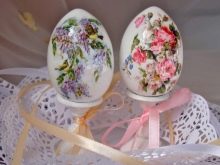
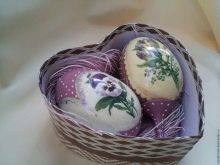
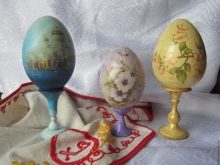
In addition, you can add a ready-made Easter egg design. For example, you can use the following additional elements:
- Natural flowers;
- lace;
- natural fabric;
- threads of different colors and textures;
- branches;
- stones;
- sequins;
- rhinestones.
We decorate at our discretion. For example, we tightly tighten the egg with a beautiful thread or braid, hand it to our friend with the words of congratulations. Here, you can focus attention with stones or sparkles, both the braid itself and the tops of the eggshell.
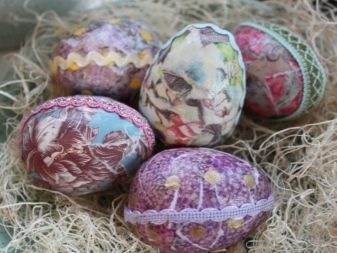
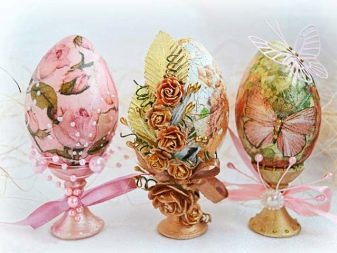
Perhaps the most original way to decorate is to place dyed testicles in a nest made of wooden skewers or twigs. To create a vivid effect, decorate the nest with braid or ribbon, expensive fabric, fresh flowers.
It is clear that a boiled colored egg is given and then eaten. But what are the areas of application for the decorative element? It turns out a lot.
- Cabinet shelf.
- New Year's toy.
- Decoration in the kitchen.
- Flower pot.
- Statuette.
- Feeders, bird houses.
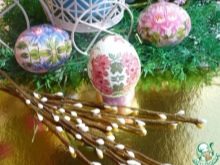
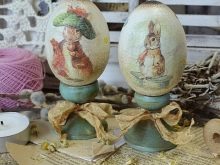
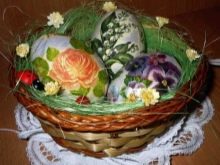
There are a few things to consider when using this technique.
- If the egg is subsequently eaten, then do not use craquelure, glue, varnish in the work process.
- Any surface must be treated before starting: Degrease and dry the egg, prime the foam, sand the wood. So the decoration will lie flat, and the product will look beautiful.
- Artificial colors for coloring the shell will not fit.
- The density of the napkins does not matter: only a layer with a printed pattern is needed. One has only to think about the ratio of the egg to the scale of the picture. It is preferable to choose bright, juicy, lively colors and patterns.
- To give a characteristic shine at the end of the work grease the shell with a little vegetable oil.
- For such purposes, only napkins are suitable. Everything will be ruined, and so will the mood if you use a printout, decoupage paper or rice paper.
- For decoration, use only white eggs, napkins with a pattern on a white background. If you use brown, bluish, beige or greenish eggs, the decorative effect will be reduced and the colors will be distorted. But it is more difficult to work with white copies, because the slightest blot is visible on them.
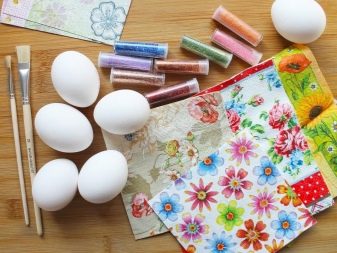
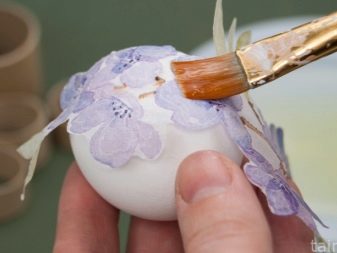
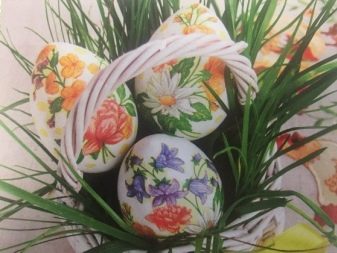
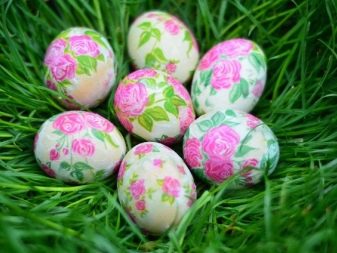
There are a lot of options for decoupage eggs with napkins. All of them are fascinating and original in their own way. But how nice it is to take such beautiful Easter eggs in your hands, and even more pleasant to give them to your friends and relatives! Good luck and fantasy!
For information on how to make decoupage of eggs with napkins, see the next video.


