How to paint eggs with dyes?
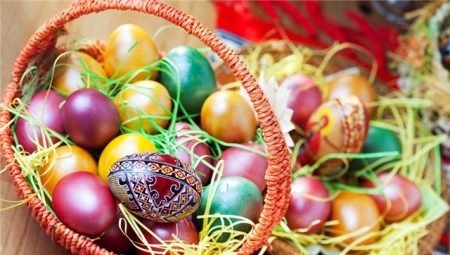
Multi-colored eggs are one of the main symbols of Easter. Traditionally, they are decorated by boiling in onion skins, which gives them a rich brown color. But modern housewives want the table to be especially colorful on a holiday.
The easiest way to diversify the decor of the eggshell is to dye it with food dyes. Juicy colors allow you to create a rich palette of shades for a festive and gracious mood.
Dye selection
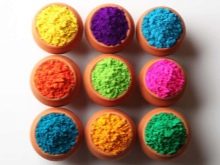
Colorants come in different consistencies: in the form of powder, gel, tablets and solutions. There are also special food varnishes that can be purchased complete with dyes. They are used in the final processing of eggs and can give the shell a shimmery coating, metallic sheen, etc. According to their origin, egg dyes can be divided into artificial and natural.
Many are frightened by the phrase "artificial colors", although, in fact, nothing dangerous is contained in them. Dry powders, for example, are usually made with just 3 ingredients, using baking soda, maltodextrin (a starch derivative) and a color pigment. Liquid and gel products are easier to use than powder counterparts. They provide a denser and richer paint layer.
Instructions for use are attached to any set of store dyes. You need to study it and only then start painting. In general, the dyeing process is similar for most types of pigments.

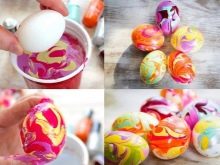
Food
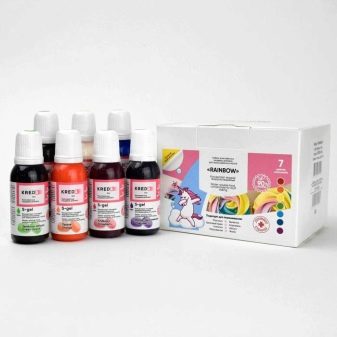
Usually, a high-quality set of paints for Easter eggs is packaged rather modestly, since for a responsible manufacturer it is the composition of the substance, and not the packaging, that is of fundamental importance. It is quite simple to paint eggs with compositions of this type and the result pleases with a persistent, even color. You should be aware that food additives labeled "E" may not be completely harmless to health. An even greater danger is fraught with dyes without a specified composition on the package. The most harmless of the additives are considered E100 and E140, and you must categorically refuse to buy dyes marked E124 or E142. These are the most harmful components of all.
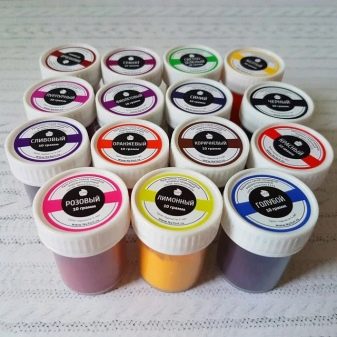
The pearlescent dye is also categorically unsuitable for food. The stunningly beautiful coloring effect will make the egg an Easter souvenir, not a food product. Moreover, you should not eat colored egg white, because this is a direct threat to health. To understand which dyes are the best, it is worth looking at ratings compiled by experts based on research and user reviews.
Natural
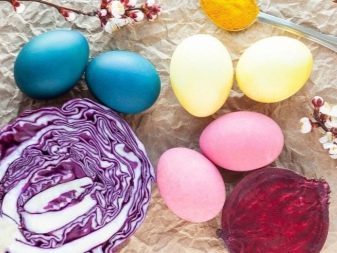
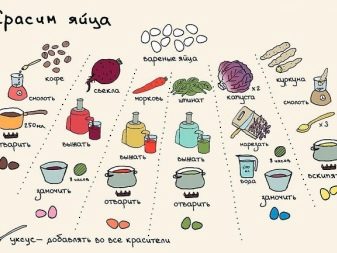
In this case, the term "natural" means - made from natural ingredients. As a rule, these are powders or herbal tablets. It releases pigment upon contact with water. But finding such formulations in stores is not so easy. But you can try for the sake of natural colors to get them from beets, greens, carrots, etc. Especially if the family has children and they love to feast on Easter eggs.

Preparation
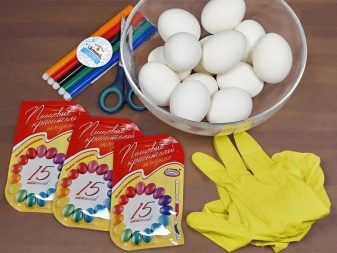
To create beautiful Easter specimens, you need to prepare the following arsenal:
- white boiled eggs, on a yellow shell, the colors will not be so bright;
- stainless and heat-resistant containers or disposable glasses;
- protective gloves;
- thick napkins;
- oilcloth;
- brush (to paint);
- dyes;
- vinegar 9%;
- spoon.
It is better to choose homemade eggs, because then the holiday treat will turn out to be as useful as possible.

Painting methods
There are many options for decorating eggs for Easter with your own hands. Below are the most original and popular painting methods. It is important to repeat the staining algorithm correctly, then the result will certainly please.
Classical
The simplest and most frequently used option.
- Hard boil the eggs.
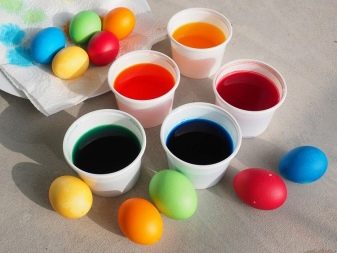
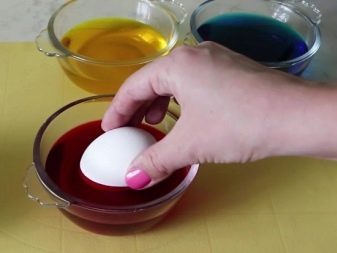
- Prepare a solution. Here you will need the attached instructions. Dissolve the pigment in a certain amount of cold or hot water (according to the instructions). Pour in table vinegar in the amount recommended by the manufacturer. If a color is required that is not provided in the kit, you can mix the two desired shades.
- Submerge the eggs in the solution. Usually 10 minutes. It is best not to put all the eggs in one bowl with the dissolved dye - contact may cause uneven color. It is more convenient to lay out the workpieces in separate containers. The exception is gel types of dyes. They are not dissolved, but simply rubbed over the shell.
- When the dye adheres well to the shell, take the eggs out of the solution with a spoon and send them to dry on special stands or paper napkins.
- Painted eggs can be rubbed with vegetable oil or pearlescent gel. Without these manipulations, they will remain dull.
Gradient
There are several ways to do this.
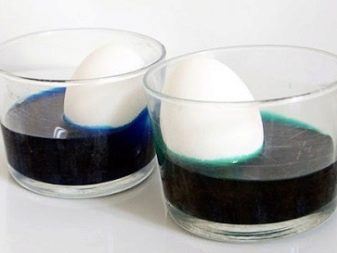
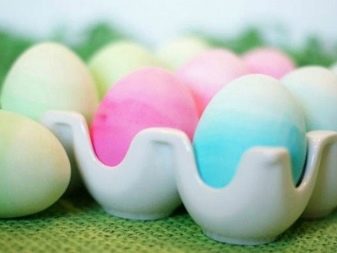
- Immerse a boiled egg in 2/3 cup of the coloring solution and leave for a couple of minutes. Using a syringe without a needle, carefully "pump out" a little of the solution, reducing the liquid level by 0.5–1 cm. Wait a couple more minutes. Repeat the action until almost no dye remains on the bottom. Carefully remove the egg and let it dry.
- You can use several solutions and hold the egg in each, alternately immersing the workpiece by half, then by a third, placing it obliquely into the glass with the narrow part down. The goal is to get a gradient overlay of the colored fragments.
- Place the egg in the glass, blunt side down. Using a couple of spoons, set it in a standing, fixed position. Hold for 1 minute. Then pour in a little hot water to brighten the solution. This will make the next strip lighter. Wait 60 seconds again.Then every minute you need to add water until it covers the egg. In total, you will get 5 stripes, each of which is slightly paler than the previous one. The gradient can be made with any color.
Bicolor
This option is also not difficult to implement.
- Dilute any two dyes to taste.
- Combine water with vinegar as indicated on the package.
- First, paint the whole egg in a lighter shade. It will take up to 3 minutes.
- Take out and dry the egg with a paper towel.
- Put on gloves and grab the edge by dipping the egg 1⁄2 in a different color. Hand movements are done up and down to blur the design rather than create clear boundaries.
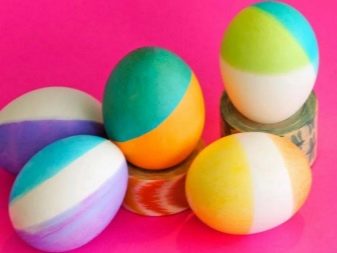
With rubber band
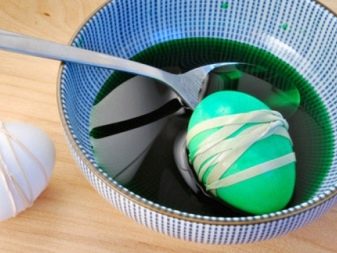
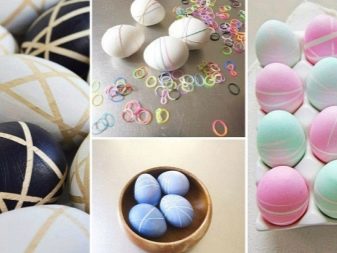
You will need a supply of rubber bands. You need to take an egg and wind elastic bands around it in any order. Next, the egg is painted in the preferred color, blotted with napkins and the gum is removed. Instead of them, unpainted traces will remain. It will be even more interesting to try to first completely paint the shell in a dark color, then remove the rubber bands and keep the egg in a light color.
Dotted
You can use one of the options.
- Boiled eggs are dyed with a light color using three times more water. On each dried egg, melted wax is evenly dripped from all sides, trying to create the same "peas" on the shell. The resulting workpiece is immersed in a solution of a background color so that everything is painted over, except for areas with wax. You can hold the egg in the dye for about 10 minutes. Then take it out and let it dry. Remove wax drops carefully. You should get funny polka dots on a contrasting background.
- This method is also interesting for creating peas. You will need at least two paint colors. One of them needs to be diluted in the standard way and the finished egg should be tinted. Make the next color as dense as possible (2 tablespoons of water and vinegar). Multiple concentrates can be prepared. Place points on a dry shell with a cotton swab. It is important to do this carefully to maintain the shape of the peas. If a drop accidentally spills out, the residue can be easily removed with the clean side of the stick.
- You can also create polka dots with dyed rice. Dip the egg into a glass, cover it and shake well until colored specks appear.

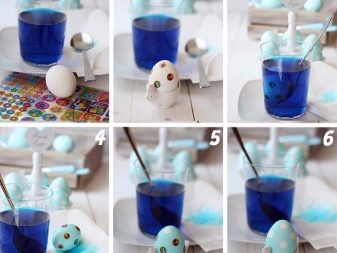
In a napkin
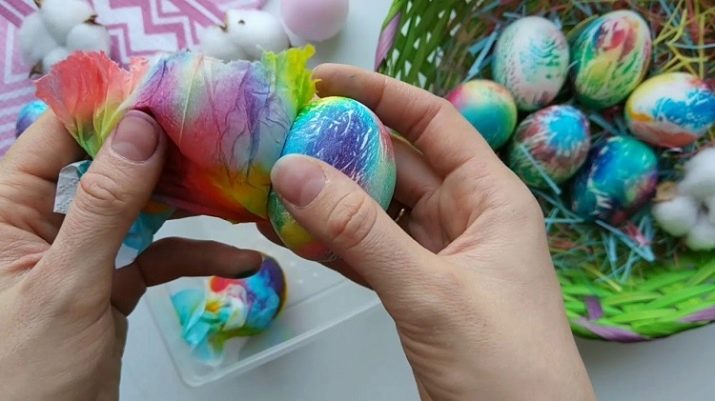
In this case, you need to boil the eggs as usual. Wipe them with vinegar, let dry and wrap in two layers with crumpled napkins, forming a bag or "candy". You can fix the structure with rubber bands. Then dye solutions are prepared. You can also use liquid concentrates directly from the packaging - the color will be as saturated as possible. Gloves are put on and dye is dotted onto the napkins.
It is convenient to do this with a brush or cotton swab. The paper "bag" can be painted entirely or leave white areas. After that, the blanks are sent to a plate with a paper towel until they are completely dry. Then the napkins are carefully removed. Multicolored "space blots" will remain on the shell.
Rainbow
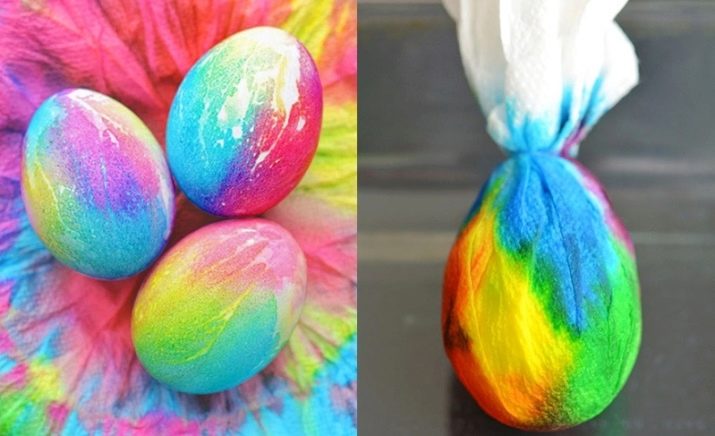
Dyeing eggs rainbow colors requires yellow, red and blue dyes. By mixing them, you can get the rest of the desired shades. The algorithm of actions is as follows. You need to dip the egg in a yellow solution, but not whole, but from one side, get it out and leave to dry.
Next, you should immerse this blank in a red solution with its intact white side. So as to affect the yellow patch. Orange will appear at the border of the yellow and red fragments. Blot the shell again with soft paper and dry it. Dip the wide rim of the egg into the blue solution. It turns out blue, but green appears in the area with yellow. And in the place where it is superimposed on red, it will turn out to be purple.
With vegetable oil
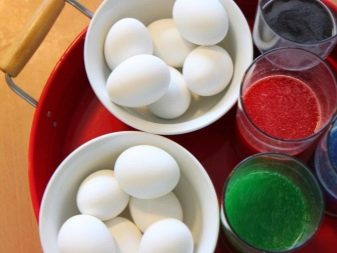
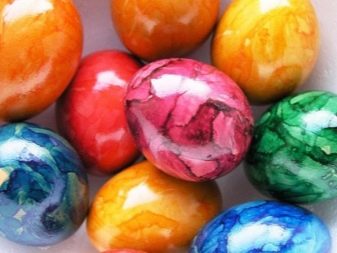
2-3 colors can be used. Dilute the base color as standard, according to the instructions on the package. Dilute the rest and add oil. The more fat there is, the smaller the specks will be. First, you can add two tablespoons of oil, and if desired, pour in a little more.
Initially, the egg is colored without oil. Then it is immersed in a different color, but with fat, and kept for several seconds. The second dye will stick on top of the previous one with specks.
If desired, the egg can be dipped in an additional color with vegetable oil, adding new color splashes to the decor.
With electrical tape
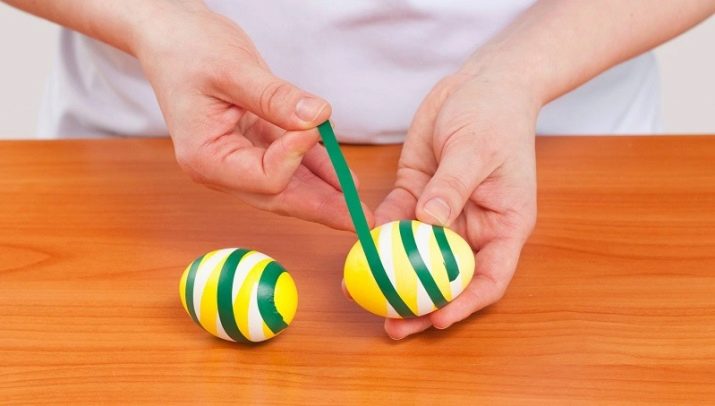
This method also allows you to get the most intricate patterns. You can cut any shapes from electrical tape and glue them on the shell: geometric shapes, stripes - even or wavy. Color the egg in one color or visually divide it into multi-colored halves. The choice is only for the creators of the decor! As a result, a white pattern will remain in place of the electrical tape. If you wish, you can paint the egg in an additional color, making the pattern even brighter.
