How to dye eggs with food coloring?
Decorating eggs for Easter is a long-standing and well-established tradition of Orthodox Christians. On such a bright holiday, dyed girls are placed in the center of the table, trying to embody the most interesting creative ideas in their decoration.

Coloring features
For Easter eggs, bright and elegant decor is most often used. The most suitable and easy way to quickly transform a white shell is to paint it. Food colors are best suited for this purpose, because everything happens with them quickly, simply and always with a guaranteed result. Such paints are harmless to the body, so you can safely paint eggs in different colors and shades.
Those who are still wary of using store-bought dyes because of their composition can breathe out and calm down. All fears regarding this are in vain. Ready-made confectionery pigments are intended directly for coloring food. They are safe when used at the recommended dosage and directions are followed.
Eggs can also be dyed with confectionery dyes. If they are created for coloring cream and baking, then they definitely will not harm the eggs. In this case, the colors after such liquid paints are more beautiful and saturated.
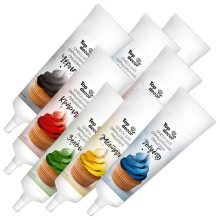
It is convenient to use food gel paints not only when preparing colored mastic, but also when creating a composition for Easter.


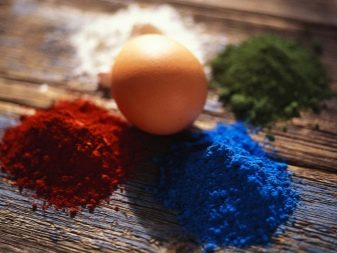
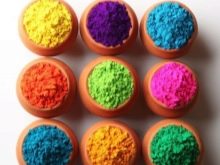
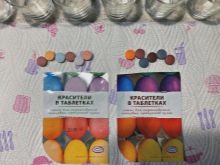
Powder remains the most popular dye for eggs. The coloring solution is obtained from it in two counts, and the eggshell takes on a rich and even color.
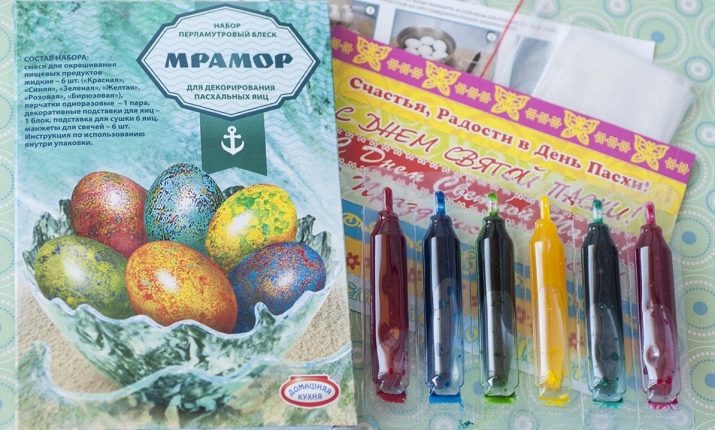
Typically, an industrial kit comes with 5 types of coloring pigment: yellow, orange, red, green and blue.

Preparation
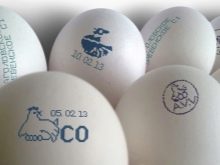
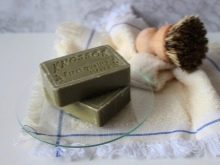
First of all, you need to prepare the eggs for painting.It is advisable to take white ones to make the decor richer. If the eggs are not homemade, but from the store, the stamps will have to be removed from the shell. You can try washing them off with laundry soap. If necessary, carry out this procedure twice, connecting the baking soda a second time. First, future dyes are soaked in a soda solution, and only after half an hour they need to be treated with a brush or sponge.
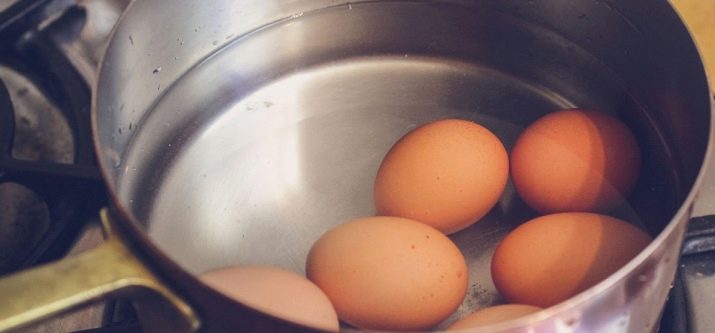
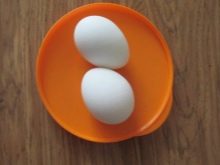
Eggs must be hard-boiled before dyeing with any of the dyes.
At the same time, it is important to maintain the integrity of the shell. To do this, you need to carefully put them in a saucepan and salt the water in which they will be cooked.
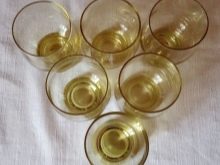
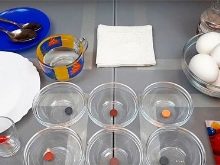
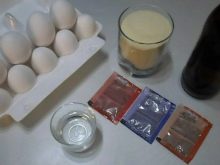
For painting you will need:
- 5 pieces. glasses or cans with a volume of 0.5 liters;
- boiled eggs;
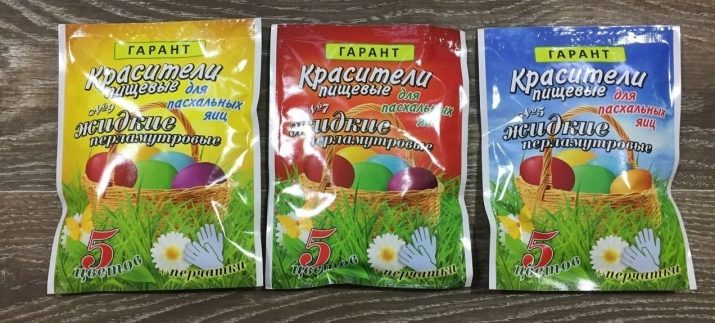
- color bags;
- paper towels;
- 2 tbsp. tablespoons of vinegar;
- 1 tbsp. a spoonful of vegetable oil;
- table spoon.
Technology
Each paint is accompanied by an instruction in which it is written how the manufacturer recommends painting.
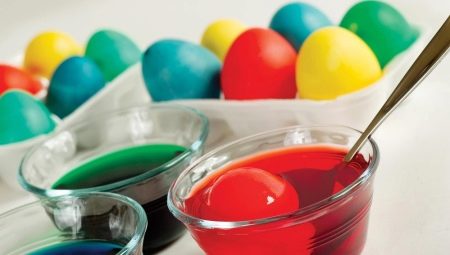
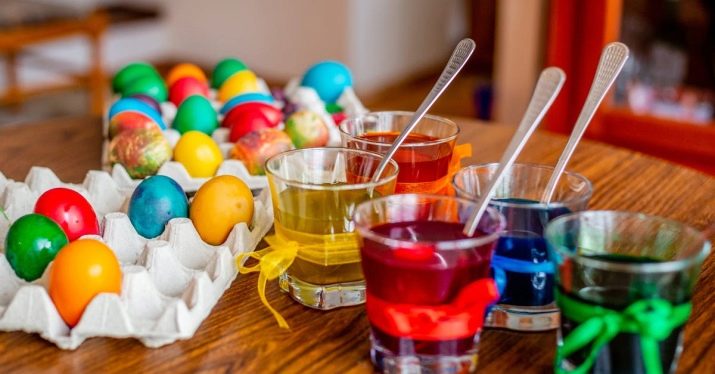
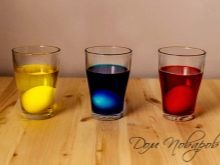
Algorithm for decorating with liquid paints in stages:
- boil the eggs for about 7-10 minutes;
- put to cool under running cold water;
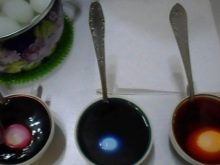
- prepare coloring solutions: pour the contents of the sachet with the coloring matter into a glass (jar) and pour 250 ml of hot water, mix well, add vinegar, mix again;
- cover the table with paper towels, take the blank and lower it into the diluted paint;
- repeat this procedure for each color;
- do not remove the eggs from the paint for 3-5 minutes, after the specified time, remove them using a tablespoon;
- put the dyes on a paper towel;
- do such manipulations until all the eggs are colored;
- when the shell dries, give it a shine by greasing it with vegetable oil on all sides.

It is also possible to stain with paint in tablets.
This is done as simply as in the powder paint option. The staining algorithm remains similar to the above steps. Dissolve one tablet in a glass of water, and then follow all the steps according to the instructions above. Most manufacturers have the same color recommendations:
- pour vinegar (1 tbsp. l.) into the water with a diluted tablet;
- place the egg in a glass with a dye solution for 5-7 minutes;
- dry the decorated product.
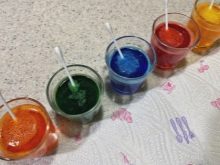

Liquid gel paints
Paints in this consistency are suitable not only for creating a monochromatic coating, but also for drawings. They are great at painting eggs with a variety of patterns.
Liquid paints with mother-of-pearl give the eggs a magical look. But there are also compounds that, on the contrary, matte the surface of the product.
Working with this type of food coloring is also simple:
- first boil and cool the eggs (as usual);
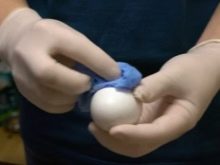
- put on gloves;
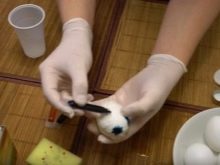
- open a bag of paint, pour a little color gel on your fingers and wipe the workpiece with them, so you need to process it until it is completely painted over;
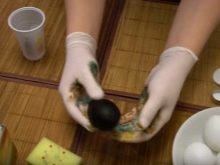
- repeat the manipulations with the rest of the copies until the paint runs out;
- then you need to rinse the remaining dye from the gloves, wipe the eggs with a towel and do the same with the next color.
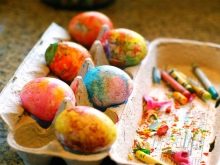
Original ideas
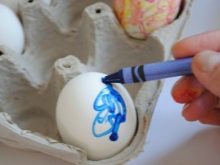
Using wax crayon
The easiest way to "dress up" eggs for Easter is to use white wax crayon. It can be purchased from the stationery department. Any paints are allowed.
- Hard-boiled white eggs, cool and dry. Draw arbitrary patterns on them with wax crayons.
- Dilute the dyes according to the instructions. Usually they are dissolved in hot water to which table vinegar is added. The concentration of the paint depends on how saturated the color is supposed to be. If you need light eggs, with a delicate decor, less paint is taken than in the case of creating bright specimens.
- Place eggs in the staining solution and allow to stand for a while.stated on the package (usually up to 5 minutes).
- Put the dyes on a napkin. It turns out a beautiful pattern on the shell.

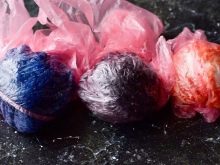
With threads
This is also a very original idea for transforming Easter eggs.
- Wrap several layers of thread tightly over boiled eggs. This should be done in different directions.
- Dilute the dyes and dip the boiled eggs in them.
- Hold them in the paint for the time stated on the package, take them out and blot with napkins. Let them dry.
- Cut the threads with scissors. In place of the windings made, a patterned trace will remain. You can rub the shell for shine with a napkin soaked in any vegetable oil. Or leave it as it is.

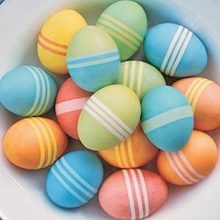
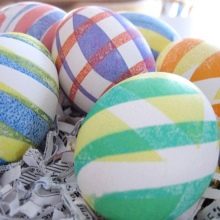
Striped
For such a decor, you will need a roll of scotch tape or electrical tape. Color the boiled egg in any of the light shades. Cut several pieces of 5–7 mm from the sticky strip and glue them to the shell.
You can place them in a circle or in any order, make them the same width, or get creative.
Then immerse the workpiece in dark paint for 5 minutes. When it's dry, remove the tape. Using this pattern, you can create patterns of multi-colored stripes or any possible ornaments. To do this, each next time you need to dip the egg in paint a tone darker than the previous one and stick / remove pieces of masking tape.

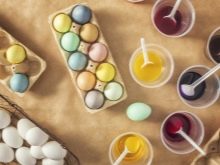
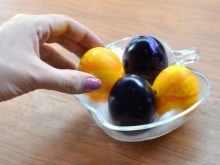
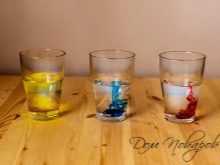
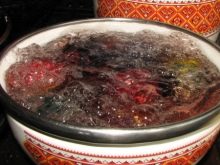
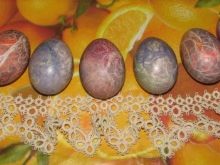
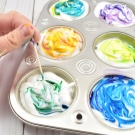
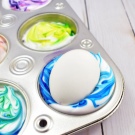
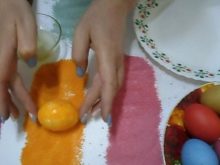
Marble eggs
To paint eggs in light, but bright colors, for example, you can use yellow, orange, red. Leave them to dry.
Dilute several dark colors with water. This effect is beautifully obtained with blue, brown, purple, etc. Add 1 tsp to each glass. any vegetable oil. Stir gently until many oily droplets are the size of a pea.
Dip the eggs one by one in a dark color and remove immediately.
A spectacular marble pattern can be obtained if you do it only once.

Abstraction
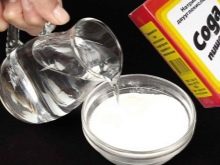
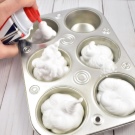
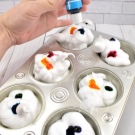
Lovers of colorful abstractions may like the decor with shaving foam. In a shallow container, squeeze out the foam in a layer of 1–2 cm. Drip the paint in a very concentrated form and stir gently.
Roll the egg over the colored foam, then carefully remove and place on a plate. The egg should dry out within 30 minutes. In this case, it is important that the cream does not have time to dry out to the shell, since then you cannot use water for cleansing.
If this does happen, you need to try to delicately remove the remaining cream with a paper towel.

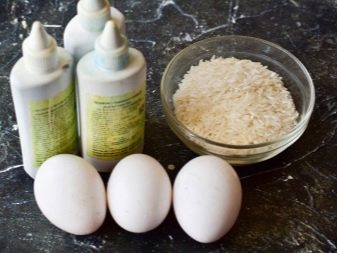
Speckled decor
If you want unusual colored Easter eggs, you can also use dye and raw rice. This will require:
- polyethylene bags - 5 pcs.;
- rice - 500 g;
- dyes - 5 colors;
- hard boiled eggs.
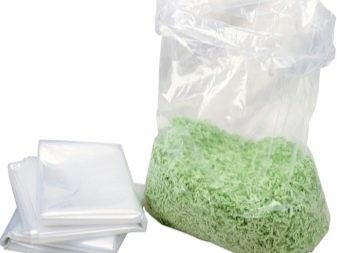
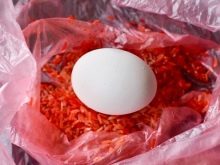
Now you have to do the following:
- pour an equal amount of rice into bags;
- pour dye into the rice - you should get 5 bags with rice and paint of selected flowers;
- then put the egg in one of the bags, twist it, wiggle your hands and shake the rice so that it dyes the product well, leave it in the bag for 10 minutes;
- take the egg out of the bag and lay it out to dry, repeat all the steps with the rest of the specimens.

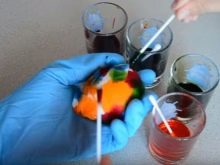
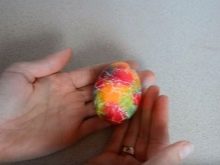
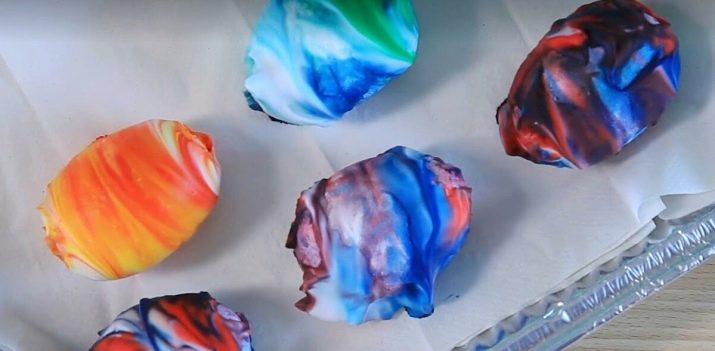
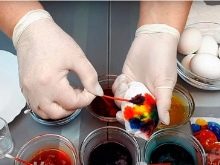
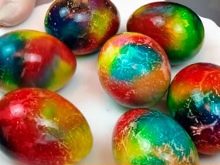
Eggs in a napkin
An interesting way of painting, which allows you to create a unique bright paint design. You can mix any preferred colors. The eggs must be hard-boiled beforehand.
- Gloves should be worn first. Dilute paints such as red, yellow and blue. Remember to add vinegar for color fastness.
- Wrap the egg with a regular napkin. If it is thin, then you need to make two layers of paper.
- Use a spoon to spread the dye on top. First one color on one side of the shell. Then turn the egg over and paint with the following color scheme and so on. Merging these colors will produce pleasant shades of orange or green.
- The napkin must be stained completely, excluding gaps. After 5 minutes, remove it and inspect the result. If there are gaps, you can paint over them with paints with a pearlescent effect. Leave to dry completely.
Terry design
This method of decorating Easter eggs has gained popularity not so long ago. The double effect of the shell is given with the help of colored semolina. You can use additives in the form of sparkles, beads, etc. Dry powder food coloring is added to the dry semolina. Everything is thoroughly mixed.
Next, PVA glue is applied to the egg. Raw protein will work instead. The egg is rolled from all sides, and then spread on a napkin to dry. In a similar way, it turns out to decorate dyes with beads or sparkles.
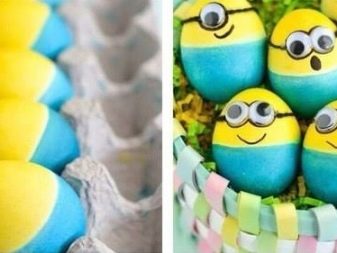
Minions
Now the characters of the cartoon of the same name are considered quite popular decor for Easter eggs, especially if the family has children - they will definitely be delighted with such dyes!
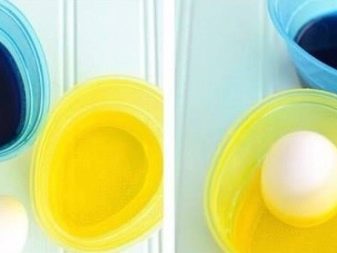
To get these funny characters, you need to paint one half of the egg yellow. To do this, it is dipped in a diluted dye, placing it on a spoon. And they are kept in it for several minutes. Then you need to let the workpiece dry a little and turn it over, immersing it in a blue dye.
It is advisable to start staining from the yellow side. Then, even with the resulting smudges, it will be easy to paint over the defects with blue.
Then you can draw out the faces of the minions with a marker or glue the eyes and glasses. The delight of the kids is guaranteed!