How can you paint quail eggs for Easter?
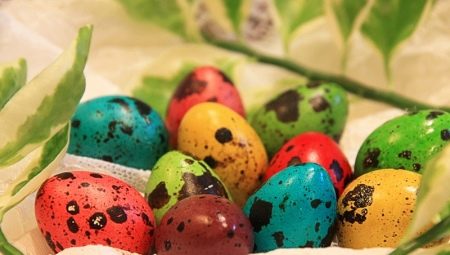
The egg is one of the main symbols of Easter, an important decorative attribute. And today they are painted not only in red, which absolutely corresponds to tradition, but also in all kinds of colors and their gradations. And they paint not only standard chicken eggs, but also quail eggs.
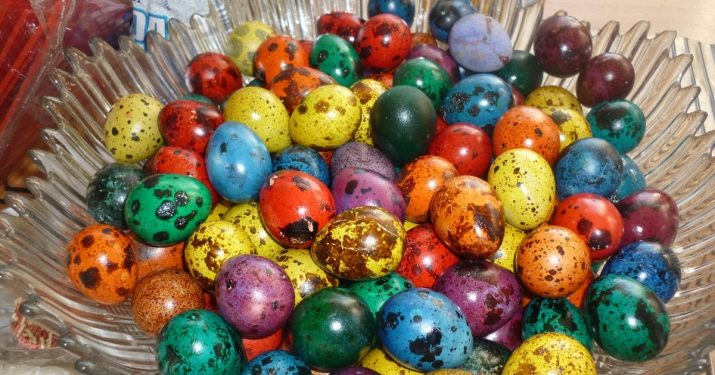

Coloring features
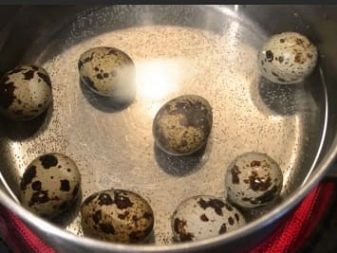
The main thing that needs to be done is to cook it correctly so that the eggs subsequently dyed do not end up being unusable. And it is better if at first they lie outside the refrigerator for a while, approaching room temperature.
This is done to reduce the risk of cracking. Quail eggs take 5 minutes to fully cook.
Coloring options:
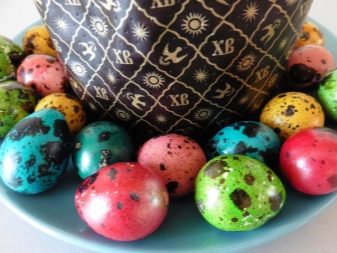
- dyes - these are monochromatic eggs, that is, one color is used for dyeing, and at the output it should turn out to be uniform;
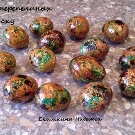
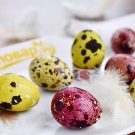
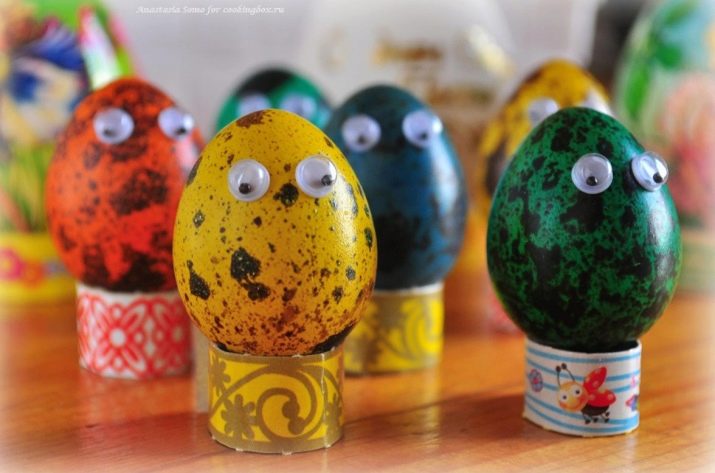
- specks - this is the name of the eggs that decorate the multi-colored spots, including those obtained with the help of wax;
- drapani - these are dyes with a scratched pattern;
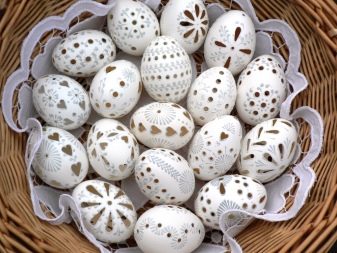
- Easter eggs - and these are already painted samples, real creativity.
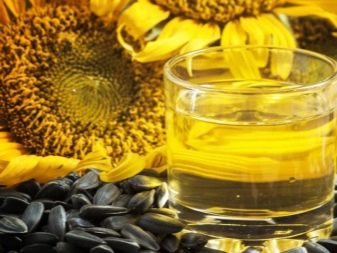
And also this advice would be useful: it is better to cook eggs in a bowl with thick walls, because this also prevents cracking. It is better to slowly bring the eggs to a boil, and during cooking, make sure that it is minimal. When the moment of staining has already come, it is better to immerse them in the coloring composition using a special holder. And it can also help out a whisk, inside which you can easily push an egg. And if you wipe it with sunflower oil after staining, it will also shine incredibly.
Working with food paints
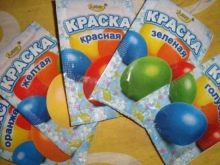
There are plenty of dyes in the store that can transform small quail eggs.They act quickly, the egg almost instantly acquires the desired color, and sometimes more than one.
When working with food colors, you must prepare:
- plastic cups;
- 100 ml of 9% table vinegar;
- 1 teaspoon salt
- the food coloring itself (it is assumed that there will be several shades).

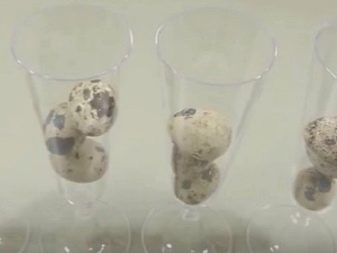
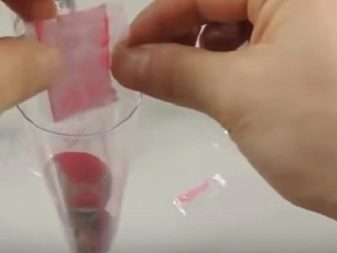
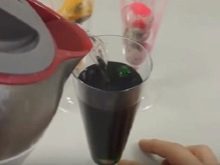
Finished boiled eggs must be laid out in plastic cups. There should be as many cups as the colors used. Several quail eggs will fit in each glass. Then dye is poured into each container, which is almost always presented in powder form. Only then the glass must be shaken well so that the distribution of the pigment is even. And then all this must be poured with hot water so that all the eggs are covered with liquid. Use a wooden skewer to stir the water.
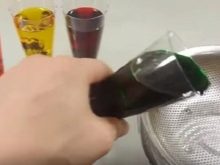
So the egg should lie in liquid dye for half an hour. After the specified time, the dye must be drained into another container, having previously substituted a sieve. Only the eggs should also not fall into the sieve. All that remains is to put the dyes on a paper towel, where they will dry. And already dried eggs can be greased with vegetable oil.
The method is as simple as possible, and in 40 minutes this way you can get a whole basket of cute and original Easter colors.
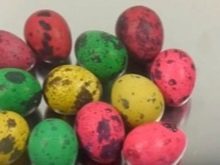
Beautiful painting with natural dyes
And this option can be considered even more interesting, both because of its environmental friendliness, and because of the fascination of the process. And there are a lot of ways. For example, traditional onion skins.
We color quail eggs in onion skins step by step.
- It is necessary to mix clean water and table vinegar in equal proportions and pour this composition into a separate container. Eggs need to be lowered there, left there for an hour or two (you can leave up to 3 hours). After that, the quail eggshell should lighten.
- From time to time you need to look at future dyes, because the degree of lightening is determined not so much by time as by eye.
- And while the samples are lightening, you can do the onion peel... About 10 onions will be spent on this: the husk is sent to the pan, water is added there.
- All with a reference to the amount of husk, how much they cleaned. For example, for 30 g of husk there is 1.5 liters of water. And this composition must be boiled for 40 minutes.
- Better to do it in an old saucepan because then it will be problematic to wash the new one, it will also be painted over.
- After these 40 minutes, the broth must be filtered., add a large spoonful of salt there, and now send the eggs there, which by that time have brightened in order.
- The liquid must completely cover the dropped objects... Otherwise, the staining will not be uniform.
- After boiling, the eggs are boiled for another 5 minutes (hard boiled), then the gas can be turned off, and let the dyes lie in the pan until they cool down.
That's all ready, sunflower oil is also useful for wiping the cooled surface.
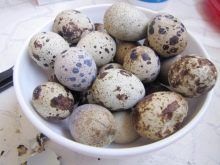
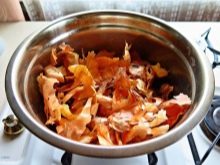
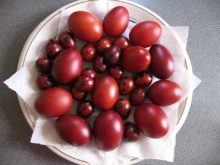
What other options for natural dyes can be used.
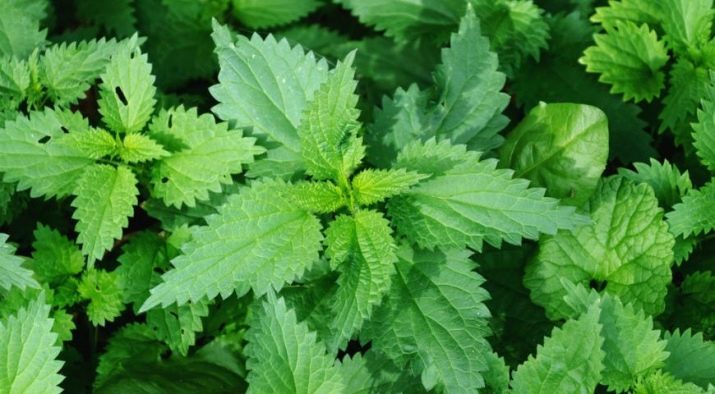
- Spinach or nettle... This is the perfect way to get green eggs. And the concentration of the grass will also determine the degree of color saturation. Yes, it happens that the shade is not always beautiful, this experiment is really risky. But if everything works out, it will be more than aesthetically pleasing.
It may be better to first clarify the eggs in an acetic-water composition.
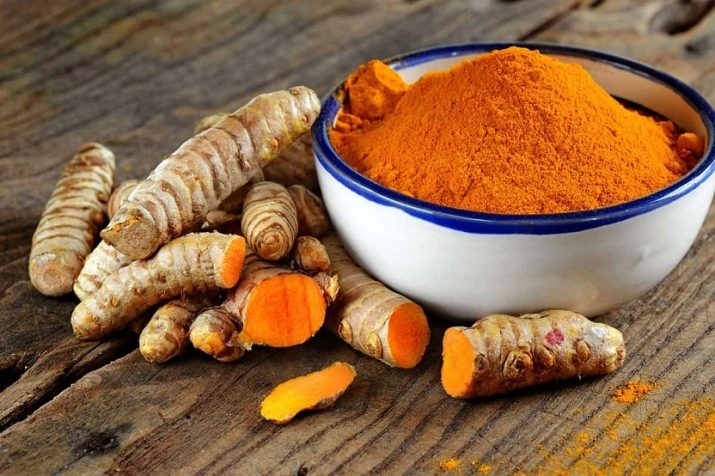
- Turmeric... Here, too, everything is simple: add a little turmeric to the water for boiling eggs. It dissolves well in powder form, and the degree of saturation can also be adjusted by eye.
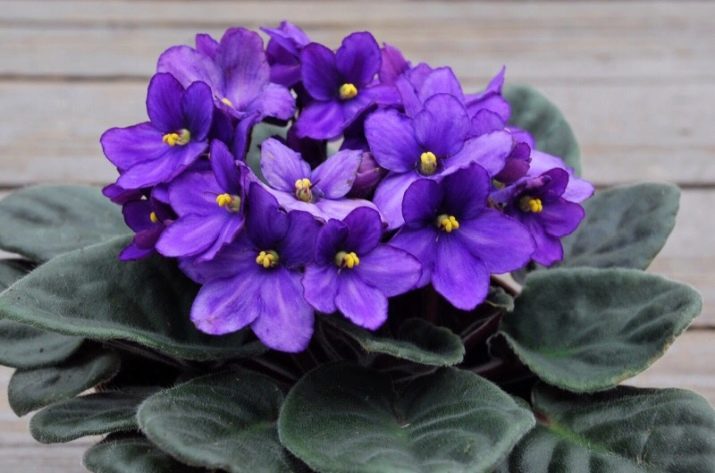
- Violets... If you paint eggs in their infusion, you get a beautiful purple color. Violet flowers are filled with hot water, the solution must be infused, and then the already boiled eggs are sent into it overnight.
And if you add lemon juice to the water, the color will turn out to be lavender - and this is also very beautiful.
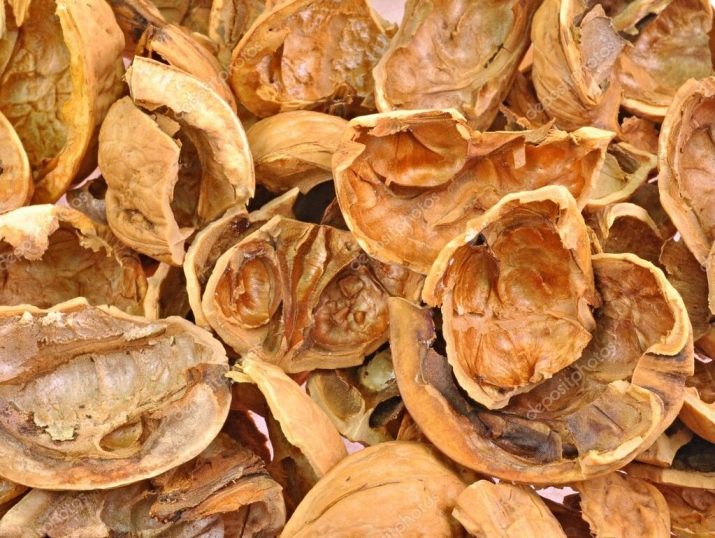
- Walnut shell. She helps to get light beige, pastel shades of eggs, but you can bring them to brown.
For those who like eco-boho, this is an interesting option. Ground coffee solves the same problem.
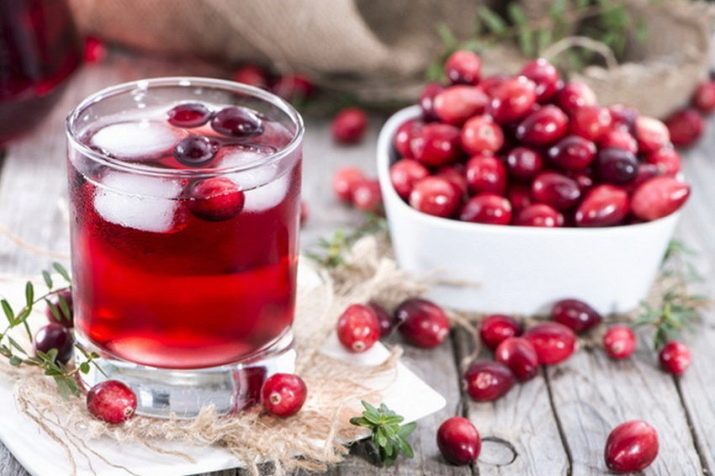
- Cranberry juice... Helps to get the cutest pink color. Only you do not need a drink, not fruit drink, but juice squeezed out of the berries.
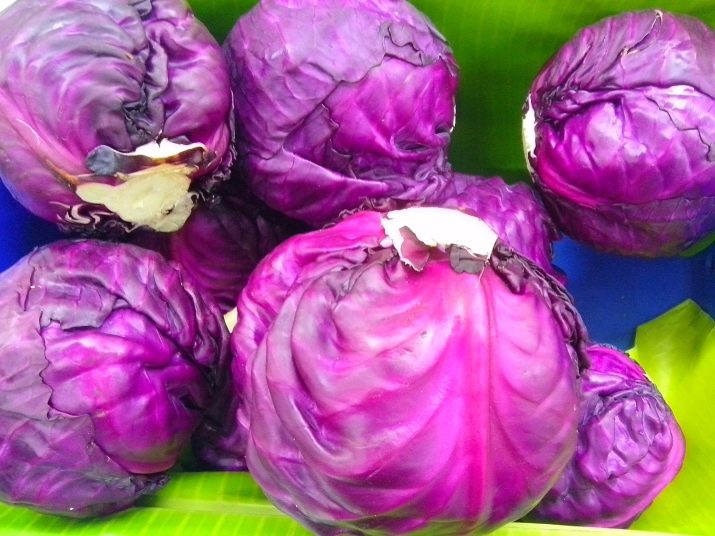
- Red cabbage leaves. You can simply rub the dyes with them so that they acquire a blue color.
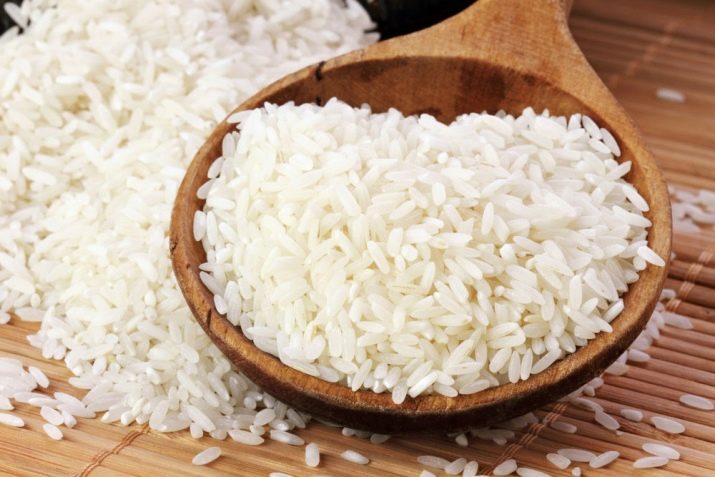
- And the use of cereals gives a very interesting effect - eggs will turn out to be speckled. You need to roll a wet egg in buckwheat or rice, or whatever, as long as it is cereal. And then it is wrapped very tightly in gauze, and it can be sent to any dye. Better in the one where the egg is also boiled.
Decor options
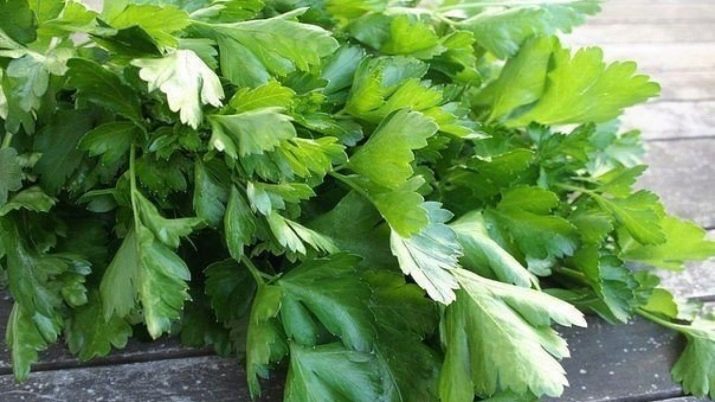
But not only groats can create a pattern on a dye. A great option is parsley sprigs or an analogue. For example, a small sprig of parsley or dill is taken, and an egg is wrapped in it, then it is put in a stocking and boiled in the same onion husk. At the exit - not just painted attributes of the holiday, but also almost Easter eggs, only cleverly decorated.
Mind-blowing decoration will be use of silk fabric, unnecessary ties are great for this. They need to be cut, and the eggs should be wrapped in fragments of fabric, securing them with threads or in any suitable way. And boil with the addition of vinegar. A silk pattern will be imprinted on them.

And you can simply wrap the eggs at random with threads and also send them to the dye, you get an abstract pattern.
Only taking into account the fact that it is the quail eggs that will have to be decorated, they may first have to be clarified in water with vinegar.
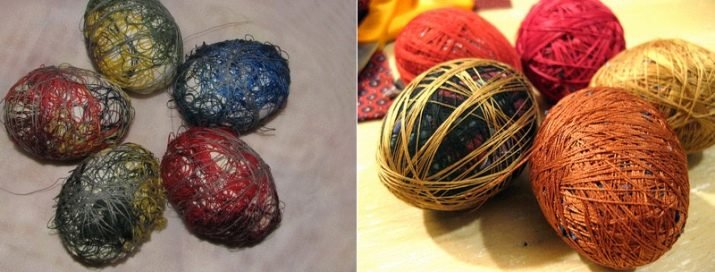
And you can also use wax, decorate Easter attributes with ribbons and corrugated paper, rhinestones and beads, sequins and gold threads. Here, as a fantasy will be played out.
But if we talk about fashion, simpler, more environmentally friendly options, created according to a simple algorithm, win.
For information on how to paint quail eggs, see the next video.


