How to paint eggs in onion skins and brilliant green?
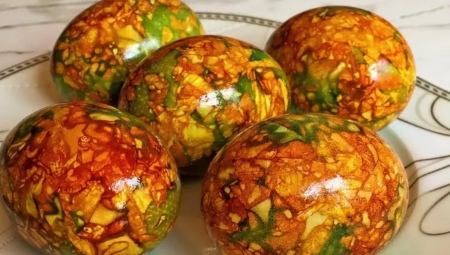
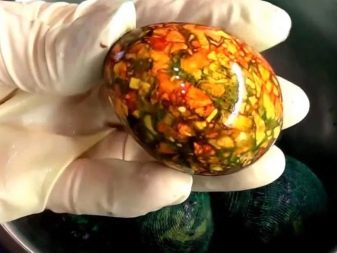
To decorate Easter eggs in an original way, it is not at all necessary to purchase expensive dyes and stickers. It is much more interesting to try to use such everyday things in the household as a solution of brilliant green and onion peel. Plus, it will be more environmentally friendly, harmless and profitable for the budget! The result is an excellent marble pattern with beautiful shades and patterns.
Coloring features
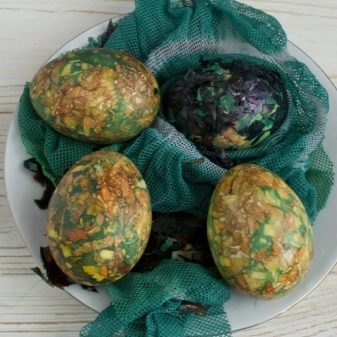
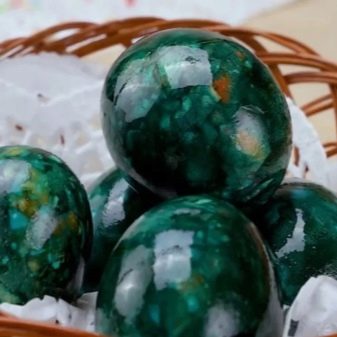
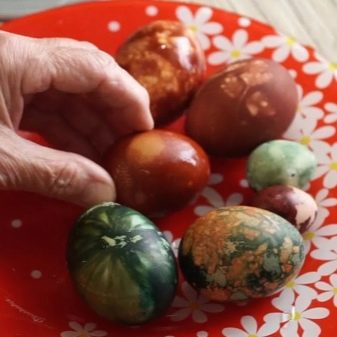
The decorative look "marbled" can easily be given to eggs at home. Because of the brilliant green, an unusual malachite shade is obtained, with color transitions from dark brown to emerald. Such an Easter decoration will surely turn out to surprise your loved ones and complement the festive table.
It is safe to paint eggs in brilliant green, even when there are cracks in the shell. Through the shell, the egg white will not stain and after peeling it, the skin on the fingers will remain clean.
It is only important to handle the dye solution with care, since it will not be easy to wash it off. For painting, you need to prepare an aluminum pan or a cast-iron dish, as the brilliant green will mark other dishes with indelible stains.
Handy materials for boiling eggs in onion skins with brilliant green are available in every home. The process of preparing the husks and wrapping the eggs is so fun that even fidgety children are kept busy.
Technology
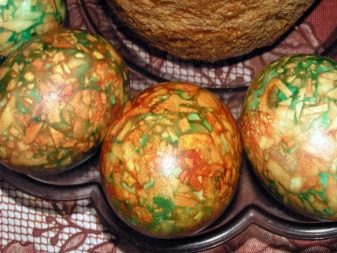
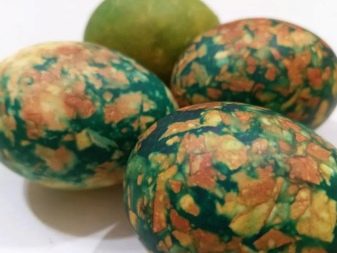
Dyeing Easter eggs this way produces a brownish-green mosaic pattern. The arbitrariness of the shades of the painted areas seems to imitate the texture of a natural stone.
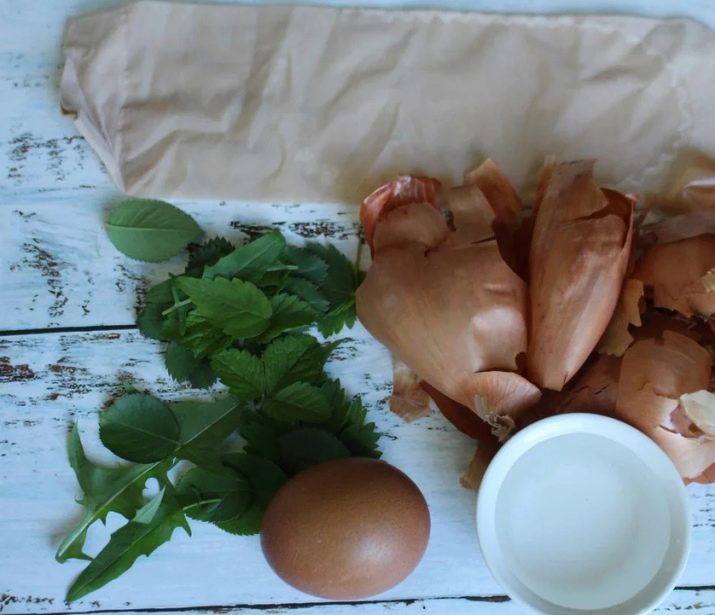
In order for painting for Easter to be spectacular and unusual, you will need:
- brilliant green - 1 jar;
- onion peel (package);
- 1 tbsp. l. table salt;
- a skein of thread;
- toothpick;
- wide bandage (gauze);
- gloves;
- scissors;
- paper sheets;
- voluminous pan;
- water;
- vegetable oil.
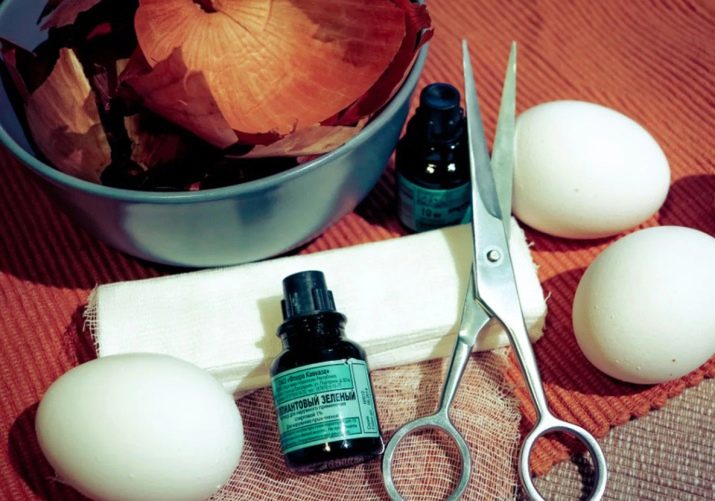
Let's consider the painting process step by step.
- Finely chop the paper (you can use notebook papers). The main thing is to take sheets of white, colored paper will not work.
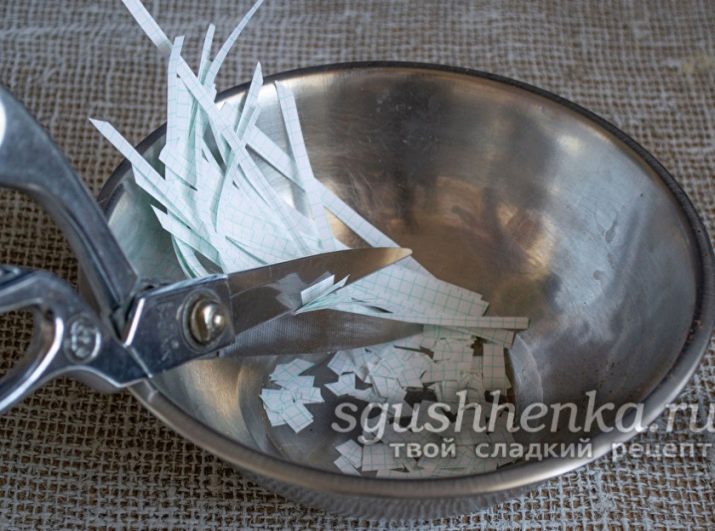
- Chop dry onion husks and mix with pieces of paper. When cutting, you should get miniature pieces, then the drawing will come out more beautiful. Prepare gauze cuts to wrap the egg in several layers (3-4). It should fit freely so that you can tie the gauze on the knot.


- Moisten the surface of the shell with water and roll in a mixture of shredded paper and husk. Then place the eggs in the center of each piece of the bandage. Roll up bandage: Raise all corners and connect the four pieces in the center, being careful not to dislodge the mosaic. Tie the edges tightly with a thread.
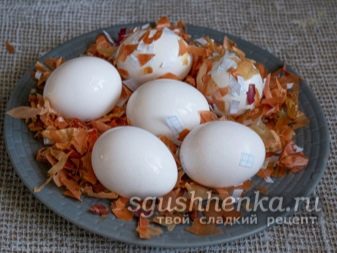
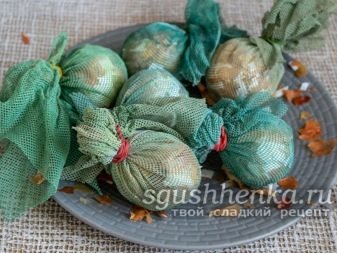
- Place in a saucepan tightly, in one layer. The container needs stainless steel, since the enameled dishes may not be washed after such experiments. The stainless steel will be washed off in any case. Pour the eggs in cheesecloth with water so that they are covered with the top. At the same time, the "bags" should not float - during the cooking process, this is fraught with cracking of the shell.
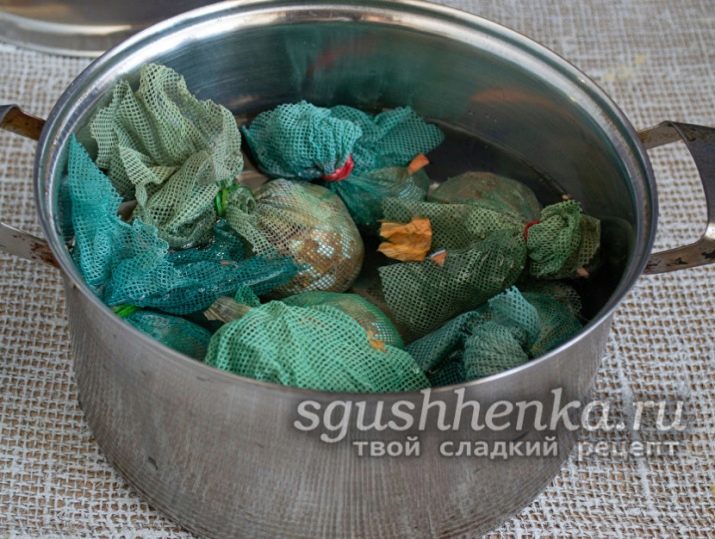
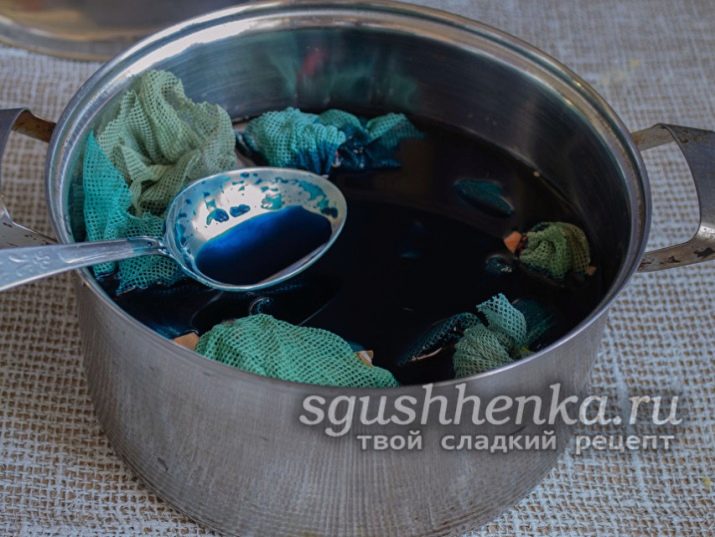
- At this stage, it's time to add brilliant green to the water. For staining one dozen eggs, 10 ml is enough. Add 1 toothpick to the pot. This life hack will keep the shell intact. Boil eggs for 10-15 minutes after boiling water actively. Then remove them from the staining solution and place them on a plate wrapped in cling film. Without removing the bandages, the eggs are allowed to cool. If you remove the bandage right away, the pattern will appear paler.
- Now you have to carefully cut off the nodules and remove the bags. Then rinse the eggs thoroughly with water. Here is such a non-standard way of dyeing eggs: environmentally friendly and budgetary.
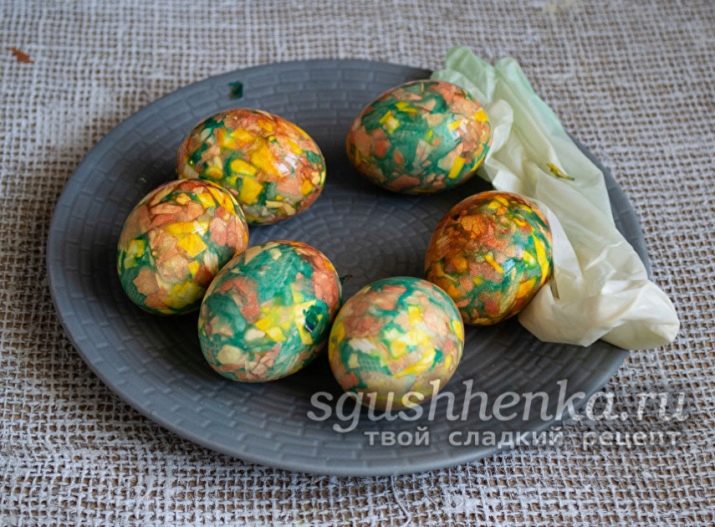
There is another fun way to create an attractive shell decor.
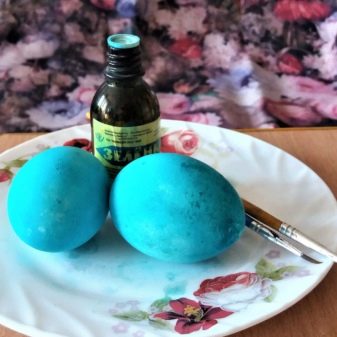
For staining you will need: eggs, brilliant green solution, a brush, water, salt.
Consider what needs to be done.
- Salt water and boil eggs in it. It is important to follow the cooking technology - boil for no more than 10 minutes. Then remove the pan from heat and let the eggs cool.
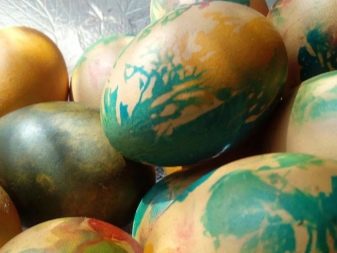
- Using a brush, create spectacular streaks. To do this, you need to dip it in a solution of greenery and press it against the shell. Zelenka should drain from the surface at random, leaving stains behind.
- Repeat the process several times. Thus, a fancy marble pattern of a malachite shade will appear on the surface of the shell.
This technology is very easy to use, but you need to work with brilliant green carefully, because the substance is very corrosive. Without an apron and gloves, you can get your hands dirty and stain your clothes. It is better to boil and paint eggs in the dishes that are rarely used.
Useful Tips
The more carelessly the pieces of paper and husks are cut, the more non-standard and sophisticated the pattern will turn out. Children can be involved in the process of preparing colored eggs. It will be useful for them to instruct them to cut out small geometric figures or snowflakes. You do not need to restrain your imagination, then the drawing will be exceptional.
For example, if it is conceived to cut snowflakes, it is better to make them overall, equal in size to a chicken egg. By the way, you can roll eggs not only in shredded paper and husks. It is interesting to try the option with grains of rice or sprigs of herbs.
The procedure itself for painting Easter eggs in onion skins and brilliant green is simple, but it is important to take time for the preparatory activities.
- In order for the eggs to be colored without harm to the interior, the countertop needs to be covered with paper or newspapers, and even better - covered with foil.
- An unnecessary nylon stocking is suitable instead of gauze. It is also cut into segments and stacked in several layers.
- Cracked specimens are not suitable for painting. They are set aside, as the dye will seep through the cracks and the protein will turn unappetizing green.
- So that cracks do not appear on the shell, it is advisable for the eggs to lie down for half an hour at room temperature. You can immerse them in warm water or simply leave them on your kitchen counter for 30 minutes. It is important not to overcook the eggs - prolonged heat treatment entails the loss of their benefits and taste.
- If you want to get an even color, the eggs should first be washed with soap or soda. Or wipe the surface with vinegar (alcohol) to degrease the shell. This will distribute the paint more evenly.
- It is better to pour two tablespoons of vinegar (lemon juice) into the staining solution - for additional color protection.
- Only white eggs are suitable for "marble" staining - the pattern will show through better, and the color will be brighter. As a last resort, you can also paint brown, but the pattern will turn out darker, and there will be no pronounced white streaks.
- You will need to stock up on a very large amount of onion skins. It will have to be collected in advance and stored in a dry place. The husk is suitable only clean, dry, bright orange. Wet, spoiled or dirty husks will not work: the drawing may suffer.
- Water is poured into the pan at the same temperature as the eggs. If they are only from the refrigerator, then the water should be just as cold. And exactly the opposite - water that is identical in temperature is suitable for eggs at room temperature. Otherwise, the formation of cracks in the shell is possible.
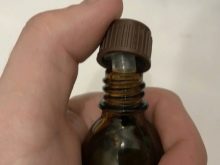
- It is necessary to be extremely collected, opening the cork on the bottle with brilliant green, as the solution may spill. Zelenka is difficult to wash off, it is a very persistent dye. Protective gloves will be required. Alternatively, you can purchase a bottle with a convenient dispenser.
- There is no need to stir the drops of the brilliant green solution; it dissolves quickly in water. You can remove fresh green stains with regular thinner or nail polish remover.
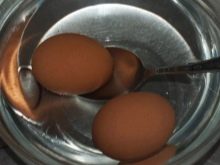
It is imperative to control the cooking process, you do not need to overexpose chicken eggs in boiling water. Then they will be delicious.
- For 0.5 liters of water, you will need 2 tablespoons of salt.
- After the water boils, the fire should be reduced to medium.
- To give the surface of finished eggs a glossy shine, rub it with a cotton pad soaked in sunflower oil.
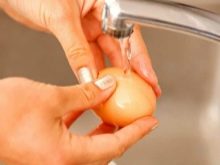
- To make it easier to remove the shell from the eggs, use a trick: after boiling, you need to place the pan under running water. When doing this, first pour hot water. To avoid a sharp jump in temperature, it is reduced gradually. When cold water fills the pot, leave the eggs in it for 3-5 minutes.
These marbled Easter eggs are truly festive! It’s even difficult to immediately guess how such a pattern came about.
See the staining master class below.


