How to paint eggs for Easter with brilliant green?
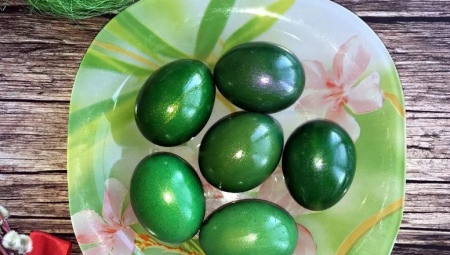
Easter is a wonderful light holiday that unites the whole family at one table both during the celebration and in the process of preparing for it. The integral attributes of this festival are delicious Easter cake and elegant dyes. Someone decides to buy them in a store, while someone wants to put his hand to the festive table himself. This article will be useful for those who want to paint Easter eggs on their own - and not just like that, but greenery.
Features of painting
It may seem that commercial food colors are better for coloring eggs, but using a natural ingredient such as greens certainly cannot be harmful to your health. It is also a more economical option.
Having decided on the dye, let's look at some preparatory points:
-
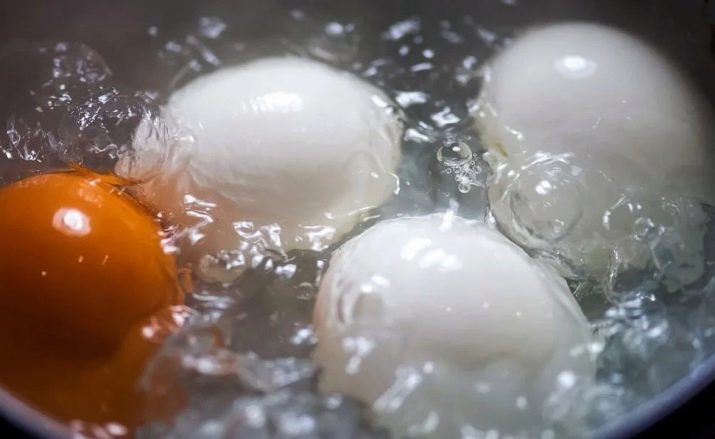
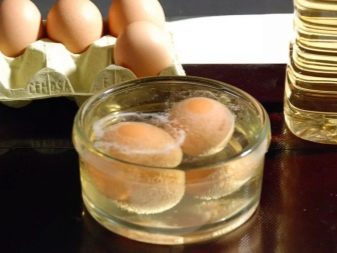
before boiling eggs, they must be placed in a container with warm water for 3 minutes or kept for about half an hour on the table at room temperature - thanks to this procedure, they will not burst;
-
also they cannot be digested - for this, salt should be added during cooking (4 tbsp. l / 1 l).
In order for the boiled egg to color evenly, you need to adhere to the following rules:
-
you need to wash it well with baking soda or soap;
-
degrease the shell with alcohol or vinegar;
-
add a little lemon juice or vinegar to the dye itself.
In order for the finished paint to look shiny, after staining it should be wiped with a cloth or sponge soaked in vegetable oil.
So, in order to paint eggs for Easter with greenery, you should have at hand:
-
a set of eggs (smooth, with a flat surface, without damage to the shell);
-
a bottle of greenery;
-
gloves;
-
a stainless steel pan (this material is easier to clean from the dye).

Classic recipes
The classic way of dyeing eggs with greenery consists of the following steps:
-
wash chicken eggs (10 pieces);
-
place them in a saucepan and completely cover with cool water;
-
add green stuff to the container (a few drops or the whole bottle - the amount depends on the intensity of the color you want to get) and put it on fire;
-
after boiling water, add 1 tsp. lemon juice or 2 tbsp. l. vinegar;
-
boil the eggs until tender (about 10 minutes);
-
drain hot water;
-
fill the pan with cold water and cool the semi-finished dyes;
-
remove excess moisture from cooled eggs with a paper towel or napkin;
-
rub the shell with a cloth dampened with vegetable oil.
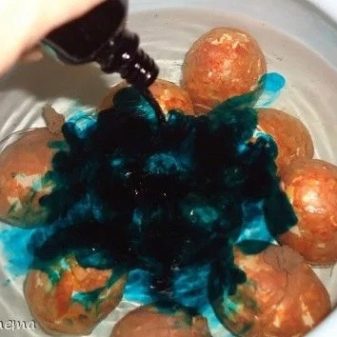
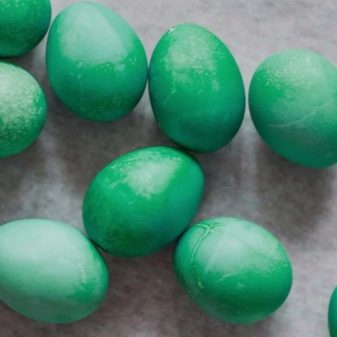
Eggs can be dyed beautifully, regardless of the color of the shell itself, be it white, brown or pigmented. Applying greenery to the base color of eggs can give the dyes different shades - emerald, pearl or amber.
Making marble eggs
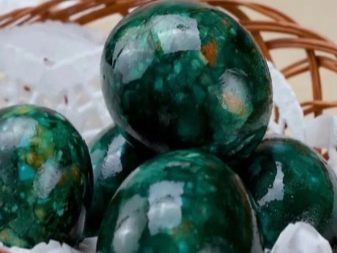
The marble pattern for Easter eggs is a great print that looks very original and is easy to do with your own hands. To do this, you will need:
-
a set of chicken eggs - 6 pieces;
-
onion husks (will give a brown tint) and / or garlic (will give a yellow tint) - 0.5-1 glass;
-
water - 500-700 ml;
-
a bottle of pharmacy greenery;
-
a piece of gauze or nylon fabric;
-
threads (or elastic bands);
-
rubber gloves;
-
an unenamelled saucepan (preferably stainless steel or which is not a pity).
We advise you to experiment with onion skins by choosing different varieties of this product (onion, red, any other) - in this case, the color of the dye will turn out to be more saturated and rich. It should be stored in a bag or cardboard box if the husk is slightly damp.
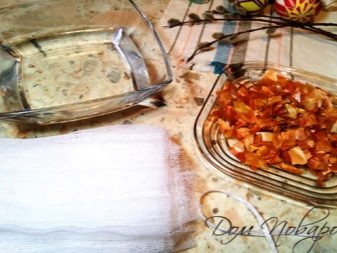
After collecting all the ingredients and covering the work surface with foil or other protective material, follow the instructions below step by step (do not forget to wear gloves during the procedure).
-
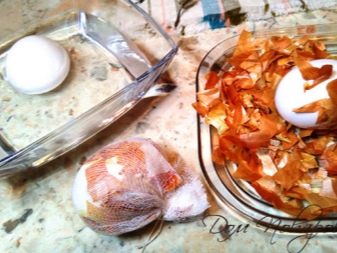
Chop the husk (before the staining procedure itself, it must be clean and dry). This can be done either with scissors or with a blender (thanks to this method, the future pattern will be clearer and smaller). Moisten a raw egg well with water (you don't need to shake off excess drops).
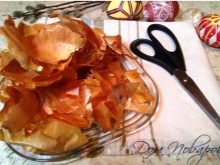
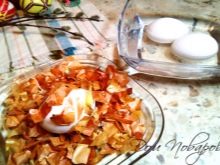
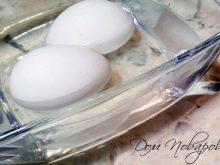
- Dip it in the husk mixturebeing careful not to leave gaps in the shell. Pieces of paper can be added to this mixture (unpainted and unprinted copies only). She will add shades to the finished print (the amount of paper should be 2-3 times less than the amount of onion-garlic husks).
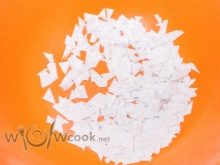
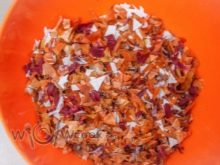
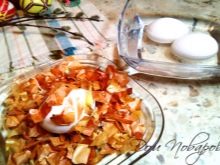
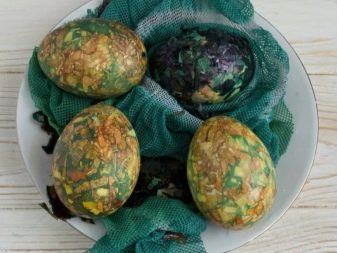
- Add the husk to the gauze and nylon cutand then wrap the egg tightly in it. Wrap the egg and cheesecloth with a thread or elastic band, tighten, then spread the husk over the entire surface of the shell.
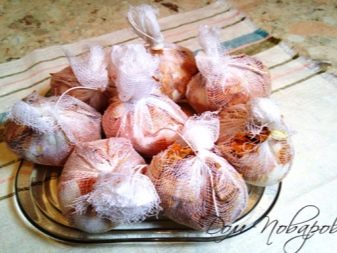
- Now they need to be welded. Place the wrapped eggs in a saucepan, cover with cool or room temperature water to cover them lightly, and put on fire. Salt the water a little (to avoid cracking the shell). Add the greenery. Different housewives do this in different ways - at the beginning of cooking, when the water has not yet boiled; after boiling, boil the eggs for another 10-15 minutes; a couple of minutes before the eggs are fully cooked (average ratio - 1 small bottle for 12 eggs).
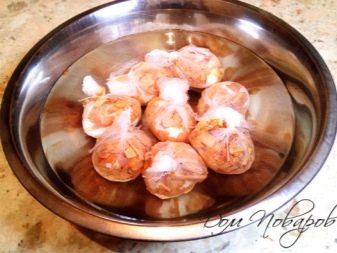
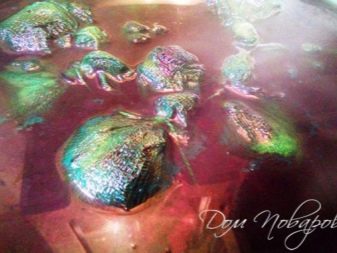
- After boiling the eggs, reduce the heat slightly. After they have cooked, change the water in the pan several times. Leave unopened semi-finished dyes in cold water for 20 minutes. Remove them from the fabric and rinse under running water.
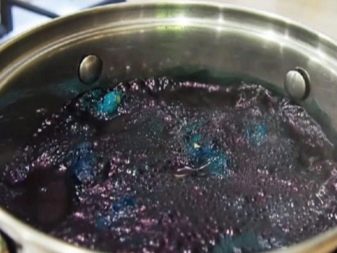
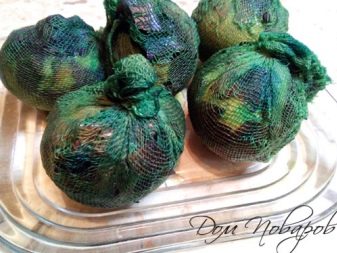
-
Lay the eggs out to dry (to prevent the pattern from floating, wipe them with a paper towel, or turn them over from time to time as they dry). When they are dry, wipe them with a sponge soaked in sunflower oil.
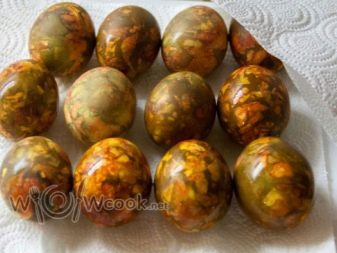
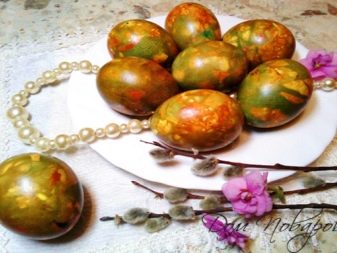
The marble dyes are ready. Outwardly, the eggs look very elegant and festive, and when you break them, you will find that the dye has not penetrated inside, and the peeled egg is white.
Do not forget to take care of pots, other containers, and work surfaces that have gotten green stains - use detergent, regular thinner or nail polish remover to clean them.
Now you know how to cook marble dyes correctly and quickly - eggs painted in this way can decorate any Easter table.
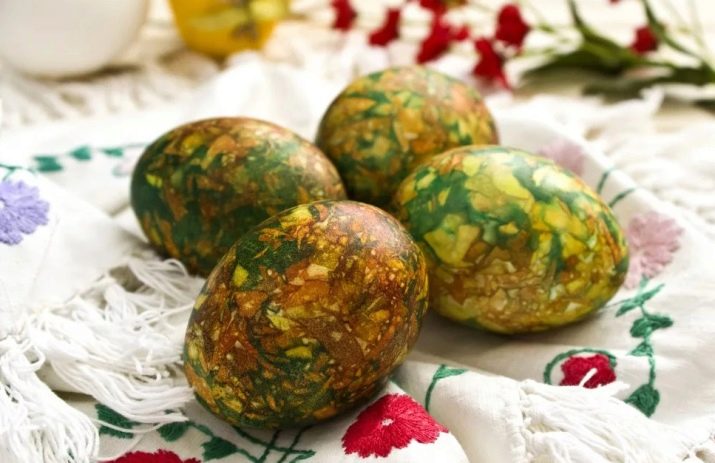
See the video with the master class below.


