Decoupage cans: types, ideas and their implementation

Updating your kitchen is not that difficult, and you don't have to spend money on new furniture or fancy curtains. You can create items with your own hands that will serve as an interesting and original decoration for any kitchen. Decoupage of cans will come to the rescue in this case. There are different types of this needlework, and the ideas and their implementation depend on the imagination of the author.
Preparatory work and necessary materials
Decoupage cans - metal, plastic, ceramic, tin, glass, wooden - can be easily mastered by everyone and do amazing things with their own hands. For novice craftsmen, there are simple techniques that are available even to children with creative skills. The master class below can help with this.
First you need to decide which jar will be processed, because for tin, for example, one type of processing will be relevant, and for glass - another.
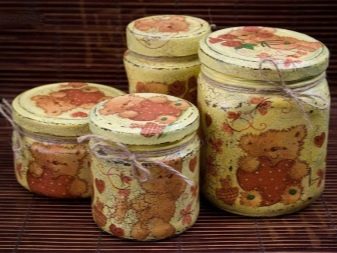
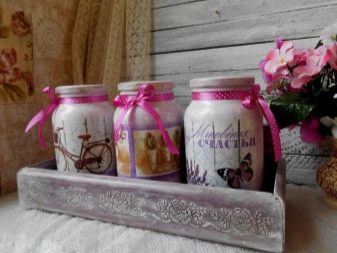
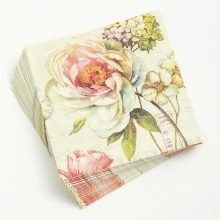
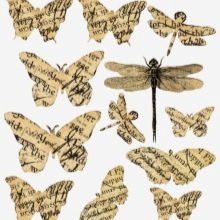
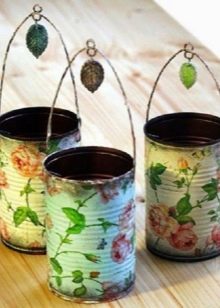
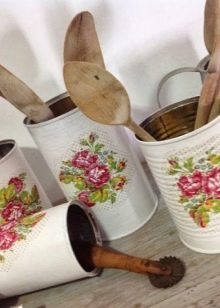
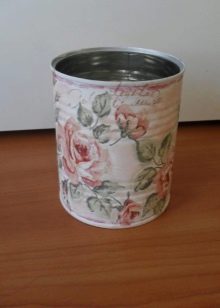
The obligatory material that will be needed first of all will be all kinds of pictures. You can use napkins, rice paper, decoupage cards, as well as images from magazines and photos. The images can be very diverse depending on the purpose for which the jars are intended - for bulk products, for tea, for cookies, for chips.
You can make original containers for storing anything, even cream. For example, original small containers for storing spices can be made from small baby food jars that sell a variety of fruit and vegetable purees.
The tools you will definitely need include:
- scissors (always sharp);
- small paint roller and sponge;
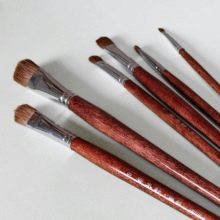
- several brushes of different sizes;
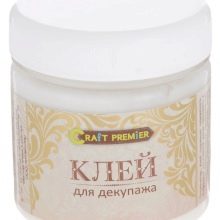
- glue for decoupage or PVA;
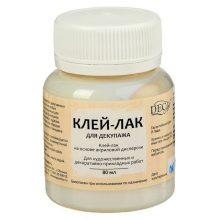
- special varnish or usual for various surfaces.
In addition, decorative elements that may be used to decorate products will be useful: ribbons, strings, pebbles, beads, buttons, and the like.
The choice of these items will be prompted by imagination based on the conceived idea that is to be realized.
Varieties
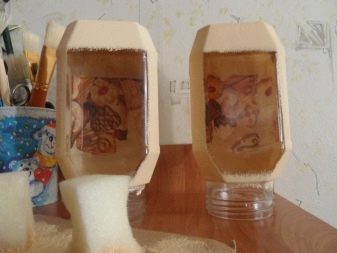
There is a direct and reverse decoupage. It is very simple to understand how one species differs from another. The straight line is the one that is done on the surface of the object, and the reverse is located inside. But if a straight line can be made on almost any surface, then the inner one can only be made on a glass object or transparent plastic, since it should be visible. The advantage of a transparent container is that you can use both types of decoupage, which will look equally good.
Direct decoupage involves first priming the surface, then the selected picture is glued. After that, the final touches are made, if you need to paint on something, make a background. And the last stage is the coating of the product with varnish.
With the reverse decoupage, the front of the picture is processed with glue and glued to the inside of the can. Then the surface must be varnished.
Instructions for beginners
It is enough to study the whole process once step by step, and then you can make any simple option. For more complex things you need practice, and over time everything will work out.
To take the first step in this fascinating procedure, it is enough to prepare pictures or napkins, acrylic paint, glue. You can buy special glue for decoupage. You will also need a brush and sandpaper.
- First of all, the subject is well prepared on which the pictures will be applied. The jar needs to be washed and dried well. At the last stage, it can be treated with a cotton pad dipped in alcohol or cologne.
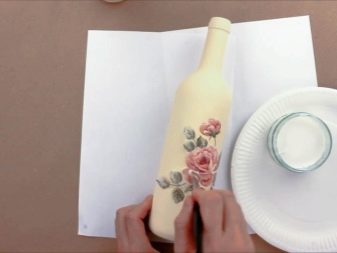
- Next, you need to prepare the picture. There are different ways to do this. If this is a napkin, then it is already quite thin. You just need to cut out the drawing or cut it off neatly. Provided that the image is on thick paper, you only need to get the top layer. To do this, you can moisten the paper with water and peel off the top layer very carefully. In the second option, a wide adhesive tape should be glued to the reverse side so that it covers the entire surface, and then the corner is carefully separated and the part with the tape is removed, leaving the upper thin surface with a pattern.
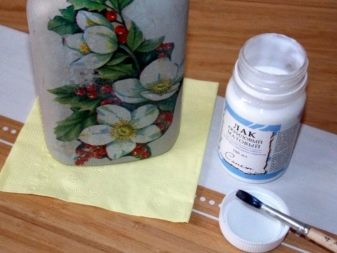
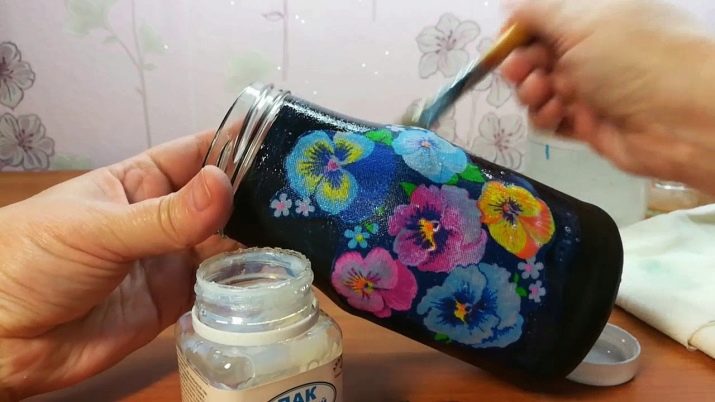
- Glue is applied to the prepared surface, then a picture is applied and straightened, on top of which glue is also applied.
- After half an hour, the entire surface is varnished. An hour later, when the varnish dries up, the procedure can be repeated.
The more layers the better. This is the easiest option.
The more complex one includes a number of steps.
- A prepared glass jar (clean and dry) is covered with any paint, depending on what design is conceived. It can be a monochrome version, and then the picture is selected in one color, the background is selected for it, or it can be a bright composition, where a contrasting picture stands out against the background.
- For this, the selected can is coated, for example, with black acrylic paint. Allow it to dry.
- After that, sandpaper is passed over the surface. This is required if you want to give the object an aging effect.
- The picture is prepared in any convenient way, after which it is placed on the surface of the can with the help of glue.
- The finishing touch is a varnish coating in several layers.
- If you have additional decorating thoughts, you can add some decorative elements. For example, decorate the jar with satin ribbons or a simple string, depending on the style you choose.
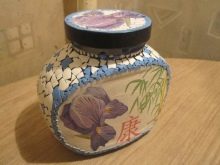
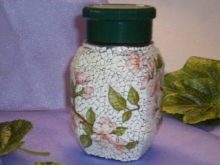
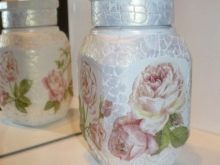
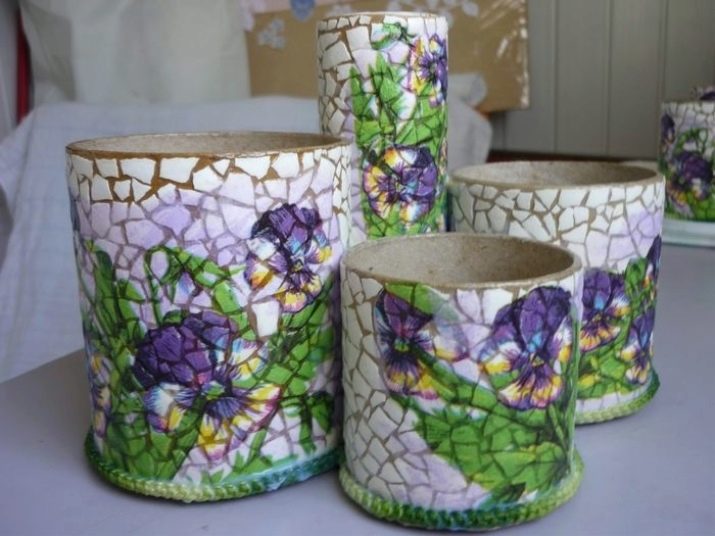
Some needlewomen use the technique with the use of eggshell... The jar acquires the effect of antiquity, it is better to select the appropriate picture too, so that it does not get out of style. Perhaps you should look at decoupage cards that have various images, or find suitable pictures yourself and print.
- First, the surface of the can is also thoroughly cleaned and degreased.
- The selected picture is glued. If necessary, the background is pre-made.
- While the image is drying, the pieces of the shell are washed and dried.
- The next step is time consuming, but the result is worth it. The pieces can be glued by helping to spread them over the surface with tweezers.
- Further, paint is most often applied to the shell, so the jar will look more spectacular.
- And the final stage is varnishing in several layers. The exclusive item is ready.
As an additional decor, needlewomen use any small items - beads, rhinestones, small stones, shells, ribbons, sequins, buttons. Each style has its own additional touches. The main thing is not to overdo it with additional elements.
A simple decoupage of cans for bulk products is presented in the following video.
Interesting options
There are many ways to turn an old unnecessary jar into an amazingly beautiful and functional thing. Quite nice decorative elements can be made from ordinary cans.
But before you paint, apply drawings and decorate with additional elements, you need to remove the sharp edges - using ordinary pliers, or by sticking a rubber wire.
A very interesting effect is obtained if the background of the jar is laid out with eggshells. To do this, after pasting the picture, you have to carefully glue the pieces of eggshell over the entire surface, and then paint and varnish or cover only with varnish. It all depends on the idea of the author.
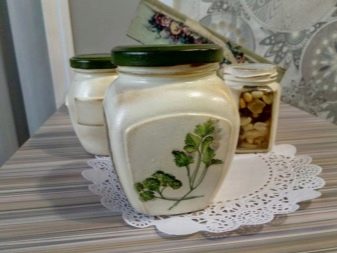
The decoupage of a jar with a window looks original, and it can be transparent or with a pattern. In the window you can see what is stored in the jar, be it tea or sugar, coffee or candy.
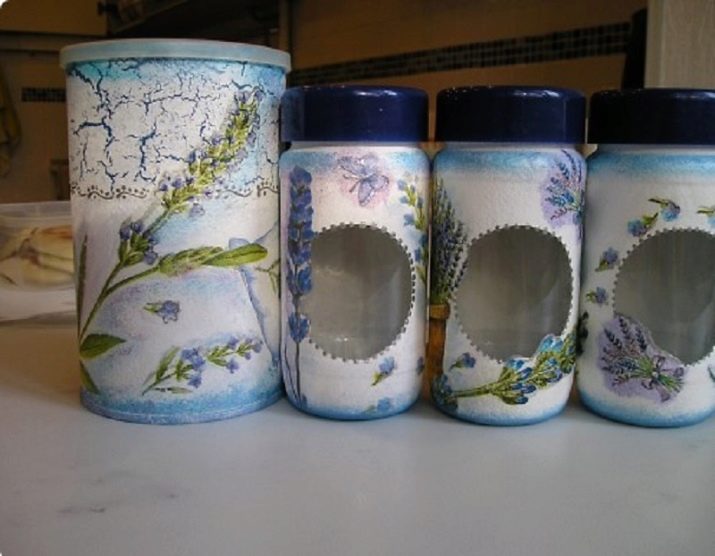
So, in one style, you can create a whole family of jars that will decorate any cabinet with transparent doors or a shelf.
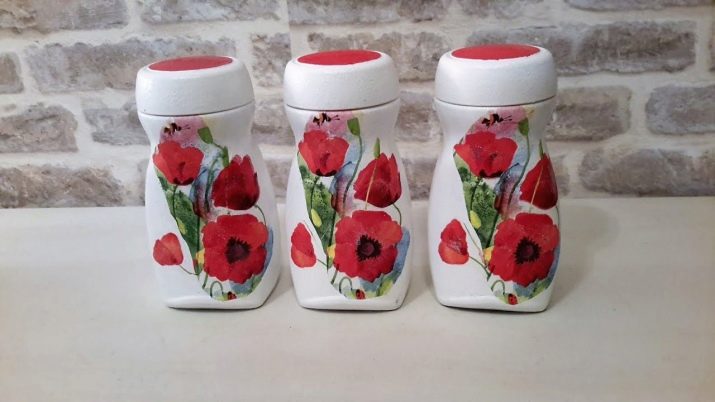
Such jars, made by hand using different techniques, will never interfere in the kitchen, there is always something to put in them. They will help to keep the kitchen in order, create a special coziness and make the room unique.


