Decoupage of a bottle of champagne: ideas and instructions for work
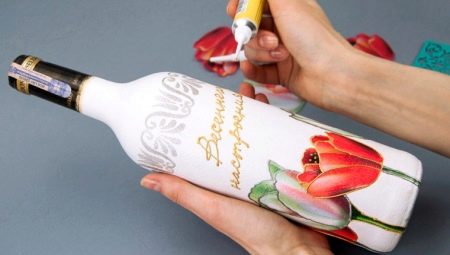
It has long been customary to give a bottle of good wine, cognac, champagne when you come to visit. But this gift has become, perhaps, commonplace. Even if it is a collection alcohol. But what if you try an expensive bottle in an interesting and unusual way? Decoupage technique will help us with this. And today we will talk about what it is and how you can beautifully arrange a bottle of sparkling wine using this technique.

What is decoupage?
The French word découper translates to "cut". Using this technique, you can decorate any item, including furniture and lighting fixtures. Its essence is that drawing, painting, piece of fabric, threads and other original objects are cut to scale and shape, and attached to the base (in our case - to a bottle of champagne), that is an applique is created.
The glued elements must be varnished for durability and a special visual effect.
There are 5 types of decoupage, which can be combined on one subject.
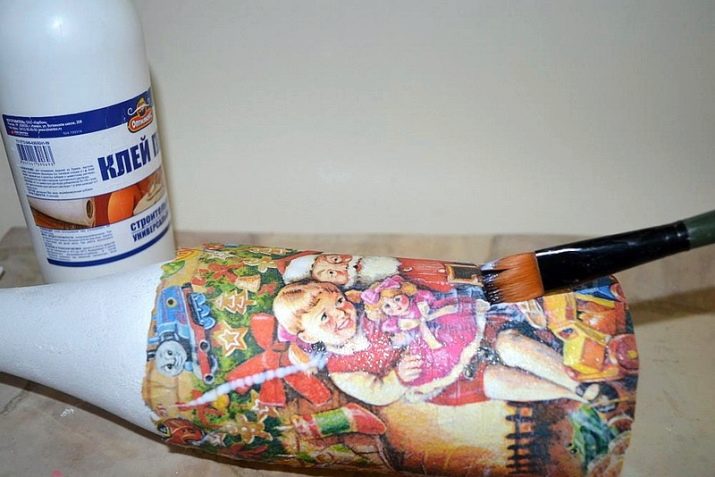
- Straight (classic) Is the foundation from which beginners start. It is here that you can learn how to properly glue decoupage napkins, pictures on cardboard, photographs on a smooth surface. The surface will remain smooth but refreshed. The drawing will cover the entire area, the previous background will no longer be visible through it.
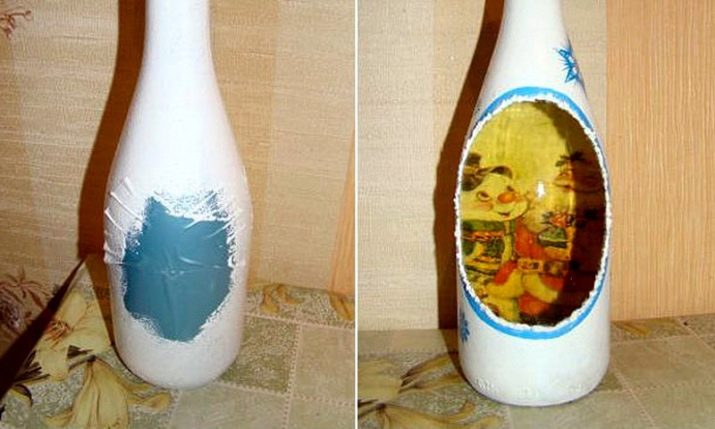
- Reverse view is used on transparent glass, so this option looks gorgeous on bottles of sparkling wine. Here, the drawing is glued with the face on the glass, after which the whole bottle is decorated. You can view the picture through the window left specially for this.That is, the drawing always remains behind the glass.
- Smoky (artistic) decoupage is not subject to everyone, because you need to know and be able to do shading, stretching colors, shadows. But having mastered this skill, you understand what unique works of art can be created from an ordinary thing. Artistic decoupage is most similar to a real painting with halftones and shadows, but it is also drawn around the applique.
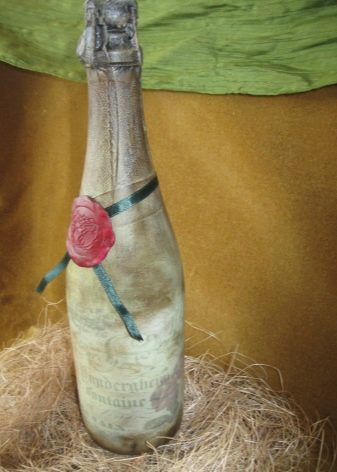
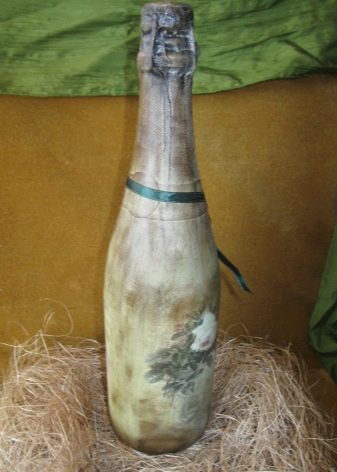
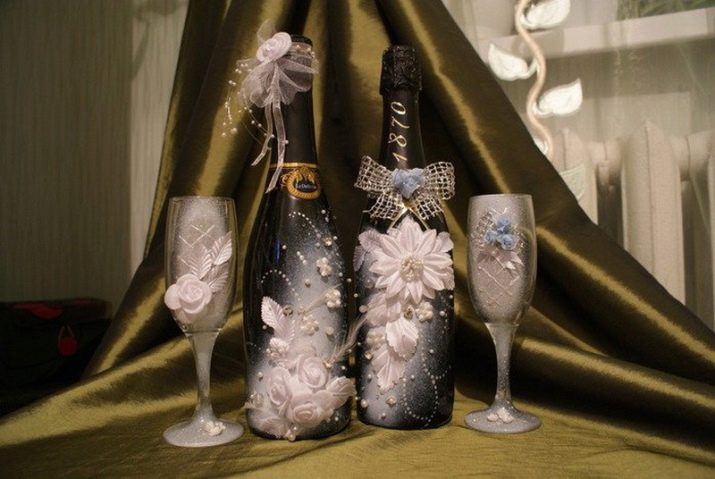
- Volumetric 3D technology allows you to make the work lively, to emphasize individual elements. For this, modeling pastes, putty, fabrics, 3D decoupage cards, threads, twigs, flowers, glitters, decoupage contours, beads, rhinestones, eggshells and much more are used. Even ordinary salt will make the drawing look voluminous.
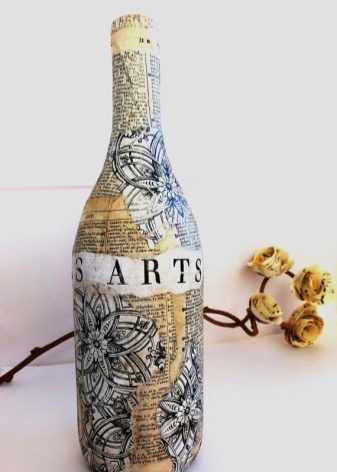
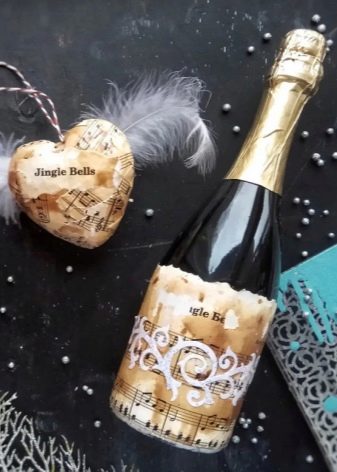
- Decopatch Is a decorating method by gluing small pieces of paper onto the surface. It can be color and black-and-white newspapers, magazines, posters, sheet music. There is also a special paper for deco-patch. Depending on the style of gluing (adjacent or overlapping), the thing will look completely different, but the illusion of cracking of the surface will certainly be created.
Several methods are used to create decoupage.
Wet
The technology will depend on the thickness of the picture. Includes 3 methods.
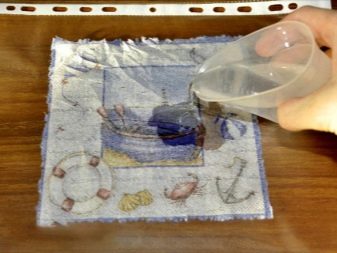
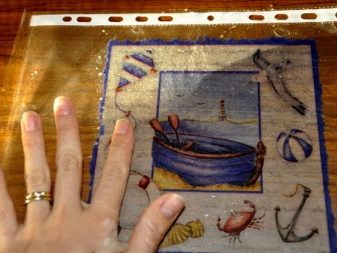
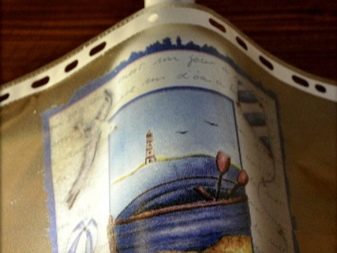
- The napkin can be placed on a file or a plastic bag, drawing away from you. Moisten liberally with a spray bottle and put another bag on top. Drive out excess water and air with a sponge, remove the top package and gently attach the picture file to the surface. Smooth and carefully remove the file, leaving a napkin, then coat with glue and allow to dry.
- The drawing on ordinary printing paper or cardboard is covered with several layers of transfer varnish and dried well. The reverse side is moistened with water and the white layer of the paper is carefully removed by thinning. The remaining thin layer with a pattern is glued to the surface.
- The drawing is cut to size, the front side is coated with glue and glued to the surface. After complete drying, the reverse (white) side is moistened with water and the layers of paper are rolled by hand.
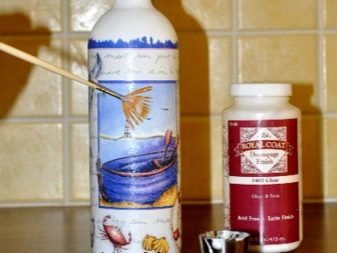
Dry
The drawing is covered with several layers of varnish, allowing each layer to dry well. Double-sided tape is glued to the back side, and gently rip it off along with the paper.
The thicker the paper, the more times you will have to stick the tape.

Hot
Should be applied on a flat surface. Neither glass nor plastic is suitable for this method. 2 layers of PVA glue are applied to the surface with good drying of each. A dry paper or fabric picture with a motif is laid out on the surface, covered with parchment (cooking paper) on top. The surface is ironed with a hot iron, and especially the corners. The excess of the picture is cut off, and after cooling, it is fixed with varnish.
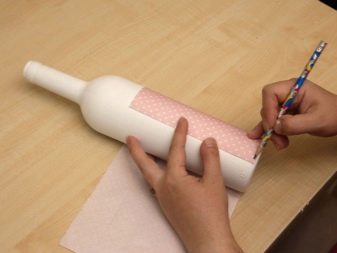
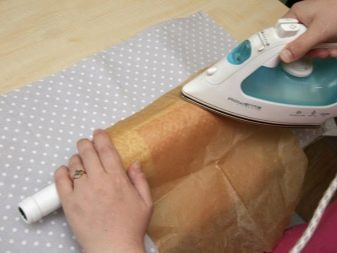
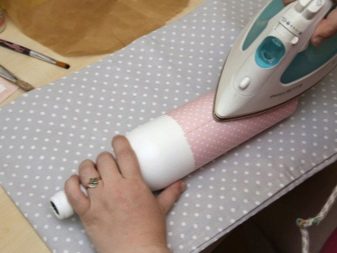
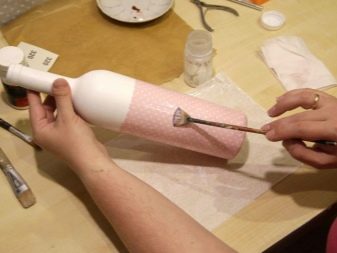
Professionals give a few tips for novice decoupage artists:
- any surface must be thoroughly cleaned;
- fragments that should not get paint are sealed with masking tape;
- each layer of paint or glue should dry well;
- torn edges are much easier to mask than cut edges;
- Expel excess water and air bubbles from the center to the edges.
Required materials and tools
To work in the decoupage technique, there is a certain obligatory set of tools and paints and varnishes. But for decoration, you may need completely unexpected things: a handkerchief or nylon tights, juniper branches or eggshells.
Everything here will depend on the artistic view of the author. The main thing is not to forget to buy a bottle of good champagne.
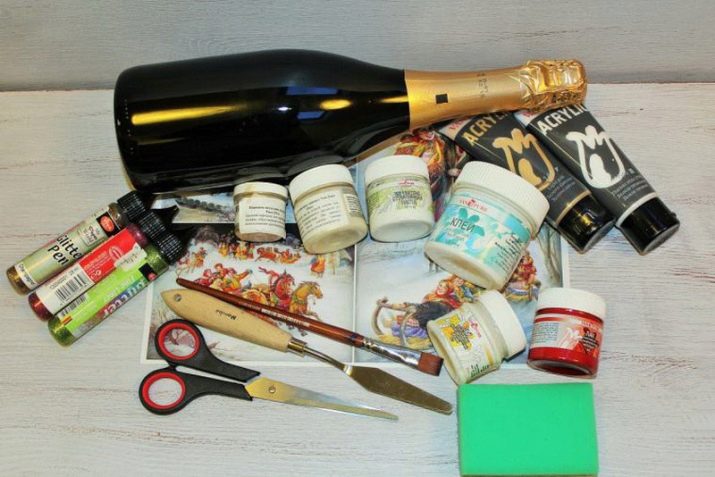
But we will list the tools and required material:
- decoupage napkins or cards (pictures developed in one theme, made on rice paper), printed photographs, fabric, that is, everything that contains the motive of the idea and will be glued to the bottle;
- acrylic paints of different colors or a lot of white paint and colors;
- special brushes for decoupage or ordinary flat, but always synthetic;
- decoupage glue of two types or PVA;
- acrylic varnish (transparent, transfer, finishing);
- acrylic white primer;
- sponges (their role can be played by an ordinary kitchen sponge without a handle or clamped in a clothespin);
- degreaser, white spirit, acetone, alcohol, solvent (it should be noted that each type of surface needs its own degreaser so as not to damage the base);
- glitters of colors matching the idea;
- contours, including transparent;
- sandpaper of different grain sizes;
- glue heat gun, if you plan to glue small parts such as artificial flowers, rhinestones, pebbles;
- spray paint;
- crystal paste;
- a set of palette knives;
- scissors;
- thin rubber gloves;
- hairdryer;
- Double-sided tape;
- cotton towel;
- stationery and kitchen knives;
- cotton pads;
- dishwashing liquid.
Bottle preparation
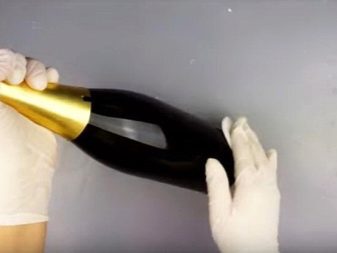
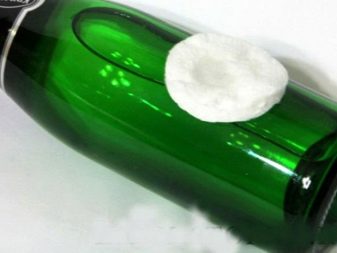
Bottle cleaning is a prerequisite for a quality result. Get rid of labels and glue residues: in lukewarm water, the bottle should lie down for a while, after which the labels are removed from it with a sponge and knife. Any oil, including baby, cosmetic, massage, removes the remnants of the glue. The bottle is washed with dish soap or something similar.
The preparation stage ends with degreasing - when working with glass, degreasing must be done. To avoid even hand marks on the bottle, you need to work with gloves. Finally, the glass is dried with a towel.

Interesting ideas and instructions for decorating
To implement interesting ideas in decoupage with your own hands, we offer a certain algorithm of actions. Depending on the materials chosen, the step-by-step instructions will vary, but the general logic will remain.
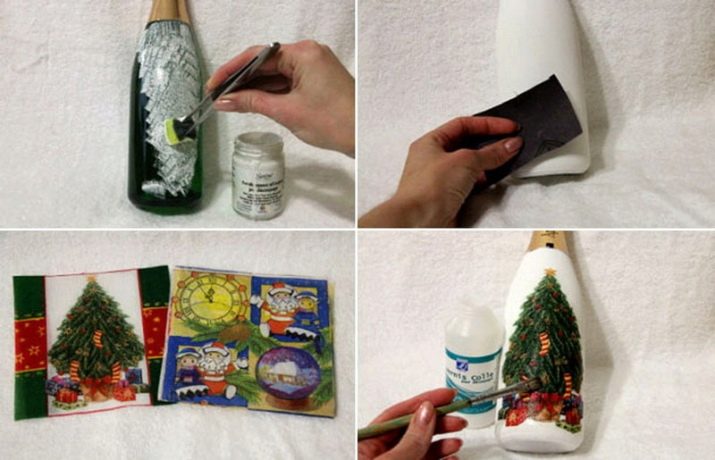
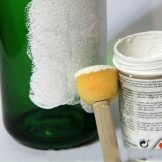
- In classic decoupage, a layer of acrylic primer is applied to a defatted bottle. Do this with a sponge (sponge). Dry the first thin layer with a hairdryer and apply the primer again more densely. Many craftswomen in their master classes remind of the need to paint the bottom.
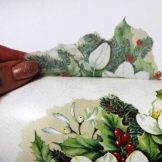
- A layer with a pattern is removed from a decoupage napkin and carefully cut off along the contour. With this technique, the borders on the bottle will blur and will not be noticeable.
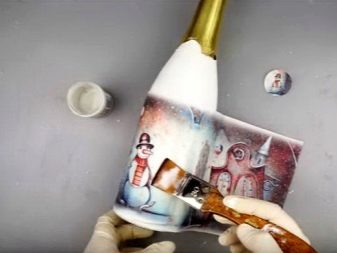
- Dry or wet, connect the napkin to the bottle. The main thing is that no air bubbles remain, and the edges are tightly glued. For beginner decoupage artists, it is recommended to use a decoupage adhesive spray. It allows you to tear off the napkin from the bottle in case of uneven gluing, straighten it and re-stick it.
- When making an applique from several pieces, it is important that they do not stick to each other. It is worth mercilessly tearing off the edges of the drawings, but making the surface a single layer.
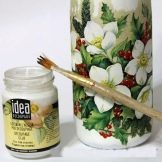
- After the glued napkin has dried, the image is covered with decoupage glue, but no longer with a spray. This must be done very carefully in order to spread the picture at the same time. This stage also ends with drying, you can use a hair dryer.
- After applying all the pictures, the bottle is covered with 2-3 layers of acrylic varnish to protect it from damage.
- But decorating is just beginning. Further, you can use multi-colored outlines to give definition and volume to the details of the drawing. Glitters and glitters will make the picture bright. And ribbons, cones, sweets, doves will give specificity to the topic.
On March 8
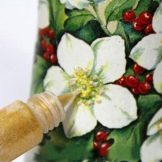
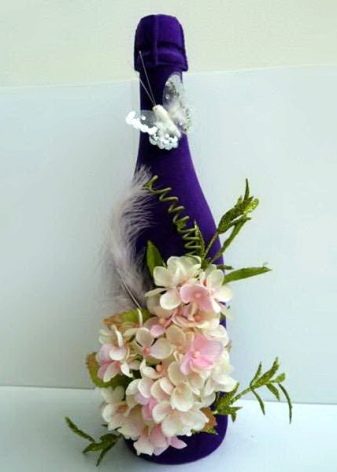
On the first spring holiday, all girls (regardless of age) are waiting for at least a small bunch of flowers. And if there are no festive flowers in your village on March 8, then you can create a mimosa flower yourself from cotton balls or a yellow sponge by making a volumetric decoupage. Thuja or cypress is used as twigs.
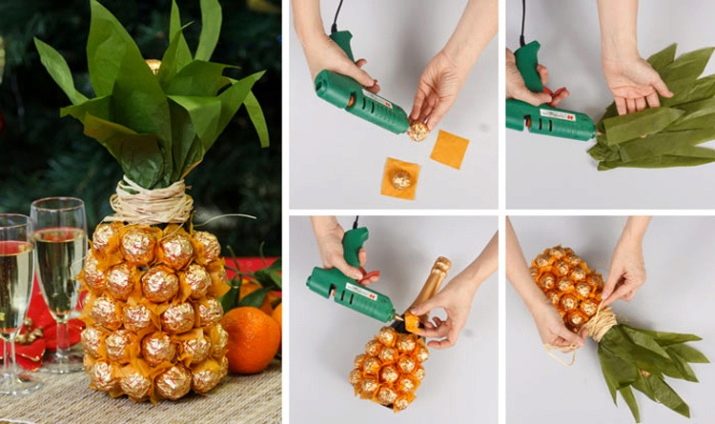
A sweet tooth can be presented with a pineapple bottle, where real candies are used as an applique.The same bottle is even more interesting to make with a reverse decoupage, and when you turn the "pineapple" through the glass, you will see a photograph of your beloved: mother, sister, girlfriend, wife.
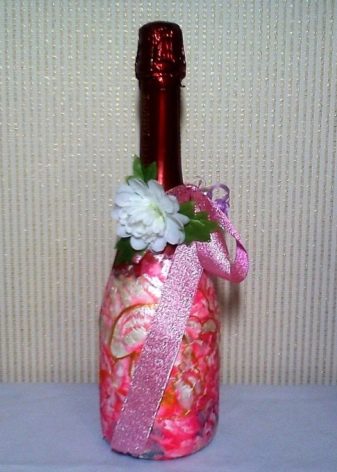
Girls love jewelry, and therefore it would be appropriate to use multi-colored ribbons as bows or serpentine, lace instead of a decoupage napkin or as a hat on the neck of a bottle, multi-colored threads of different textures.
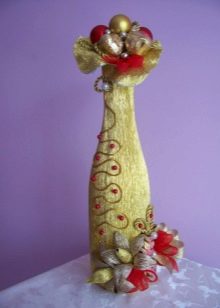
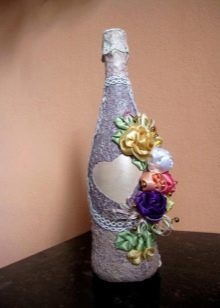
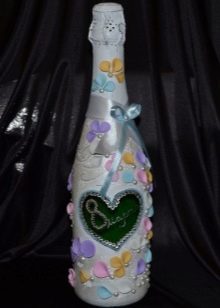
For birthday
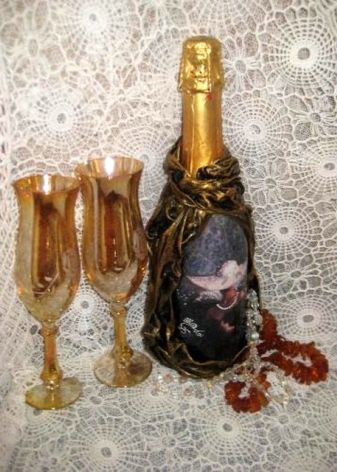
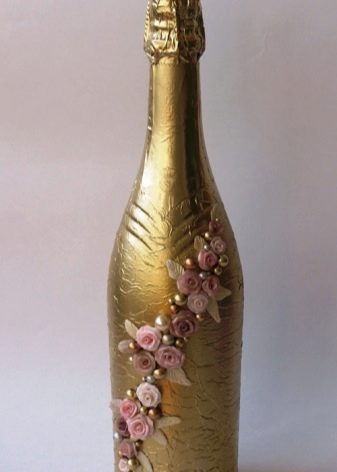
The same ideas will work for a woman's birthday. But to show maturity, wisdom, you can use fabric and decorate the bottle in different styles. For example, it will be a photograph of a birthday girl, framed by beautiful folds of expensive fabric. Or, perhaps, a more brutal version of a birthday man with the use of army symbols, literary preferences, reminders of hobbies.
For other holidays
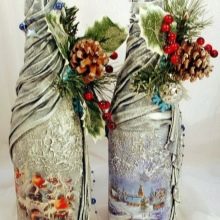
The most suitable holiday for champagne is, of course, New Years. Amazing possibilities and ideas for decorating a bottle using decoupage technique:
- sprigs of live juniper or thuja will fill the festive table with forest aroma;
- to make the cones look snowy, they need to be covered with white or silver spray paint;
- if small toys or drawings of bullfinches are tied to the neck of the bottle with long strings, it will seem that they fly with every movement of the bottle;
- after covering the bottle with glue or paint, you can roll it over a layer of salt, and then crisp snow will appear on the glass.
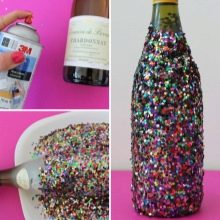
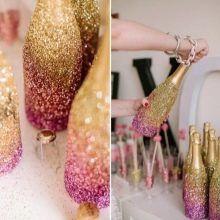
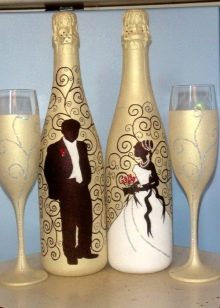
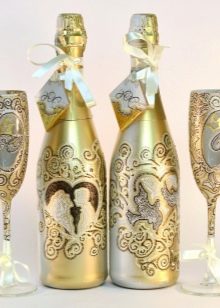
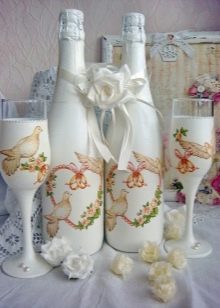
A wedding is another great reason to create a masterpiece using decoupage technique. Popular motives: hearts, doves, rings, figures of the bride and groom.
Fresh flowers and sequins, beads and rhinestones are appropriate here. After all, this bottle will surely be kept for the whole life together.
For a master class on decorating a bottle of champagne, see the next video.


