Decoupage bottles with your own hands
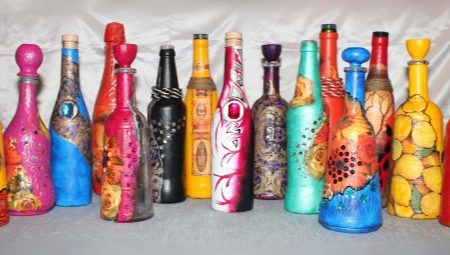
Today, there are many ways to breathe new life into old objects, to add a special "flavor" to them, thereby updating the interior. Options for transforming things can be very different, for example, painting, pasting with a special film, applying a stencil pattern. At the same time, you do not have to spend large sums and purchase special equipment. Decoupage is one of the many design options for things and objects.
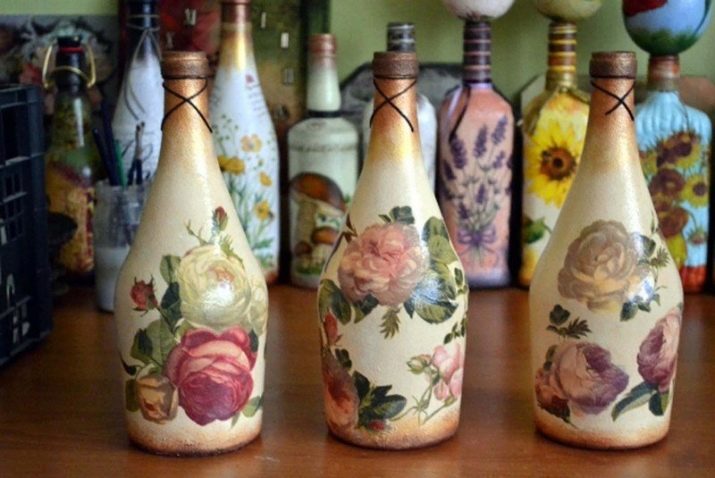
Features of technology
The word decoupage, like the technique itself, sounds very mysterious for people not close to art, although decoupage compositions are found at every step today. Translated from French, decoupage means "cutting". The main principle of work involves pasting over various surfaces with special patterns. The material used for work entirely depends on the master's intention.
The main image is most often cut from thin hand-drawn paper, a little less often from magazines and newspapers. By its structure, paper is capable of taking any shape of the item being decorated, and it adheres firmly to almost any surface, for example, stone, wood or glass.
When creating jewelry using decoupage technique as the main image colored napkins are used. The master cuts out the drawing he likes, and then sticks the blank on the surface of the object to be decorated. For example, everyone can take an old porcelain teapot, which has not been used for a long time, and decorate its old appearance with a special pattern.Then place the craft in a conspicuous place in the kitchen cabinet, thereby updating the interior.
The decoupage technique allows you to work not only with glass and porcelain products. Quite often, this method is used by artists who want to update the appearance of furniture.

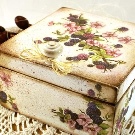
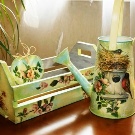
Required materials and tools
To gain initial experience, a novice master needs to prepare the most minimal set of materials and tools, thanks to which it will be possible to create an extraordinary craft:
- toothpicks;
- cotton buds;
- cotton wool;
- toilet paper, napkins or newspapers.
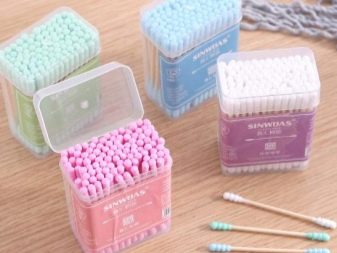
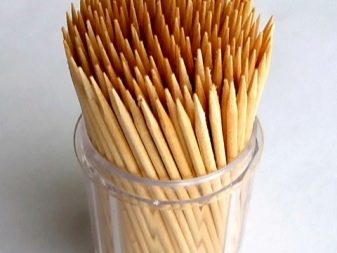
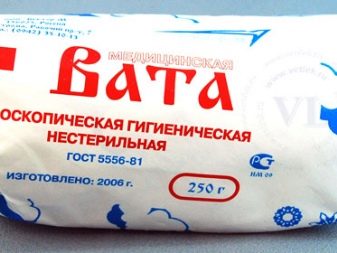
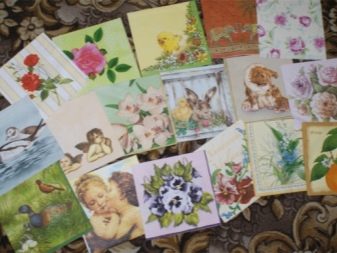
All these materials are present in every home, if one or more elements are missing, you can go to the nearest store.
Particular attention should be paid to the workspace. Only the accessories necessary for the work should be at hand.
A prerequisite for the working area is bright lighting. Do not forget about protecting your hands and face, since the final stage of work requires covering the finished surface with a fixing varnish.
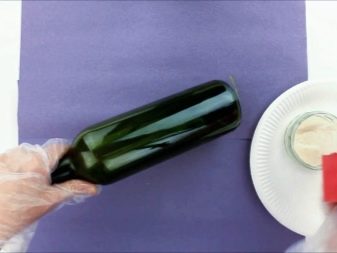
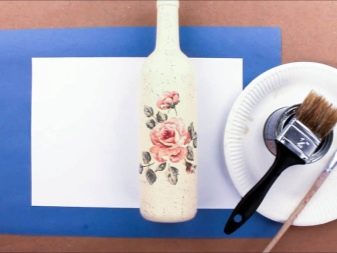
In addition to the standard set of materials, novice craftsmen need to acquire some elements of decorative ornaments. Let's take a look at a sample list.
- Paints... It is best to use an acrylic compound.
- Brushes. A set of different pile thicknesses should be purchased. The bristles of the brush should be soft; when wet, the hairs should not stick out in different directions.
- Foam sponges. Despite their main purpose - to clean dishes, sponges are ideal for decorative work.
- Acrylic lacquer.
- Sandpaper. For grinding decoupage crafts, zero or one is used.
- Putty. Acrylic composition is ideal for decoupage.
- Napkins... You will need to purchase several packages with different patterns. These images will be glued as the main decoration.
- Glue... It is better to use PVA for working with paper.
- Scissors.
- Stationery files with maximum density.
- Fabric and lace. They are useful for drawing up an openwork edging.
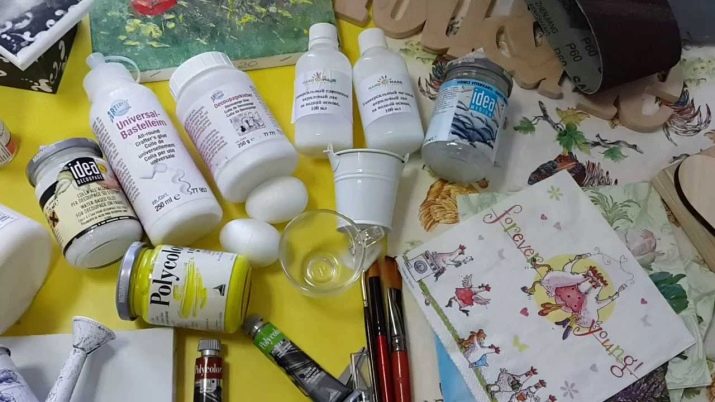
Also, a novice master will need to find inspiration, put together a creative idea. And to start work in a good mood.
In fact, it is impossible to know in advance what materials will be required to create a composition using decoupage technique. The master, having conceived to make a special decoration, can use any old things, for example, tights or leather from an old raincoat. Quite often, artistic people use the most common elements in decorative work, and even waste, for example, eggshells. If you want to create a voluminous decor, they prepare salted dough, from which interesting figures are sculpted and beautiful compositions are created.
Any process of creating a composition using decoupage technique can take several days. Each stage of work requires maximum drying of the material.
To shorten the time, professionals advise using a regular hairdryer.
Types and styles of design
Decoupage is a skillful imitation of artistic painting on all types of surfaces, using clippings from newspapers and magazines. To date, this technique has managed to combine a wide range of effects, looks and styles.
All known types of decoupage have a basic basis, and they are all radically different from each other.
- Classic, it's straight. In the process of decorating, the image is glued to the surface of any objects, the main thing is that the basis for the work is smooth, and the image is even. To fix the picture, dry, wet or hot gluing is used. It all depends on the texture of the image used. After drying, the finished decoupage is varnished and sanded with sandpaper until the effect of maximum smoothness is obtained.
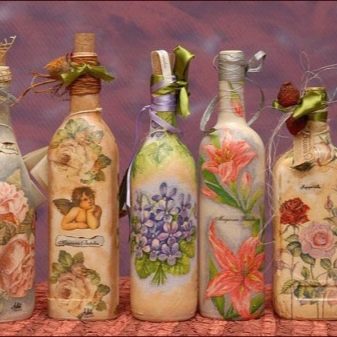
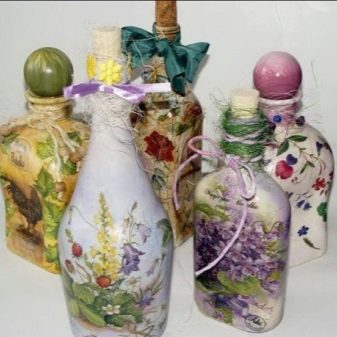
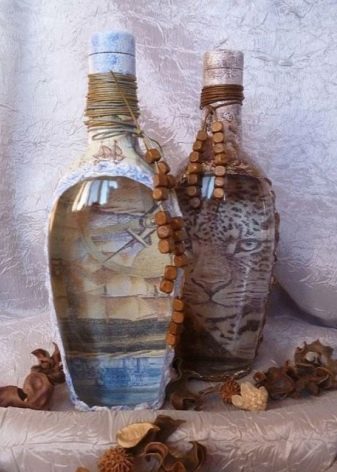
- Back. Used when working with glass surfaces. The selected images are captured not on the upper side of the product, but on the inside.Thus, the front side looks like it is behind glass.
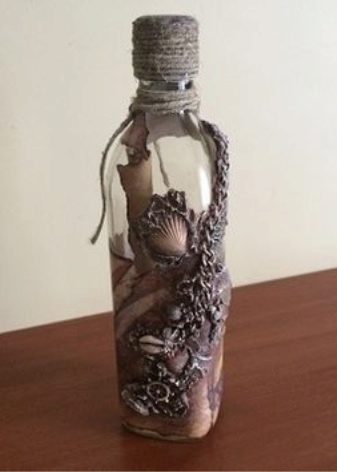
- Art. It is supposed to be a special kind of imitation of artistic painting using different techniques and effects of reuniting the background and paper illustration. This creates a single canvas.
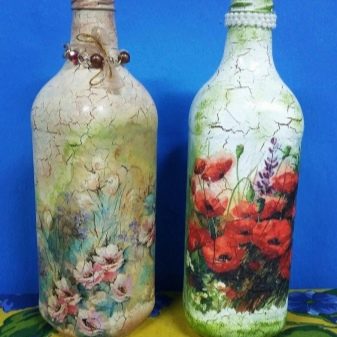
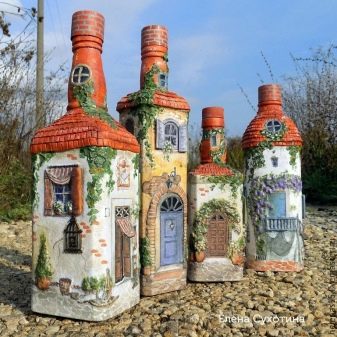
- Volume... A relief surface is used here, the volume of which is created using natural materials, such as fabric.
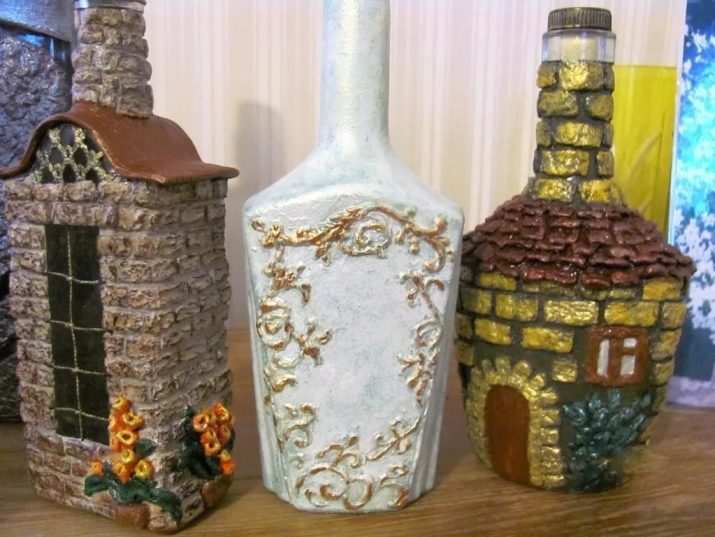
- Decopatch. This variety is more commonly referred to as patchwork. The surface to be decorated is covered with fragments of special paper purchased from an art store. Its structure is rather soft. Images can have different forms, but their essence should be the same. The collected fragments are tightly connected to each other, resembling a sewn patchwork quilt.
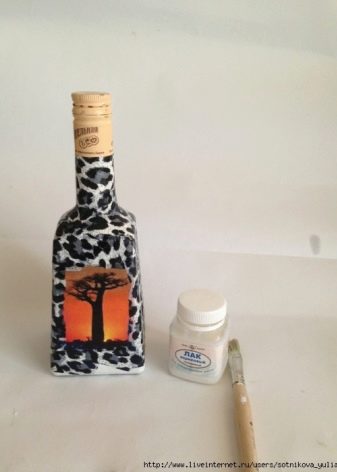
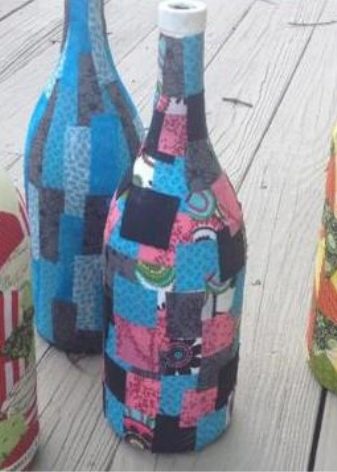
To date, several styles are considered in the decoupage technique, among which the country style with a hint of French Provence takes the first place. Shabby chic follows him. Further on the steps of significance is the Victorian style, in which there is conservatism and natural classics. They are followed by the military style, which prefers the use of strict forms, complemented by metal. Next comes the direction of simplicity, where special attention is paid to the light shades of the palette.
Requires the use of lace, ruffles and guipure curls as decorations.
- Provence among this list it occupies a separate stage of popularity. When decoupage works, it is most often combined with images of rustic romance. The result is quite delicate and very sensual compositions.
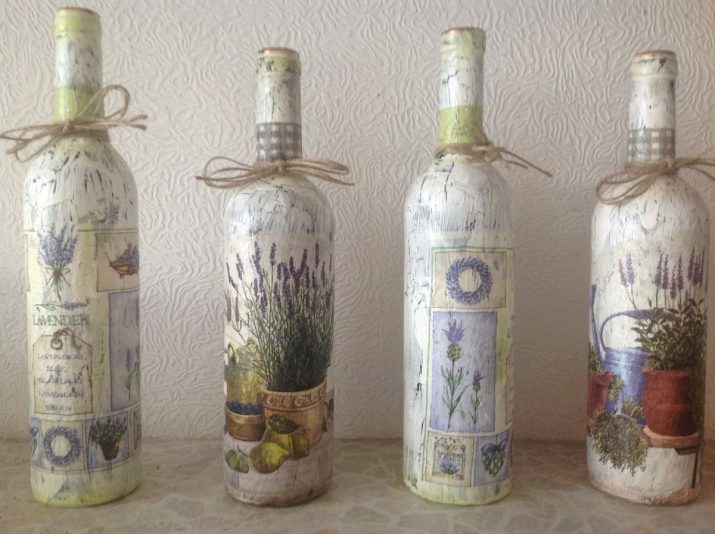
- Shabby chic, which was mentioned earlier, implies an imitation of antiquity. The base of the object to be decorated should be painted in light colors. Flowers are widely used as decorations.
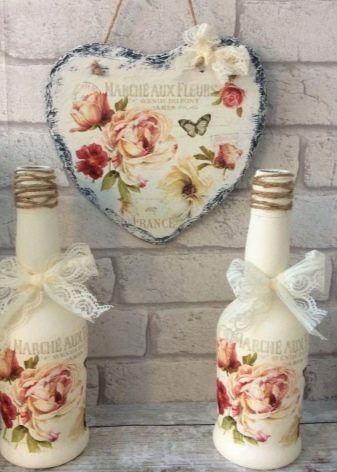
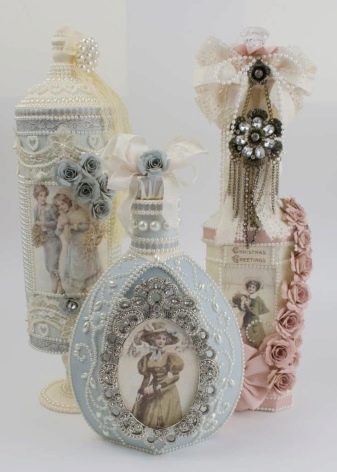
- Vintage in terms of its qualities, it is an irreplaceable style in the decoration of things and objects. It involves the use of monotonous images and colors.
Use antiques such as lace as decorations.
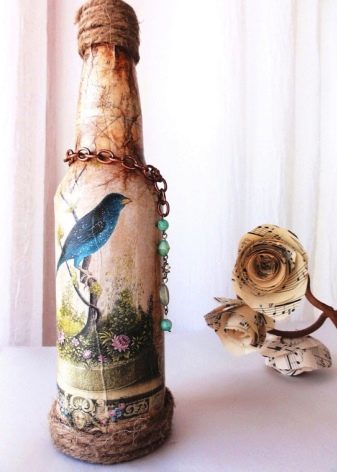
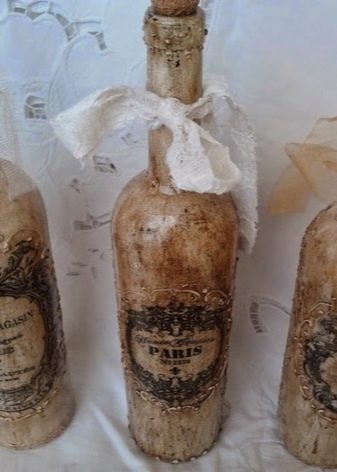
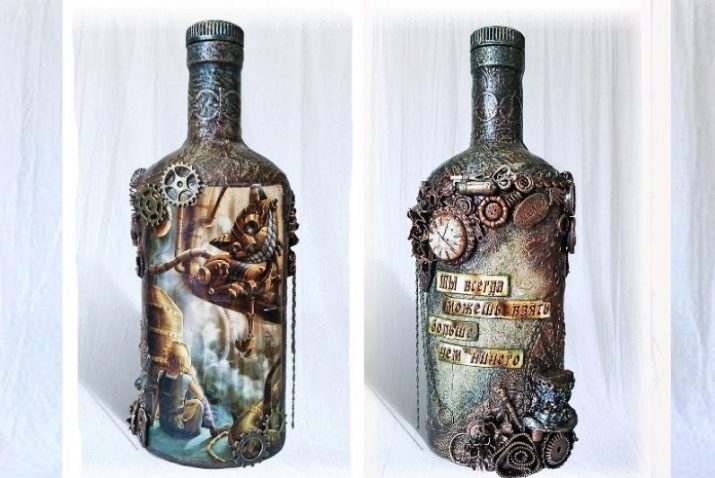
- Quite unusual and rather eccentric is steampunk. The works done in this style are related to fantastic abstractions involving technological processes. When creating steampunk masterpieces, small mechanisms, gears, nuts and various pieces of iron are used.
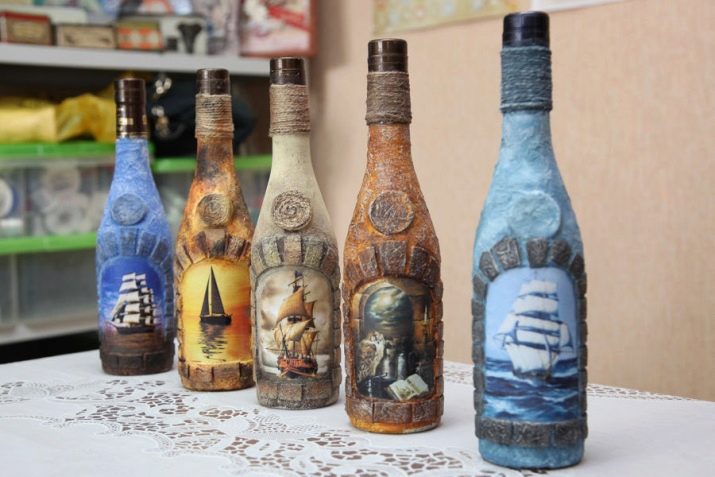
- Quite rarely, decoupage masters use sea style, and all because of the complexity of the execution of small elements. When creating decorations, salty dough is most often used, from which sea plants and animals are molded.
The styling of the decoupage technique involves several permissible effects, due to which a lot of ideas arise for creating special compositions.
- Attrition... The execution of this effect can create a visual antiquity, therefore it is used when working in the shabby chic style, emphasizing the aristocracy of the product. To create a scuff, wax is used, it is rubbed on the surface of the painted elements, and then processed with sandpaper.
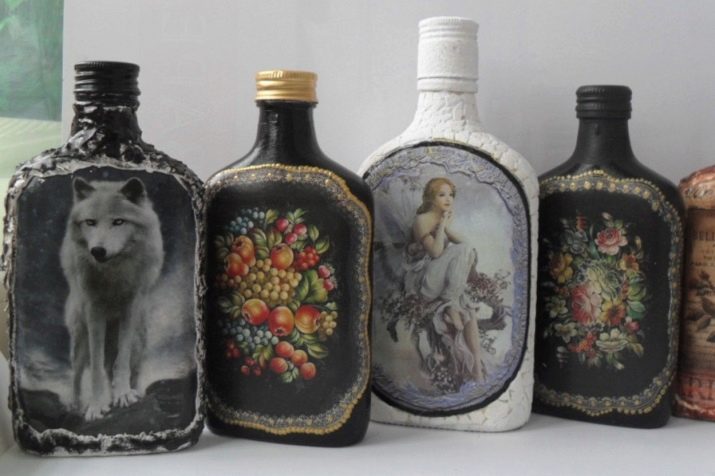
- Craquelure. In simple terms, it is a cracking effect. It is created using special varnishes applied between color coats, usually in sharp contrast to the background color. After the top layer dries, small cracks of the desired shape appear on the surface of the finished product.
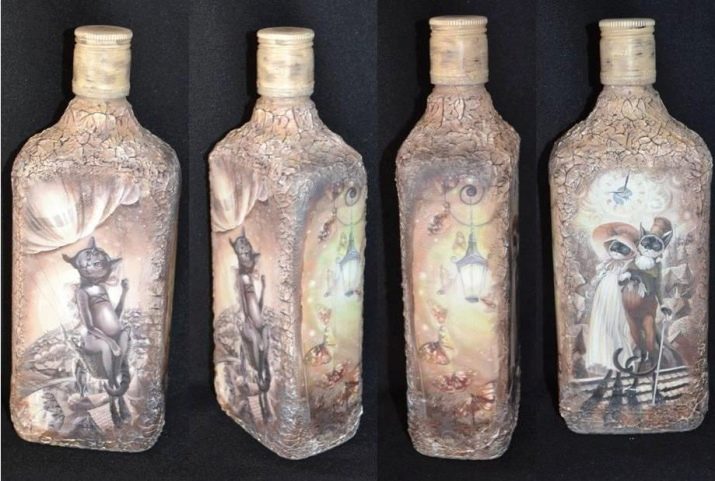
- Patination. A darkening effect that visually looks like a smooth transition of the color palette. Most often used when processing corners.
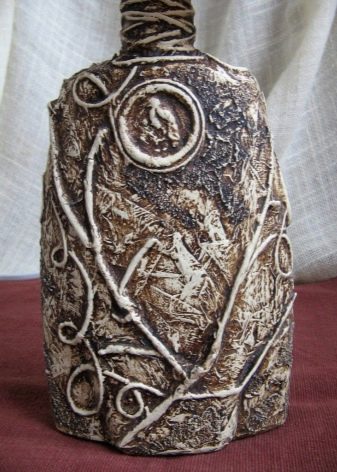
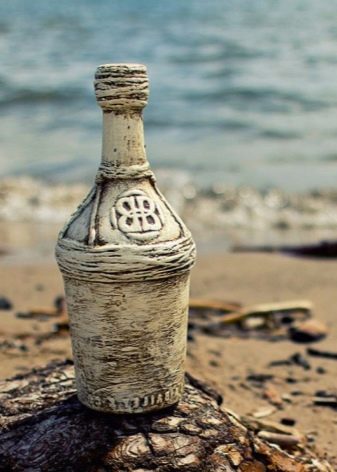
- Shading. This effect is created with the help of a dry brush applying the coloring composition, here the borders of the used pattern are skillfully masked.
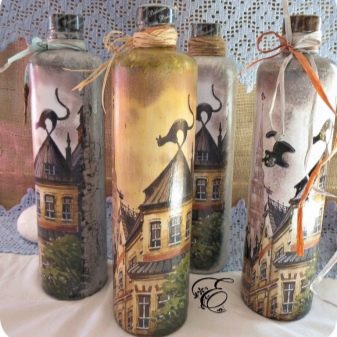
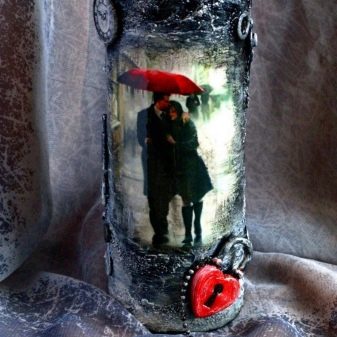
- Toning. This effect is used by experienced craftsmen. Its essence lies in the application of colored spots over the finished decoupage. This may apply not only to paint, but also to glitter varnish.In terms of execution technique, it is used in the same way as the shading process.
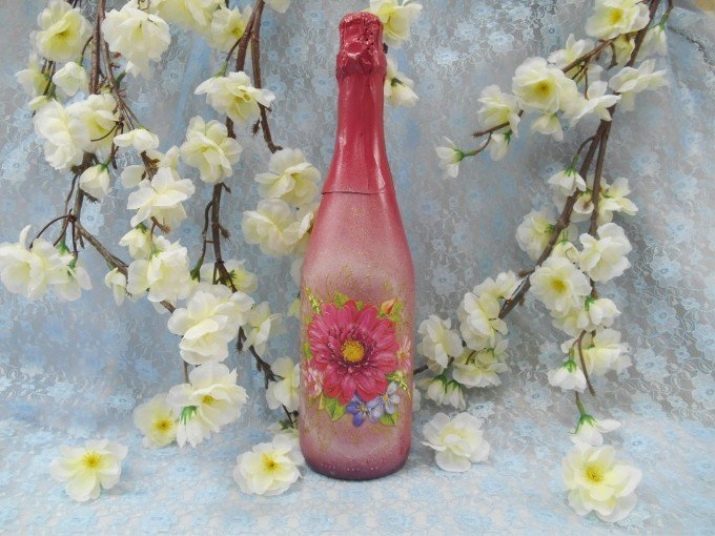
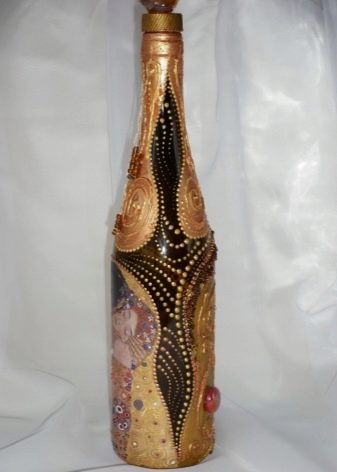
- Potal. In this case, it is assumed that the surfaces are treated with the help of silver and gold paints, which make it possible to supplement the finished decoupage of the object with imitation of inlaid precious stones.
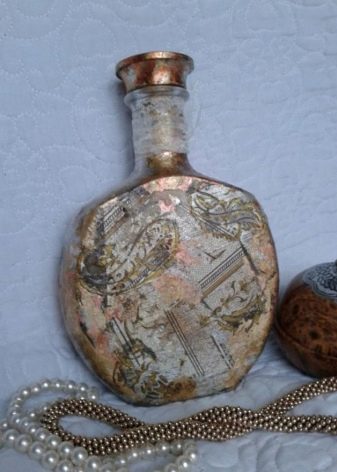
Basic rules of work
Considering a specific job, namely decoupage of bottles, novice craftsmen need to heed the advice of experienced professionals, to avoid mistakes in the decorating process.
- For high-quality decoupage execution, you need to choose a bottle with a flat surface. It should not have embossed protrusions, even at the bottom.
- To accurately and accurately cut the image intended for decoupage decoration, you should use nail scissors.
- The drawing selected on the napkin should be separated from the complex paper structure, otherwise the image will float, be taken by an accordion or lose its presentation.
- For neat gluing of the image, you should use a special decoupage glue. As an analogue, it is allowed to use PVA diluted with water according to the formula 1: 1.
- Gluing the picture must be done step by step. To begin with, the surface of the decorated product is lubricated. An image is applied on top, neatly leveled to avoid the appearance of folds or bubbles.
- Decoupage cards are pre-moistened with warm water, then dried on a towel.
- It is important to protect the dried pasted pattern from moisture and mechanical damage.
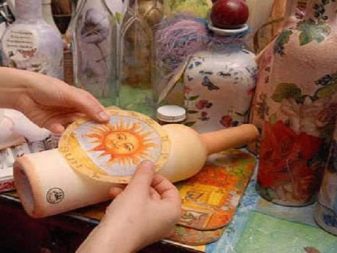
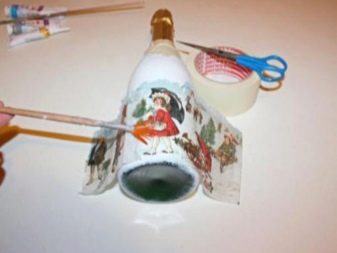
Decorating workshops
The simplest and therefore the most suitable way for a beginner to create decoupage is to work with a bottle. To make a composition with his own hands, the master needs to select special drawings and connect imagination in order to maximize the conceived picture. After collecting the necessary materials and tools, and get to work.
When choosing containers for work, beginners should pay attention to glass products. Plastic bottles have unusual shapes and embossed surfaces, which make it especially difficult for novice craftsmen.
- Cleaning the working area. The first thing to do is get rid of the stickers and labels from the glass backing.
- Primary surface treatment. The cleaned base must be primed with acrylic varnish or PVA. The treated base must dry.
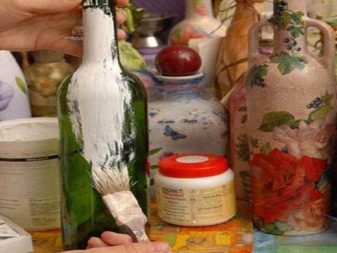
- Background creation... A beginner master is invited to use light paints for familiarization. In some cases, the coloring composition will have to be applied in two, or maybe three layers, so that the surface of the bottle becomes densely painted.
- Drawing an image. The napkin pattern is carefully cut out and dipped in a container of water. These actions are necessary for high-quality application of the image to the painted surface.
- Fixation of the picture. A varnish is applied over the glued napkin. If necessary, the drawing will need to be straightened with a brush, since in some cases the thin paper begins to gather like an accordion.
- The final stage. After the decoupage has dried, sand the bottle with sandpaper. Somewhere create a shading effect or slightly age the composition. After the coloring composition has dried, the bottle is covered with the last layer of varnish.
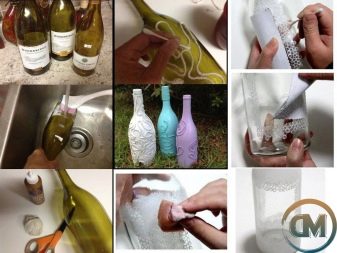
By February 23
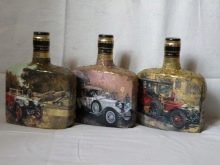
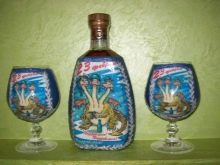
Among the huge variety of gifts for men, a good strong drink is considered the most relevant. Cognac products are presented on display cases in bottles of various shapes and sizes, but most often they are found in square and rounded containers that are easy to decorate. For the main image of decoupage, you should choose pictures with a mention of army everyday life.
And for men who did not serve in the ranks of the military forces, you can use compositions prepared on paper from men's films or computer games.
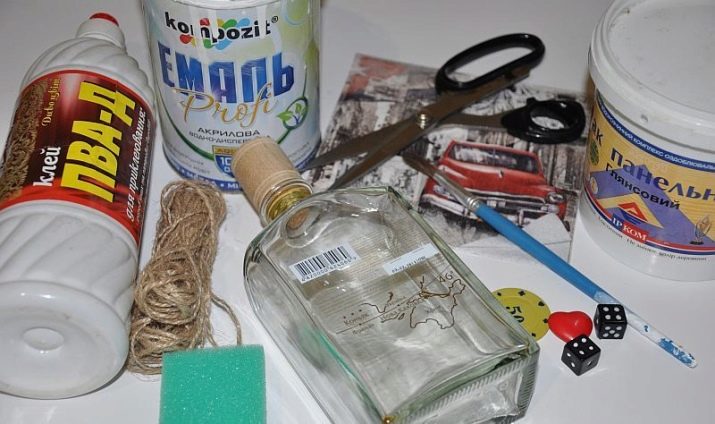
Initially, you should prepare the following materials and tools:
- bottle;
- napkins for decoupage;
- PVA glue;
- primer;
- acrylic lacquer;
- brushes of different sizes;
- foam sponge.
To obtain a high-quality result, you must follow the step-by-step instructions.
- All labels should be removed from the purchased bottle. Degrease the cleaned surface, then apply several priming coats. Wait a while after each coat for the primer to dry.
- Carefully cut the selected image and glue it to the surface of the primed base using acrylic varnish.
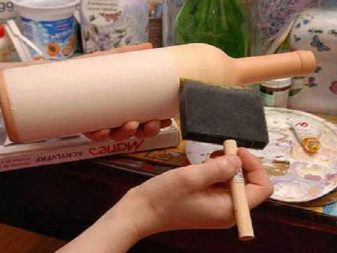
- The rest of the bottle is covered with paint. For quick work, use a sponge.
- To give a light antiquity, gold paint is applied over the dried bottle with careless light strokes.
- The dried beauty is covered with several layers of varnish.

On March 8
As a congratulatory presentation on International Women's Day, men often present ladies with a universal set: a bouquet of flowers, a box of chocolates and a bottle of wine. Over the decades, the composition of the gift has not changed, but a woman wants to see something special, original. The decoupage technique, made on a glass container of an alcoholic drink, will help you breathe novelty and uniqueness.
You will need:
- bottle;
- acrylic primer;
- napkins for decoupage;
- PVA glue;
- paper;
- acrylic paints;
- acrylic lacquer.
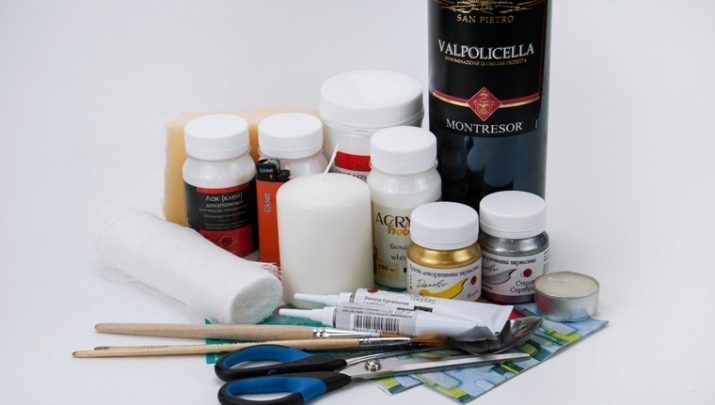
Having collected the required inventory, you can get to work.
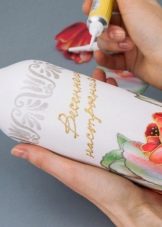
- The bottle should be cleaned of labels, then degreased. Then apply a layer of primer and leave to dry completely.
- Next, a napkin is glued, selected as the main image. The glued paper is leveled, the bottle is set aside until the adhesive is completely dry.
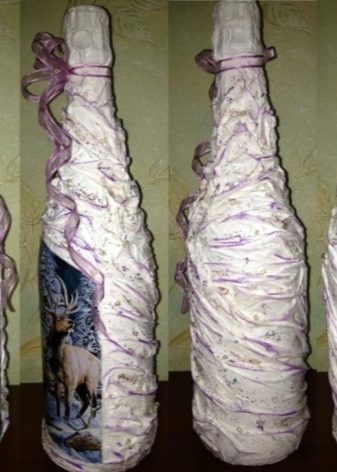
- The prepared paper is moistened in PVA diluted with water and applied to empty areas of the bottle, creating an uneven effect.
- After drying, the surface of the bottle is painted in the color of the background of the glued napkin. As additional effects, it is proposed to use gold acrylic paint, highlighting the created irregularities.
- The finished decoupage is varnished.
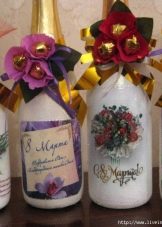
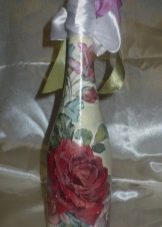
Satin ribbons, artificial flowers, beads and more can be used as additional decorations. The main thing is that the gift container is appropriate for the holiday.
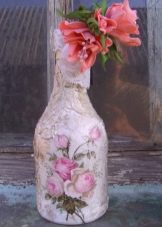
For birthday
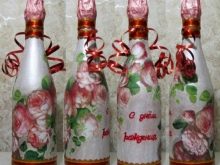
A bottle of champagne or liquor will do as an original birthday present. Using the decoupage technique, it will be possible to create a unique plot with a congratulatory concept and make a special present for the birthday boy.
What you need:
- bottle;
- napkins for decoupage;
- cotton pads;
- foam sponges;
- water-based varnish;
- paints;
- decoupage glue;
- acrylic primer;
- brushes;
- hairdryer;
- sandpaper.
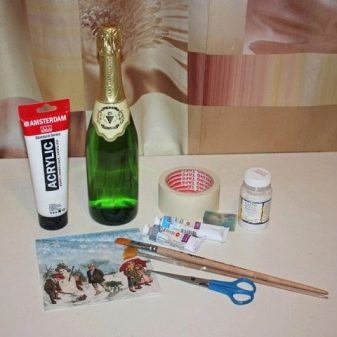
The process of creating a masterpiece may seem rather complicated, but in fact the work is very simple.
- All labels are removed from the surface of the bottle using cotton pads.
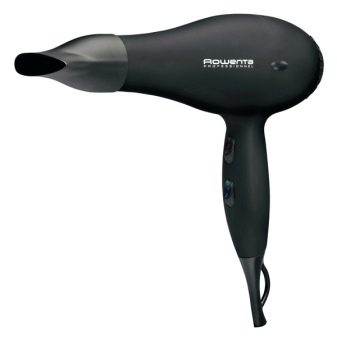
- Using a sponge, several primer coats are applied. Use a hair dryer to shorten the drying time.
- Next, the coloring composition is prepared. It may be necessary to mix several shades to obtain the desired color. Then the paint is applied over the dried primer.
- Images are cut from the selected napkin and glued over the bottle according to the conceived composition. The edges of the paper are neatly smoothed.
- Once the glue has dried, the varnish is applied. Then everything is processed with sandpaper to obtain the maximum smoothness of the base.
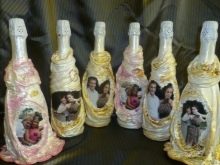
As an additional decoration, you can use lace, ribbons, beads and other possible elements.
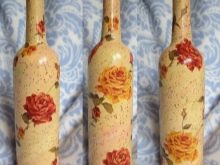
Valentine's Day
It is very pleasant to give your loved one on February 14 a special gift, for example, a bottle of sparkling drink. The main thing is that the container itself is unique and special.
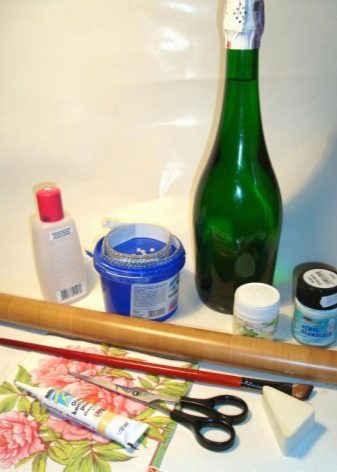
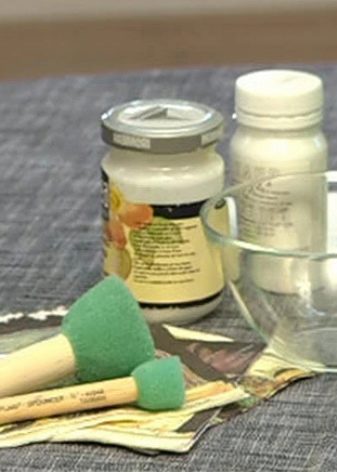
For work, you should collect a small set of accessories:
- bottle;
- sharp blade;
- acrylic paints;
- set of brushes;
- acrylic lacquer;
- a napkin with a picture;
- foam sponges;
- cotton pads.
Having collected the tools, you can get to work.
- The labels must be removed from the bottle. Then degrease and prime.
- The dried container is covered with a dye composition in several layers. It is varnished on top.
- The selected pattern is glued over the dried base, evenly distributed and smoothed.
- The final stage of work is to cover the finished surface with a varnish.
- As decorative elements, you can use ribbons, lace and any bright objects.
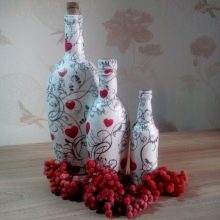
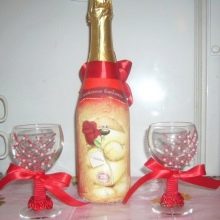
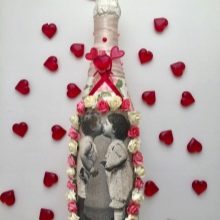
For the new year
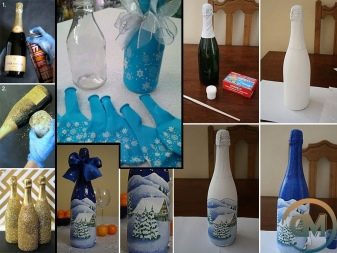
On New Year's Eve, champagne is considered an important drink. It is purchased both for their family and as a gift. It is quite difficult to surprise a modern person with an ordinary bottle, and if you decorate a container using the decoupage technique, you will get the most extraordinary and unique present.
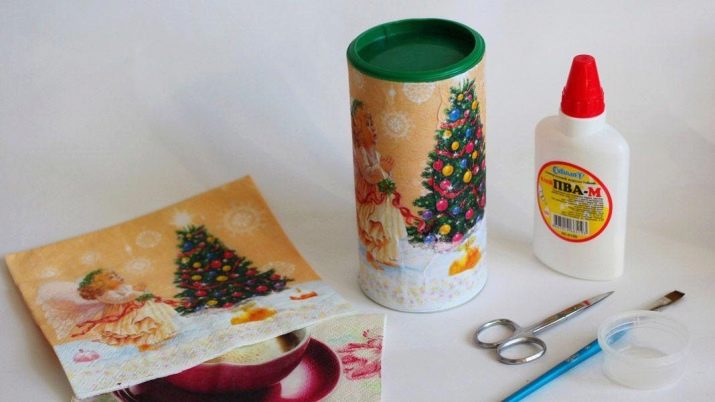
In creating a New Year's gift, it will come in handy:
- bottle;
- brush;
- a napkin with a New Year theme;
- scissors;
- acrylic paints;
- decoupage varnish;
- paper tape.
Now you can start creating a masterpiece.
- All stickers and labels must be removed from the surface of the bottle. Then degrease the container.
- Next, the glass base is covered with several layers of acrylic paint. Each individual layer must dry naturally.
- The next stage of work is varnishing.
- While the base is drying, you need to prepare the image. With the help of nail scissors, the outline of the drawing is cut out, then glued to the surface of the bottle. When gluing a napkin, it is important to be extremely careful, otherwise the paper will tear and the decoupage will be ruined.
- The surface of the napkin is covered with PVA glue.
- Next, you should treat the rest of the bottle with acrylic paint with a matching color shade.
- After the dye composition has dried, the bottle is again varnished.
- The final stage of work is sanding the surface to create maximum smoothness.
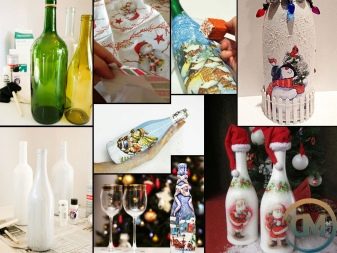
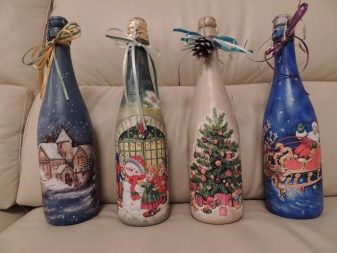
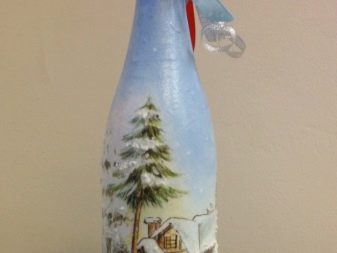
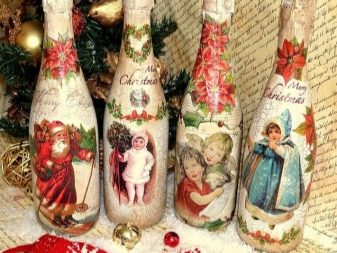
In the process of creating a special composition, you can use any decorative elements, the main thing is that they correspond to the festive theme.
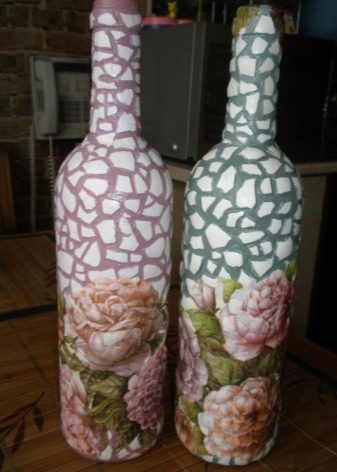
An interesting solution when decorating a bottle would be to use toilet paper and eggshells.
- In the first case, the container is cleaned, degreased and primed. Then, as always, a napkin is applied and covered with glue. On the places where the napkin is missing, pieces of toilet paper are carefully glued. This will add volume to the bottle. After that, the bottle is varnished, painted, and again varnished.
- The use of egg scraps will give the effect of cracking. But here it is important to observe the system - the eggshells are applied in slings to small areas of the bottle, gradually. Then the napkin is glued. The rest of the steps are no different from the previous options.
For a master class on decorating a bottle using decoupage technique, see the next video.


