DIY decoupage bottles for the New Year
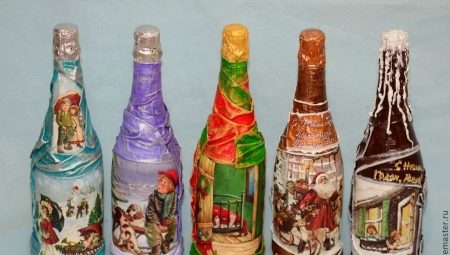
Thinking over the decor of the New Year's table, I want to make every thing beautiful and memorable, even bottles of alcoholic beverages. In this case, many craftsmen use the decoupage technique, which allows you to quickly and easily add a festive mood to any item.
Features of technology
Decoupage technique involves the creation of applications from various materials. As a rule, fabrics, napkins, twine and ribbons are used for this purpose.
If decoupage is used for thematic decoration, for example, New Year's, then various stickers, sequins and sequins help to decorate the item.
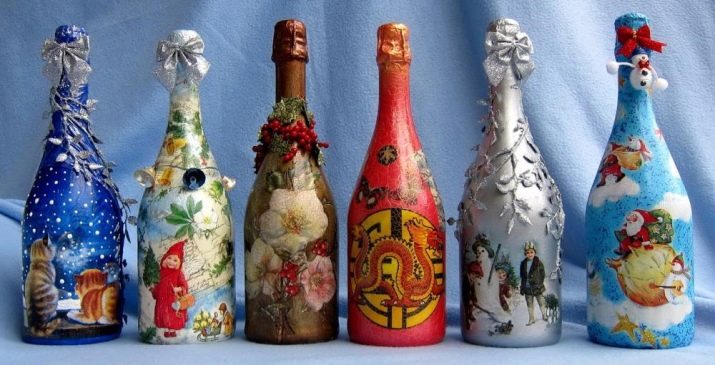
This technique is considered quite simple and subject even to novice craftsmen.
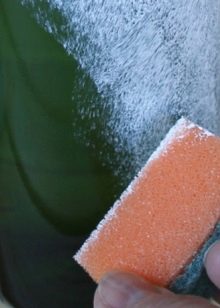
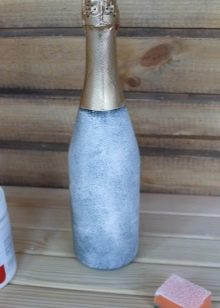
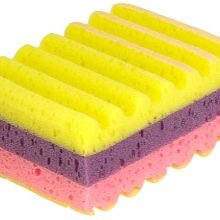
The main components of decoupage are background coloring and gluing of napkins with pictures. To create a background, acrylic paint of the required shade is poured into a plastic saucer. It is applied to the bottle with a foam brush or dishwashing sponge. The color is applied to a dry glass surface by light pressure. It will take two to three hours for the paint to dry, after which the next layers can be applied. It is important to give each layer a chance to dry.
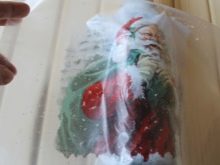
Cutting out a drawing from a napkin, we must not forget about the separation of the lower layers that are not required. When gluing the image, brush should be carried out from the center to its edges, straightening wrinkles and eliminating bubbles. Some craftsmen first apply glue to the wrong side of the picture, then they apply it to the bottle, and they process everything from above with glue for a more stable fixation.
During work those parts that should not be stained are recommended to be sealed with masking tape.

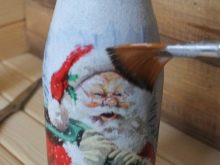
It is important to mention that a bottle decorated using the decoupage technique should be handled with the utmost care. The finished product performs just a decorative function.
Unusual ideas
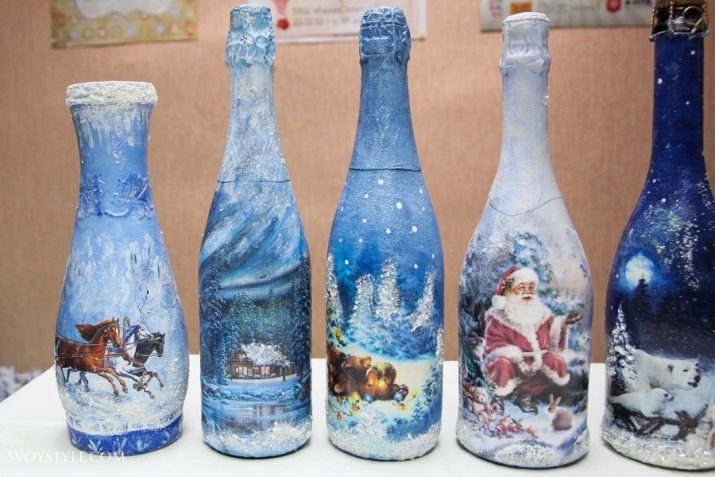
The design of bottles for the New Year can be completely different and depends only on the imagination of the master. For example, picking up napkins with drawings on a beautiful blue background, painting the rest of the bottle in the same beautiful "winter" shade and complementing everything with snow-white details, you will get a very stylish, as if ice decoration. Crumpled paper will allow you to make some parts of the image three-dimensional: Santa Claus's beard, the edge of his suit and snow under his feet.
Such a decor with an abundance of white is suitable for a classic champagne bottle, which does not even have to decorate the upper golden part, as it will successfully fit into the planned picture.
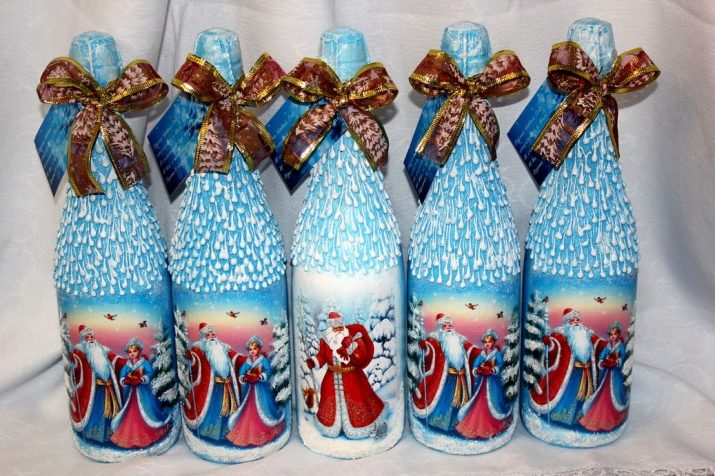
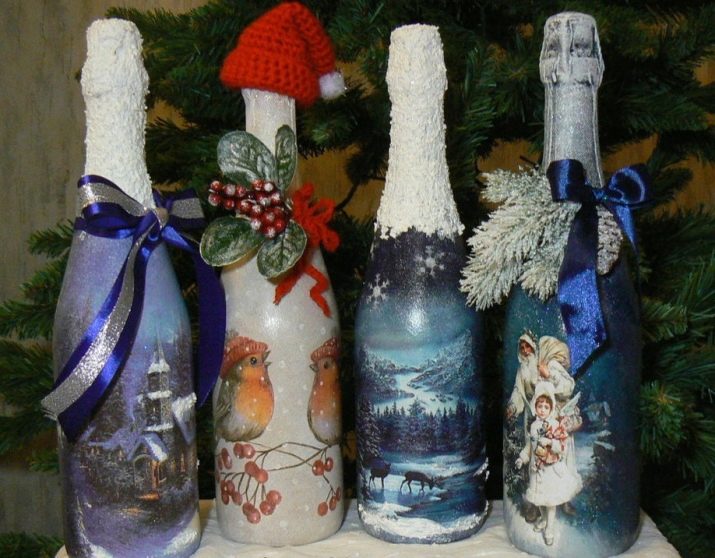
New Year's bottles will become a real work of art if you additionally decorate them with artificial spruce branches and berries or full-fledged artificial floristic compositions with toys, balls and cones.
Another stylish solution would be to use transparent rhinestones of different shapes and shades that imitate ice floes. The design of a wine bottle with the image of Santa Claus on a snow-white background can be completed by placing miniature red Christmas hats with a white pompom on the tops.
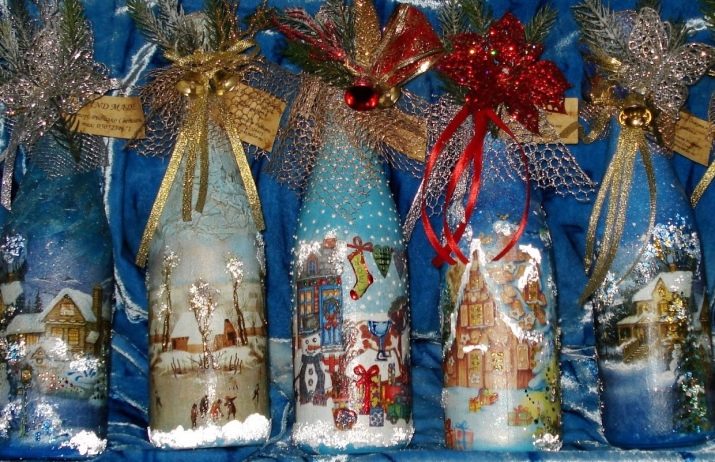
In general, adding volumetric standard parts always transforms the craft. Alternatively, a wooden fence made of flat planks should be put on the bottom of the container, and garland bulbs should be fixed on top.
Required tools
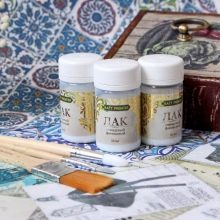
To perform the simplest decoupage of a bottle, you will need a three-layer napkin or rice paper covered with the required image as a base. The use of cotton fabric is also possible. Fixation of materials is carried out using varnish, primer, alcohol or degreaser, as well as a foam sponge. If the decor is planned to be colored, then you will have to prepare brushes and acrylic paints.
When using heavy and difficult materials such as twine, additional scissors and a glue gun are required.
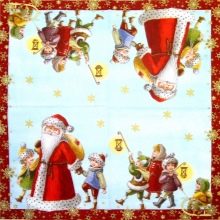
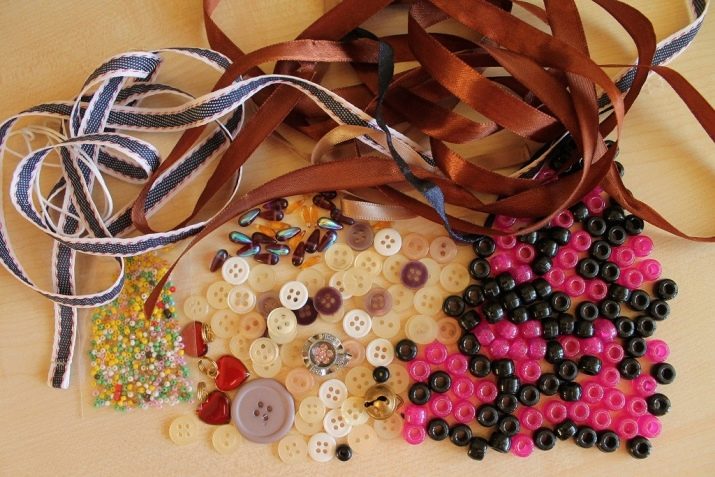
Finally, don't forget about details like beads, ribbons, and sequins.
Surface preparation
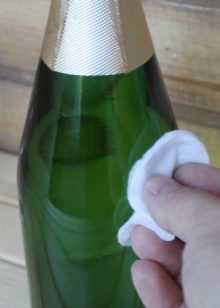
Bottles for champagne or wine that you plan to decorate must first be prepared. All paper stickers and excise taxes are removed from the surface, followed by treat with rubbing alcohol or degreaser. Before starting the decoration, the bottle is thoroughly wiped off. The primer can also be attributed to the preparatory stage. It will turn out to be almost invisible under the drawing, but it will create the necessary basis for further creativity.
For implementation, it is recommended to purchase a special artistic primer, which is then applied with a foam rubber sponge or a regular brush.
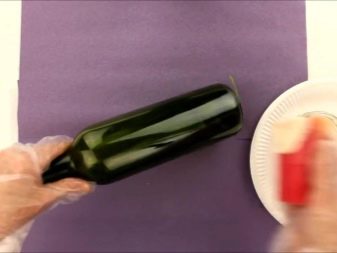
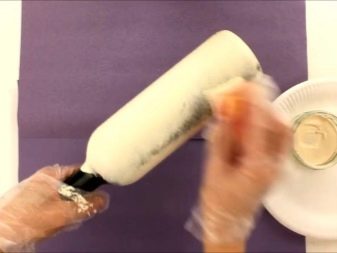
In the case when the consistency of the primer is very thick, it will turn out to be limited to one layer, but it is still better to duplicate the procedure so that the glass does not shine through anywhere.
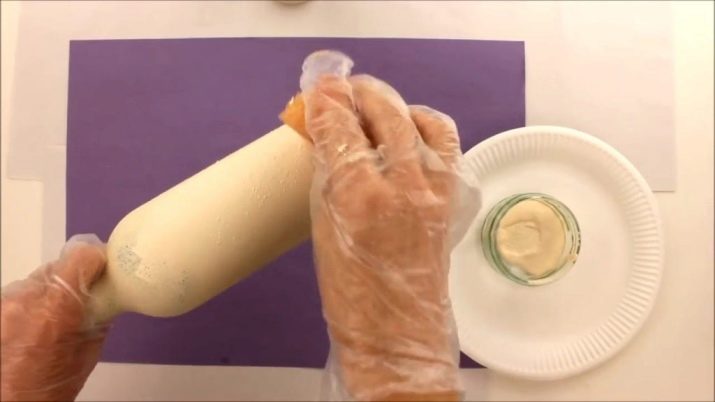
The first layer is made thin and the second thicker. It is important to allow the soil to dry, but the procedure can be accelerated by using a hair dryer.
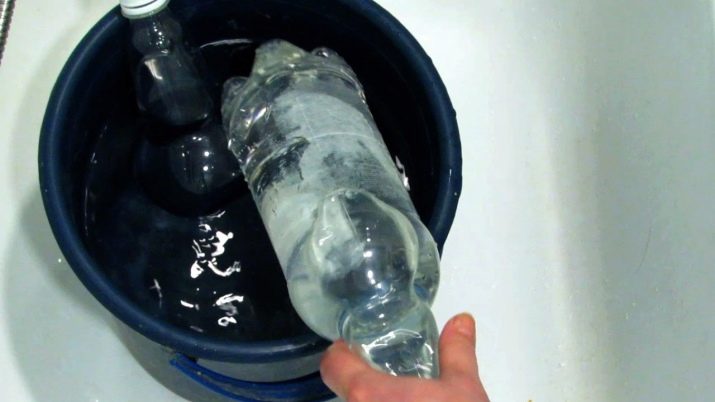
To clean the container from the stickers, it is much easier to pour warm water into the basin and place the bottle itself in it - after a while all the labels will peel off by themselves. With especially persistent specimens, a cotton pad soaked in vegetable or baby cosmetic oil will help to cope.
For convenience, the product can also be applied to a household sponge, and at the end of the procedure, do not forget to rinse the bottle with dishwashing detergent.
Step-by-step instruction
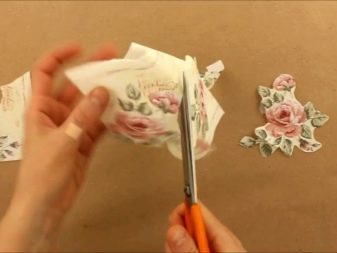
To make a decoupage of a bottle for the New Year with your own hands, it is better to choose a master class for beginners on the Internet, and then follow the instructions step by step. To implement the simplest idea, you will first need to select a napkin with a beautiful thematic pattern and cut it out.
Professionals can simply pry it out with their bare hands. After that, the drawing is applied to the prepared bottle and covered with a special varnish. At this time, the image is carefully smoothed so that no crumpled fragments remain, and so that the napkin does not tear.
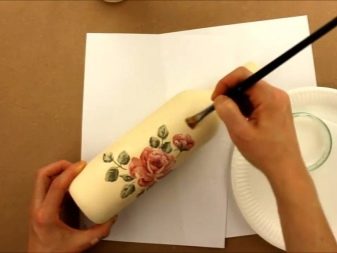
The application of varnish continues until the image is completely saturated. If at the same time the boundaries stand out ugly, then they can immediately be corrected by using a primer. As soon as the varnish dries, it's time to move on to the festive decor. For example, you can cover the bottle with glitter or tie a ribbon of a suitable shade around it.
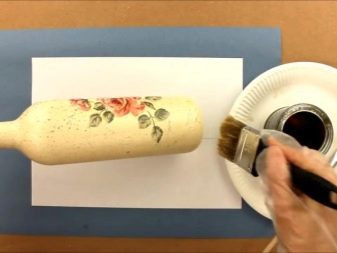
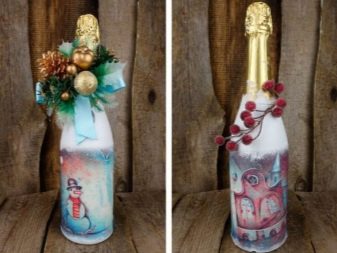
You can also decorate a champagne bottle with a beautiful volumetric image. First, the fabric must be soaked in a mixture of water and PVA glue, taken in equal proportions. The fabric is soaked in the liquid until it is soaked, after which, after squeezing a little, it should be placed on the bottle. It is not necessary to tighten it tightly - on the contrary, you should leave free folds and bends. As soon as the fragment dries up, it must be tinted with paints, the color of which will match the further used picture.
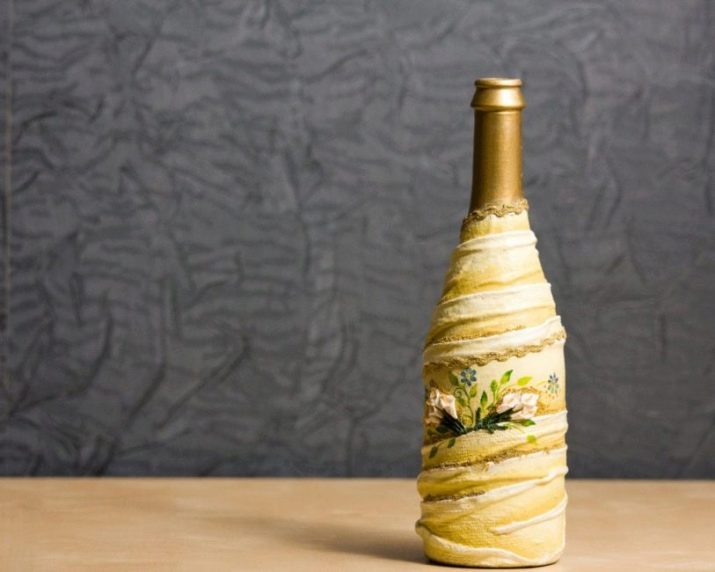
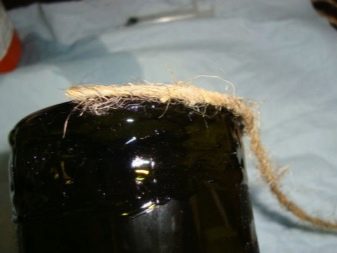
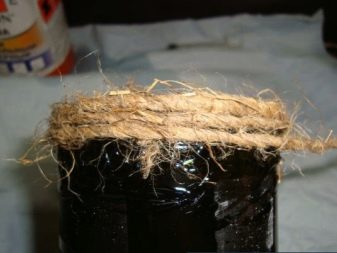
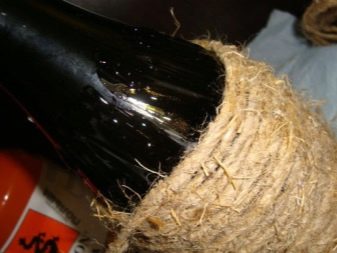
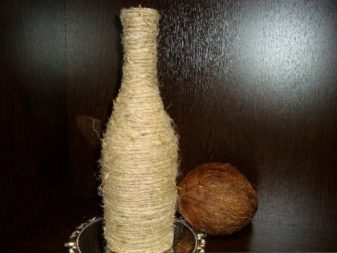
Again, as soon as the structure is dry, it will have to be decorated with a New Year's image, fixed with varnish. Additional decor is placed after the bottle has dried. An unusual job will turn out if you use burlap and twine. The twine is glued to the prepared bottle, following in a circle, using a glue gun or even PVA glue.
Traffic it is best to start at the bottom and avoid gaps between individual rows. When the glue dries, you can apply additional decor, such as lace ribbons, braid, beads or beads.
There is another way to transfer the picture to the bottle. Cutting the picture out of the napkin and freeing it from the lower white layers, you need to tear off the edges around the entire perimeter so that they more easily merge with the background. The piece of paper is laid out with the pattern down on the file, and water begins to gently pour onto it. With the help of a brush, all bubbles are expelled, and the folds are straightened. After draining excess water, the file with the picture should be turned over and attached to the bottle.
If you do everything correctly, the napkin will be fixed on the glass, and it will be enough just to remove the file and grease everything with decoupage glue.
Small folds remaining after drying can be eliminated with fine-grained sandpaper, and large ones can be masked using paints. The entire surface is completely varnished. Having chosen acrylic paint in white, blue and black colors, it is necessary to draw the background. Processing takes place with a practically dry dishwashing sponge.
To make the paint lay down more accurately, you can first moisten the surface a little. With the help of other shades, the drawing is brought to mind. The cork and top of the container should also be slightly tinted. Optionally, using white paint and a toothbrush, you can create a “snowy” spray. Having created one or two finishing varnish layers, it is necessary to wait for the craft to dry again. It is worth highlighting any fragments of the drawing or contours with colored sparkles. They also create a festive inscription.
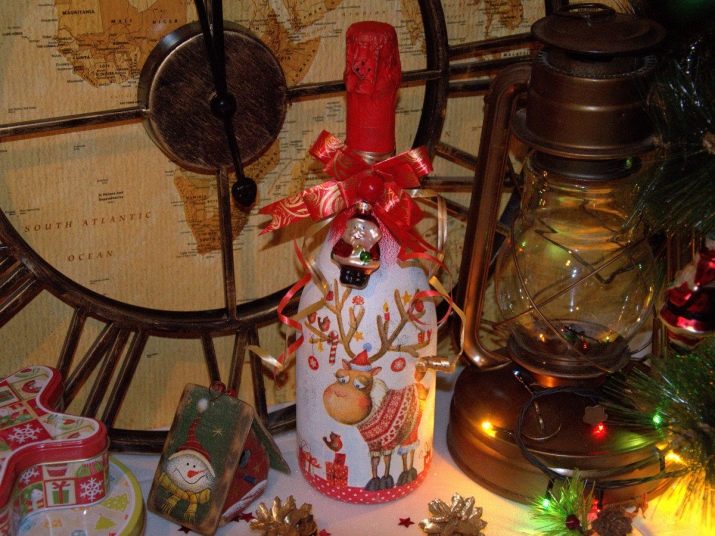
To create a volumetric image, in addition to the base materials, you will need acrylic structural paste, a knife and a toothpick. A decoupage card with an image of an hour dial, balls, crackers and other festive motives is suitable as the main image. The prepared bottle is painted blue with a foam brush. An oval is drawn on a separate sheet of paper, which is the same size as the large label.After cutting it out and attaching it to the surface of the bottle, apply a structural paste to the contour.
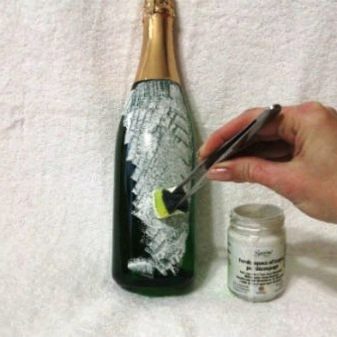
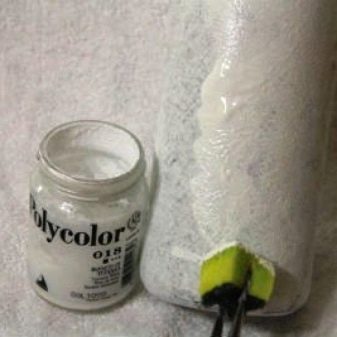
After about five minutes, the substance will dry out, and the template can be removed using a toothpick. Next, the paste will have to dry for 3 to 4 hours. The pictures cut from the decoupage card are placed inside the volumetric contour, forming a harmonious composition. They should be glued after wetting them with water. The remaining parts of the container are painted white. Volumetric parts are covered with light blue paint applied in a thin layer.
Some details, for example, the hands of the clock, can be highlighted with glitter. The work ends with the creation of the inscription "Happy New Year!" and snowflakes of different sizes, made with gold acrylic.
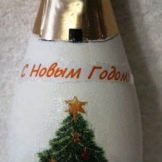

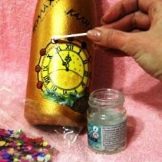
The decoupage card greatly simplifies the process of creating a festive bottle. The surface, degreased with alcohol, is covered with acrylic primer, after which it is painted over with a snow-white tone. The drawing you like is either cut out of the card with scissors, or simply pulled out by hand. The fragment is applied to the bottle and coated with glue. Smooth the napkin from the center to the edges to get rid of bubbles. The transition from all sides is made out with an overlapping paint applied to a napkin. The finished bottle is varnished with two layers of fixing agent.
For decoupage, by the way, you can use not only a full-fledged drawing, but also images of festive patterns with ribbons, balls and fir branches. In this case, ornaments of the required shape are cut out of the napkin so that a white background remains between the individual parts. If the surface of the bottle is additionally painted in the same white color, the transition will be completely invisible. Images are glued using decoupage glue and a flat synthetic brush.
Some of the elements are highlighted with golden glitter.
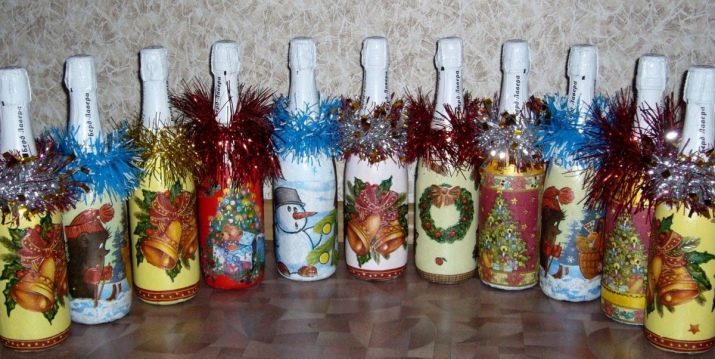
Below is an interesting video with precise instructions for decoupage using fabrics.


