Diy teahouse decoupage
It is more aesthetically pleasing and pleasant to store tea bags in a beautiful house than just in a box. Such an item will be an excellent decor and will fit into the interior. The decoupage technique allows you to create amazing objects so easily that you can do it with the whole family. A home made with your own hands can be donated to relatives or friends. Such a thing looks cute and gives the kitchen more comfort.
Required materials and tools
It may seem to beginners that it is rather difficult to start decoupage. Long and incomprehensible lists of materials and tools literally drive you into a stupor. It is worth disassembling everything in order to understand what is really needed for work.
The basis for decoupage is necessary in any case. There are three-dimensional figures, but decorating them is quite troublesome and this is not the best idea for the first job. For the teahouse, you can use flat pieces of plywood, wood, or cardboard.
An easier option would be to purchase a ready-made assembled model from the same materials.
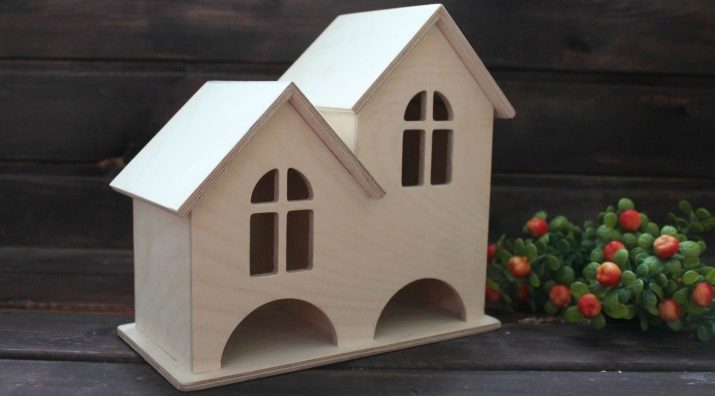
With certain skills, the foundation can be made independently.
Tools are of great importance in the work. Both the quality of the work and your pleasure in the process of doing it directly depend on them. So, here's what you need to stock up on.
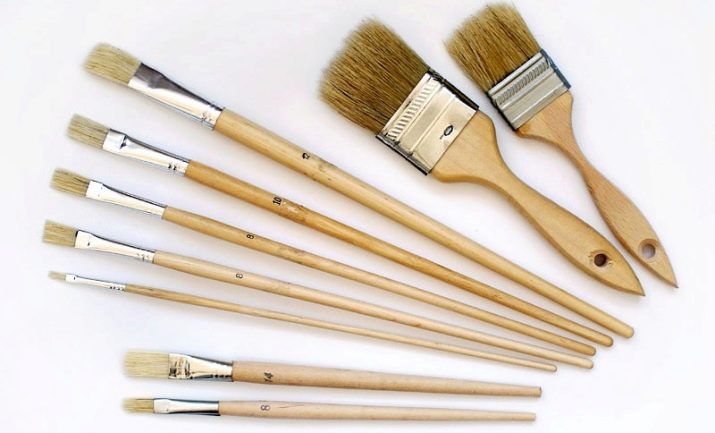
Synthetic bristle brush
You will need a few flat ones, about numbers 10 and 20. For decoration, you can use a thin round brush. Small brushes will help out if you need to outline or tint something. The wide one will provide easy varnish application.
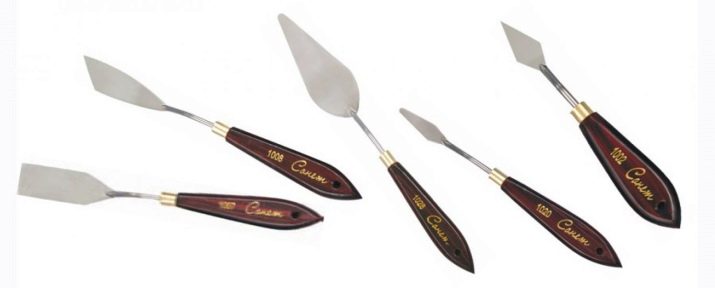
Putty knife
A rubber tool is sold in a hardware store and is intended for applying a relief paste or for leveling the surface.
If you wish, you can buy a palette knife or even use an old plastic card.
Sandpaper
You need to have several sheets of different abrasiveness.
It is better to choose products with a fabric base, then the light house will not get dirty during the grouting process.

Foam sponges
You can buy or build from scrap materials. Sponges for applying cosmetics or fine-pored sponges work well.

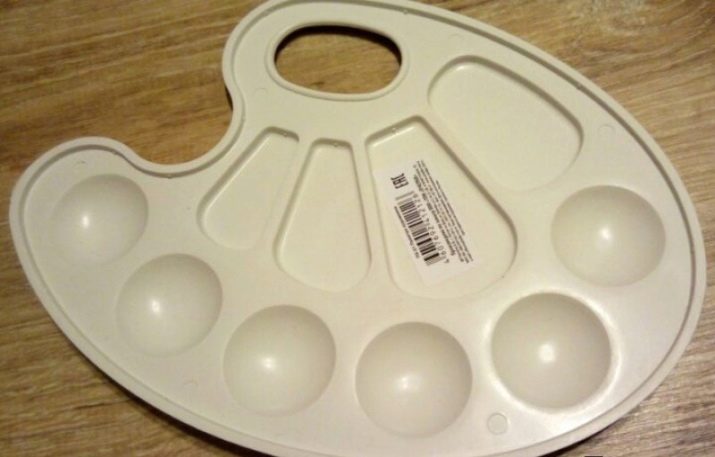
Palette
You can buy the tool or build an alternative yourself. It is permissible to use disposable tableware with its subsequent disposal. Another option is to use a glass plate because acrylics are easy to wash off.
Additional tools
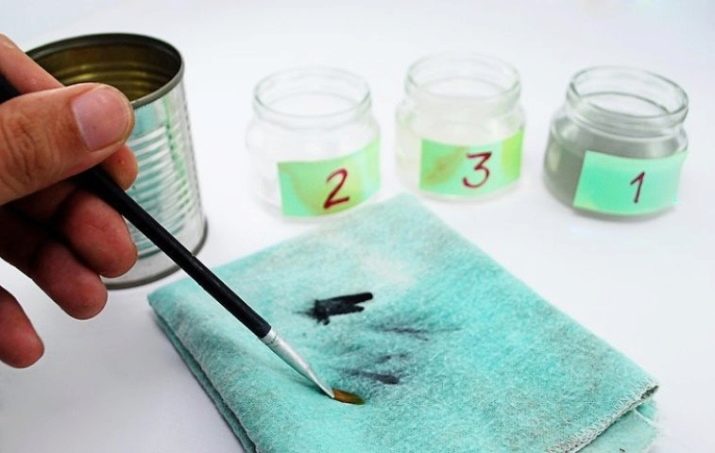
This includes a glass for rinsing the brushes and wipes for drying them. A file folder for sticking a motif, scissors and everything like that. Such a tool is not always used, but it is still necessary.
Materials are equally important for high-quality and simple work. There are many products labeled "for decoupage", but do not buy everything. The required materials are listed below.
Motive
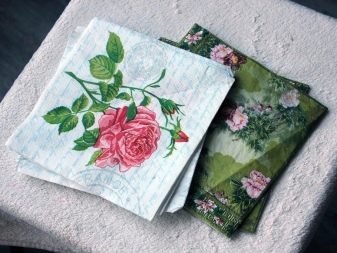
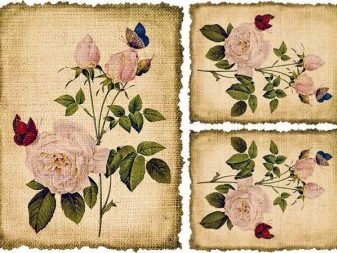
The most important thing for the future product. Many people work with napkins because they are affordable.
For a start, it's still easier to use decoupage cards made of paper or rice paper. They are more expensive, but they are easier to stick.
The application process will be pleasant, and as a result, there will definitely be no holes or wrinkles.
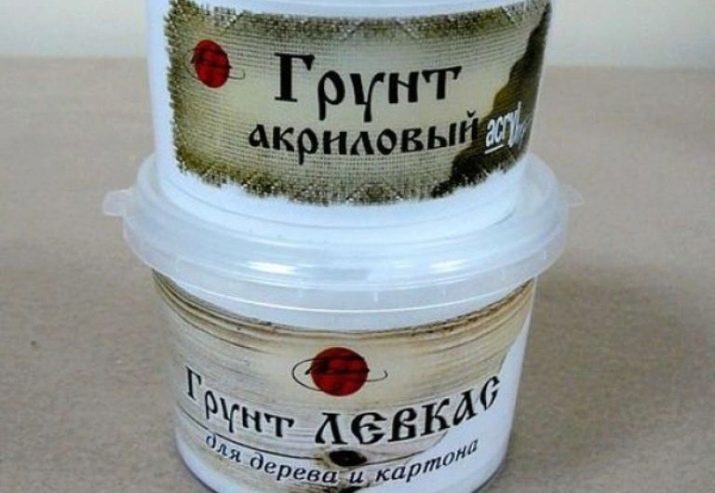
Acrylic primer
It ensures the longevity of the house. The materials will adhere better to the substrate surface. White soil will not only hide defects on the workpiece, but also brighten it. Subsequently, such processing will significantly reduce paint consumption. Take a small jar if you want, but don't give it up.
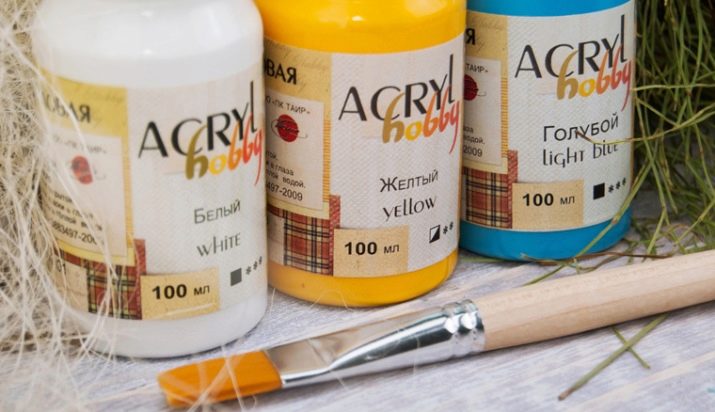
Acrylic paints
Determine the main colors of the work and buy small containers of material. Remember that paints can be mixed to create a new color.
Acrylic lacquer
It is recommended to use a water-based product: it dries quickly, does not have a specific odor and is easily washed off from brushes.
It is optimal to take a semi-matt varnish - it is considered universal.
In general, you can choose any degree of shine, according to your taste.

Decoupage glue
It is used for gluing motifs to the workpiece. It is better to use a special tool or glue-varnish, which combines two functions at once.
If you can't find the material you need, then glue the motif directly onto the acrylic varnish. It is not worth using PVA, it turns yellow and exfoliates over time.

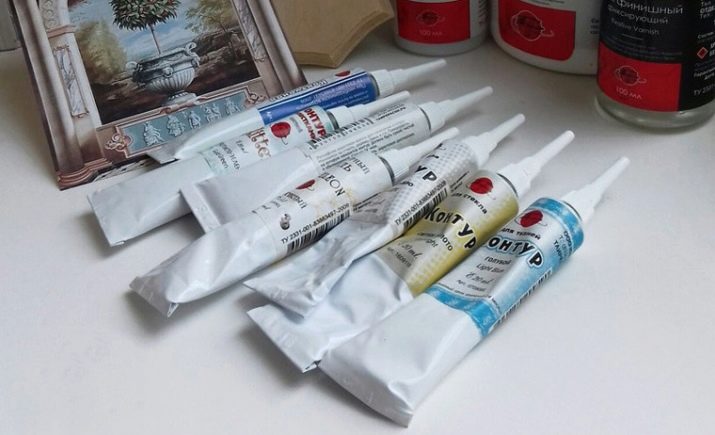
Acrylic outline
The material is not considered mandatory, but it greatly simplifies the decoration.
Style selection
Decoupage allows you to perform mesmerizing work. Decorating in a specific style will help make a house that fits best into the interior. The most popular decoupage options.
Provence
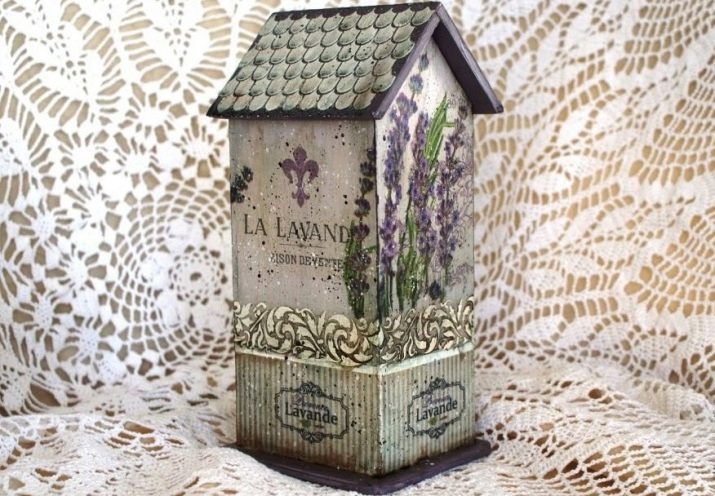
The surfaces are whitewashed before decorating, and during the work they use pastel colors. Provence embodies low-key antiquity, therefore, products in this style are characterized by scuffs and roughness. Usually motifs with lavender, sunflowers, grapes are used. Images of small houses similar to huts are popular.
Shabby chic
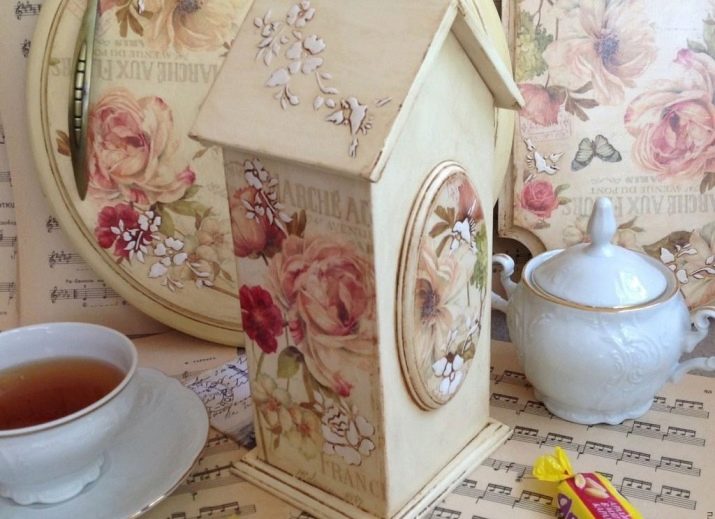
The first word from English translates as shabby or worn. Delicate tones and slight blurring of images are characteristic of this style. The motives contain floral designs, castles, birds and angels.
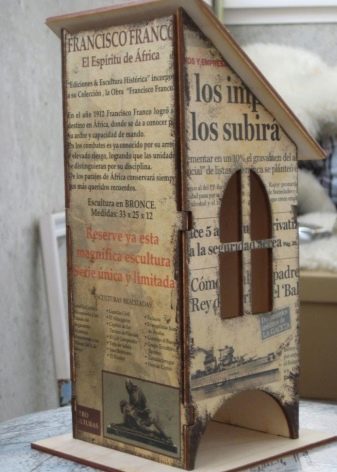
Simple city
A democratic style that is permeated with fresh trends. Clippings from fashion magazines and newspapers are used as motives most often. Pictures differ deliberately torn edges.

Victorian style
Classics and luxury are woven together and the result is simply amazing. Rich and rich colors are used for decoration.Craftsmen combine shades of gold, red and green. Ornaments with stripes and cells are used as motives. Victorian style implies the use of drawings with roses, animals, oak leaves; scenes with hunters and game are welcome.
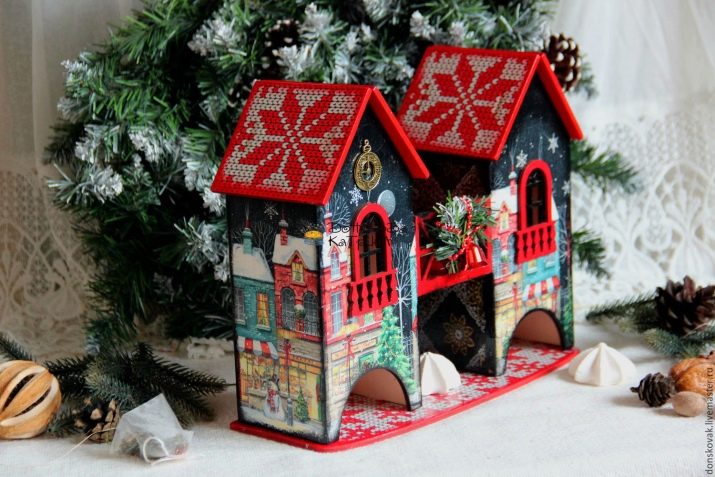
A product using decoupage technique can be decorated for a certain holiday or event. New Year's teahouses are very popular, especially as a gift to loved ones. The work can be devoted to important dates, for example, a wedding or the birth of a child.
Master classes for beginners
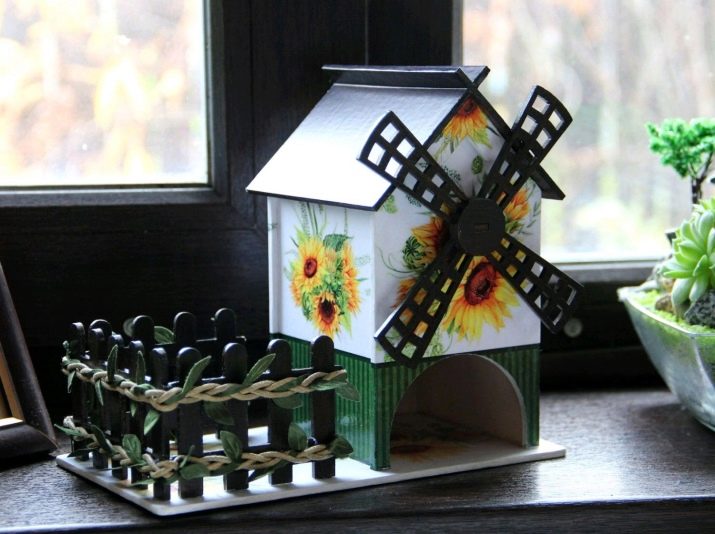
The tea house is suitable for tea bags and helps not only create a cozy atmosphere, but also maintain order in such an important place in the house. You can decorate a product using decoupage technique in any style that you like and suits your interior. It is convenient to carry out work from wooden blanks, you can see different options. Products in the form of a mill, a telephone booth are popular; houses with a balcony look cute.
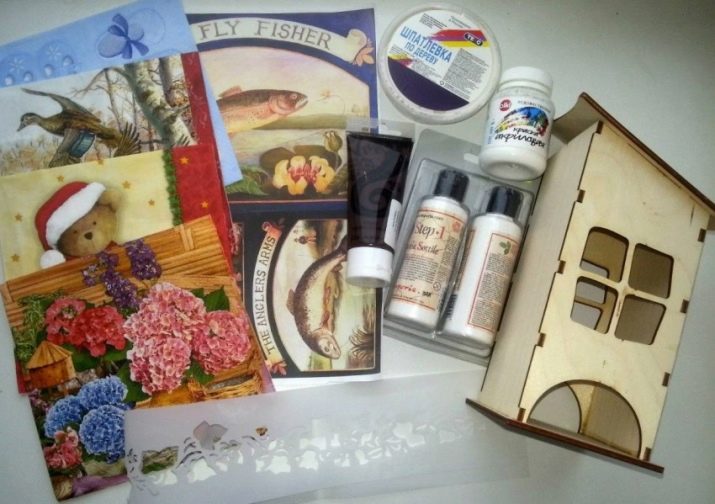
Regardless of what form the base has, the work itself goes the same way. To do the work with your own hands, you will need the following materials:
- glue or varnish-glue for decoupage, which is intended for processing hard surfaces;
- embossed acrylic paste "Burnt brick";
- plywood or wood blank;
- acrylic varnish, matte;
- acrylic primer;
- paints of red, green, white and olive colors;
- suitable motive for decoupage.
The tea house will be decorated using decoupage technique with a combination of acrylic splashes, which looks very impressive and mesmerizing.
The embossed paste will help make the roof look more realistic.
The step-by-step execution of the work is given below.
- Cover the entire workpiece with soil. You can use not only a brush, but also a small construction roller.
- Paint the blank with olive paint and wait until it dries.
- Cut out the part of the design that you want to apply to the house from the napkin.
- Remove the white backing from the napkin so that only the decorative layer remains.
- Take a stationery file and place the napkin on top, pattern side down. Moisten gently with clean water. It is convenient to use a sponge or sponge for wetting.
- Cover the top of the napkin with another file.
- Smooth out the pattern so that all the air comes out.
- Remove the top file with a gentle motion.
- Transfer the drawing along with the file to the workpiece. Just gently attach it so that the image snaps into place.
- Flatten the drawing through the file. Gently pry and remove it so as not to tear the napkin.
- Using a brush, apply the glue polish over the napkin. Leave to dry.
- Cover the roof of the house with relief paste. Shape the shingles with a spatula or other suitable tool. The process will be easier if you buy or make a special stencil in advance. In this case, you need to apply the paste from above, and then carefully pull out the substrate until the material dries.
- Paint the inside of the roof and its edges red.
- If the napkin has gone beyond the edges of the workpiece, then carefully sand it with soft sandpaper.
- Cover the inside of the house and the substrate with green paint.
- Carefully circle the windows with whitewash.
- Soak a sponge in green paint and process the edges of the house so as to hide the edges of the napkin.
- Using the same principle, treat the stand with a sponge dipped in olive paint.
- Dip a small dry brush in white paint. Treat the facade.
- Spray the walls with red paint using an old stiff toothbrush.
- Cover the house with varnish 2-3 times. Each coat must dry completely before applying the next one.
Successful examples
Novice craftsmen often simply cannot collect their thoughts before completing their first job. A lot of interesting motives on the store shelves make you want to buy everything, your eyes literally run up. Creative ideas can help you find inspiration.
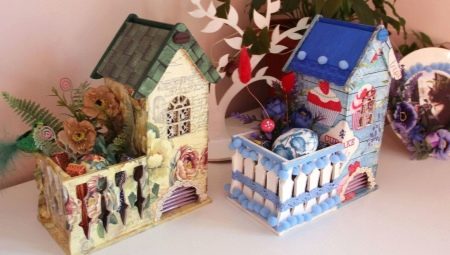
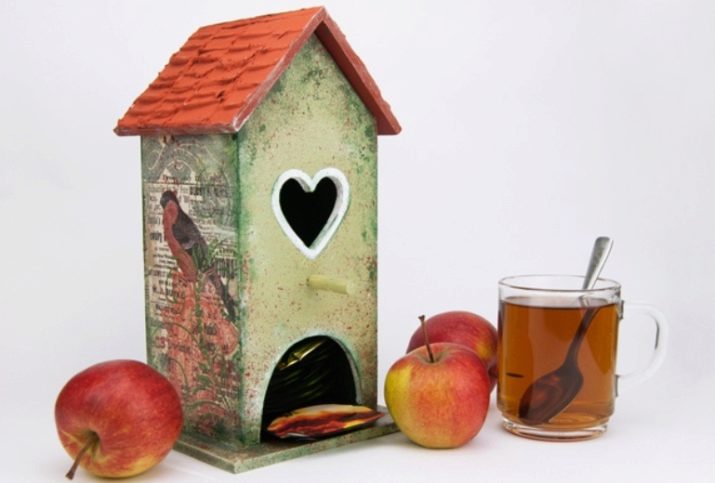
- The simple shape is adorned with an interesting cut. The cup on the wall attracts attention and creates a special accent.

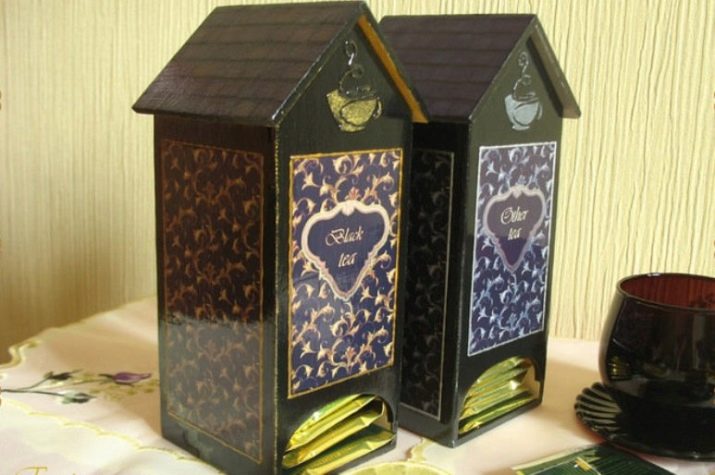
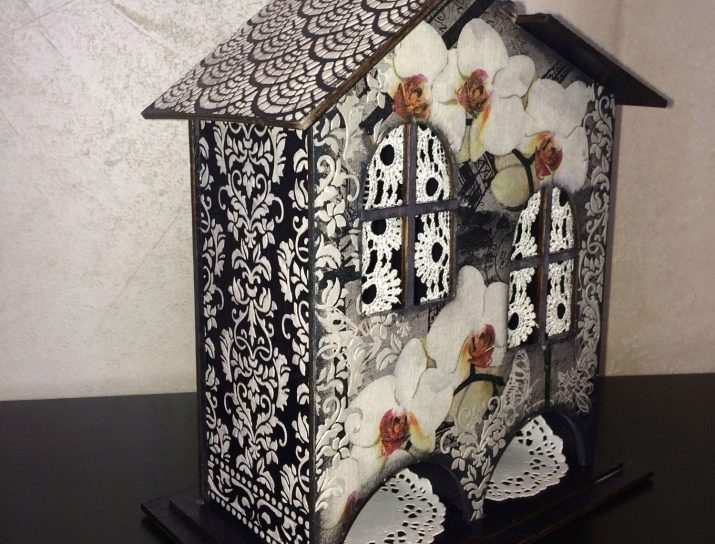
- The house is designed for two types of tea. To facilitate the work, you can purchase or make a stencil for lace.
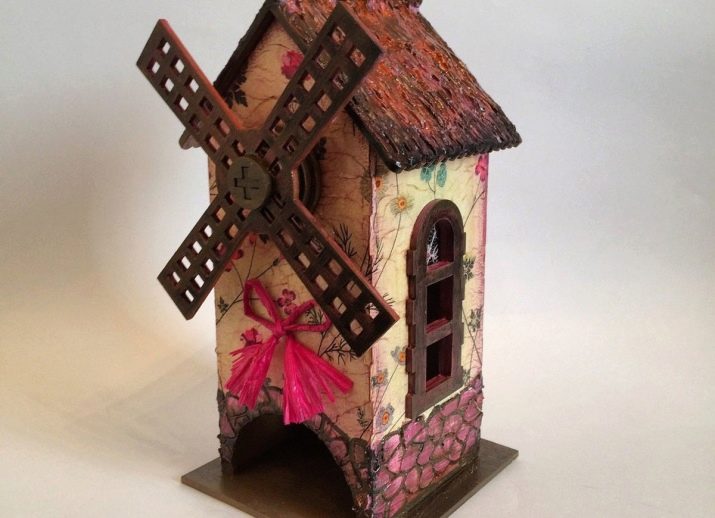
- The flower mill looks pretty interesting. A small detail in the form of a bow adds soul to the product.
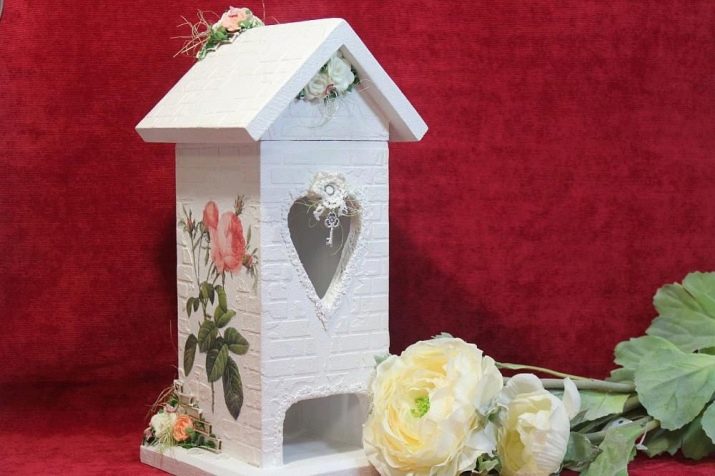
- Classic shabby chic captivates with simplicity and grace... Such a house will perfectly fit into a light interior.
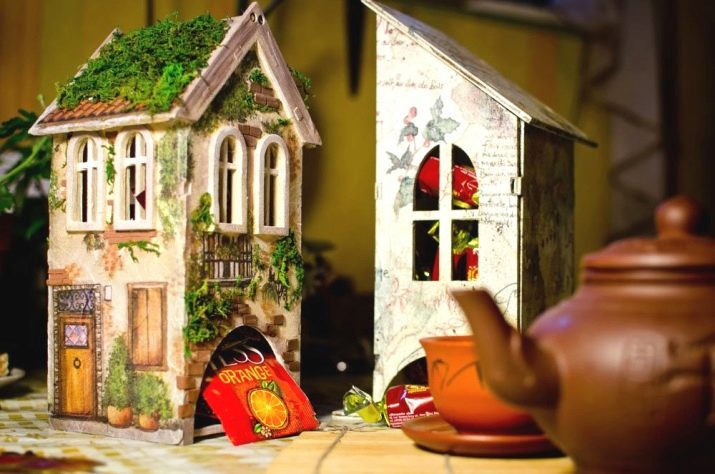
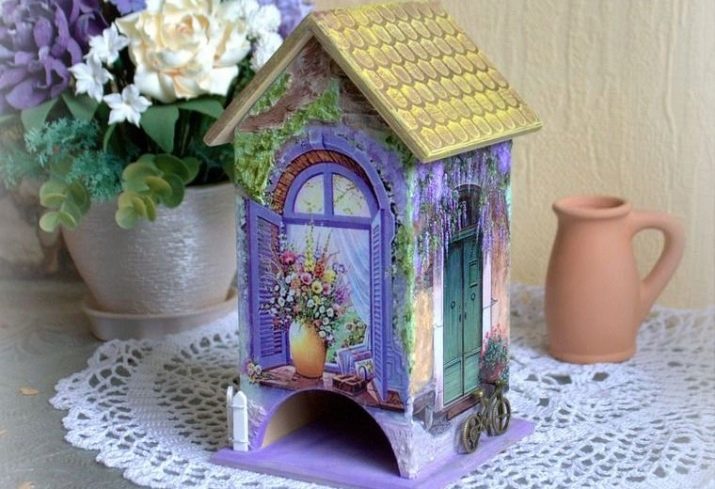
- A striking example of how a successful combination of drawings works wonders. The tea house resembles a hut.
- A tea house with a chocolate roof. One look at such a product evokes a feeling of warmth and comfort.

You can see how to make a decoupage of a tea house in the next video.


