Decoupage flower pots: selection of materials and step-by-step workshops
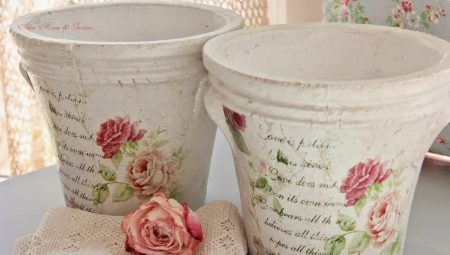
The exquisite French word "decoupage" describes the original technique of decorating objects with various patterns. Despite the French origin of the name of this decorative technique, Chinese masters stood at its origins, who in the 15th century learned how to skillfully decorate various objects with the help of beautiful paper images. Then this occupation spread throughout Europe in the 17th-18th centuries, where it became very popular.
So, let's take a closer look at how and where you can use this technique, as well as how to make decoupage flower pots with your own hands.
Features of technology
There are many options for using this art. Each housewife has more than one plant in a flower pot in her house. And so that it fits beautifully into the interior, you can apply the decoupage technique when decorating flower pots. This is a popular and interesting hobby among housewives, and also helps in giving new life to an old product.
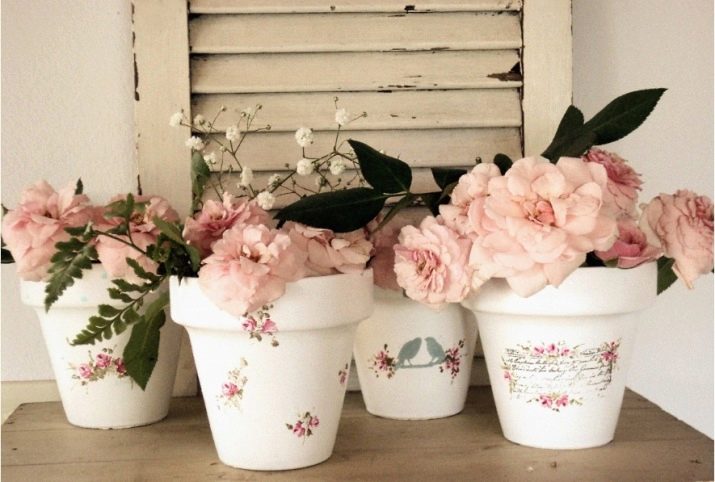
Since the necessary materials for decorating are available in almost every home, it remains only to choose the appropriate theme in the design of a flower pot. At the same time, both experienced and novice needlewomen can do such a simple job. And advice from professionals and a detailed master class will help you with this.
Instruments
To create a pot using this technique, you need to purchase all the materials and tools, you will need:
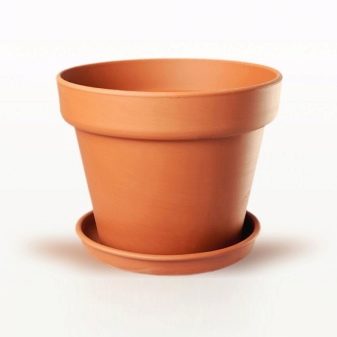
- flower pot (clay, plastic, ceramic) or any other;
- a suitable pattern or special decoupage napkin;
- decoupage cards;
- acrylic paints (white, as the main color, other shades are also used);
- brushes;
- sponge;
- scissors;
- PVA glue or a special option for decoupage;
- sandpaper;
- acrylic primer;
- dense file;
- decorative elements.
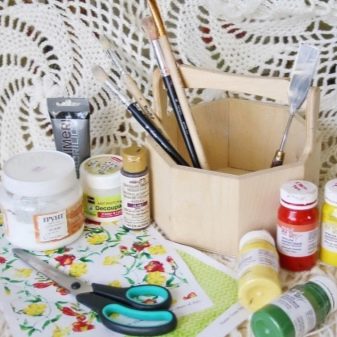
When all the necessary materials are purchased, let's proceed to the step-by-step decoupage of the pot. The creation of an updated product can take several days. It all depends, as a rule, on the drying of the materials and their quality.
Use only quality materials to avoid unpleasant situations.
Step-by-step instruction
Take a regular clay pot and wash it thoroughly using detergents. Let it dry outdoors. When the pot is dry, you first need to prepare the surface. For this, sandpaper is taken and the outside is processed. This will help smooth the structure for further paint application. Processing includes the pot itself and the pallet on which it stands.
It is best to do this outside the house, for example, on the street or on a balcony, using a protective mask, as there is a lot of dust during work.
The next step is to apply acrylic primer. This is done with a foam sponge (thin layer, tangentially). It is necessary to allow the acrylic to dry well for further action. Next, the color that you want to choose as the main one is applied. Focus on your taste and interior in the house. Do not forget that a special decoupage napkin of your choice will also be used. When choosing colors, this must be taken into account.
Accordingly, apply the main color with a sponge. You can simplify the task a little by using a small roller. Thanks to this application, the color is even more evenly applied to the surface. If you have any remaining paint, collect it in a small container and seal it tightly - you will still need it.
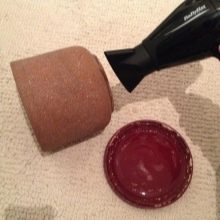
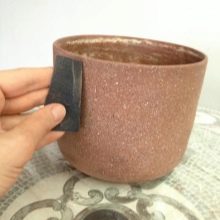
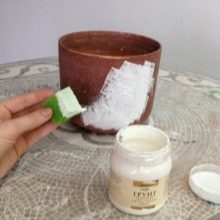
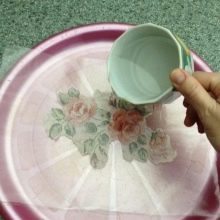
We take a special napkin and select the elements that you want to see on your pot. Cut out the details and detach the special layer on which the main drawing is. We take the tray, put the napkin on the file and fill it with water. Gently spread all the water over the surface with a brush. This is necessary for even application of the pattern without any creases and folds.
Then we very carefully remove and drain the water, making sure that the napkin remains on the surface of the file. We carefully transfer the drawing itself to the pot and pallet and press it tightly. We remove the file, and hold the resulting beauty with our fingers. We fix the new image with PVA glue. Let's let the blank dry. If the borders are noticeable from the resulting drawing, then we take the paint and also paint over with a sponge. The rest of the colors that have been chosen for further decoration of the product are mixed and applied.
The next step will be covering with several layers of acrylic varnish. It is important to thoroughly dry the layer of varnish you applied after each coat. It should be borne in mind that the more layers are applied, the more durable the product. For example, the average amount for a quality pot should be about 10.
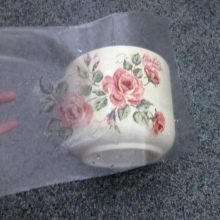
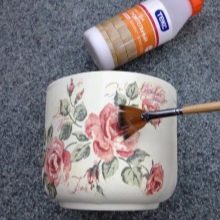
Decor application
There are also a large number of elements for decorating with various materials, which will further decorate and add brightness to the product. Use stones and beads. There are a lot of decorative ornaments on sale now. To secure them firmly, take the Moment glue.
Apply several techniques at once on one product. Take different patterns and mix boldly. This will enhance the originality and exclusivity of the final product.
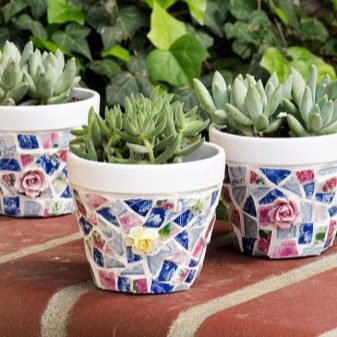
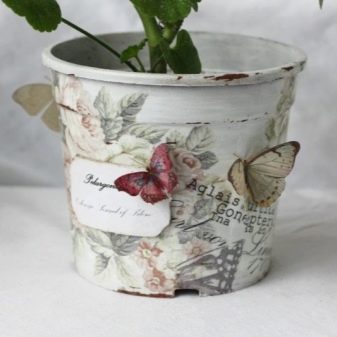
There are examples when housewives from an inconspicuous teapot created an outdoor pot using this technique and planted a flower in it. So, from an inconspicuous utensil, a bright accessory turned out. You just need to show a little imagination and sleight of hand. And, of course, study a master class, which will help to use new ideas in the future.
From an inconspicuous pot you will get a new, stylish, beautiful work of art that will cheer up everyone who sees it.This can be a great gift for lovers of home plants. As you know, the use of this technique can captivate, become an interesting hobby or even an additional income. So, try it - and you will succeed.
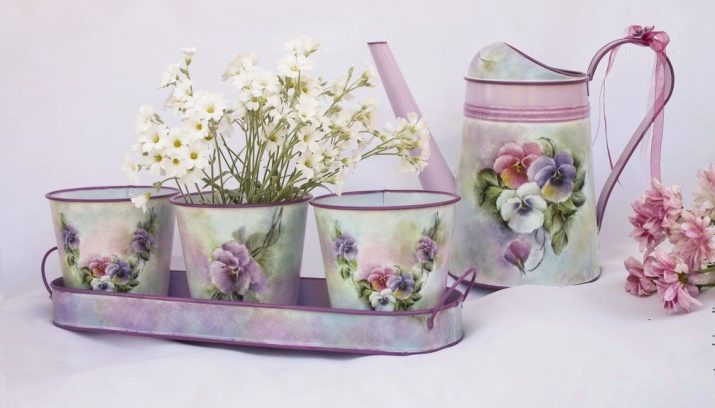
In conclusion, we offer you a video with a step-by-step master class on creating an incredibly beautiful decor in the "Provence" style.


