How to make craquelure in decoupage?
Handicraft has always been valued above factory work. No item off the shelf can replace hand-made art. For hundreds of years, craftswomen from different parts of the world have been creating small masterpieces using decoration methods and materials available to everyone.
Craquelure is one of the popular techniques - decorating products from various materials, popular among needlewomen all over the world. In our today's article, we will look at how to apply this decoration method in decoupage.
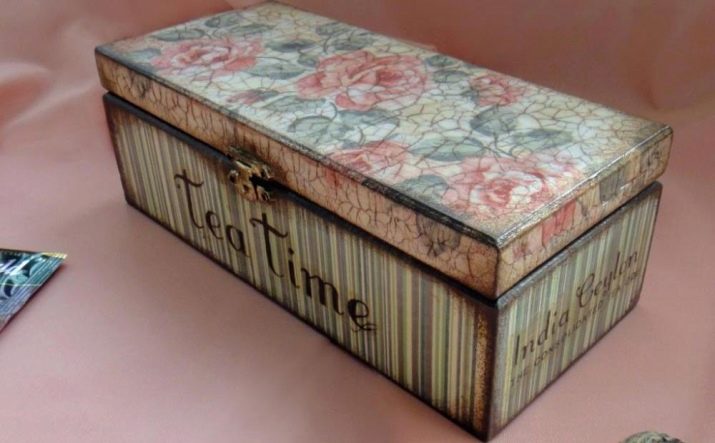
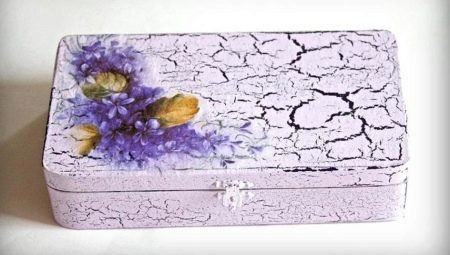
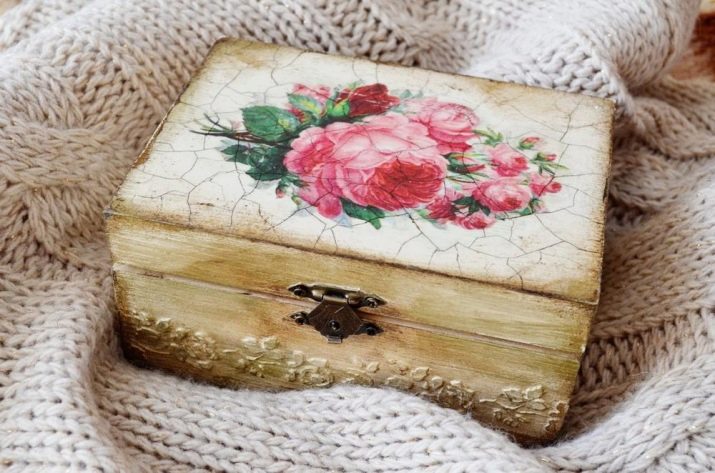
What is craquelure? From the French craquelure (crack) - artificial aging of the varnished coating of any objects (be it a vase or a regular box). As the name implies, using a special technique, small cracks and abrasions appear on the product, which create the effect of the so-called spider web of time, giving a unique charm to modern items, visually turning them into vintage ones.
Accessories in a modern retro style will harmoniously fit into interiors made in Provence or country style. Also, faux antiques will look great in a classic Victorian living room or room decorated in a romantic style.
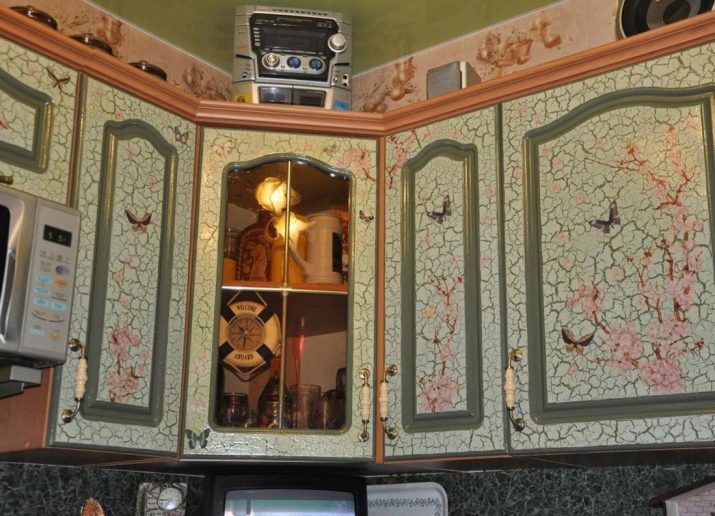
What items are usually decorated using the craquelure technique? Wooden products, boxes, tin trays, flower pots, glass wine bottles, mirror frames, decorative suitcases ... Any, at first glance, unnecessary item from the closet and attic can turn into a real work of art that will decorate your home. Use your imagination and get creative!
Craquelure methods in decoupage
Do not forget that there are different types of craquelure, with which you can achieve different effects on the finished product. With the help of these techniques for making craquelure, your masterpieces will not be alike, each of them will have its own "zest".
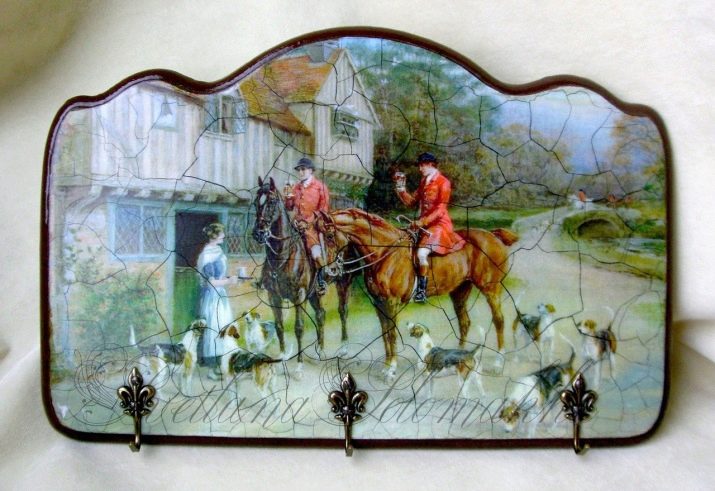
What are the types of artificial aging? Masters distinguish between two basic techniques.
One step (one component)
What makes this processing method different? Through the cracks in the upper paint layer, the upper paint layer of the product is visible.
The one-step method is easier to execute, does not require much time and is suitable for beginners in the world of hand-made art.
What is the process for making a single craquelure?
On the prepared surface, it is necessary to apply a coloring composition or, in our case, a decoupage drawing. It is imperative to prime and apply a special composition to the dried layer - a varnish for craquelure, which will crack, creating the effect of an eggshell.

Two-step (two-component)
The two-step craquelure method is distinguished by the fact that the resulting cracks are filled with an additional composition (for example, you can use silver or bronze dusting in the form of powder, implantation of pieces of gold leaf, as well as other suitable materials). This creates a special effect the thing will look elegant, due to the overflow of shades, you will want to consider it.
Double craquelure will require a little more time and painstaking work, but, believe me, the result is worth it!
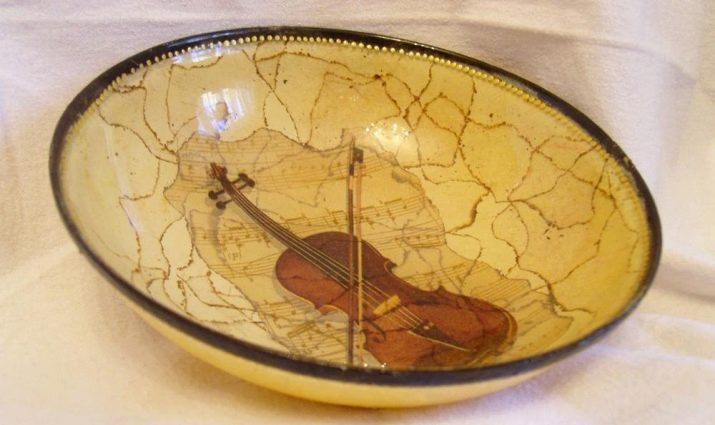
Which of the ways to choose is up to you.
Craquelure: technique for beginners
Let's consider step by step how to independently and effortlessly decorate an object using the craquelure technique.
What do we need?
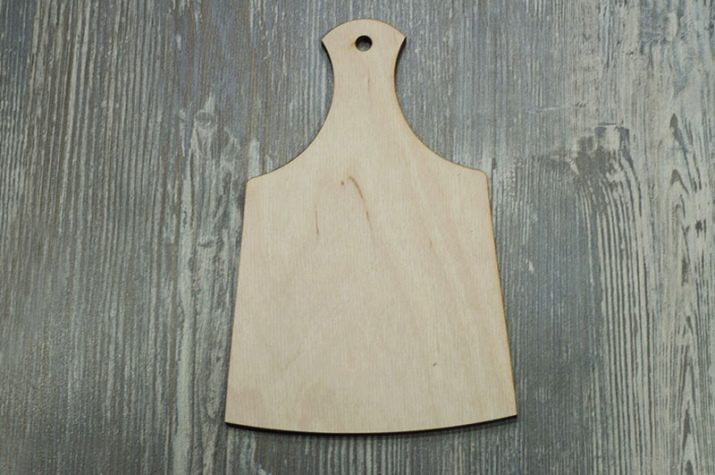
- Of course, the item itself, which we will decorate. They can be anything from an old grandmother's stool to a glass vase, the surface of which you have previously processed, direct or reverse decoupage.
- Craquelure varnish. Special formulations can be purchased in any department for creativity. There are a great many varieties and shades of varnish.
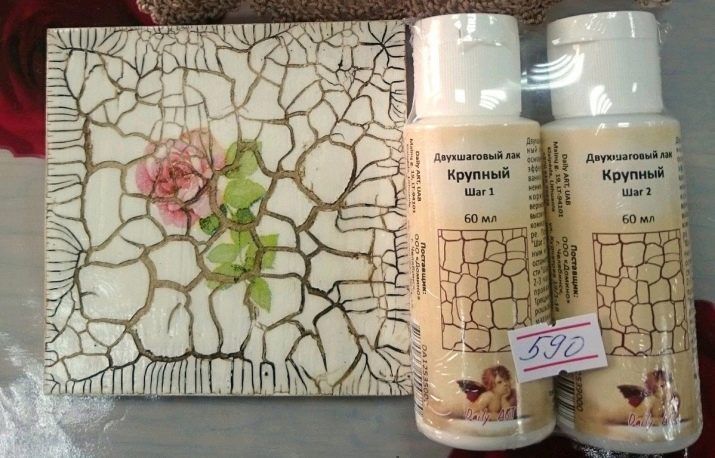
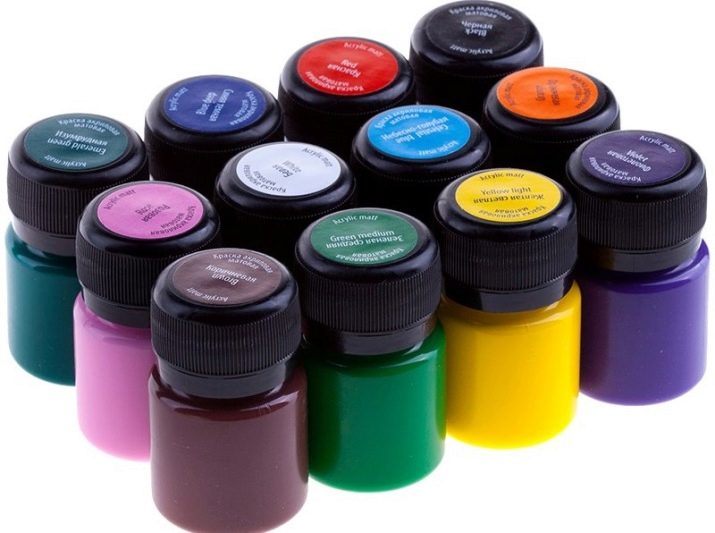
- Paint or powder the selected shade to fill the formed cracks.
You can choose neutral shades, or you can choose bright colors to create a contrasting effect on the subject.
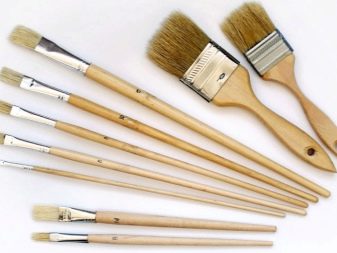
- High quality nylon brush. The size of the brush should be chosen depending on the size of the product that you plan to varnish. For ease of use, you always need to keep in stock small brush for processing hard-to-reach areas. The work will be painstaking, but much better and more complete. For large surfaces, you can use construction roller.

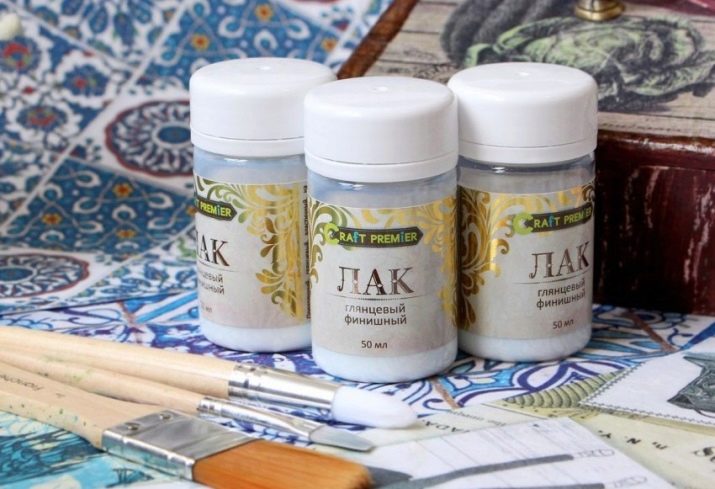
- Acrylic lacquer. It is desirable to apply it to protect the finished surface from further damage.
So, you can get started!
We choose the most beautiful item from your collection of decoupage craftsmanship - after all, craquelure looks especially impressive on decoupage, as well as on items covered with decorative plaster.
Having created a decorative piece in the decoupage style, you have done most of the work. All that remains is to add a few touches to your artwork.
This is quite simple to do.
- We take a brush and cover the item with a varnish for craquelure - perfectly even application is not particularly important, the main thing is that there are no noticeable sags and smudges on the surface. Let it dry for a few minutes.
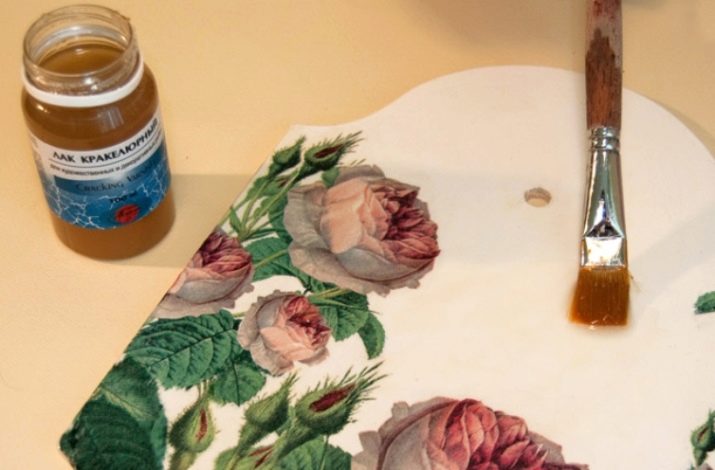
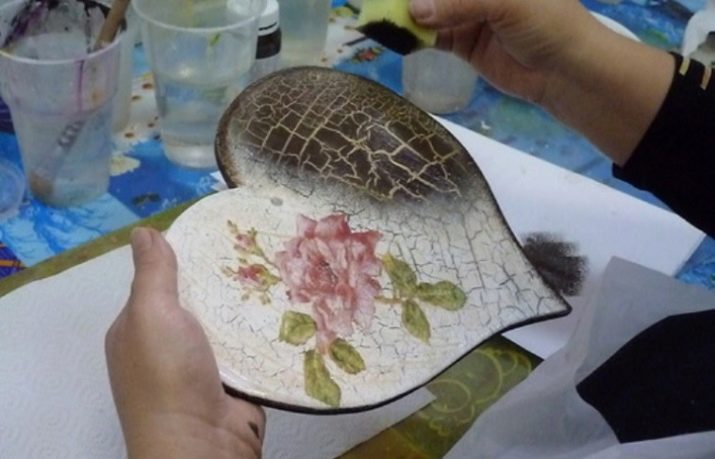
- Next comes the decorating stage, for which you can use, for example, acrylic paint. It should be applied to the varnish layer with a brush or foam sponge (using a sponge, you can create softer and smoother shades).
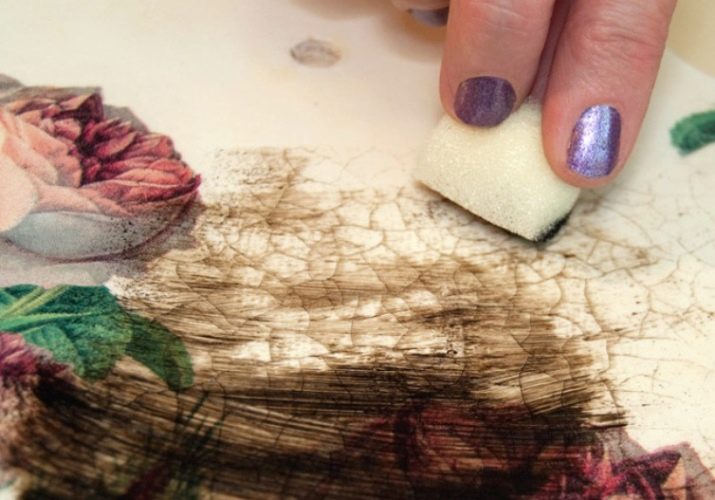
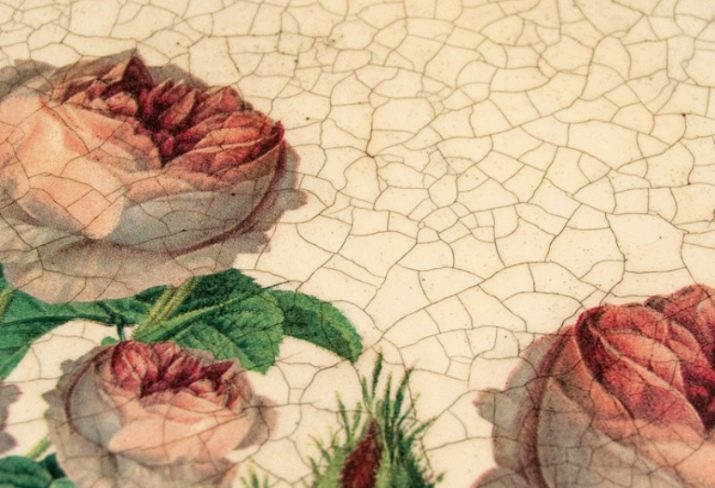
- After a while, characteristic cracks begin to form on the surface, which you can also decorate using gold leaf or yellowish varnish, which enhance the aging effect.
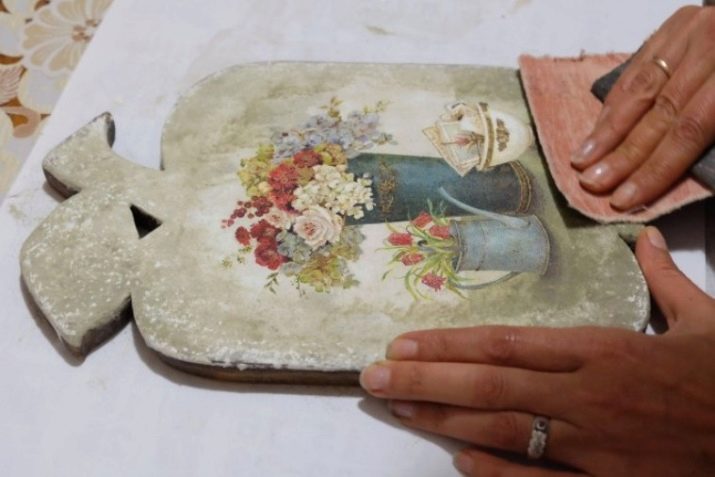
- If you notice irregularities or defects on the surface of the finished product, it's okay! Such minor flaws can be sanded or played with decor.
- After complete drying, we cover the item with a finishing layer of varnish, which will preserve your creativity for a long time. We gain patience, wait for the last layer to dry and enjoy the result of the work done!
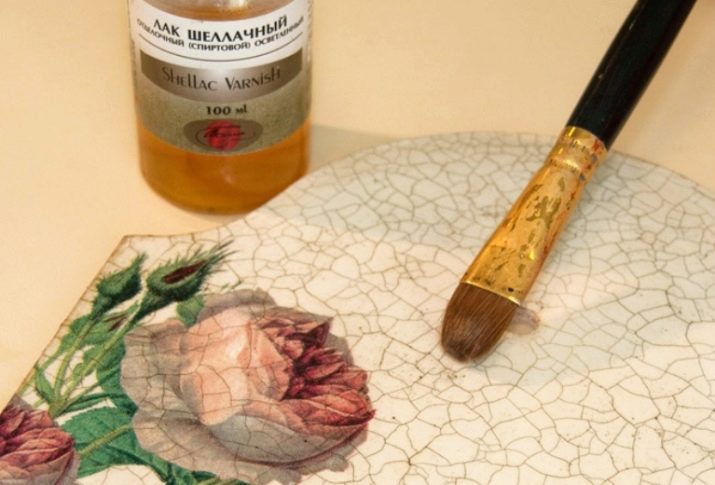
We hope our master class was useful to you: you learned how to use craquelure varnish and create many beautiful and unusual objects.
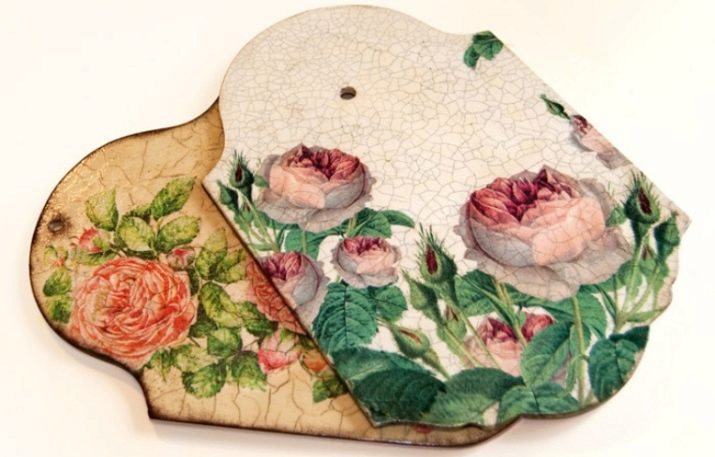
You can get acquainted with the technique of performing a two-step craquelure in decoupage in the next video.


