Housekeeper decoupage: step-by-step instructions and beautiful ideas

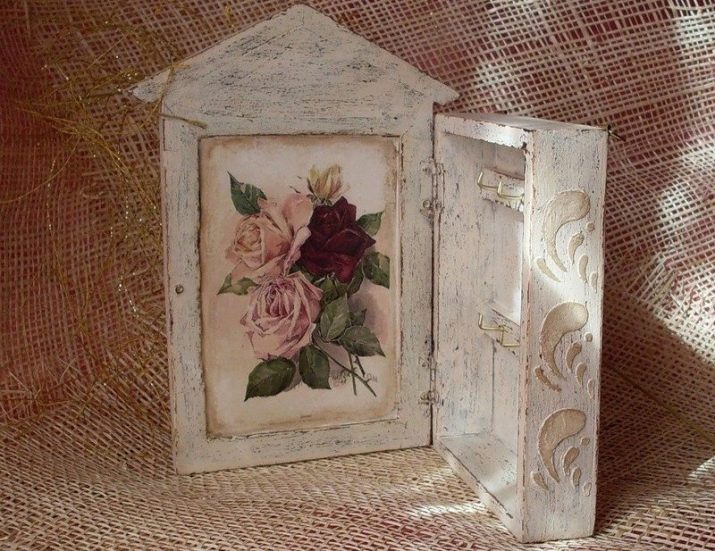
Decoupage of a wooden housekeeper in the hallway with their own hands can be done by almost everyone. The wall key holder with a door can be made in any style in accordance with the general interior orientation. Using the decoupage technique, you can arrange a blank or a ready-made key holder. This decoration option is suitable even for beginners; it is enough to carefully study the manufacturing master classes. We offer you a variety of ideas for decorating key holders of different shapes: a casket, a house, in different styles and colors.
Features and materials
Experts call decoupage wood the easiest to perform, so it is definitely suitable for those who are just taking their first steps in mastering the technique. First of all, you need to take care of the very foundation, that is, the housekeeper.
You can buy it ready-made at a handicraft store, or you can make it yourself using wooden dies and slats. If you do not possess such skills, then buy a product at a handicraft store or place an order with a master according to an individual pattern and size.
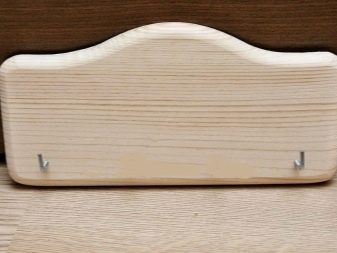
It is not necessary to buy a blank for a housekeeper, it is enough to purchase a wooden plate for painting and attach hooks to it.
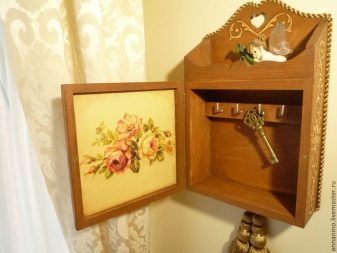
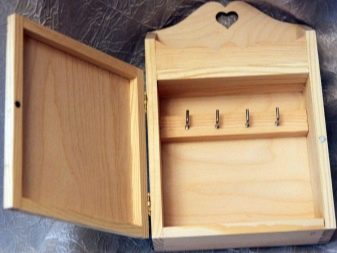
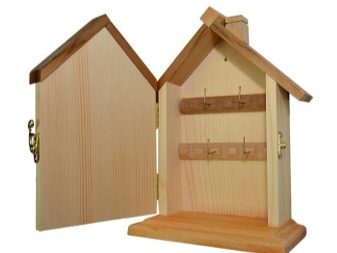
Most often, the housekeeper resembles a chessboard or a box with a door, which is fixed on the wall. There are hooks with keys inside the box.
You need to decorate the key holder from both the outside and the inside.
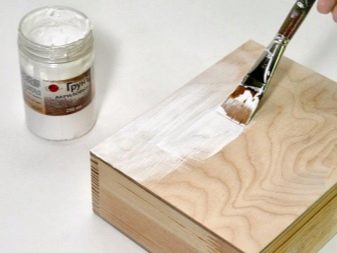
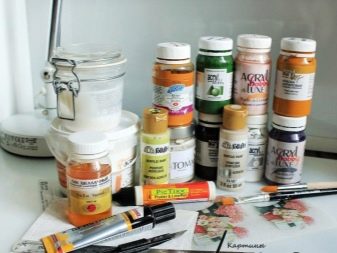
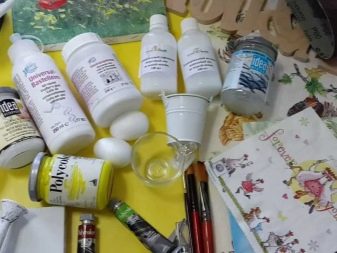
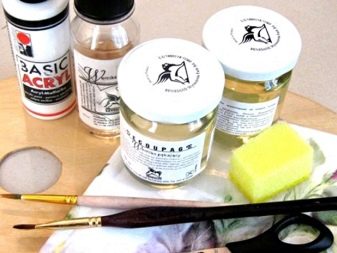
In addition to the workpiece, you need to take care of the primer, otherwise the napkins will shine through. In addition, the ground flattens the surface.Use special acrylic primer or titanium white.
When choosing the napkins themselves, it is necessary to take into account their varieties and certain features.
The price of three-layer napkins is low, but you can buy it in any supermarket, however, there is a minus - a small selection of plot pictures. Four-layer paper handkerchiefs are also quite a budget option, you can buy them anywhere, but the products are limited in design and possible motives.
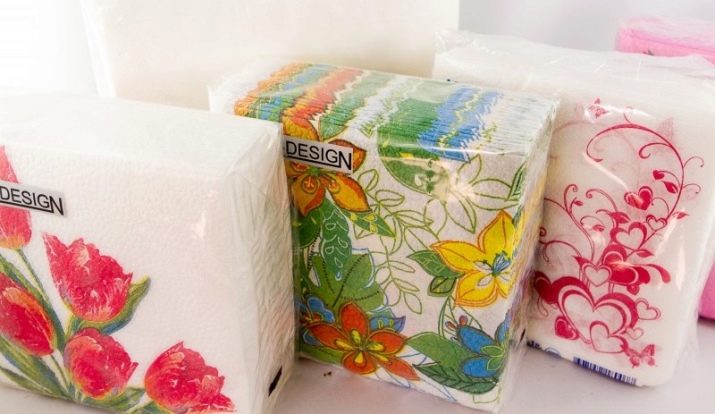
Special decoupage napkins, as a rule, three-layer, sold in different sizes, the price for them is slightly higher than standard. An obvious plus is the huge selection of subjects and colors.
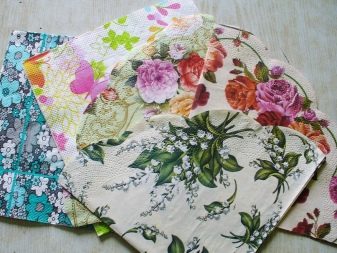
Can also be used decoupage cards, which are sold in creative stores and are denser material. They need to be soaked, they are sold per piece, the design is varied.
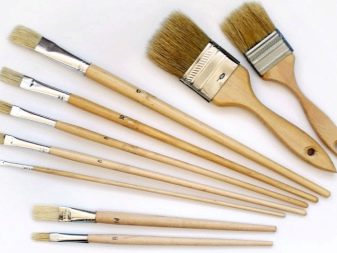
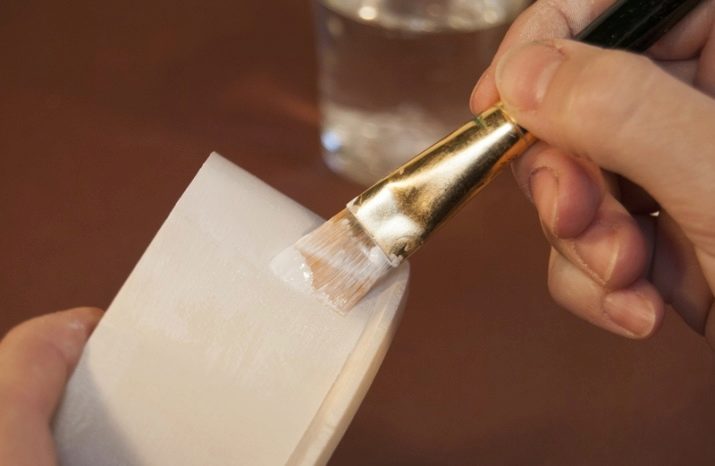
Stock up on brushes:
- synthetic wide, not less than 2 cm, medium hardness;
- fan-shaped, up to 3 cm;
- small brushes for drawing details.
Be sure to rinse the brushes, do not mix paints with them, and be sure to rinse while working.
The varnish is required for applying the finishing coats. It protects the product from external influences, glossy also gives a slight shine, but it is not suitable for every subject. Some styles require the use of matte lacquer.

Original ideas
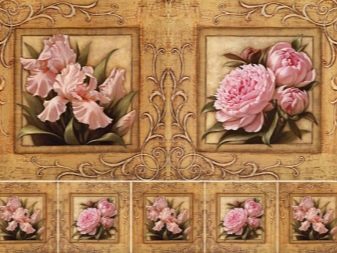
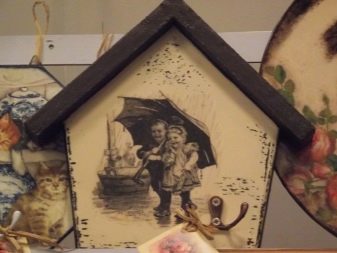
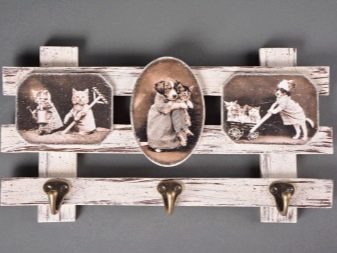
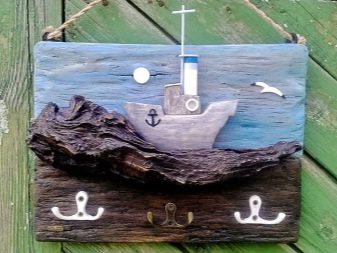
In addition to the most common style trends in decoupage (Provence, Victorian, Shabby chic, rustic, vintage), you can come up with unusual subjects for execution. For example, the key holder with the image of family photos stylized in retro will be unique. Plots with animals, birds, and floral motives are very popular.
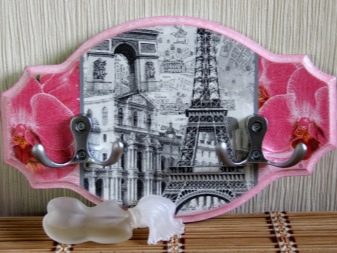
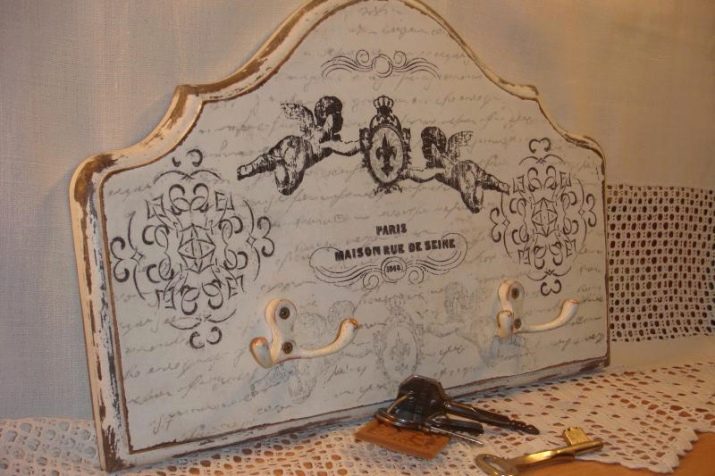
In addition, housekeepers with images of the most beautiful cities in the world look very unusual: Paris, New York, Rome, St. Petersburg. These can be just spectacular photos or drawings of megalopolises. Images of the sea coast, countryside views, flower fields, meadows, landscapes look great.
Recommendations of the masters
For a successful first experience, check out the tips of the professional decoupage:
- before starting work, think over the composition, create a preliminary diagram on paper;
- devote enough time to the preparatory stage, the more thoroughly you process the surface, the easier it is to work with it, the better the result;
- details should be clearly drawn against a monochromatic background, otherwise the ensemble will turn out to be indistinct;
- do not allow the intersection of small parts;
- small pattern and stripes are great for interior and side decoration;
- if you use decoupage cards, you need to soak them in water for about a minute, after cutting out the desired pattern;
- if you decide to glue the plot completely, with a canvas, then it should be quite expressive and beautiful;
- you can use printed old photos for decor, but choose not too thick paper;
- use a volumetric ornament that can be made with an adhesive stencil;
- remember that scuffs give a certain chic and originality, so pay special attention to them;
- you can summon scuffing by wiping off the paint from the protruding parts with a coarse sponge dipped in water, moderation is important here.
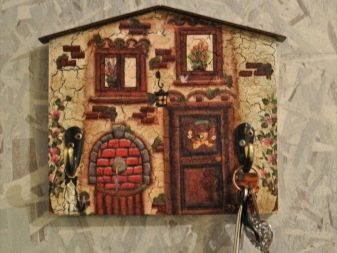
Rustic product
To make a key holder you will need:
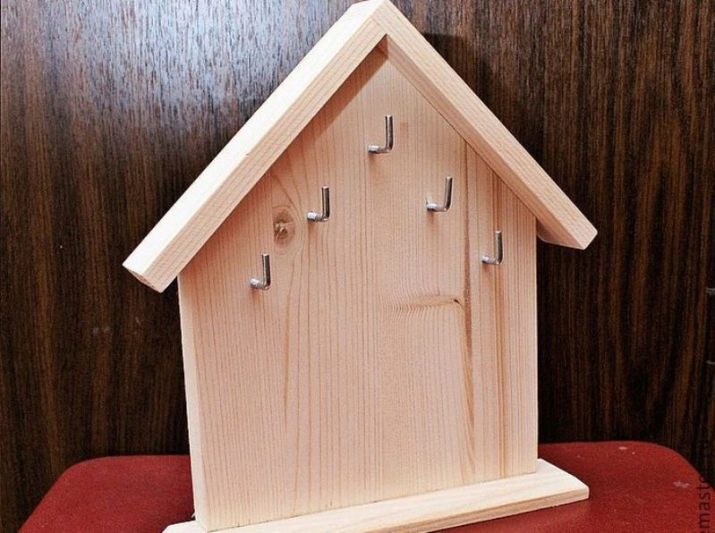
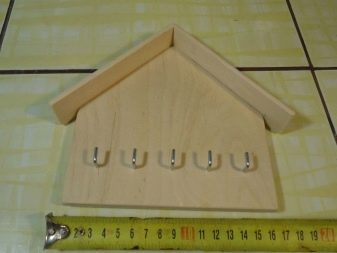
- plywood blank in the form of a house;
- paper napkins with large garden flowers;
- acrylic paint black and white;
- acrylic glue;
- foam sponge;
- scissors;
- utensils for paint and glue;
- brushes;
- sandpaper;
- polyethylene or oilcloth to protect the workplace.
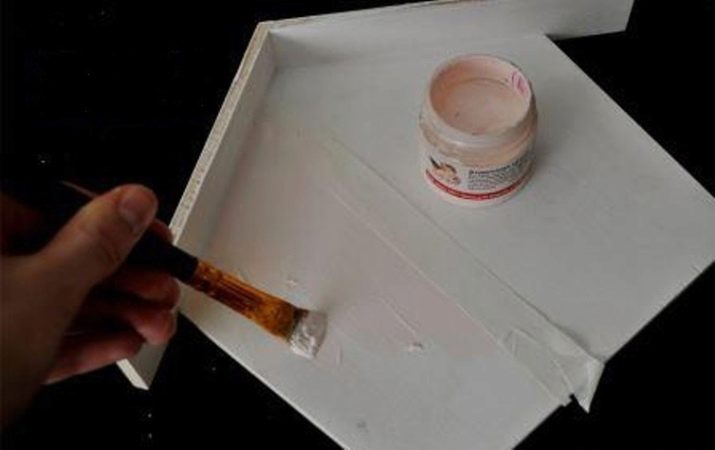
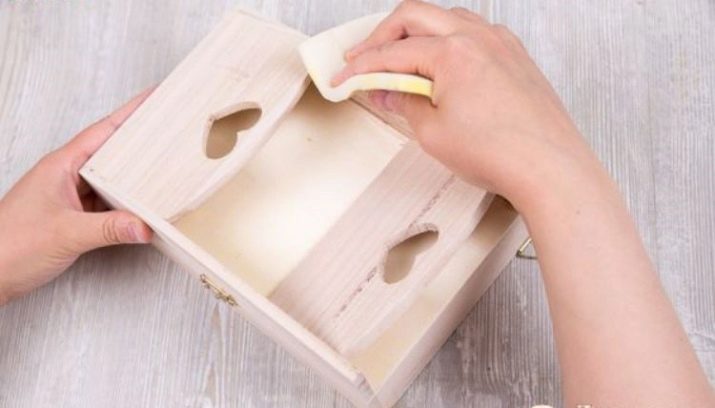
First of all, lay a work table and lay out a blank house, dip a sponge or sponge in a snow-white paint, blot the wood properly so that the surface becomes naturally uneven, bubbly.
Work the places that are inaccessible for the sponge with a brush.
Leave to dry completely, re-coat and wait until it is completely dry. This can take over 2 hours. Then check to see if a third layer is needed. If not, dilute 1: 1 PVA with water and paint over the surface.
Work algorithm:
- choose a motif on a napkin that you need and cut it out;
- go over it with an iron, separate the lower layers, leaving the upper one with the image;
- place the image in the most even way on the base in the chosen place, glue with a brush;
- apply glue from the center to the edges;
- fold and tear off edges that do not fit;
- glue the edges of the picture and leave to dry;
- after drying, it is necessary to varnish the product;
- Apply subsequent layers of varnish only after the previous ones have completely dried, in total they will need at least 5.
- After drying, paint the ribs of the key holder with black paint. Be sure to check for any roughness that needs to be sanded and varnished.
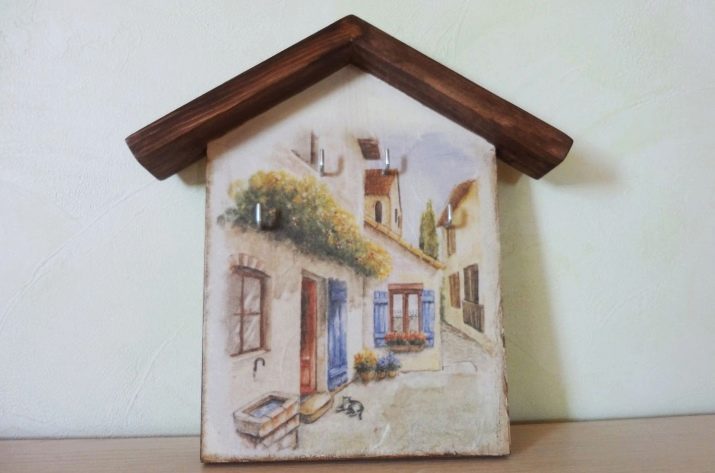
Provence style key holder
Here you need to prepare:
- housekeeper in any version, closed with a door or open;
- PVA glue;
- acrylic paints in the desired color, white is required;
- sponge or sponge;
- sandpaper;
- stain;
- brushes;
- varnish;
- napkins or decoupage cards.
This style is distinguished by: whitewashed wood, rustic themes, a lot of floristry in delicate pastel colors, the absence of bright, contrasting colors, simplicity and restraint. Dominated by white, milky, cream, blue, pale pink, lavender, mint tones. When choosing subjects for composition, consider the material in the appropriate color.
We prepare the housekeeper in this way:
- sand it;
- we apply glue to the entire surface;
- let it dry;
- cover with white paint with a sponge or sponge;
- dry.
After that, you can start decorating the product:
- apply glue and let it dry for 45 minutes;
- we define fragments of the composition, cut out pictures;
- we apply them to the workpiece and iron them with a heated iron through a paper sheet;
- we process the edges of the picture with a brush and glue as in the previous master class;
- let the product dry;
- in the same way we glue all the fragments and paint over the empty spaces;
- cover with stain;
- from the outside, cover the key holder with varnish, fix the hooks.
Vintage housekeeper: master class
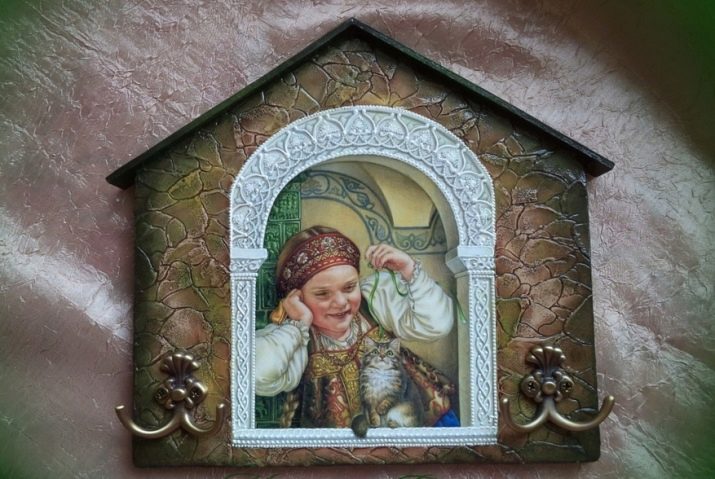
This is one of the most popular styles in which it is recommended to apply photographs, drawings of birds, animals, floral motives, children's stories. Prepare the following materials:
- base for a key holder made of wood;
- napkins or decoupage cards with the image you need;
- sandpaper, rather fine;
- acrylic-based varnish;
- the same paints;
- artistic bitumen;
- glue-based stencils or others;
- silicone or rubber stamp;
- sponges or sponges.
After that, start preparing the surface of the product:
- sand all sides of the workpiece as carefully as possible, it is important that the surface is free of chipping, scratches, roughness;
- varnish the entire product;
- we determine the plot motives and their places, cut out and put stencils on the base;
- we paint the key holder with white paint twice;
- we paint again.
Now you can proceed to the next stage, decorative:
- put the main element of the composition upside down on polyethylene;
- apply water and a little bit of varnish;
- put the film on the base, turning the varnish down, and remove it very carefully;
- we apply small drawings;
- after drying, we varnish;
- with a sponge or sponge, paint the places between the images, forming the background;
- we stamp the place for the hooks with a pattern;
- give the product time to dry to the end;
- then we varnish the entire surface from the outside and inside;
- edges and joints are treated with bitumen, after which another layer of varnish is applied;
- hooks are either matched to bronze or coated with a suitable coating.
With a similar design, you can use a monogram, mint paint looks very impressive.
You can get acquainted with the technology of decoupage of a housekeeper with your own hands in the next video.


