Features of one-step and two-step craquelure
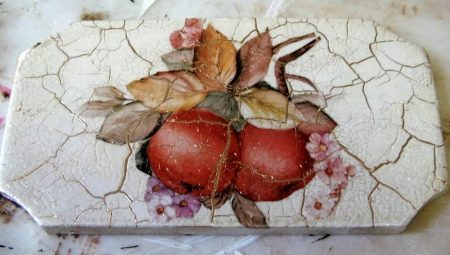
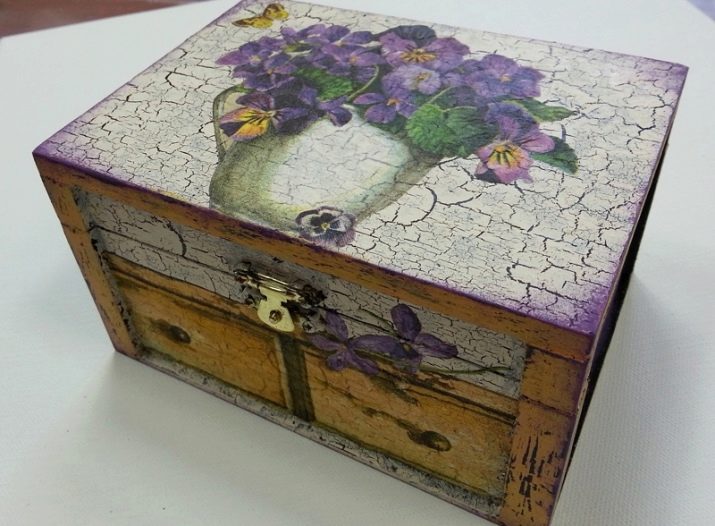
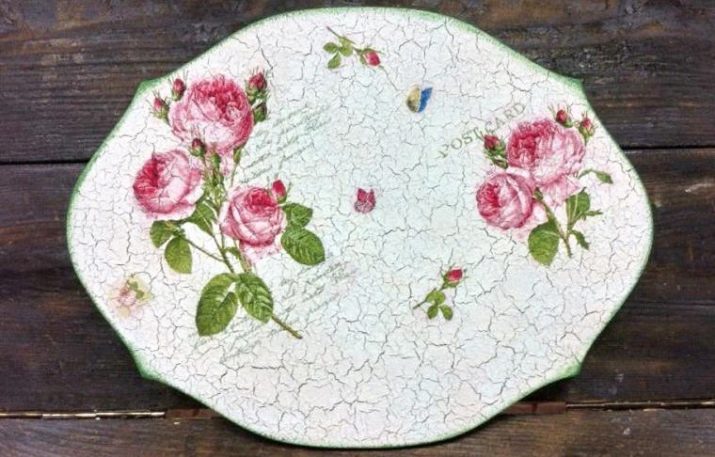
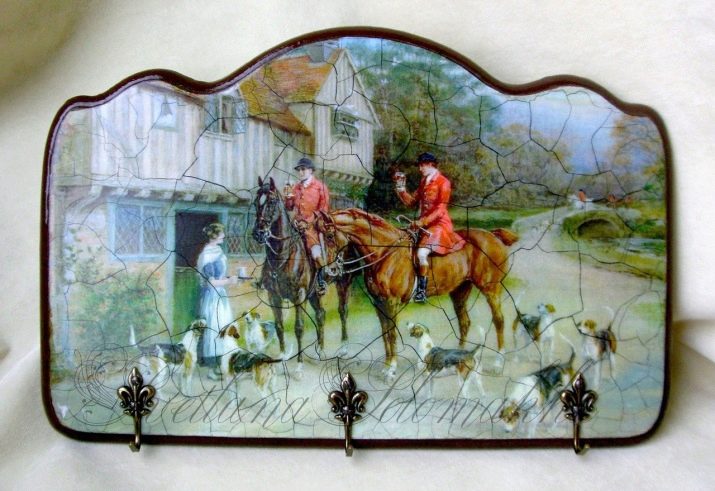
Craquelure is an artificial aging of the surface. It belongs to mixed techniques, that is, it can be used both in combination with other decoration methods, and independently. It is used to decorate furniture, create decorative interior items, ornaments, and so on. Mastering this technique is not as difficult as it seems - the main thing is to follow the instructions for use and know the features of the types of craquelure varnishes.
Varieties
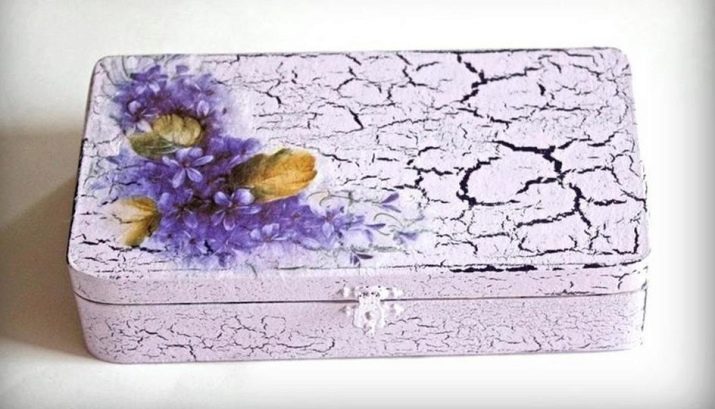
Modern manufacturers offer 2 types - one-step craquelure and two-step. The first one is well suited for beginners due to its ease of application. The surface treated with such a varnish resembles enamel cracked from time to time. A layer of acrylic paint is visible from under the surface of the varnish - the base.
Two-step craquelure varnish is more difficult to use, but it also gives a different effect - more beautiful, aesthetic, natural. Due to the fact that in this case the varnish itself cracks, it does not overlap the previous layer (for example, some kind of picture, image), and it can be used for finishing a variety of surfaces.
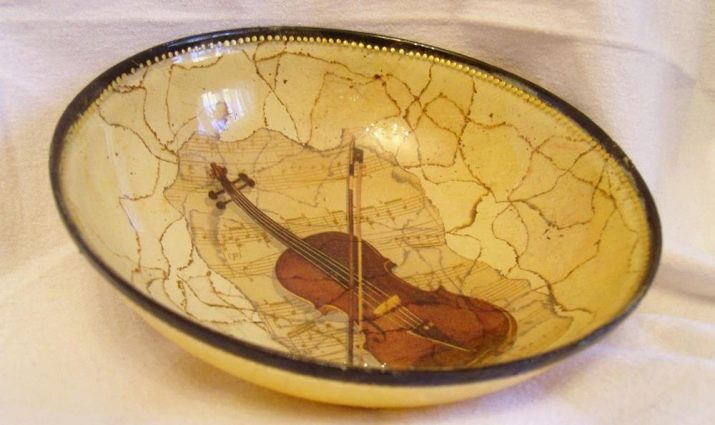
Both types are used in decoupage. It all depends on the degree of skill of the decorator, his ability to work with this material. Craquelure does not differ in increased complexity, but still requires certain skills.
In this case, the type of varnish does not play a particularly important role. Someone considers a two-step craquelure more difficult, for someone working with a one-step craquelure is difficult.
How to apply?
As with any other decorative means, working with craquelure requires adherence to certain rules regarding surface preparation and the sequence of application of layers. They are different for each type of varnish.
One step
So, in order to properly use a one-step craquelure, you must adhere to the desired sequence.
- Prime the surface to be decorated.
- After the primer is dry, apply a layer of acrylic paint (base).
- The painted surface is varnished (1 layer).
- Until the varnish is completely dry, apply a second coat of paint.
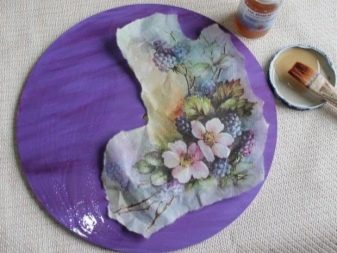
- On top, you can apply a napkin with the desired pattern. To do this, separate the two lower layers, the upper one with the picture - put on the file. Then grease with glue, apply to the surface, smooth. At the end, carefully remove the file so that the picture remains intact.
- The final step is to apply a simple varnish such as acrylic. It can be matte, glossy, transparent - whatever, depending on the preferences of the master.
If the sequence of using this type of craquelure is depicted in the form of a diagram, you will get a kind of "pie" - a primer, paint, varnish, paint, picture, acrylic varnish.

Two-step
Using the two-step view will take more time and effort.
- First of all, the surface to be decorated must be covered with shellac in 2-3 layers. Each subsequent layer is applied only after the previous one has dried.
- The next step is to apply the craquelure itself.
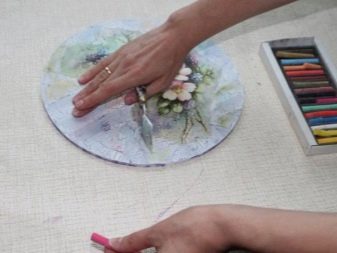
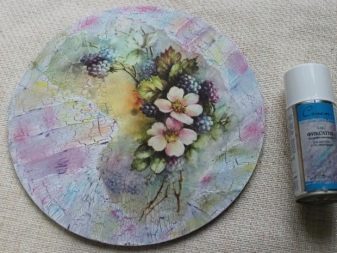
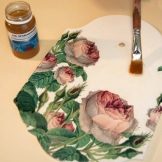
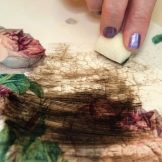
- As soon as the varnish is dry, the cracks need to be wiped off. For this, oil paint, pastels or something else are used.
- Next, the image is applied.
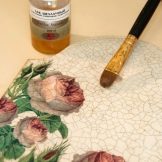
- Finally, the entire surface is covered with a layer of shellac to fix the result.
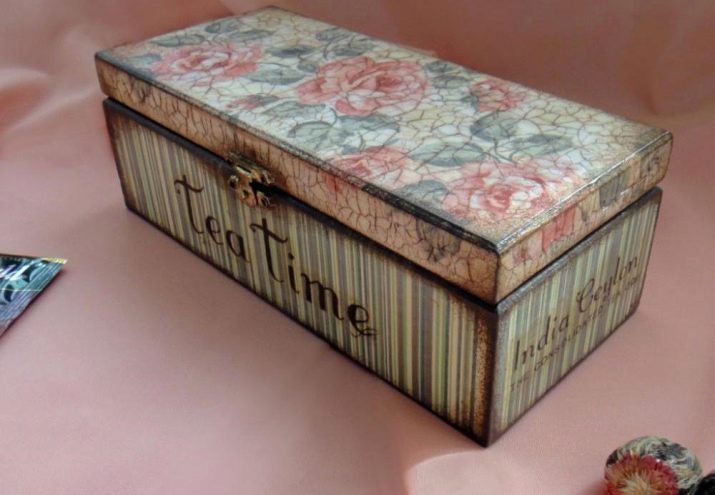
What is good about a two-step craquelure is that it can be applied to a previously prepared, glued image. It will create an antique effect without overlapping the picture itself.
In this case, it is necessary that the workpiece, on which the craquelure will be applied, be completely finished, with the applied and varnished (in several layers) pattern.

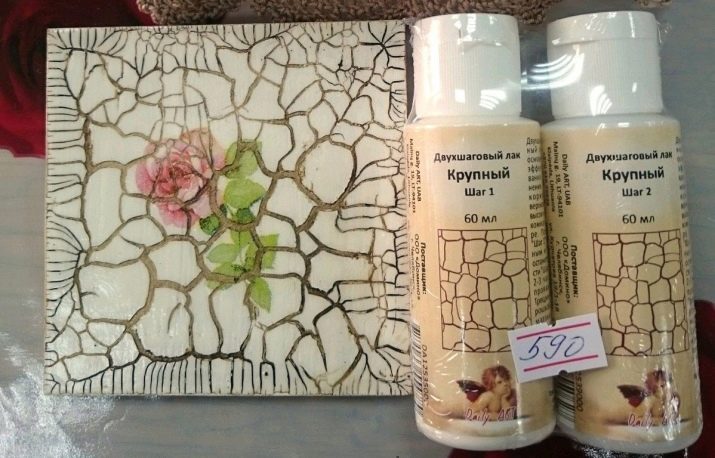
The set for two-phase craquelure includes 2 products - the first and the second layer. They are applied alternately.
But before proceeding with the application of the second composition, you need to dry the layer of the first agent a little.
After both compositions are dry and cracks appear, you can proceed to the next stages of work.
Application of paint also requires adherence to certain rules. It is not necessary to apply the paint 2 times on the same spot - an uneven coating may result.
In addition, it is important that the second layer of paint lies flat the first time, completely covering the first. This is necessary so that the result is a uniform, beautiful coating, without "bald spots" and mixing layers.
You also need to pay attention to the consistency of the paint - it should not be very liquid, but not thick either.
To make the cracks thin and long, the paint is applied in a thin layer with a brush. Small, scale-like cracks are produced by applying paint with a sponge. In general, a number of factors affect how exactly the varnish cracks:
- the actual composition of the craquelure;
- how thick the varnish is applied;
- how well it has dried;
- the thickness of the paint, the thickness and the application of the first coat also matter.
It is important to choose the right type of paint. Some of them - for example, metallic - do not crack at all. And in general, compositions with a very high density are quite difficult to "make" crack.
It is necessary to dry the product in natural conditions in rooms with low or medium humidity.
In addition, it is advisable to keep a kind of "diary" where the following indicators are recorded:
- how thick and in how many layers the first layer is applied;
- how long does it take to dry the varnish;
- in what conditions it passes;
- what kind of craquelure varnish was used;
- the result obtained.
These recordings will not only allow you to select the optimal composition of craquelure and working conditions, but will also help in the future to obtain the desired result - simply "playing" with the thickness of the layers, drying time and other characteristics.
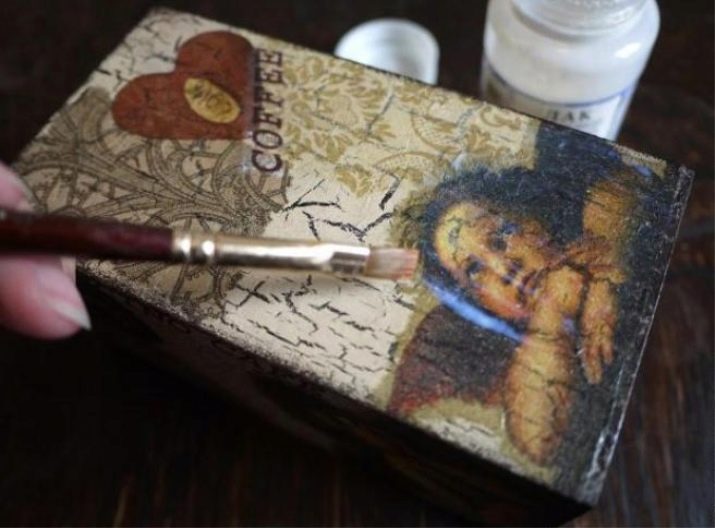
Master class for beginners
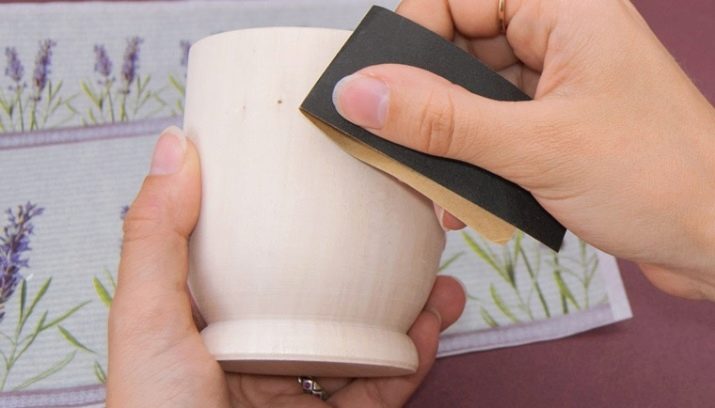
To better understand the principle of working with craquelure, you need to apply it in practice. A master class on creating a cup for brushes and pencils will help a lot with this. In addition to craquelure, decoupage on wood is used here - this is work in mixed media. It clearly shows how and in what sequence the craquelure varnish should be used.
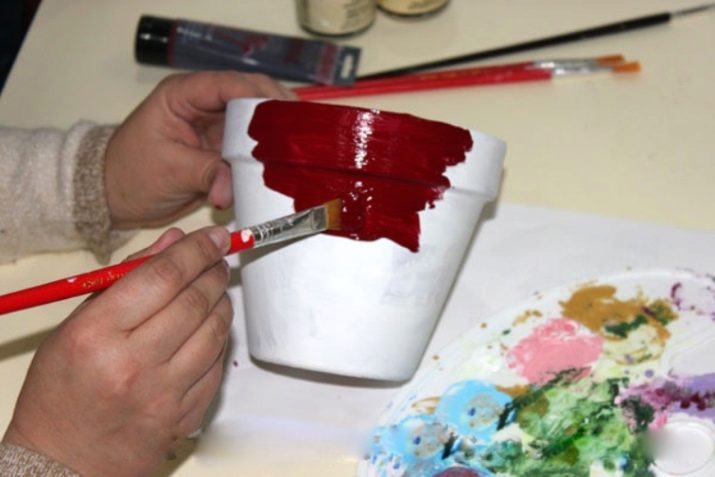
- So, first of all, the surface of the cup is sanded and primed in 1-2 layers. A flat synthetic brush is used when applying the primer. Each layer must be allowed to dry for half an hour.
- Next, acrylic paint is applied. Its color depends on what shade the cracks should be.
- The next step is to apply a one-step craquelure using a thick synthetic brush. The instructions for the composition will help to do everything correctly. The varnish should dry within 10-30 minutes.
How small the cracks will be will depend on the thickness of the varnish layer.

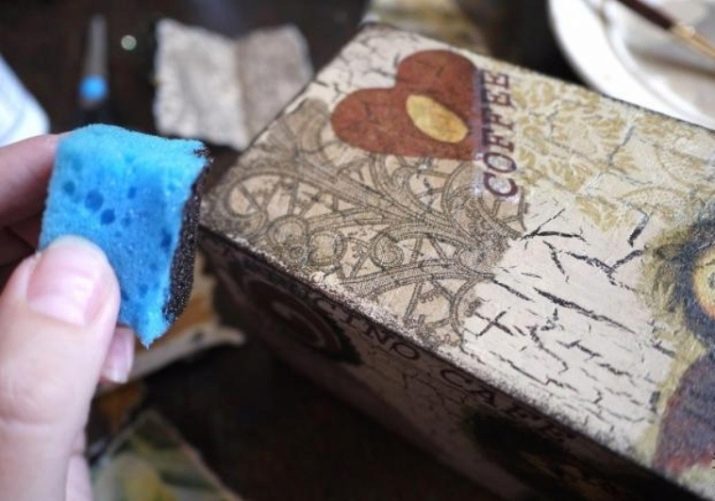
- Matt acrylic paint is applied to the varnish. Here you can use both a brush - then the cracks will have a more geometric shape, and a sponge - in this case, cracking will look more natural.
For the second layer, it is better to choose a paint from a foreign manufacturer - it has a higher density.

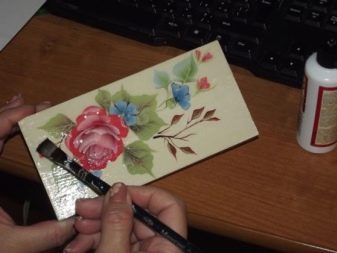
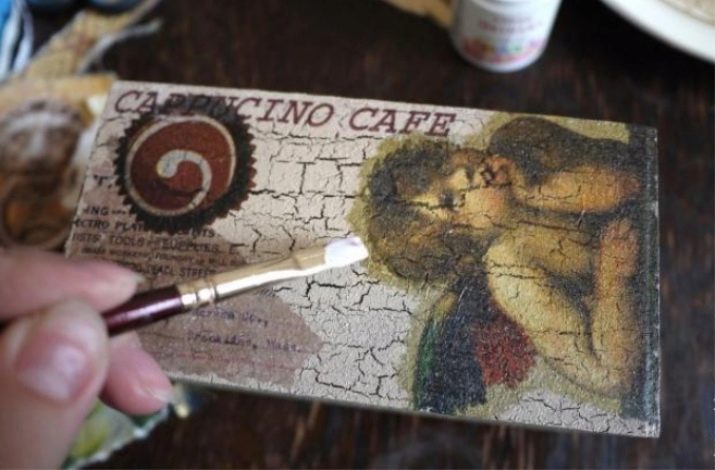
- As soon as the acrylic dries, you can start decoupage. Since the paint layer will serve as the background on which the picture is placed, it is better if its shade is light or, in general, white. This will make the drawing stand out more clearly.
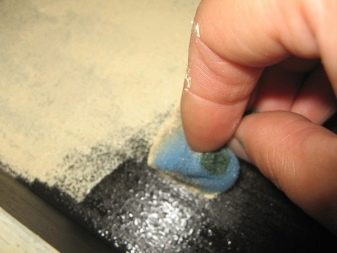
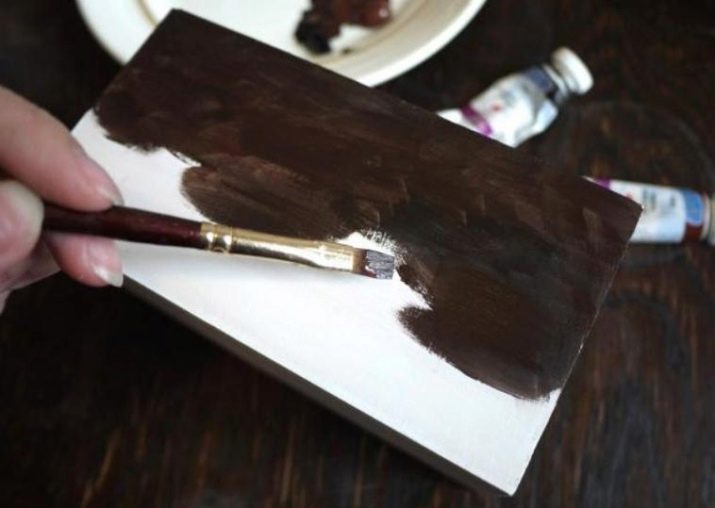
- The side edges of the cup are shaded with dark brown paint, which is applied with light movements using a sponge.
- The final stage will be the coating of the entire product with acrylic varnish.
The use of craquelure lacquer gives the product a touch of casual luxury that is inherent in all antiques. Of course, it requires a certain skill, but the result is worth it. There is no need to be afraid of this technique - you can master everything, the main thing is desire. It allows you to achieve excellent results with little investment of time and effort.
You can get acquainted with the technique of performing a two-step craquelure in the next video.


