Decoupage furniture: original ideas and decorating instructions
Do-it-yourself decoupage of old pieces of furniture is an excellent solution for those who want to create an unusual and expressive interior that emphasizes the bright individuality of the owners. You can decorate furniture in this way with your own hands, because there is nothing complicated here. Today we will analyze in detail how you can independently make decoupage of furniture and in what environments it will turn out to be a wonderful decoration.
What is decoupage?
Today people have many opportunities to decorate their homes beautifully. The choice of consumers is presented with a great variety of attractive decorative materials, various decorations and designer items. However, many owners prefer to give the interior a more interesting and original look, turning to the decoupage technique. Let's figure out in detail what it is.
So, decoupage is a popular and easy way to decorate old furniture or other household items. It uses available materials such as glue, paper, paints and a variety of decorative inserts. With similar elements, you can decorate a wooden structure with papier-mâché decorations, glass or rubber parts. There are a lot of options, it all depends on the imagination of the master who is engaged in the design of furniture.
It is only necessary to take into account that not all surfaces are designed for decoupage. Therefore, it is unlikely that it will be possible to arrange structures made from a material such as plastic. That is why it is important to carefully study the structure that you plan to process, as well as prepare it correctly.
Required materials and tools
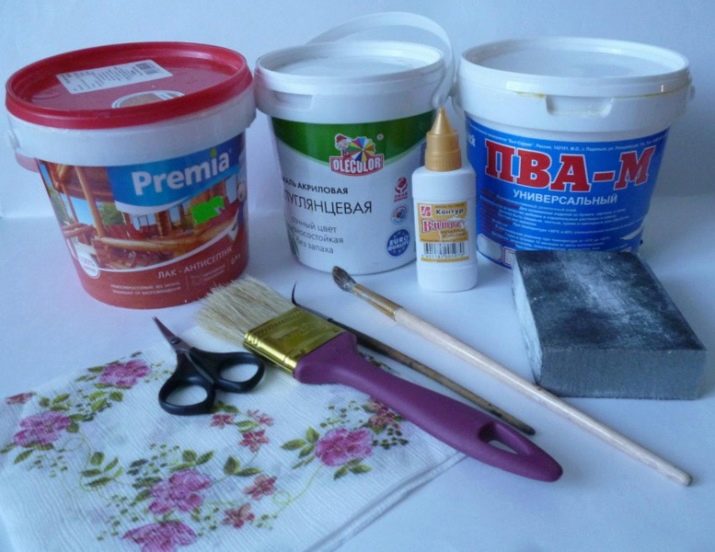
Decoupage of furniture is not as difficult as it might seem at first glance. In carrying out such events, it is very important to prepare all the necessary materials and tools. It is advisable to do this in advance - before the start of all work, so that you do not have to rush to look for the right thing, wasting extra time. It is recommended that you keep a few essential items in your arsenal.
- Small sharp scissors. In this case, it is permissible to use simple manicure scabbards or special tapestry tools. It is only important to make sure that the blade is short and rather sharp. Experienced craftsmen recommend using special teflon-coated scissors. These tools do not corrode. In addition, paint and other foreign materials will not stick to them.
- Scalpel or special knife with a rotating blade... These tools are indispensable when it comes to processing dense materials.
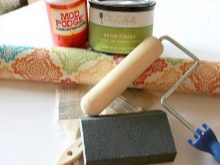
- Several types of brushes. You will need a brush for laying the adhesive, varnish. It is advisable to use synthetic options that have different thicknesses. Sometimes foam sponges are used.
- Primer. It will be needed to prepare the surface. It is permissible to use PVA glue or putty with acrylic.
- Glue... This product must be carefully selected. The glue should be special - for decoupage (for dense applications), PVA, wallpaper, paste, egg white, acrylic-based varnish.
- Background paints. Most often acrylic paints, pastels or various pigments are used here.
- Roller. This tool is indispensable when it comes to smoothing the selected picture applied to the furniture.
As for materials for decoupage, then you will need several positions.
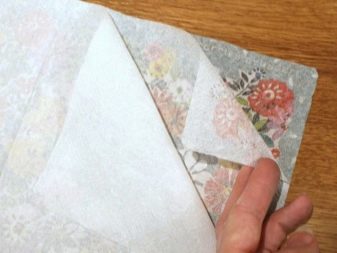
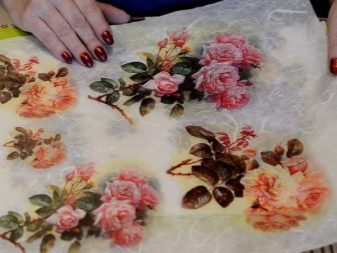
- Napkins... All available material, which is recommended for beginners to use. You can find special copies in stores, or you can buy ordinary sets of four-layer napkins with attractive pictures and drawings.
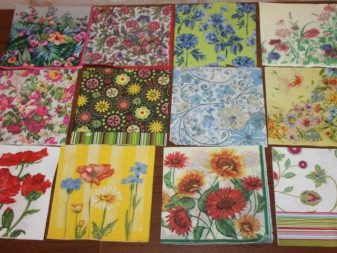
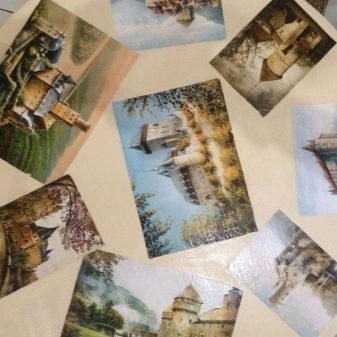
- Decoupage cards... These components can be found in stores. They are multi-sized drawings arranged in sets on a specific topic.
Since these elements are designed exclusively for decoupage, the materials from which they are made fully meet all the requirements of the mentioned technique - they are elastic, they cannot be torn just like that, and upon contact with water, their shape remains the same.
- Mulberry, rice or banana paper. These are special fibrous materials that are usually used to effectively decorate transparent surfaces. Such paper is not cut with scissors - the drawings must be torn off very carefully and carefully by hand. Due to the characteristic texture, these materials do not strain and perfectly copy all the outlines of the base. Working with mulberry, rice or banana paper is simple and convenient.

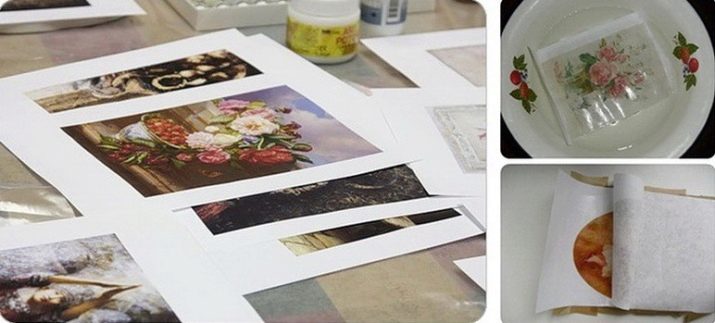
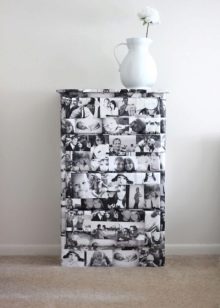
- Printouts. If you want to form a truly unique and original interior detail, then you can use this material. For this purpose, the prints you like are printed on the printer. You can use cheap paper or even tracing paper - these options will absorb the coloring pigment.
For decoupage furniture designs, it is also permissible to select attractive wallpapers with various prints and pictures, fabric (for example, tulle), lace, various stickers. If you have chosen a similar furniture design technique, then you can use a huge amount of materials. Much in the choice of the necessary components depends on your wishes and preferences.
Style selection
Before you start decorating furniture in your home, you need to figure out what styles decoupage can be made in.
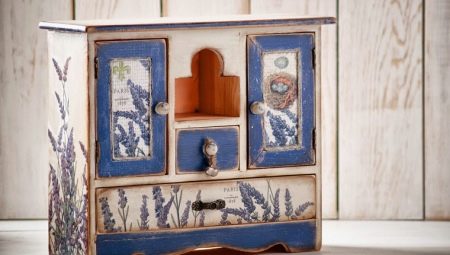
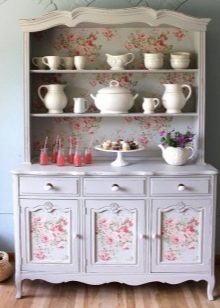
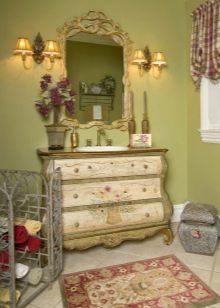
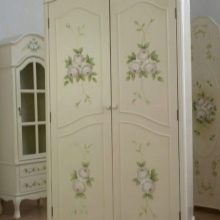
- Provence. This charming stylistic trend came from France.A characteristic feature of Provence is bleached backgrounds and drawings / patterns / prints made in pastel colors. Very often, masters decorate such compositions with original craquelure. Floral prints are also useful.
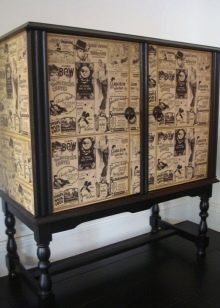
- Simple City. It will be possible to achieve a design in this interesting style if you use the deco-patch technique. In this case, newspaper clippings with torn edges are used. Old photographs will do, too.
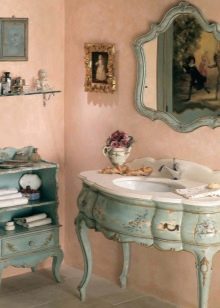
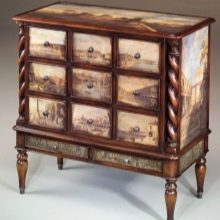
- French vintage. The main feature of this spectacular style is the design using two main colors.
Decoupage in this style looks especially attractive on old chests of drawers, countertops and other similar objects.
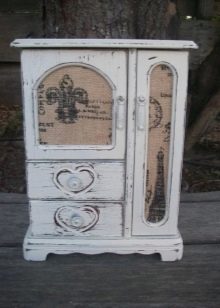
- Shabby chic. This is another eerily popular style that emphasizes the bright individuality of the owners of the home. Decoupage, done in this direction, makes the surface of a particular object very much like an antique. There may be slightly blurry lines, scuffed edges.
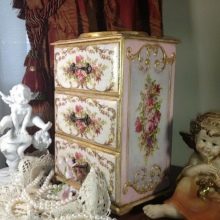
- Victorianism. This is a luxurious style that is difficult to confuse with other styles. To decorate furniture in this way, you need to have certain skills and experience. The main distinguishing features of this style: a combination of golden, blue, green colors. Decoupage topics can be as follows: still life, hunting, flower bouquets, animals.
General operating principles
Furniture can be decorated using the decoupage technique with your own hands. In most cases, such processing is performed without unnecessary problems. Of course, a lot depends on the actions of the master himself. It is very important to follow the instructions and correctly prepare the product.
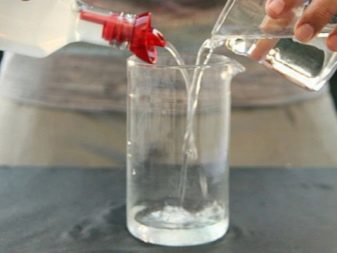
- If you plan to design a structure made of glass, then first you need to properly degrease it. To this end, the glass will need to be washed, dried, and then wiped with a lint-free cloth. After that, a degreasing dishwashing detergent is applied to the glass, but without coloring components.
- If tin surfaces are formed, then they will need to be treated with a composition based on water and vinegar. These components will need to be diluted in a ratio of 1 to 1. After rinsing in acetic water, the tin surface is treated with a metal brush. After removing all the stains, brush the layer on top with a brush.
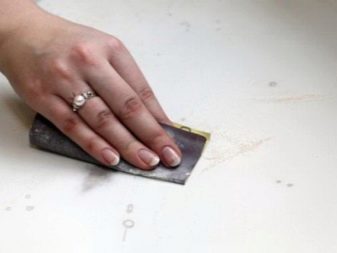
- If you plan to work with wood or laminated chipboard, then these materials will need to be sanded using sandpaper (fine-grained).
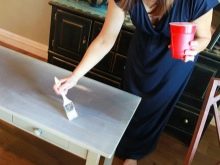
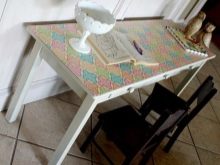
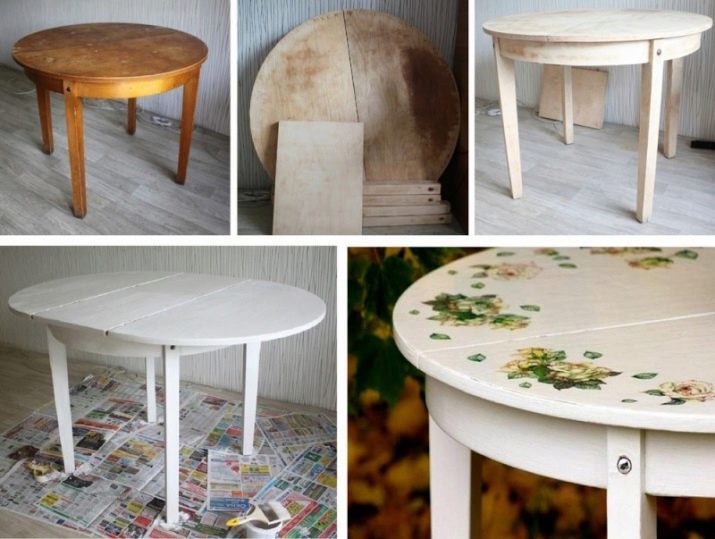
Further restoration can take place using any materials. For example, many people give an original look to old furniture designs using wallpaper. Let's take a look at the general principles of furniture processing using a table as an example. This process looks like this:
- first, the furniture is prepared depending on the material from which it is made;
- the table needs to be washed, repaired, and existing defects removed;
- then all surfaces are treated with a primer mixture;
- the table must be sanded, especially carefully working on the edges;
- then the furniture must be covered with gray graphite paint;
- boxes are measured on the side of the facades;
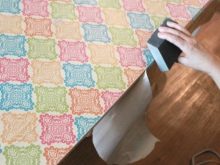
- then rectangular pieces of wallpaper are cut in accordance with the measurements taken;
- when the finish dries up, the facades must be coated with varnish on top.


Decorating workshops
With your own hands, you can make decoupage of a wide variety of pieces of furniture. It can be not only a table, but also an old chest of drawers, a curbstone, a bookcase, kitchen constructions and many other objects. Consider step by step several master classes on self-processing furniture. These instructions can be very helpful for beginners.
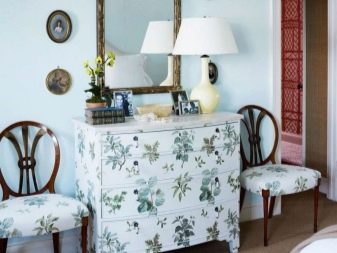
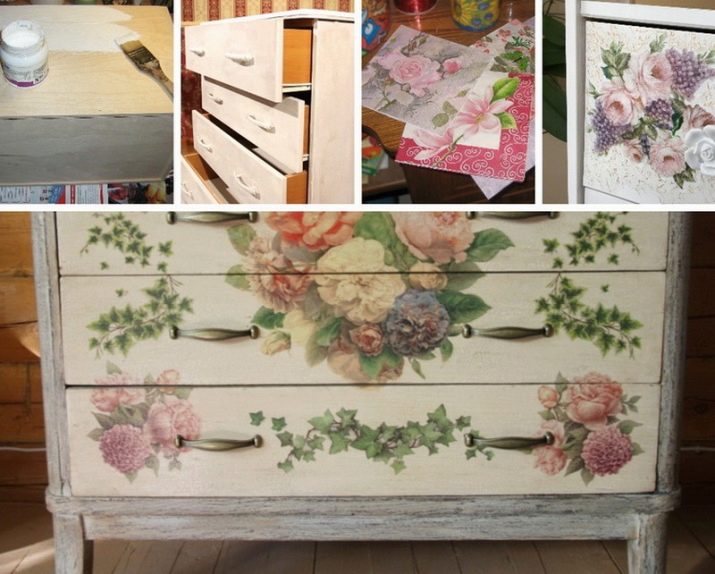
Old chest of drawers can be effectively decorated in the popular shabby chic style. Usually this technique is used when it comes to polished bases. The latter are often sanded to remove the glossy finish. The decorating process will include the following steps:
- prepare the chest of drawers for further processing - as mentioned above, remove the polished finish, remove all dust, prime the chest of drawers or paint with acrylic paint;
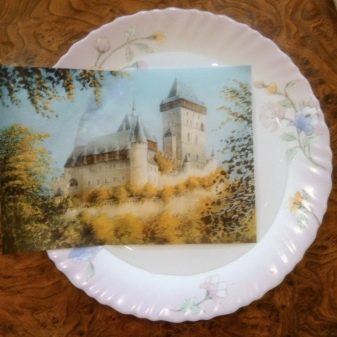
- prepare your favorite pictures for pasting furniture;
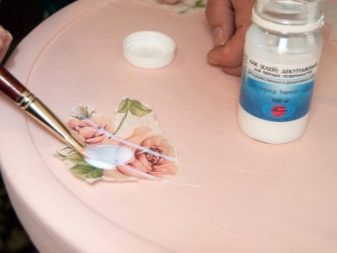
- coat the pictures with glue and attach to the prepared surface of the chest of drawers;
- now dilute the adhesive in water in a 2: 3 ratio;
- smear the edges with white acrylic, while the drawing should gradually "flow" into the background color;
- varnish the entire chest of drawers in several layers.
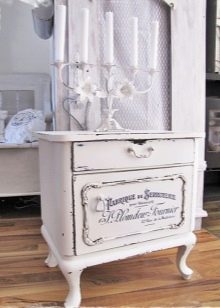
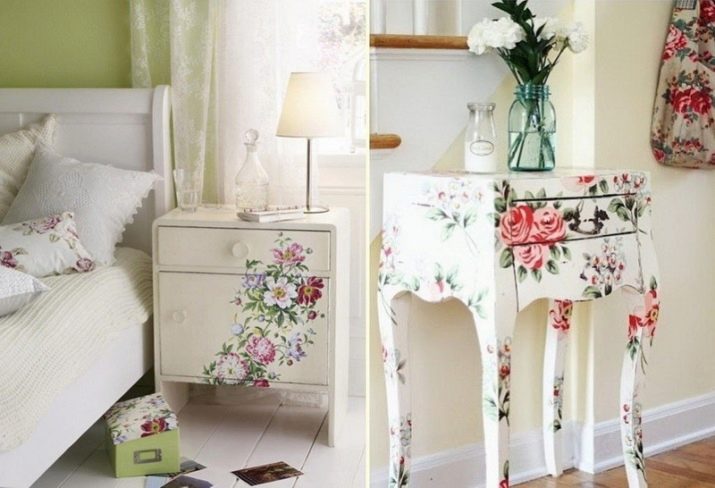
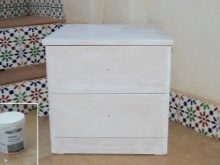
It can become very beautiful and original nightstandupdated using decoupage technique. We will analyze in stages how to act in order to achieve a good result.
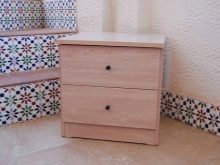
- First, prepare the cabinet for decoration. Wash it thoroughly, sand it, remove all accumulated dust, and then let the material dry. Paint your nightstand with white acrylic paint.
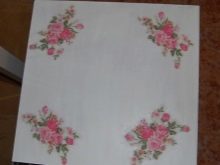
- When the furniture is dry, paint over it and then start decorating. You need to prepare napkins with a pattern that you like. Together with napkins you will need: glue, varnish, brushes.
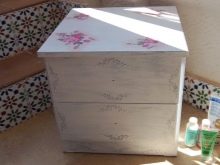
- Decorate the recesses of the furniture with decoupage. Prints can overlap with other shades of the surrounding interior.
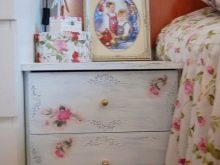
- Now you need to remove the top layer of napkins with flowers. Mark out your bedside table. Interior spaces and drawers can be made richer and more colorful by painting them with paint of your favorite color.
- The attached napkins should dry within 24 hours.

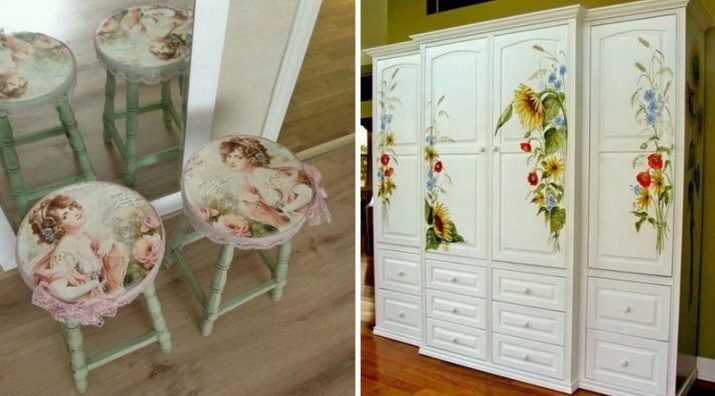
Decoupage technique can be applied regarding stools... If everything is done correctly, the result can be very beautiful and effective designs. Let's analyze a master class on the processing of such furniture. You need to follow these steps:
- first remove the stool from the legs;
- sand the stool with sandpaper;
- thoroughly wipe the surface of the stool with a rag dipped in acetone to degrease the surface of the furniture and remove all dust deposits that have formed due to sanding;
- prime the stool surface with special acrylic paint and a brush, apply layers evenly, it is permissible to apply up to 3-4 layers, use white;
- sand the already painted base again with sandpaper;
- choose a napkin of the ideal size, lay it on the seat of the stool as it will stick further;
- cover the napkin with varnish, thoroughly coat the corners and edges, smooth out all uneven elements on the surface of the napkin with varnish;
- with a piece of clean sandpaper, remove excess napkin elements that fall off the edge of the stool;
- dry the varnish layer well;
- when the varnish dries, the surface must be sanded again;
- to decorate the sides of the structure, you will need brown gouache and a little varnish; they are combined with each other in small volumes;
- the resulting composition will need to be driven into the sides with a brush; you should act with an almost dry brush;
- process the stool with a second layer of varnish and dry everything.

You can simply and quickly update an old coffee table. Let's take a step by step how to do this.
- Prepare the furniture for processing. If it is made of plastic, degrease, if it is made of wood, disassemble and process with a fine-grained emery sheet.
- Apply a primer to the prepared base. When it is completely dry, apply the paint in several layers. To create an interesting effect of additional cracking, it is permissible to use a special craquelure varnish.
- The varnish needs to be applied, and then, while it has not yet dried, apply snow-white acrylic. As soon as it dries, you can begin to glue the chosen motif and process everything with colorless varnish, if craquelure is not used. It is permissible to varnish the coffee table with varnish in the form of a spray. With this product, the application will turn out to be smoother and more accurate.
- When the varnished layers are dry, you will need to go over the old furniture again with fine-grained sandpaper to ensure better adhesion to the substrate.
- Prepare napkins for sticking. Cut out the pictures you want with your nail scissors. Soak them in water (about 15 minutes) and then place them on a towel to remove excess moisture.
- Decoupage can be done in several ways: hot, dry or wet. If hot decoupage is done, then the cut pattern is applied to the furniture, glued and "passed" over it with a hot iron. If the dry method is used, then the motives are glued to the table, and then the remnants of the adhesive composition are removed with a cotton swab. The wet method involves the impregnation of the drawings in diluted glue or varnish, then the multifor is laid and carefully transferred from it to the base.
- When the stage of gluing images is passed, you need to complete it with additional drawings, adding shadows or toning. After that, the structure should dry thoroughly.
- The varnish must be applied to the table in several layers. To achieve a neat and smooth texture, pour clean water into a separate container, and then moisten your finger there and smooth out the traces of the lint left from the brush with it, while the varnish is still not completely dry.
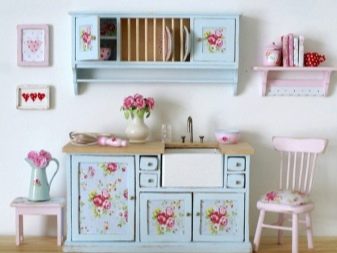
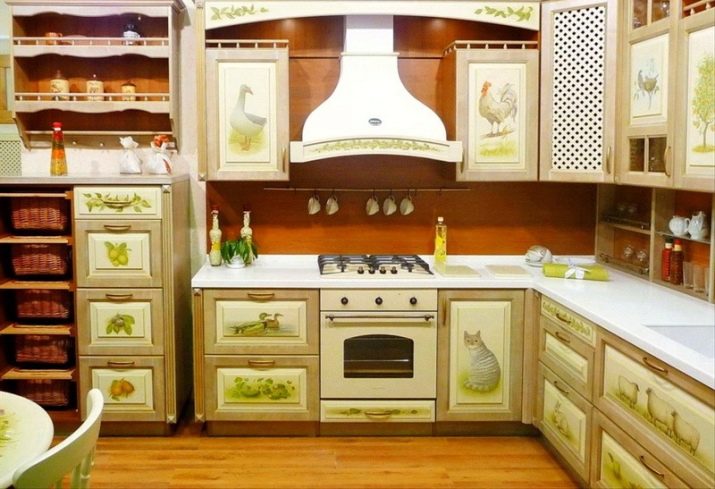
Many housewives prefer to see in their kitchen an original set, decorated using the decoupage technique. Here it is permissible to refer to the pasting of furniture with scraps of old newspapers or magazines. Most craftsmen choose beautiful napkins or wallpaper for decorating kitchen furniture designs.
In such environments, decorative coatings with images of fruits, vegetables, kitchen utensils and other similar things look great. Very often, kitchen sets are supplemented with rice or mulberry textured paper, especially when it comes to glass elements. For gluing decorative components PVA glue is best suited.
To achieve a good fake aging effect, it is recommended to use acrylic paints, bitumen and metallic paste.
Successful examples
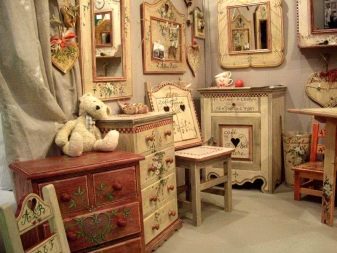
Decoupage furniture is a great solution for a house or apartment. With this technique, you can embody a variety of creative ideas. This design will be appropriate in any room - in the nursery, bedroom, kitchen, living room.
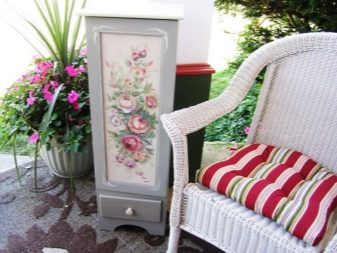
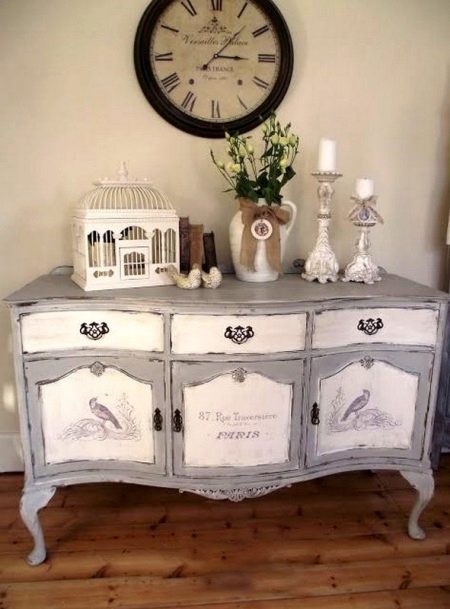
A vintage chest of drawers painted in pale gray paint and complemented by stickers with birds on the doors will look gentle. Of the bright details, there can only be dark fittings.
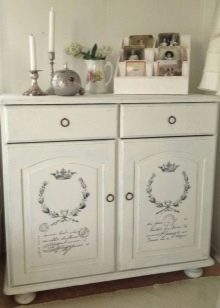
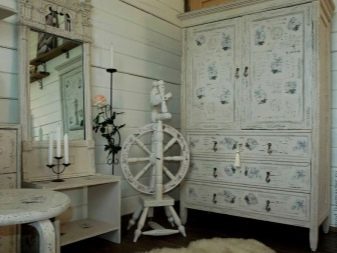
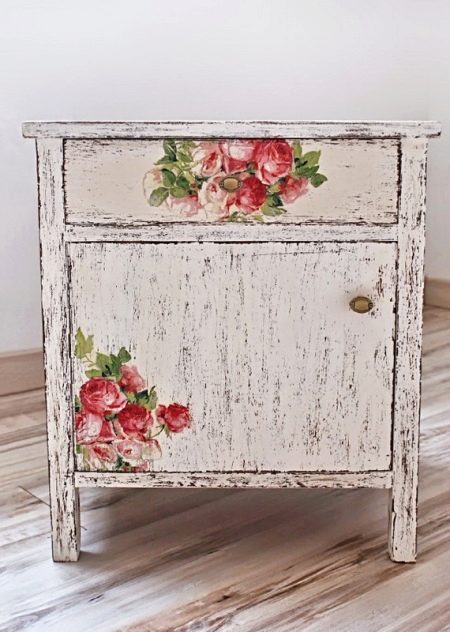
An old simple cabinet can be finished with white paint and give it a craquelure effect. Completing the unusual furniture is worth images of large roses from napkins. The latter should be glued to the top and bottom of the structure.
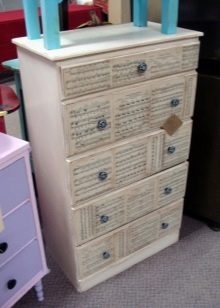
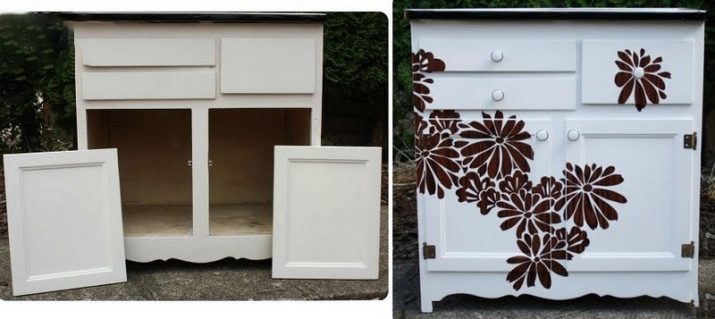
You can decorate furniture using decoupage technique using stencils. So, on a high cabinet with several drawers and a cabinet, you can paint it in matte or glossy white, leaving intact areas in the form of large flowers.
During staining, they must be covered with a stencil.
For information on how to decoupage furniture, see the next video.


