Decoupage Christmas balls: features and unusual ideas
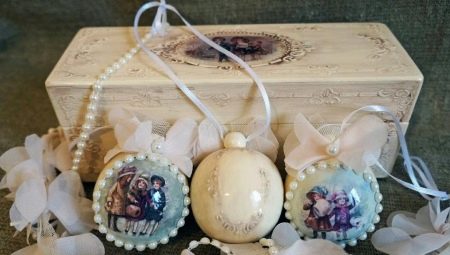
Decorating Christmas balls using decoupage technique pleases not only with the process, but also with the result. You can completely immerse yourself in the process in splendid isolation, and it is also possible to create small masterpieces with children, friends and loved ones. Our article will discuss how to create an original decoration, an unusual and memorable New Year's gift - an excellent alternative to toys of the same type from store shelves. It will also become a fun creative activity for children and adults, which can develop into a hobby.
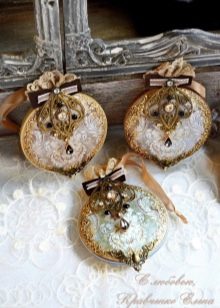
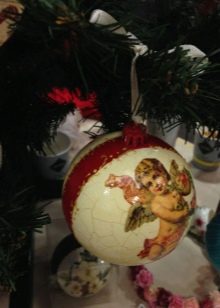
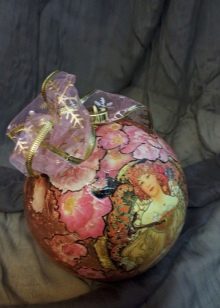
What it is?
What is “decoupage”, and what is it so fond of craftsmen and needlewomen, let's figure it out. Decoupage (découp - translated from French "cut") is one of the most ancient techniques for processing and decorating objects, be it a vase, a box or even a whole chest of drawers with many drawers. The principle of operation is that the required pattern or drawing is transferred to the surface of the object with the help of simple manipulations. The result is an original object that can be further decorated to your taste.
The history of decoupage is extensive and interesting. The creative hand-made method appeared about six centuries ago. Over time, this type of decoration has become a favorite hobby for bohemians - rich and creative people who gladly decorated home furniture and interior items using unusual techniques.
An interesting fact is that decoupage at one time served as a so-called affordable fake, an alternative to the work of famous artists, whose work not everyone could afford. Copies of famous paintings were transferred to the surface, varnished and processed in such a way that, without being a professional, it was rather difficult to distinguish them from the original.
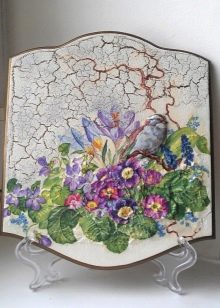
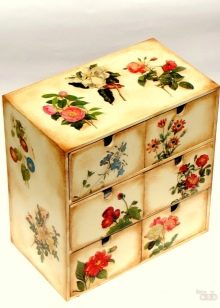
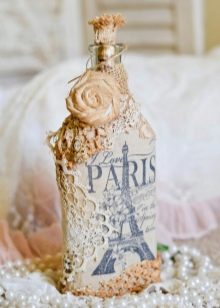
Among the admirers of decoupage were such famous personalities as Marie Antoinette, who introduced fashion to découpage in France, Madame de Pompadour and even Picasso. Time goes by, but even now, after many years, this type of decorative and applied art remains incredibly popular among professionals and hand-made lovers.
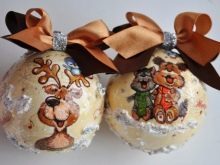
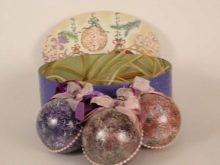
Decoupage can be used to decorate any item., but today we will dwell on decorating Christmas tree decorations. Christmas balls created using decoupage technique are undoubtedly original, unusual and incredibly beautiful. Handmade toys evoke memories from childhood, and those made using decoupage technique look unique, while being quite simple in execution.
Decoupage is possible in various techniques (they differ in the method of application and the materials used). The main ones are direct and reverse decoupage, volumetric, artistic and decopatch (a combination of decoupage and patchwork).

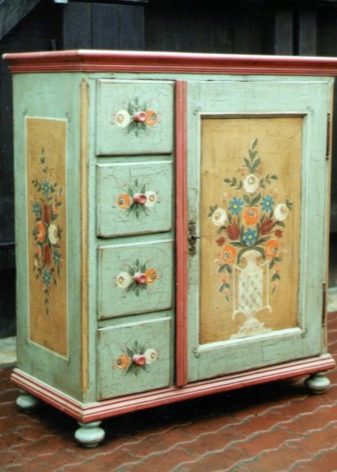
Styles
Decoupage styles can be very different. Let's consider the most popular ones.
Kimekomi
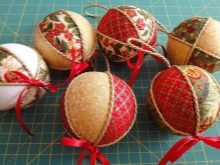
Oriental technology appeared in Japan almost 300 years ago. Initially, wooden dolls were made with the help of kimekomi, but now, using this method, they mainly make Christmas tree decorations and decorations for the holiday. The technique differs in that the patterns and texture are applied using pieces of felt and patches of colored fabric on a foam base (be it a ball or any other shape that suits you). For fasteners, ordinary office glue is used.... A feature of kimekomi is the geometric patterns and lines.
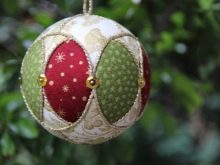
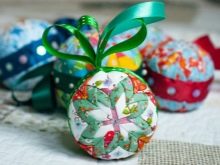

Simple to perform, unusual and accessible to everyone, kimekomi will win your heart. Toys decorated with fabric can be additionally decorated with sequins, beads or buttons, this will make your work brighter, and you will want to consider every detail over and over again.
Vintage
First, let's figure out what a vintage style is. These are artificially aged items that create a special mood. Perfect and will serve as a wonderful gift for lovers of retro interiors.
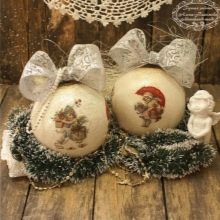
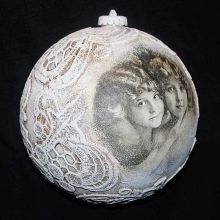
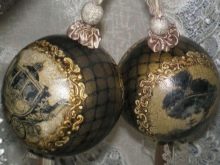
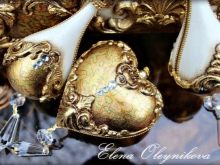
It is recommended to use soft, muted tones and colors in the manufacture of vintage Christmas tree decorations. Shades such as dusty pink, light blue, gray, silver and porcelain. The details of the design can be brightened up a bit by highlighting a few accents with sharper lines.
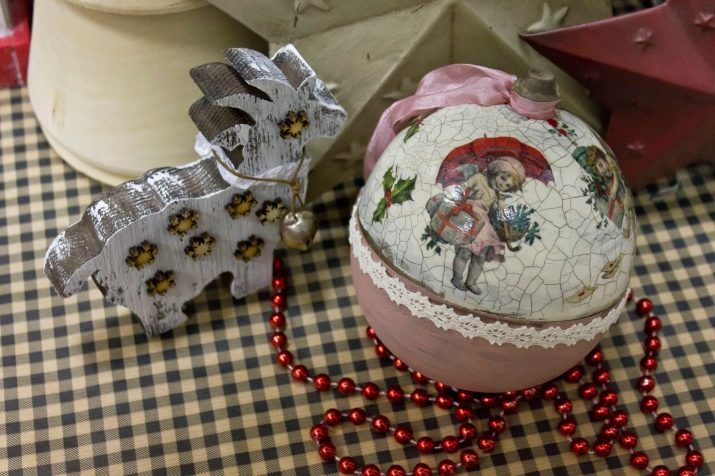
Drawings that are preferable for this technique are pages and illustrations of old books, pieces of postcards and photographs depicting old Europe, retro pictures depicting children, angels and, of course, New Year's motives. Images can be printed on a color printer, or you can use ready-made images. A variety of suitable materials (such as napkins) can be found in craft stores.
An important element of vintage decoupage is aging effect, which can be achieved in various ways, for example, using the "craquelure" technique (artificial aging of the surface by cracking the top layer of the coating). Using this technique when making jewelry, if desired, is not a difficult task, and toys made using craquelure will look completely different.

Provence
Very reminiscent of the vintage style, but in provence more often used floral motifs and light soft tones, often with references to French themes. In this stylistic direction, the worn effect is also often used.... Provence balls are worth making if this year you decide to decorate a Christmas tree in a romantic style using ribbons and spraying from artificial snow.And the Eiffel Tower or delicate roses will perfectly serve as a print.


Victorian
Characterized by rich and deep shades red, green, copper and gold (thanks to the shades used, the toy, decorated in a Victorian style, perfect for decorating a classic-style Christmas tree).
Ornaments such as plaid and stripes, hunting scenes, still lifes and scenes from everyday life in English society are often used. All stories are done in muted colors.
These decoupage styles are one of the most suitable for decorating items and decorations specifically for the New Year and Christmas theme. You, developing in your creativity, can explore other interesting and beautiful directions of decoupage art. For example, such as ethnic (characterized by bright details related to a specific ethnic culture and traditions), shabby chic (soft blurry tones, performed mainly with the theme of floristry), or simple city (a simple style suitable for beginner lovers of handmade techniques).

What is necessary?
Decoupage is famous for the fact that with the help of this technique of arts and crafts it is possible to decorate almost any object. It doesn't matter what material it is made of, be it wood, glass or plastic - decoupage will look great.
For New Year's decorations made using decoupage technique, light and unbreakable material, for example, polystyrene, is most often used.
So, let's tell you in more detail how to make Christmas tree decorations with your own hands.
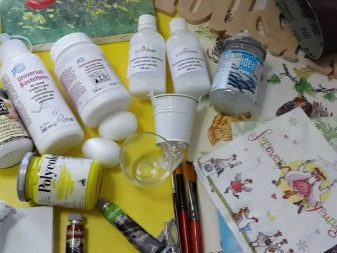
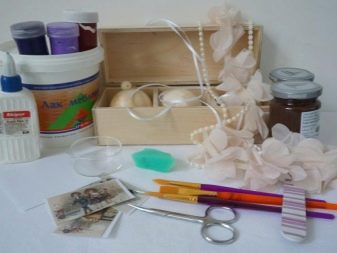
First of all, we need the following materials:
- foam ball or papier-mâché shape (you can buy ready-made ones or make them yourself);
- glue - use PVA, glue stick or a special composition for decoupage;
- brush - you should choose a fairly soft brush so that when the material is applied, there are no visible traces and cracks on the surface;
- paper napkins with prints you like or bright scraps of fabric, depending on which decoupage method you prefer, and you can also use clippings from old newspapers and magazines, author's postcards, even photos of your loved ones.
And don't forget the New Year's mood!
Master classes
With the help of our detailed step-by-step instructions, even a novice hand-made master can create his first creation using decoupage technique. Let's look at what stages of work should be performed when working on a New Year's decoration, as well as what subtleties exist in decoupage. Let's get started.
The form
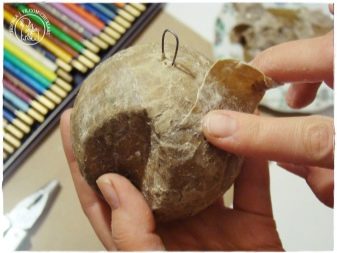
The first step is to prepare the form. If you decide to use a blank from the store, you can safely proceed to the next item. If you plan to do the handmade work yourself "inside and out" by making a papier-mâché ball, the surface should be sanded and made as smooth as possible so that there are no difficulties with drawing the pattern. As well as the form before application, it is recommended to degrease and prime (you can use a water-based putty). Without
primer layers of paper applied to the product may not adhere well to the surface or even begin to flake off.

This is also a very important step. Variants are possible.
Paper
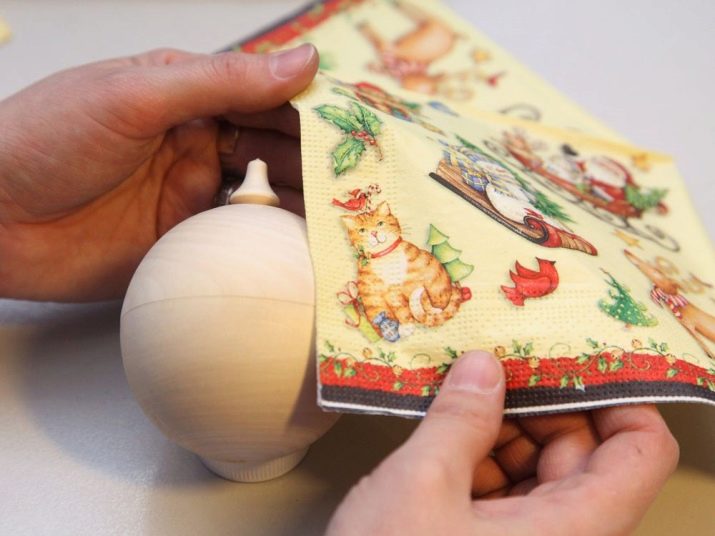
If you decide to decorate the balloon with napkins, you must first remove the top layer (be careful not to damage the drawing). A covering made of thicker paper - postcards or newspapers - should be pre-soaked in cold water for a couple of minutes. This will greatly simplify your task when decorating the product, since the wetted paper will be soaked with glue much faster.
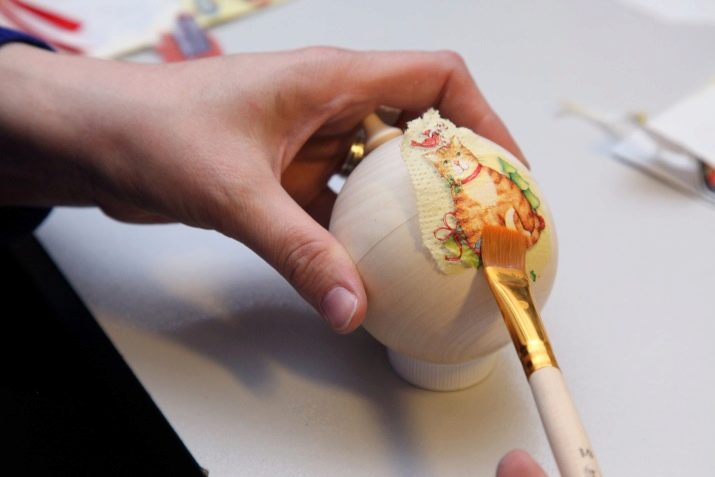
Then we cut out or tear off the fragment of the pattern we like and glue it on the surface of the product layer by layer with the image down. This must be done as carefully as possible so as not to accidentally damage the drawing. And also on the paper you can make several small cuts to make it faster and easier to take the shape of the product.
Wait until each layer is dry to avoid air bubbles and deformation of the paper surface.
With the help of layering pieces of paper, you can not only transfer the finished drawing, but also create a completely new plot. You can combine drawings in different ways, as far as your imagination can allow. Many masters, using a few napkins or book illustrations, create real masterpieces that you want to look at over and over again thanks to the large number of drawing details connected by one storyline.
We are waiting for the paper to dry, after which, if necessary, apply a little acrylic paint to equalize the borders of the picture and the background. It is advisable to do this with a foam sponge, which allows you to make a soft transition between colors. And also the paper can become rough, this can be easily corrected by using sanding paper for sanding.
Further, it all depends on your imagination, you can add a little gold or silver leaflet to the ball, which will create the effect of a precious shimmer, or add some shining accents with the help of glitter. An interesting effect can be obtained from a structured paste, which will create additional volume. If you feel like there is a lot of solid color space left, you can fill it with hand-painted or glue on a few small beads.
The finished toy should be coated with a special finishing varnish (it is recommended to use 4 to 10 layers), let it dry, decorate with a bright ribbon or lace - and, voila, your little masterpiece is ready!
Material selection
Cloth or felt
Decoupage with a cloth is not much different from paper. But still, there are several fundamental points that should be paid attention to.
Before starting work, the form must be primed and covered with a plain paint, but transparent glue should be used for applying shreds of material. This is important for maintaining the aesthetic appearance of the finished product. The denser the material, the more reliable the glue you need to choose; ordinary PVA or stick is often not enough.
You can glue the fabric around the entire perimeter of the toy, or make several textile parts. You do not need to varnish such a ball. Balls decoupled with fabric will look great with braid or lace decor.
And by the way, why not combine two techniques - paper and patchwork? For example, you can use a plain, smooth fabric and a textured paper covering with a pattern. The result can be very beautiful and creative.
Toys made with the help of our master class will undoubtedly become an excellent gift for Christmas and New Year, because they are practically a work of art. They will create a festive mood in your home and bring many pleasant emotions to your loved ones.
For information on how to make Christmas balls using decoupage technique, see the next video.


