Reverse decoupage of bottles
Needlework has recently become more and more popular. One of the ways to do something with your own hands is to decorate various glass bottles using the reverse decoupage technique. What is this lesson, and how to arrange a decorative bottle using this technique, let's figure it out.
What it is?
Decoupage is a way of decorating various surfaces using images printed on paper. Usually, paper napkins, special decoupage pictures, photographs or postcards are used for these purposes.
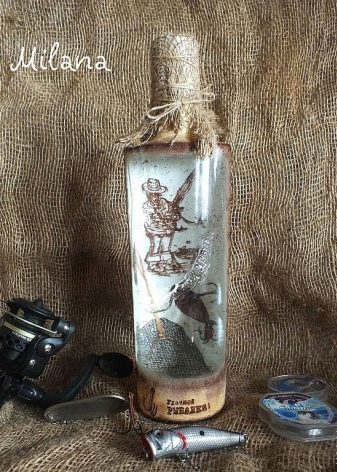
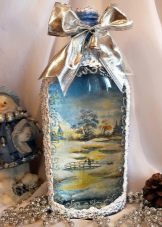
Reverse decoupage is one of the types of this technique, which is used only on glass objects, most often it is used to decorate bottles, jars, candlesticks. With this method of decoration, the picture is superimposed on a glass container in such a way that its front side is glued to the glass. As a result of the design, an unpainted window remains on the bottle itself, through which the image will peep.
This picture looks especially interesting when it refracts through the thickness of the liquid in the bottle.
Materials (edit)
In order to decorate a bottle using the reverse decoupage technique, you will need a simple set of materials.
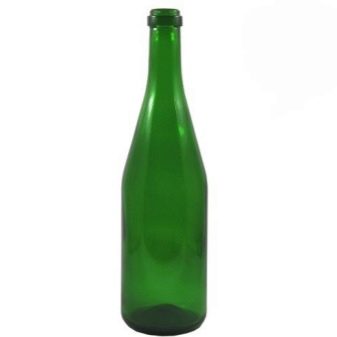
The bottle itself
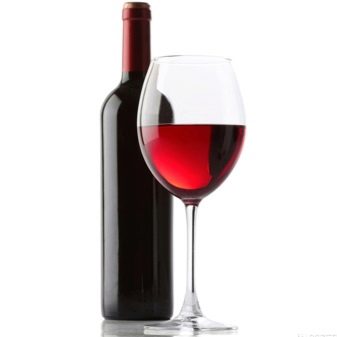
You can use an empty bottle or a bottle filled with wine, for example. The container must not have any stickers on it, the glass must be absolutely clean.
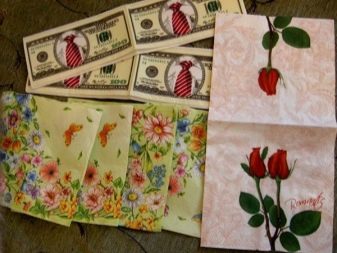
Picture with motive
For these purposes, you can buy special decoupage napkins that are sold in handicraft stores, use ordinary paper table napkins, use a photo or a postcard.The last two types of pictures are quite dense, and before use, you will have to remove the back paper layer as much as possible so that the motif fits better on the glass.
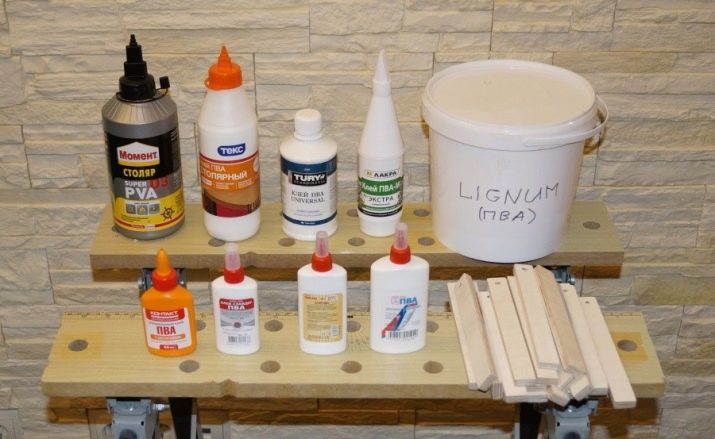
PVA glue
It is better to use construction glue here, it does not leave yellow streaks. This substance must be made more liquid; for this, water must be added to the glue. in a 1: 1 ratio.
Acrylic paints
Ordinary art paints will do, and can also be purchased at a craft store, artist stores, and construction centers. The colors should be chosen depending on the intended design.

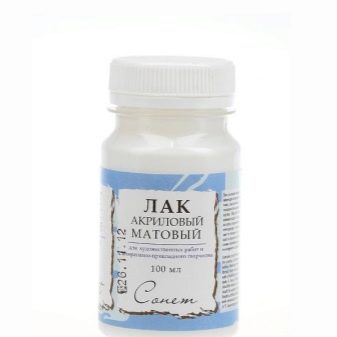
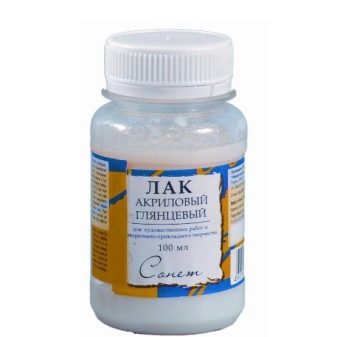
Acrylic lacquer
This material can be matte or glossy. It also depends on the idea you are implementing.
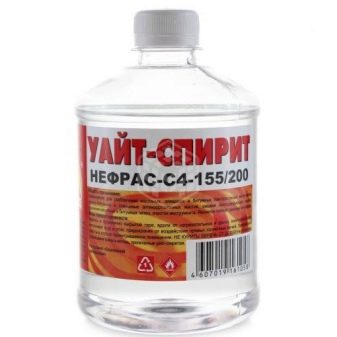
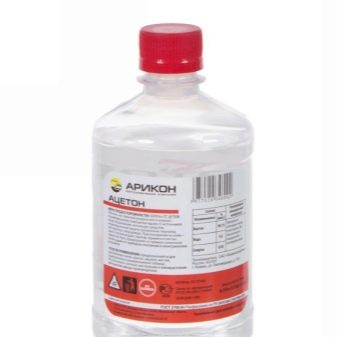
Degreaser
You can use rubbing alcohol or regular nail polish remover here. White spirit or acetone will also work.
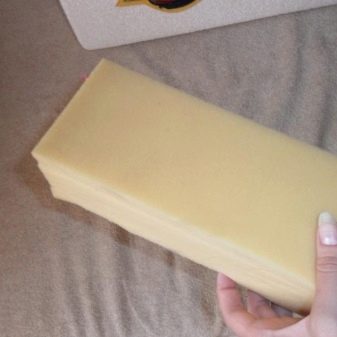
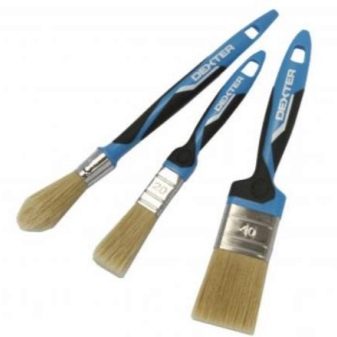
A piece of foam rubber and a brush
With these tools, you will apply paint, varnish, and glue to the bottle.
And you may also need a putty for decorating the bottle itself with a window, yarn or twine for decorating a cork, beads, ribbons, rhinestones, pieces of fabric, metallized pastes, eggshells, beads.
The choice of additional materials depends on what kind of design you are going to bring to life.
Master Class
Having prepared all materials and tools, move on to decorating a glass bottle with a window and a photograph.
- Thinning the photo. To do this, moisten the card on the back and carefully remove the paper layer with your fingers. The main thing here is not to overdo it and not damage the image.
- We process the bottle with a degreaser on all sides, let the liquid disappear.
- We put glue on the bottle, as well as on the front side of the picture, put the photo with the picture inward to the glass, and go through the glue along the back of the card.
- Let the glue dry.
- We cover the bottle with a primer layer of acrylic paint, leaving a window through which the photo will be visible. Apply the pigment with a sponge, swiping it down. We choose the color depending on what kind of internal background you want to be seen in the window. Let it dry.
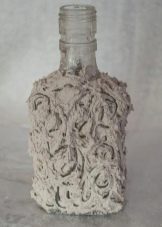
- We dilute the ready-made putty solution with PVA glue to the consistency of sour cream. Apply paint on top of the bottle with a layer of 0.5 mm.
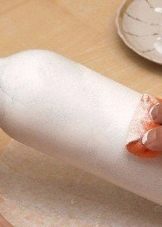
- We take an orange stick for manicure and draw lambs on the putty so that beautiful stains are formed. You can go through one place several times, rounding the lambs in different directions. Carefully decorate the window with divorces. Let the coating dry.
- We decorate the cork with twine.
- You can tint the surface using colored acrylic paints, giving the product the desired shade.
- We cover the bottle with varnish. Dry well
- You can additionally decorate the bottle with sparkles, rhinestones, beads and other elements.

Interesting ideas
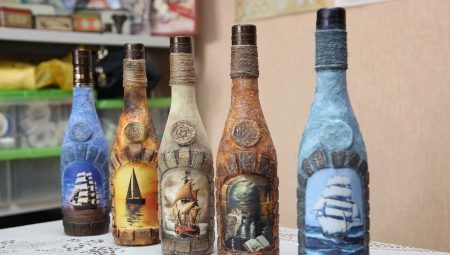
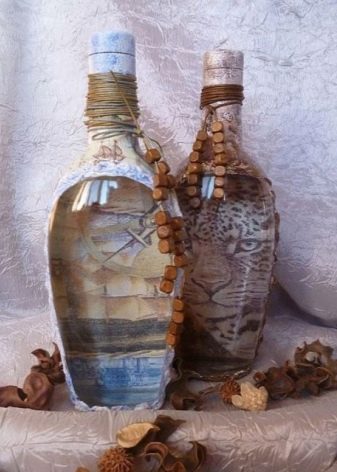
There are a lot of ideas for decorating glass bottles with a window using the reverse decoupage technique. Here are some interesting options that might interest you.
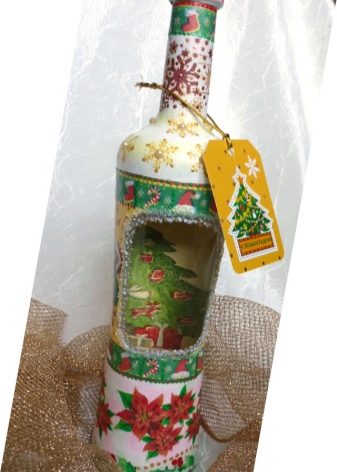
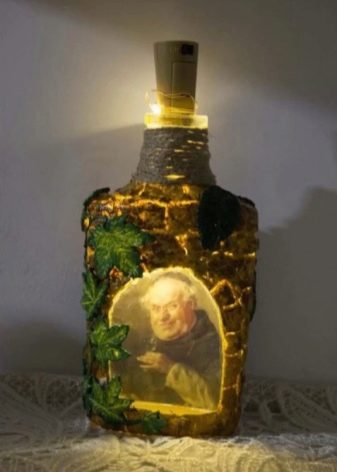
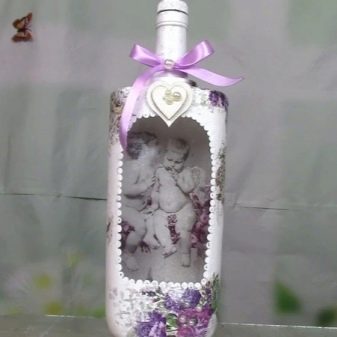
- Make decoupage not only in the window, but also decorate the entire bottle with this technique. The main thing is that the pictures are in the same style.

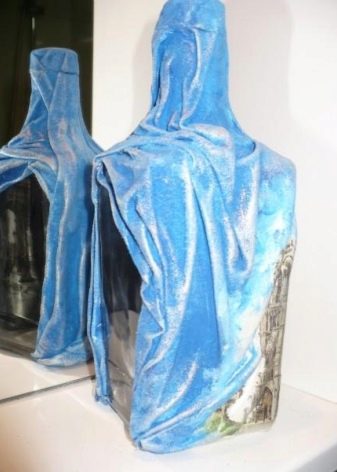
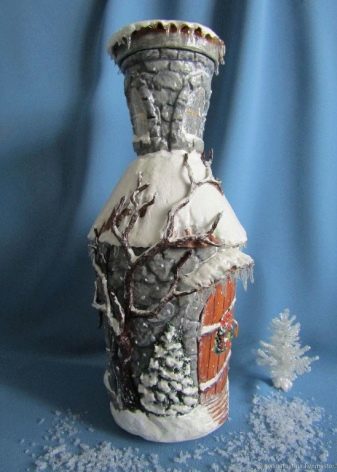
- You can also decorate the bottle in the form of a tower, and put a frame made of the same putty on the window.
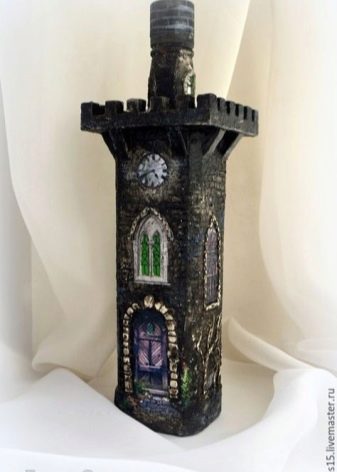
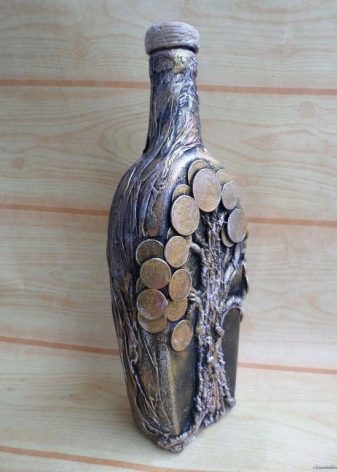
- The texture on the bottle can also be created using eggshells. Then the surface will resemble masonry.


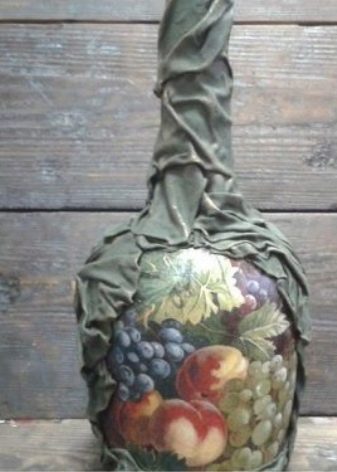
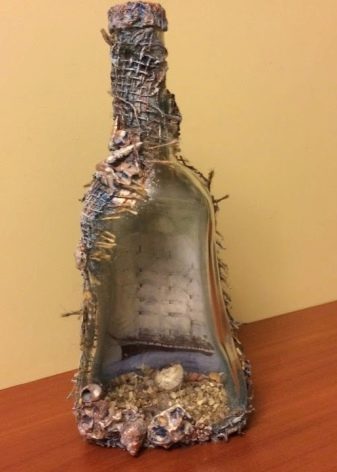
- The bottle with a window can also be decorated with a cloth. And in order for the matter to keep its shape, it must be impregnated with glue.
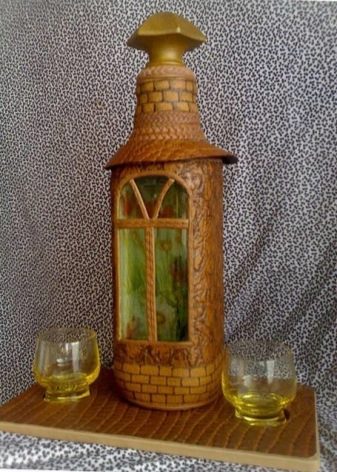
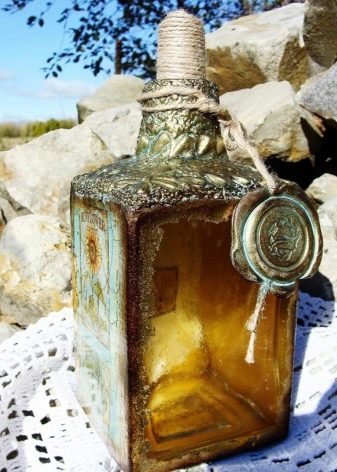
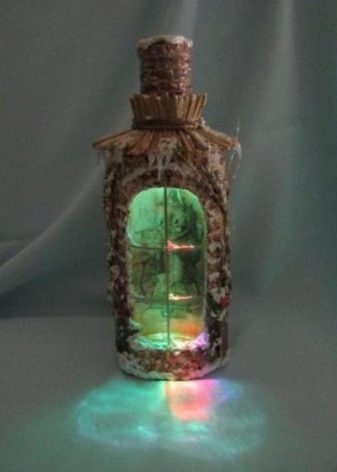
- A square whiskey bottle can be shaped like an antique lantern.
- The trees on the bottle itself, sculpted from polymer clay, will perfectly continue the landscape in the window.
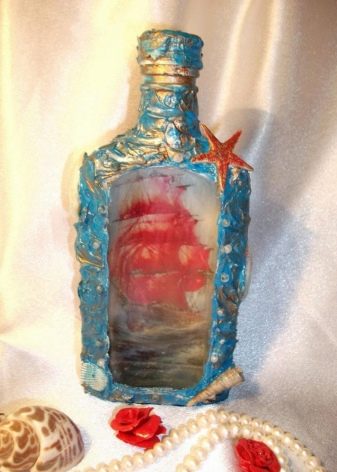
- For a bottle in a nautical style, you can additionally use sea gifts in the form of shells, pearls, stars as decorations.
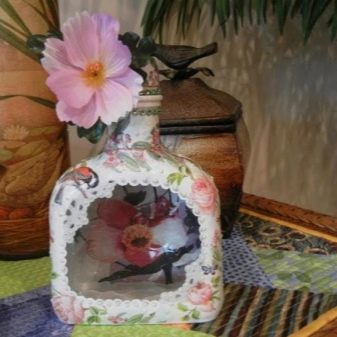
- A bottle in Provence style with a floral motif and decorative ribbons as a window frame will be an excellent decorative element in a room decorated in the same design.
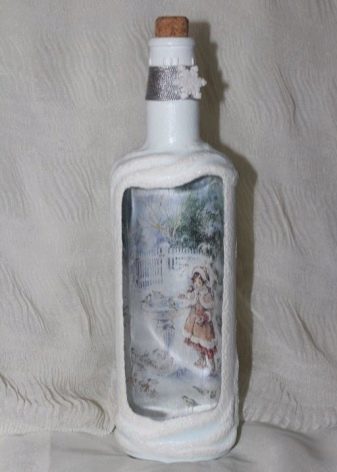
- The brickwork and the winter courtyard in the window are so reminiscent of the St. Petersburg landscape.
See the video below for a master class on reverse decoupage.


