Decoupage candles: ideas and workshops
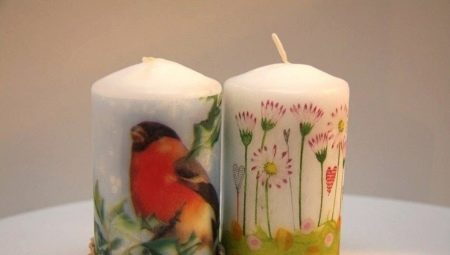
Quite often, in search of an unusual and memorable gift, we resort to non-standard solutions, trying our hand at needlework. The result of labor is beautiful and functional products that remain in the memory of loved ones for a long time. In this article, we will consider one of the interesting areas of applied art - decoupage of candles.
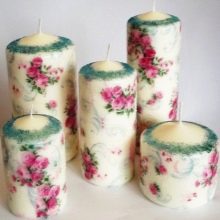
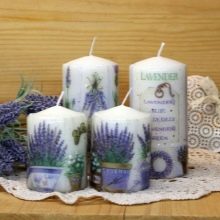
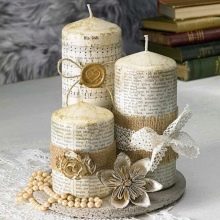
The essence of the decor
Decoupage involves the technology of decorating a surface using a pattern cut from paper and glued with a special glue. In essence, this is an improvement in the aesthetic appeal of a product or a kind an applique made of thin paper with a beautiful pattern in the form of a certain composition. The drawing can be thematic or abstract, its size depends on the shape of the work item. A prerequisite for the process is painting the picture.
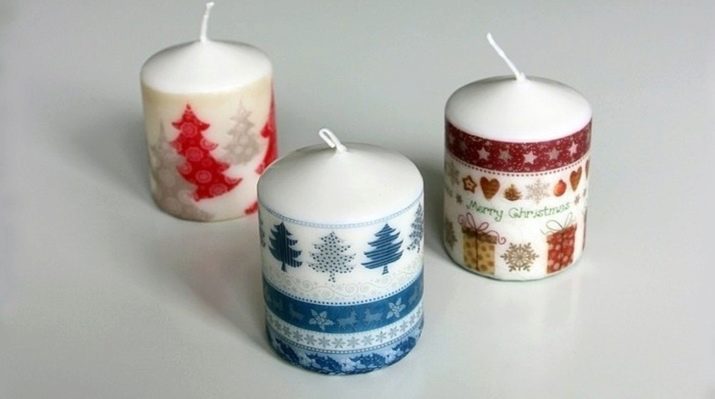
Candle selection
Not every candle is suitable for decoupage. It is preferable to choose for work white wax blanks. They will not distort the colors of the picture, due to which it will be possible to preserve its brightness and expressiveness of the contours of the picture.
It is desirable that the surface of the candle is smooth (it is easier to glue the paper with the image this way).
It is more convenient to work with candles, which dense top layer and the smoothest possible surface. The denser and smoother they are, the better, besides, the risk of fire of the glued fragment is reduced. If you can't find a white candle, you can buy a light one, it will also not distort the colors of the picture. Regarding the thickness and size of the candle, thin and small specimens can be dangerous if lit. They quickly warm up, and therefore can only bear a decorative load.
Execution rules
Regardless of the subject and material used for decoupage attention must be paid to every step of the technology.
- Sand the surface of an uneven candle and apply a primer on it (2-3 layers). For smooth surfaces, only priming is sufficient.
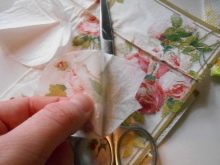
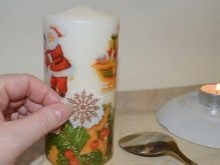
- Prepare the drawing by removing the top layer with the image from the napkin and cutting out the desired fragment.
- Small elements are not cut out, but painted with special paints immediately on the working surface.
- When gluing a paper picture to the working base, take a brush and straighten all the air bubbles, leveling the picture.
- The spreading of the pattern starts from the center to the edges. After fixing it must be dried.
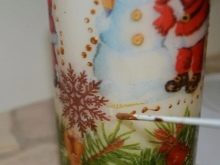
- After drying, they begin to decorate the candle, painting on the missing elements with a brush and paints.
- If necessary, the product is decorated with rhinestones, beads, beautiful packaging.
Technique types
To date, you can carry out decoupage of candles at home in three ways:
- cold method;
- using a spoon;
- using a hairdryer.
Each type has its own nuances. Consider three master classes based on different types of execution.
Cold way
This technique is good for beginner craftswomen and allows you to get acquainted with the basics of decoupage. If you can't find thick candles to work with, you can use those with relatively loose walls. To transform them, you will need decoupage napkins, sharp nail scissors and a stick with a smooth surface.
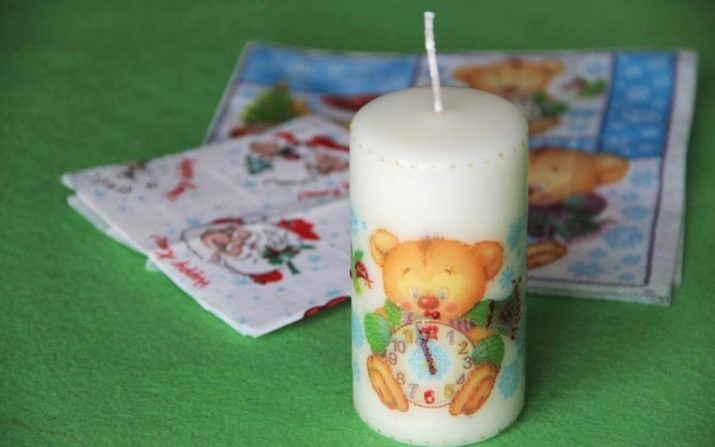
First, a drawing is prepared, cutting it out with an allowance along the contour of 1 cm from all sides. The picture is coated with glue, applied to the candle and leveled, pressing it to the wax surface.
If you want to paste over the candle completely, cut out a rectangular blank with allowances for the entry of one edge to the other.
The seams must be neat.
Hot method
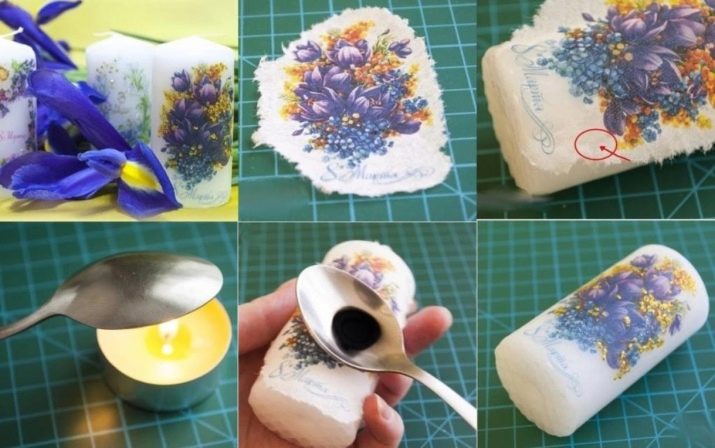
To make such beauty, a spoon, a candle for heating the spoon, a beautiful napkin or a decoupage card are prepared for work in advance. First, a drawing is prepared by cutting out the required fragment. According to the rules of decoupage, it is necessary to separate the two lower layers from the napkin, leaving only the one on which the print is applied. Next, the spoon is heated over the second auxiliary candle and, applying the picture to the decorated candle, the picture is glued with it.
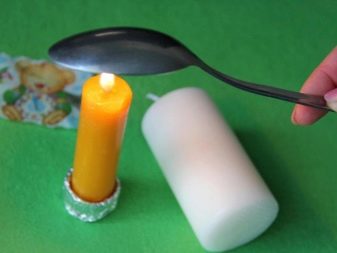
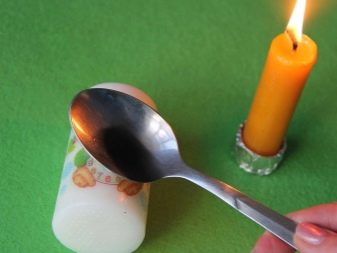
To do this, it flattens the picture in the direction from the center to the edges, eliminating air bubbles. Glue the napkin with the convex side of the spoon, trying not to drive it in one place for too long, so that the paraffin does not drip. After the paper has been etched into the paraffin base, you can walk over the base with a sponge.
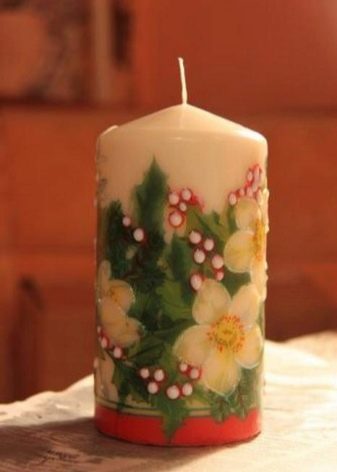
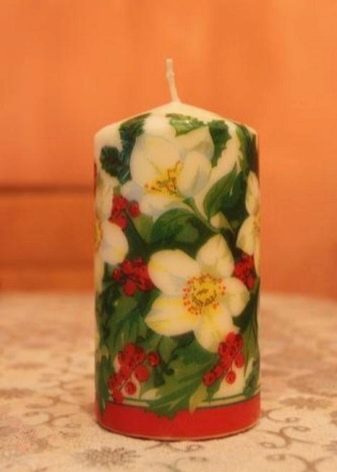
With hairdryer
This master class is somewhat different from the previous two. To create such a gift, you should prepare in advance the candles themselves, decoupage napkins, a hairdryer and decor, the necessary accessories for cutting and painting on. After the picture is cut out, it must be attached as tightly as possible to the decorated candle in the chosen place with the pattern up. The hair dryer is turned on to the network in full mode, and with its help a piece of paper is glued.
To do this, a stream of hot air is directed at the picture pressed against the candle. As it heats up, make sure that the picture does not gather in folds, it is smoothed and smoothed with a flat brush. According to this principle, you can paste over the entire candle with a napkin, bending its upper and lower edges and printing them with a paraffin base for reliable fixation.
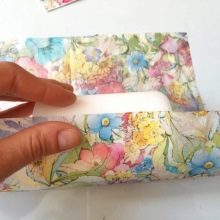
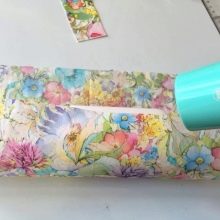
You will learn more about how to make a decoupage of a candle.
Solutions for different holidays
Decoupage candles is a great idea for any occasion. If you approach the choice of pictures creatively and tastefully, you can create a unique product that will be appreciated by those for whom it is intended. Today, decoupage napkins can convey the atmosphere of any holiday. For example,
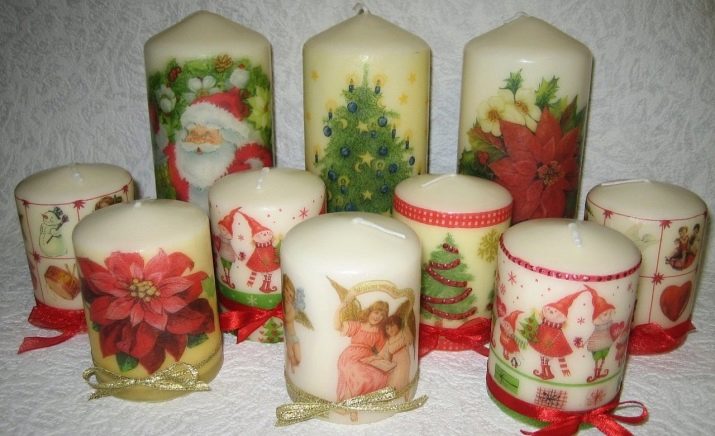
- by the new year you can purchase decorative material with the image of Santa Claus, Christmas sketches, all kinds of plot pictures with fluffy bunnies, Christmas trees, animals and snowmen against the background of fir branches, kids with gifts and other New Year's attributes;
- by March 8 it is easy to pick up napkins with birds, colorful flowers and various inscriptions, floral ornaments located on the bottom, or completely covering the entire surface of the napkins;
- Valentine's Day you can find decorative napkins with a variety of hearts, bears, bunnies or even butterflies, letters and inscriptions about love;
- for birthday you can choose any pictures that will depend on the season (for example, flowers, cakes, gifts);
- on the wedding day you can give beautiful candles decorated with napkins with a drawing of the bride and groom, whether they are babies, bears or angels, dressed in appropriate outfits;
- for halloween you can find decoupage paper with bats, pumpkins, witch's caps;
- for angel day you can give a candle decorated with a picture of angels and decorated with silver acrylic paint.
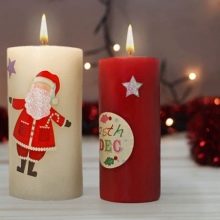
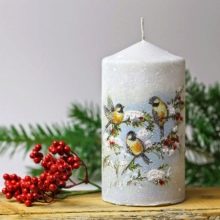
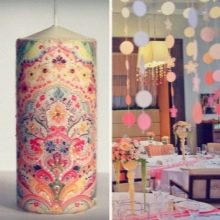
Decor options
You can decorate a handmade candle with different decorative elements. For example, it can be a transparent package with a satin ribbon and a tiny postcard on which you can write the name of the giver and a wish to the hero of the occasion. A decoupage candle will also look beautiful if you decorate it after gluing a beautiful napkin:
- thin twine and small paper flowers, collected in a bouquet;
- acrylic mother-of-pearl shine or a contour along the upper edge of the candle;
- white lace napkin and spruce branch;
- the finest lace (important for decorative candles);
- a hoop twisted from kraft paper;
- small decor of twigs and cones (suitable for large decorative candles);
- decor elements for scrapbooking;
- coffee beans or sparkling rhinestones;
- powder polish for manicure.
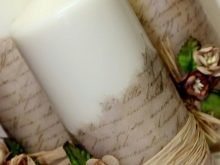
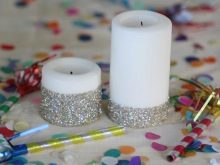
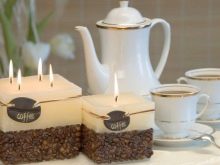
When choosing one or another decorative element, you need to understand the degree of its relevance. For example, if a candle is going to be lit, it is enough to decorate it with a napkin, soaking it over the entire area.
What to consider?
Regardless of what technique you would like to use to make decoupage, referring to a specific master class, it is worth considering: candles are not covered with acrylic varnish, acrylic glue is not needed when gluing paper. Regular glue is used to fix the decor when making decorative candles (for example, wedding candles or those that will be used for a photo zone during a holiday photo shoot). As an auxiliary candle for the hot decoupage method, you can use a tablet candle, heating the inside of the spoon.
You can't press the napkin too hard, you can't overexpose a hot spoon over the napkin. This may cause unsightly paraffin streaks to appear on the drawing. As the napkin is absorbed into the candle, it will become transparent. As it cools, the spoon must be heated over and over again over the auxiliary candle.
