Decoupage vases: style directions and subtleties of design
The decoupage technique (cutting) came to us from France. It is really based on cutting out pretty pictures that are transferred to the surface of the object. It doesn't matter what material the item is made of: glass, ceramics, clay, metal, wood, because under the decorative layer it is difficult to understand the original structure of the item.
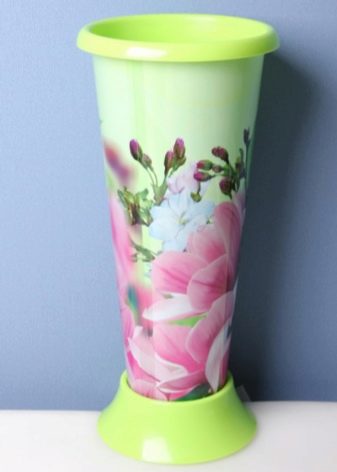
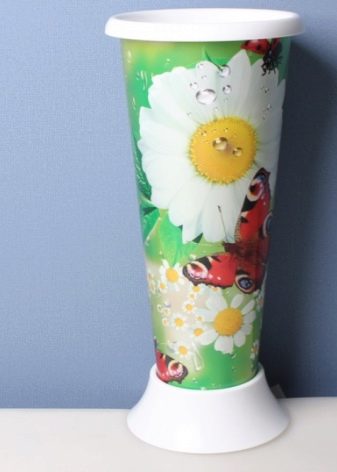
Any vase made using decoupage technique becomes magnificent and unique. No one even remembers how dull and standard the industrial design looked before the transformation.
What it is?
The first mention of the technique of pasting with applications of various objects came to us from medieval China. In this way, the Chinese decorated their furniture. In the 17th century, Europeans also began to massively decorate furniture with pictures. The Venetians applied up to 40 layers of varnish to it in order to reliably protect it from the effects of the external environment.
Decoupage is a masterful way to decorate any object and the interior itself with the pictures you like. But it is not enough just to cut and glue the drawing to the surface, it still needs to be soaked, remove excess paper, leaving the thinnest layer with the picture. In this state, with the help of glue, the image falls on the decoupage object and is fixed with varnish.
Today, craftsmen are actively returning to the old technique, for various reasons.
- Availability and variety of material. In this regard, the old masters could envy modern needlewomen.
- Furniture can be renovated economically and beautifully.
- With the help of decoupage, they stylize the room, applying the technique to literally everything: walls, floor, ceiling, furniture, windows and doors. They originally decorate the interior with small things: vases, dishes, candles, caskets.
- Creative people get a lot of pleasure from their work and the fruits of their labor.
Styles
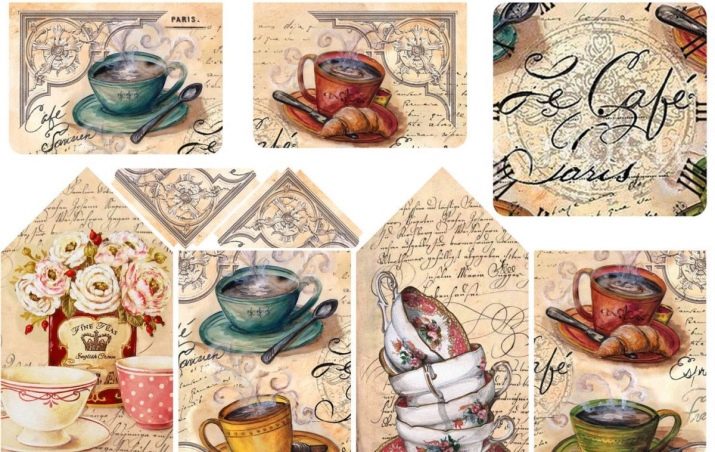
A vase is a common item in every home, and if it does not match the style of the decor, it will have to gather dust in the closet or sideboard. You can stylize a vase using the decoupage technique. We suggest considering photographs depicting vases prepared to support styles of different directions.
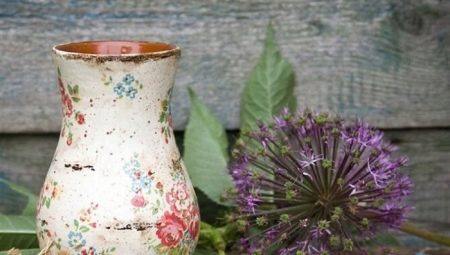
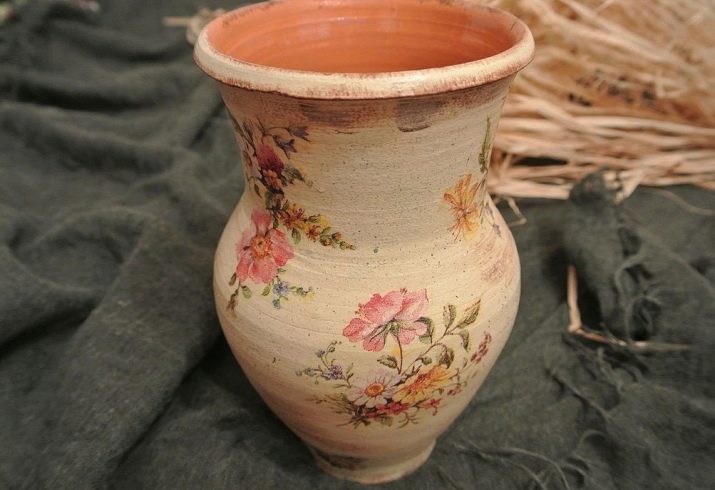
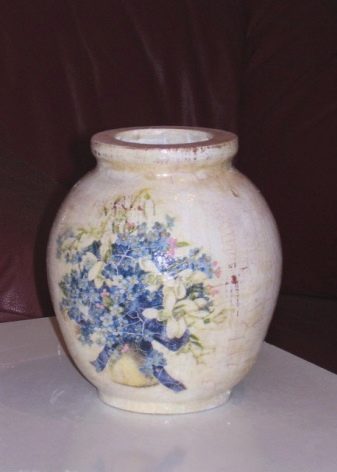
- Country style earthenware jug.
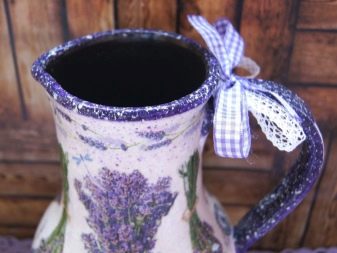
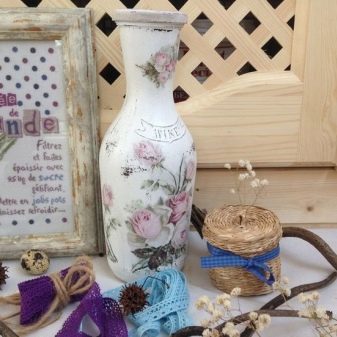
- A Provence style vase with a characteristic lavender color. In decoupage, the surface aging technique is used, braid is involved.
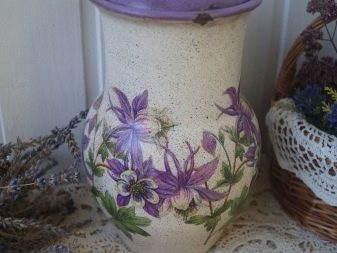
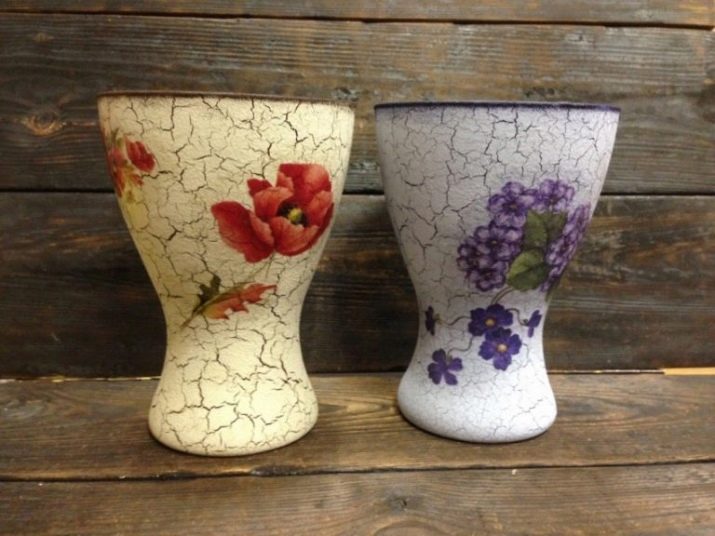
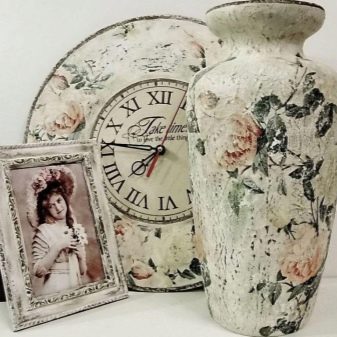
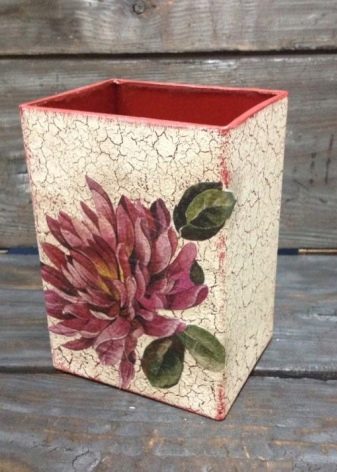
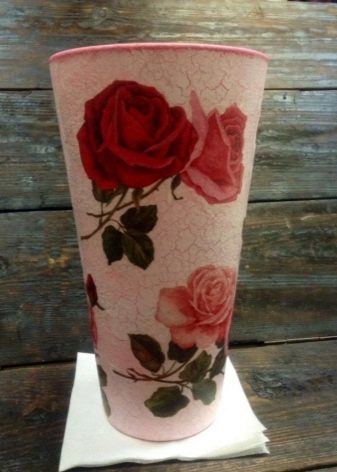
- Continuation of the Provence theme. Craquelure technique was used in the work on the vases.
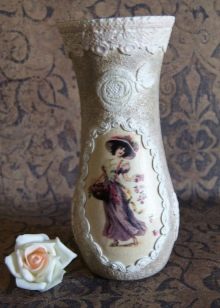
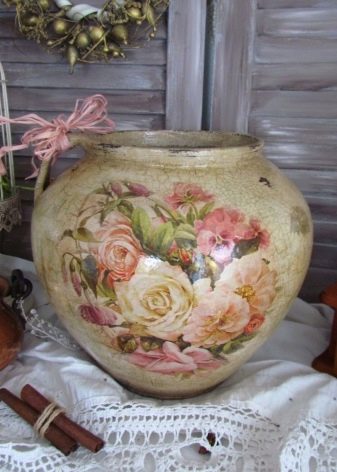
- Items designed for the shabby chic direction. Made with a textured paste and a scuff-mimicking technique.
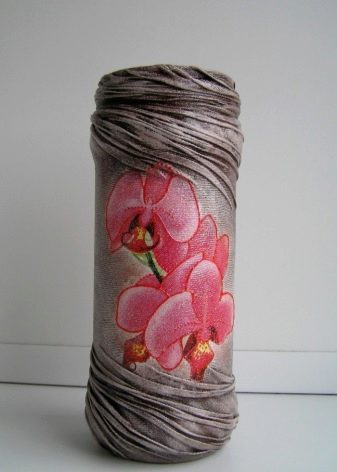
- Shabby chic vases using braided thread.
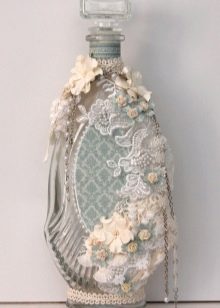
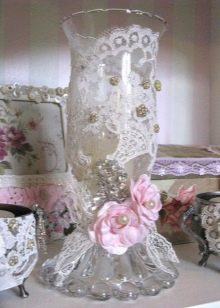
- Decoupage of a glass vase (shabby chic) using fragments of tulle and jewelry.
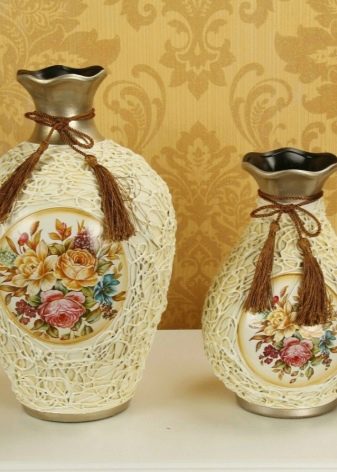
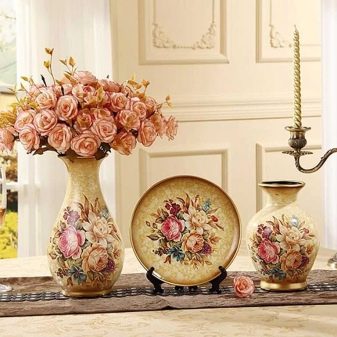
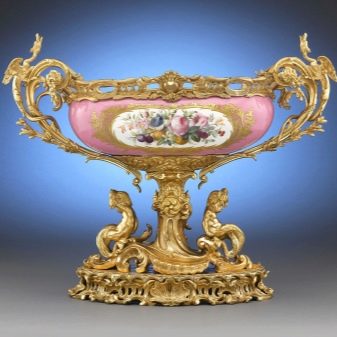
- Rococo style, decorated flower vase.
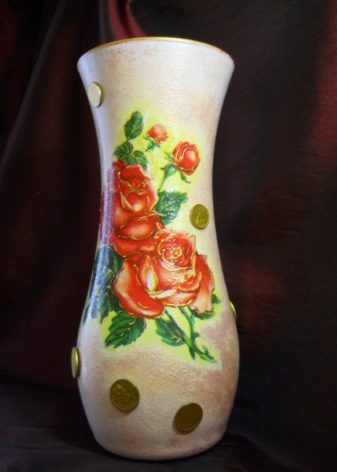
- Retro direction (seventies).
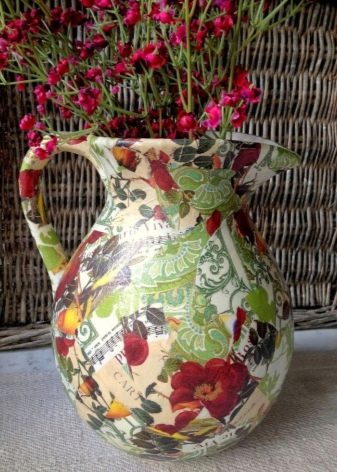
- Pasting of vases with newspapers using the decopatch technique (a kind of decoupage), suitable for the direction of simplicity.
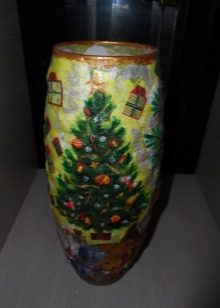
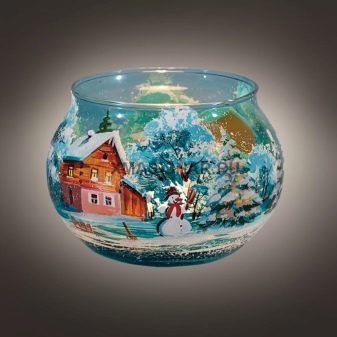
- Beautifully designed vases can create a holiday. Sometimes festive motives lie in the design of the product itself: New Year, Christmas, Easter vase.
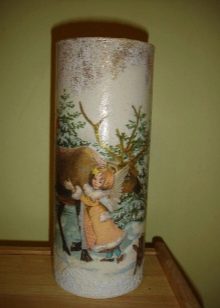
- New Year's volumetric decoupage made on a round glass vase.

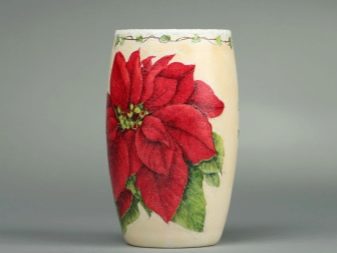
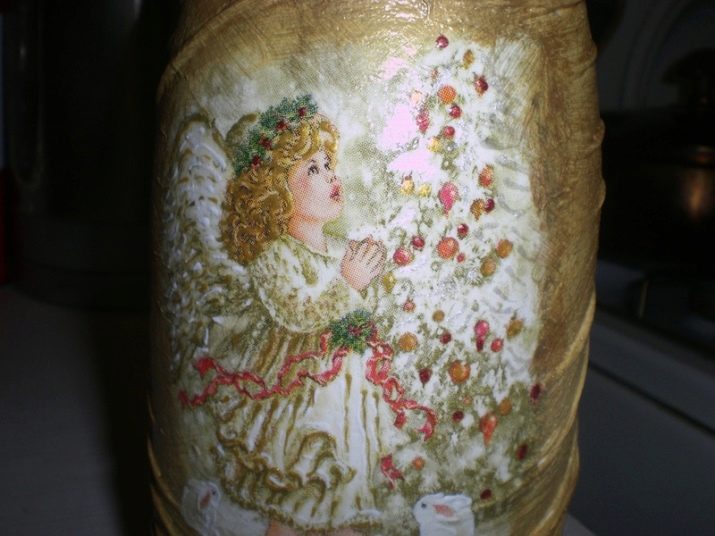
- Christmas motives.
- Country style glass Easter vase.
Preparation
To carry out the decoupage of a vase with your own hands, you need to prepare in advance the tools and materials for the upcoming work. Everything is purchased at construction markets and handicraft shops. Beginners can use the sales department of the office.
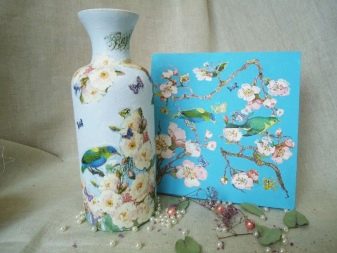
In shops for creativity, they buy ready-made pictures on decoupage cards, rice paper, napkins. But this decoration technique allows you to work with a drawing on any paper media: magazines, newspapers, photographs, posters - on everything that can be found at home.
So, for work you will need:
- a vase of any size, from any material;
- pictures (motive is chosen to taste);
- acrylic tonal paint;
- varnish according to the material from which the vase is made, as well as the finishing varnish;
- soft brushes;
- sandpaper;
- alcohol for degreasing;
- plaster or acrylic primer;
- PVA glue, half diluted with water, or office glue, you can use a special one for decoupage;
- a sponge for shading paint;
- a basin of water in which the pictures will be soaked.
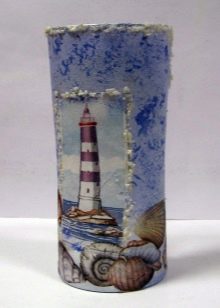
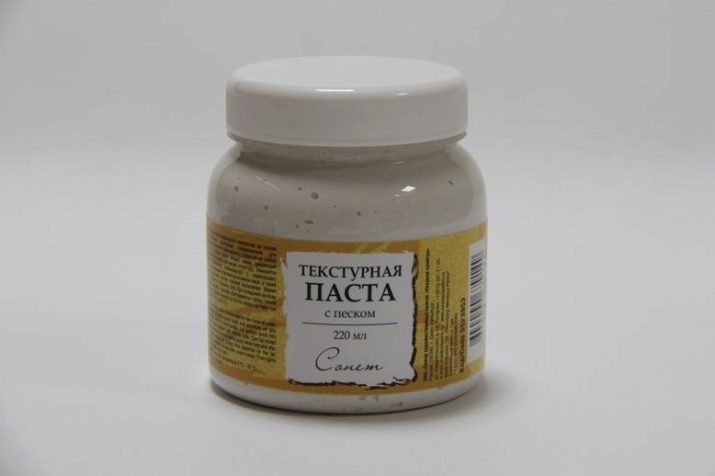
A basic set of materials and tools is listed. With its help, you can make the simplest version of decoupage. For the flight of creative imagination, additional materials will be needed. If the drawing is supposed to be made voluminous, use a textured paste with special fillers, for example, sand. This will help create the bump that will cover the landscape picture.
To get the aging effect, you can use craquelure varnish - when it dries, it breaks the paint, covers the surface with a fine mesh.
Vases are decorated with rhinestones, round bugles, feathers, mother-of-pearl, and even eggshells. Sometimes fabric, foil, gold thread, or ribbons may be needed to complement an artistic look.
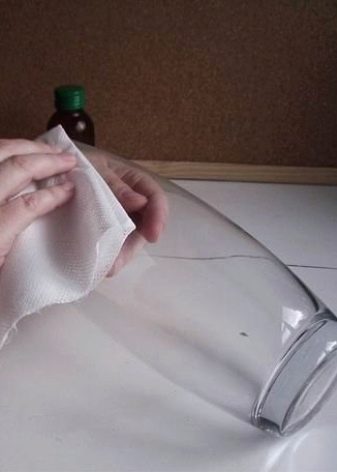
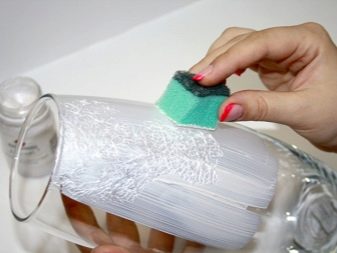
Preparing a glass, ceramic or plastic flower vase is done in different ways. The plastic surface can be primed. Smooth and sliding materials are left as they are before gluing, only lightly sanding with coarse sandpaper to create adhesion between the surface and the adhesive base.
Design Tips
Knowing the basic techniques of decoupage technique, you can apply them at home on any objects and surfaces. But for better work, you need an individual approach. Consider master classes on vases made from several different materials.
Plastic
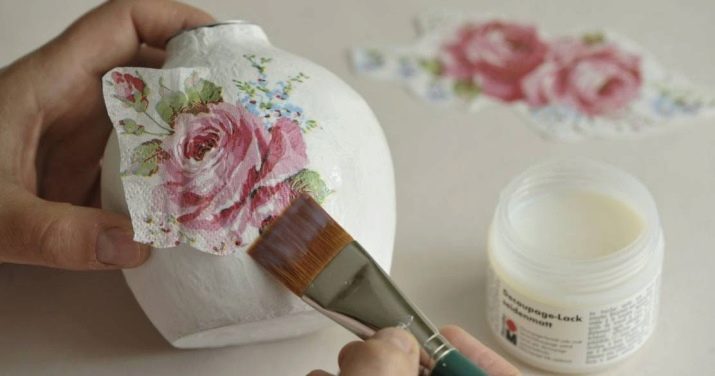
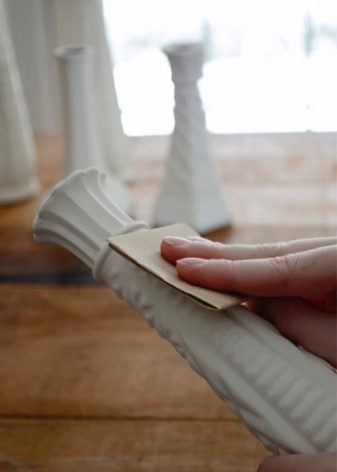
The plastic surface is usually primed to create a more expensive look. After drying out it is sanded with sandpaper, achieving absolute smoothness. Then they paint twice tonal acrylic paint. Sometimes they use as the first layer white paint and then apply the tonecorresponding to the picture. Dried surface before pasting degreased with alcohol. The napkin is placed in a bowl of water, then taken out, laid out with the image down and the carrier paper removed, leaving only the top layer with the pattern. For example, napkins are three-layer, which means that two layers should be removed.
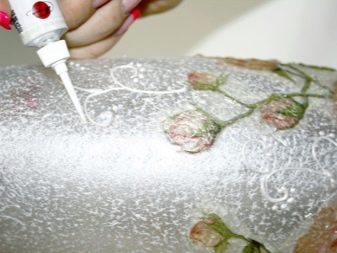
Prepared thin layer of the picture coated with glue and carefully applied to a degreased surface. Often the drawing is cut or torn into fragments, and the composition is connected already on the vase itself. Every element gently smooth with a damp brush... The finished product must be left to dry completely, and then applied to the surface. several layers of varnish.
If a vase needs touching up, shading the background and other works that enhance the artistic value of decoupage, they are carried out before varnishing.
Glass
Glass is transparent, and decorators often use this to perform the reverse decoupage technique.
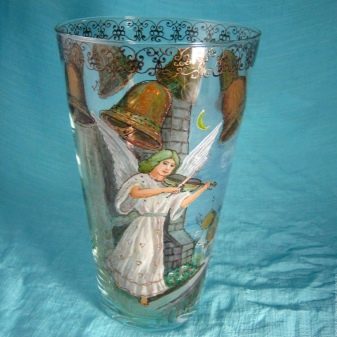
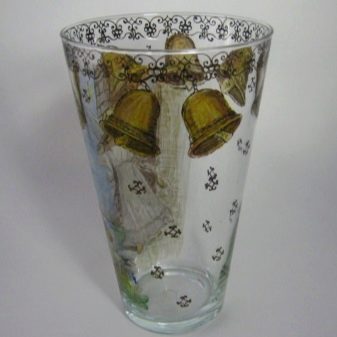
An example of direct decoupage is given above. The decoration is carried out on the outside of the vase, that is, on the glass.
The reverse decoupage involves gluing applications on the inside of the object - behind glass. In this case, you do not need to apply varnish from the front side.
Getting started on a vase, you should wash off the dust from it, dry it, and then do everything, as in direct decoupage, only in the opposite direction. First, a picture is glued under the glass, then craquelure is applied, the background is shaded and fixed with a finishing varnish.
By decorating a large floor vase, you can completely change its visual structure. With the help of putty and gypsum primer, it is quite possible to turn it into an old antique vessel, then select the appropriate picture and cover it with matte varnish.
Additional features
The technique of "cutting out pictures" seems simple only at first glance. In fact, it is quite versatile, it is divided into types: direct, reverse decoupage, classic, volumetric. Having renewed the vase in the usual way of direct decoupage, with the help of auxiliary elements it is turned into a real masterpiece. To verify this, consider a few additional techniques used in the decorating process.
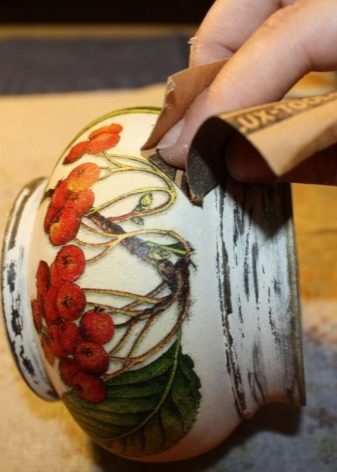
Scuffed impression
There are several ways to recreate the image of a century-old thing from a brand new, just purchased vase. One of them is the artificially created abrasion of the object. To use this technique, you must prepare two types of contrasting acrylic paint, a brush, wax or wax candle, and fine-grained sandpaper. The vase is first painted in a light color, given time to dry. Then rubbed with wax the places of future abrasions. Apply dark paint and dry completely again.
In the next step, using sandpaper (or a hard sponge), carefully remove the wax, rubbing the surface to obtain a realistic look of the aged product.
Craquelure
You can simulate an aged surface by cracking paint. To do this, the vase is evenly painted in any color and dried. Then a layer of special varnish-craquelure is applied to the surface, dried almost until cooked. The vase is again covered with acrylic paint, but already diluted. Leave to dry for a day, during this time cracking of the top layer occurs.
To consolidate the aging effect and prevent the paint from crumbling over time, the product is covered with shellac varnish.
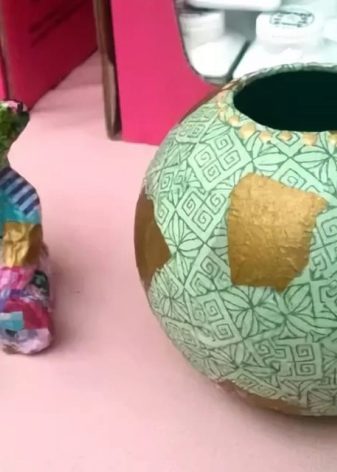
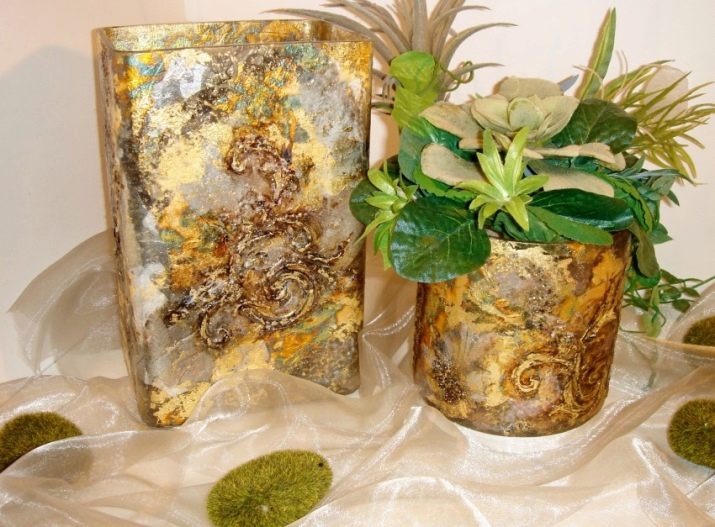
Potal
It is a very thin sheet of gilded metal. They are used for decoration instead of gold leaf.If the vase is glass, you will need special brushes, glue and varnish (shellac), produced specifically for gilding. A vase is decorated with gold leaf in a silver or gold version, and then they work using the decoupage technique.
Patina
Imitation of the plaque that occurs on bronze, brass or copper items obtained by oxidation for a long time. Most often, the patina looks like a greenish-brown surface, but there are other colors that accurately repeat the natural shades of this phenomenon. Patination technique can be performed on any material, it effectively helps to emphasize the signs of aging of the processed objects.
As you can see, decoupage has every opportunity to create the vase of your dreams, according to taste, style and mood.
In the next video, watch a glass vase decoupage master class.


