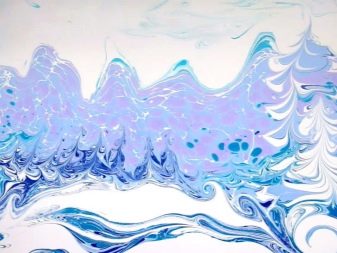
All about painting on water ebru
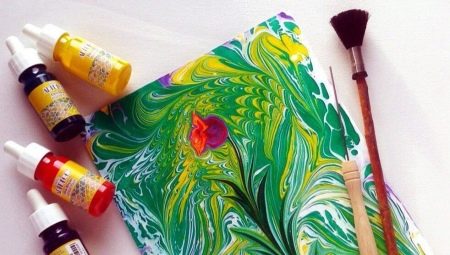
The unusual word "ebru" hides an interesting technique of drawing on water. Despite the seeming complexity, mastering it on your own does not present any particular difficulties, if you choose the right tools and do not forget about the thickener.
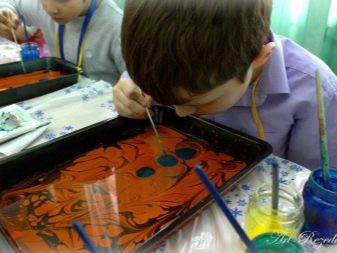
What it is?
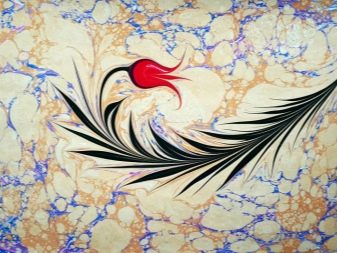
Ebru is a painting technique on the surface of water. The finished image is usually transferred to paper or other solid substrate that can absorb: wood, fabric, ceramics, or even leather. The history of the emergence of this technology is not completely clear, since at the same time the role of its homeland is attributed to several countries. For example, in Japan in the XII century there was the art of suminagashi, which can be translated as "floating ink". Shinto practitioners applied patterns in this style to fabric and thin rice paper, which were then used for decoration.
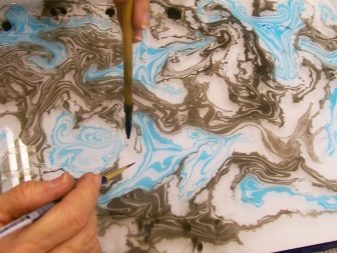
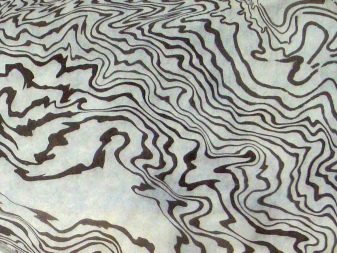
There was a similarity to the ebru in Turkey, since the 7th century. The Turkish masters were so good at drawing on water that they could create not only abstract patterns, but also quite realistic, more complex compositions. Drawings in this style even adorned the endpapers of expensive books. The homeland of the Ebru is also called China, Uzbekistan, India and Pakistan.
The specificity of this technique is the use of not simple water, but a viscous jelly-like base with a thickener, which allows the paint to retain its shape and adhere to the surface. Hevea extract is usually used as a thickener, although other options are possible. Paints are created on the basis of bovine bile and special minerals.
Using a variety of tools, the artist manages to modify the appearance of the drops themselves.
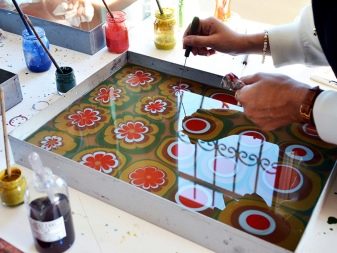
What is required?
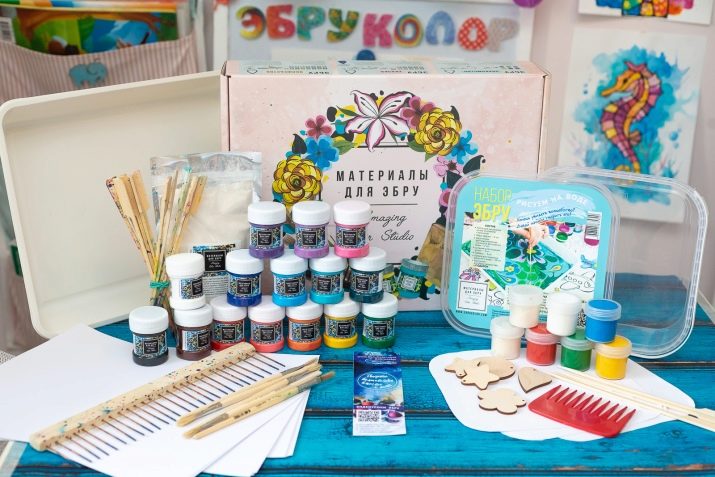
Drawing in the ebru technique is not a particularly difficult process, but it still requires a number of specific materials and tools.
Paints
In order for the paint to be suitable for working in the Ebru technique, it must contain natural mineral pigment, water and animal bile. It should be liquid, almost like colored water, in order to be able to stick and spread over the surface. You can buy both a ready-made mixture and a concentrate for dilution in stores for artists. To get started, homemade paints made from oil dyes and solvents are also suitable. Basically, you can paint with acrylic paints. The use of gouache is possible only when milk is used as a base.
Before starting work, it is recommended to pour the paint into separate containers or plastic cups and shake it gently to distribute the pigment. Do not direct the liquid directly into the thickened base, otherwise it will immediately sink to the bottom.
Thickener
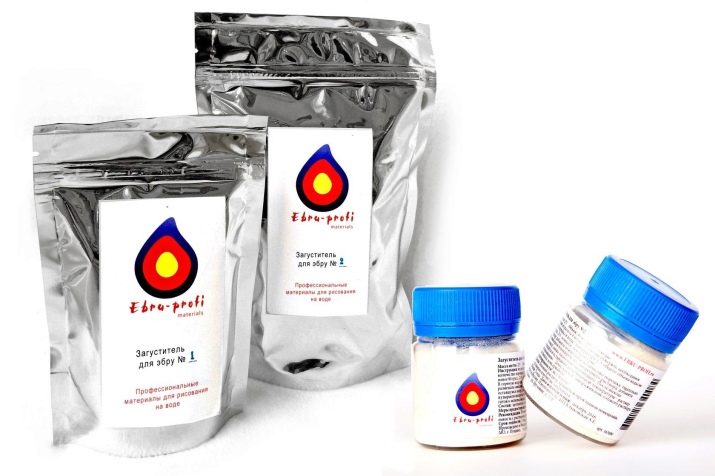
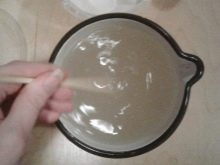
The liquid base for painting should be dense and thick so that the paint does not sink. You can get it by combining water with a thickener. This component can be produced in the form of a powder or liquid extract, which require further dilution according to the instructions on the package. As a rule, first the purchased thickener is thoroughly stirred in water for 10 minutes. Then the mixture is left to swell for 5-10 hours, until it acquires the consistency of a paste.
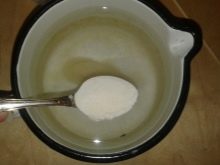
Professionals prefer a powder called kitre, which is derived from Hevea. They also use cellulose preparations or carrageenan obtained from seaweed. For beginners, it is recommended to replace the special thickener with starch or flour. For example, you can get a paste if you dilute a couple of tablespoons of flour in a liter of water so that there are no lumps left. The resulting mixture is put on fire and, while stirring, brought to a boil. When the temperature reaches its maximum, the heat should be reduced and the paste should be boiled until it thickens. The finished substance is cooled and filtered.
It is just as easy to get a thickener based on starch. According to this method, after the mixture has been cooked, it is recommended to add a small amount of silicate glue to it. Too thick jelly is diluted with water. Before starting drawing, the substance must be filtered. Another option is to use 2.5% fat as the basis of milk, which does not require an additional thickener.
For ebru, you can also dilute an aqueous solution of gelatin or agar-agar. According to this method, the powder in the amount of 1 teaspoon is diluted in a glass of water. Then it is poured into a larger container, where a clear liquid is gradually added until the substance acquires the consistency of a thick jelly. After closing the container with a lid and shaking it several times, it is necessary to let its contents brew for 2-3 hours. The base is filtered before use.
Instruments
Ebru brushes are created on the basis of horsehair. For creativity, both a simple brush and a brush-like one are suitable. To prevent paints from mixing with each other, each one has its own instrument prepared. Special combs, which are several needles fixed on a flat base, allow you to create symmetrical patterns or make a background. With an awl or knitting needles, the artist can create fine details. When doing creative work with your children, you can use toothpicks, matches, or sushi sticks.
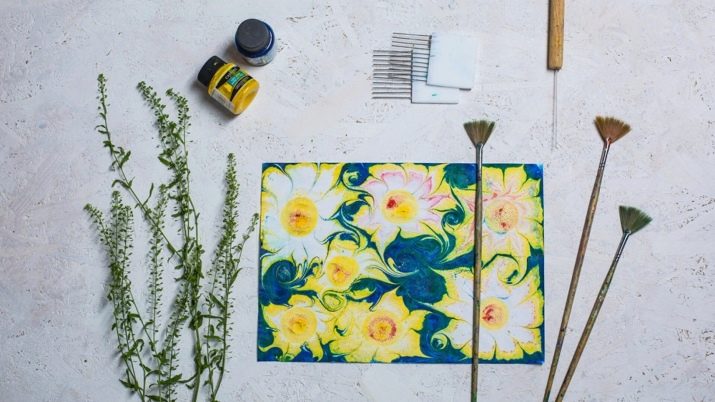
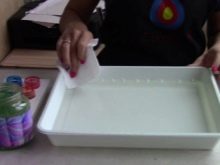
The means necessary for work also include a regular newspaper. If you put it on the surface of a "liquid sheet" and then gently pull it over the side, you will be able to get rid of air bubbles. It is better to take special, ground paper for fixing the finished image, although simple, not too dense sheets are also suitable.The container in which the whole process will be carried out must be rectangular, moderately deep and the size corresponding to A4 sheet.
Painting technique
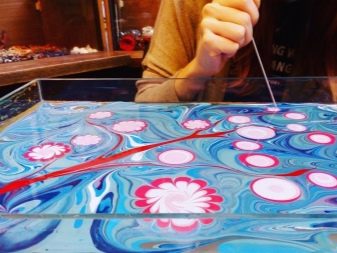
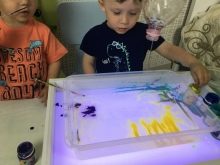
Drawing in the ebru technique at home is a rather simple process, so the slightly modified one is suitable even for preschool children. A master class for preschoolers or beginners should be carried out according to a simple scheme. First, prepare water with a thickener according to the instructions in a suitable container. It is not necessary to fill the container completely - it is enough for the liquid to be present at the bottom.
Then, with a shaking motion, you will need to transfer this or that paint to the surface. Finally, by using different tools, different patterns can be formed on the surface. The finished drawing is covered with a sheet of matte paper for 10-15 seconds, as a result of which the painting is transferred to the base. At the end of the lesson, the sheet is removed from the surface and left to dry.
Background
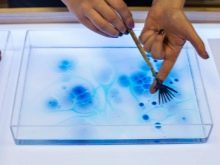
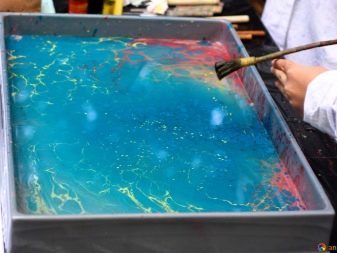
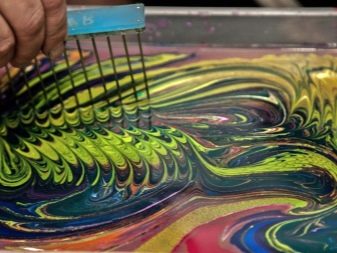
If you create a picture using the ebru technique step by step with your own hands, it is better to start by drawing the background. It is recommended to do this as follows: take no more than 2 shades of paint, previously diluted in separate cups, and sprinkle a small amount on the base. It is customary to spray paint with a brush or a special dispenser. The technology of work is such that the first drops can dissolve, but then they will support the rest of the images on the surface. It is convenient to use a comb to create the background, which allows you to apply repeating patterns over the entire surface. You can also make the background solid or colored, smooth or textured.
Drawing
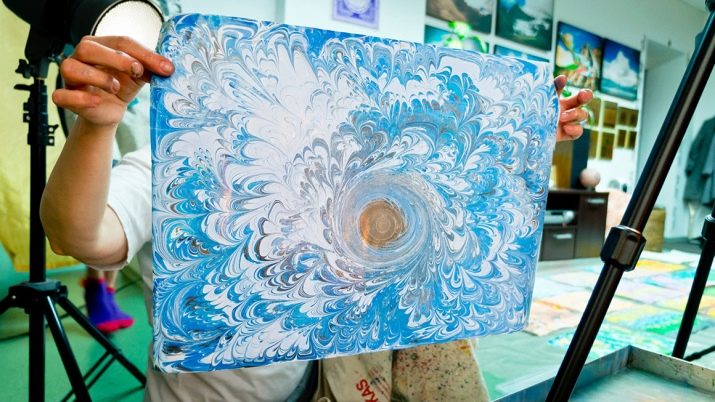
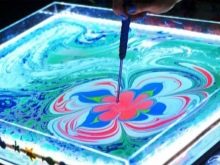
To get the main drawing, you will need to use different art tools. First, a brush is dipped into the paint and a few drops gently drip onto the base. Then you can stretch lines, form curls and spirals, draw radii, create flowers, and even draw animals or insects. For beginners, it is recommended to start with circles, which are given different shapes by stretching, and then move on to simple flowers and butterflies.
It is important that drops form clear boundaries when they come into contact with each other. If this does not happen, then the consistency of the coloring matter should probably be changed.
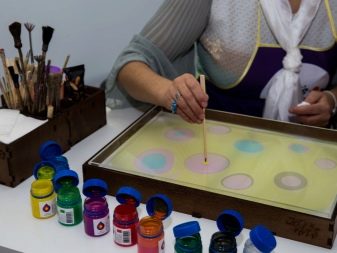
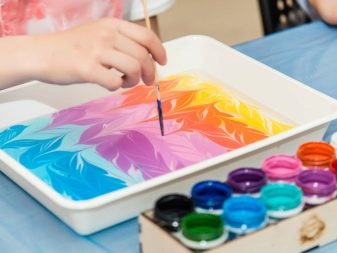
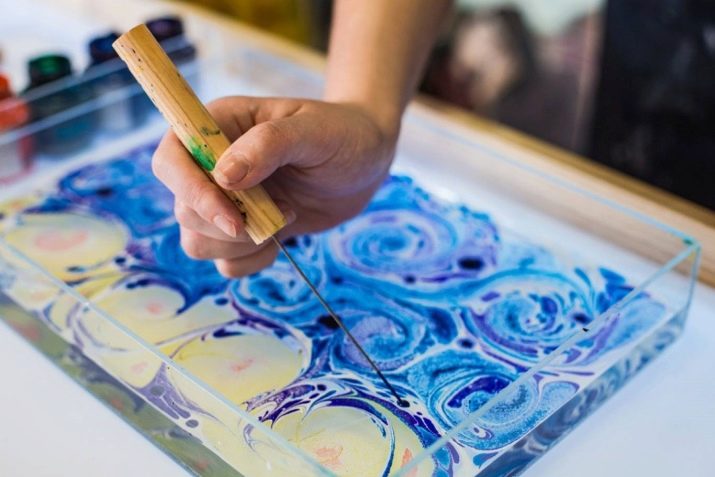
In a certain way, work is carried out with an awl: its tip is dipped into a can of paint, after which it is gently brought to the surface. The color drop should flow itself onto the work surface. To increase its size, another portion of the same is added to the center.
After each drawing, the tip of the tool must be wiped off.
Transfer to the surface
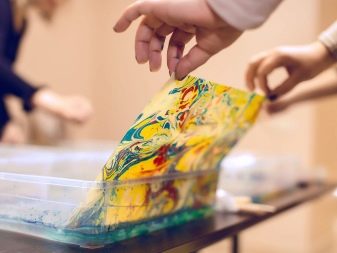
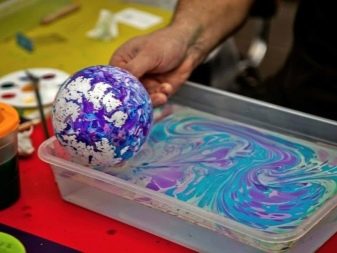
To transfer painting using the ebru technique to paper, you need to gently attach the sheet to the surface, without smearing the drawing, and wait from 10 seconds to 10 minutes. If the work was carried out using gouache, then it is better to wait a little longer so that the colors are brighter. A tighter fit can be achieved with your fingers or an awl. Even the paper itself can tell that the image is completely absorbed: its edges will begin to rise. The paper is removed either with two fingers or with tweezers. Working with fabric and ceramics is carried out in a similar way, but in the case of wood, the product to be painted is usually coated on all sides.
Drying
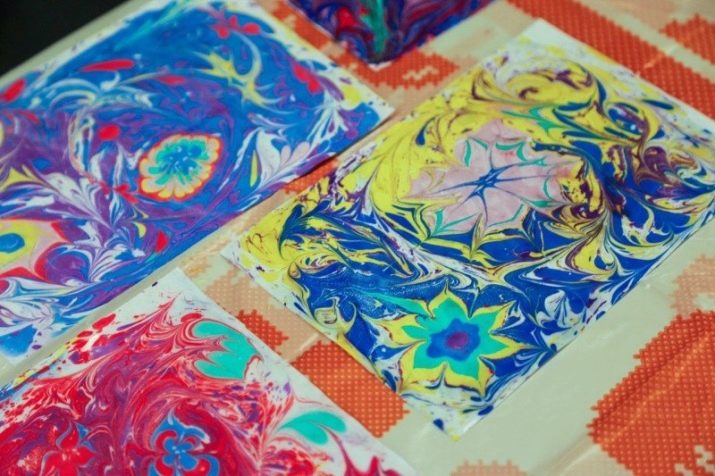
It is customary to dry a painting at home on a soft substrate in a horizontal position. It is not forbidden to use a hairdryer for this purpose.
Original ideas
The subject of the image in the unconventional technique of ebru is selected depending on the purpose for which this or that object is created.
- For example, if you have to decorate scarves or other accessories, then you can limit yourself to abstract patterns or give the drops the appearance of flowers.
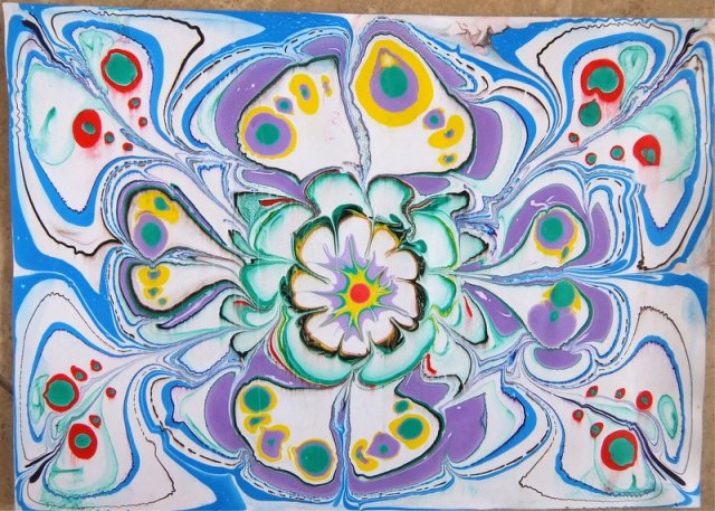
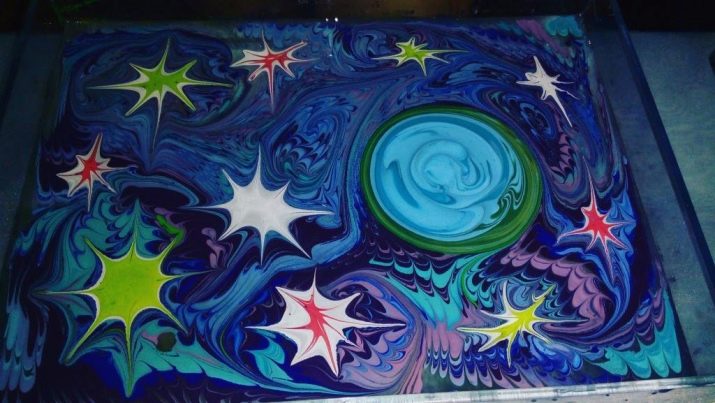
- To create a greeting card for February 23, you can depict space with paints or embody the canvas in a "military" color.
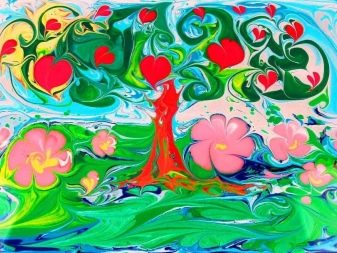
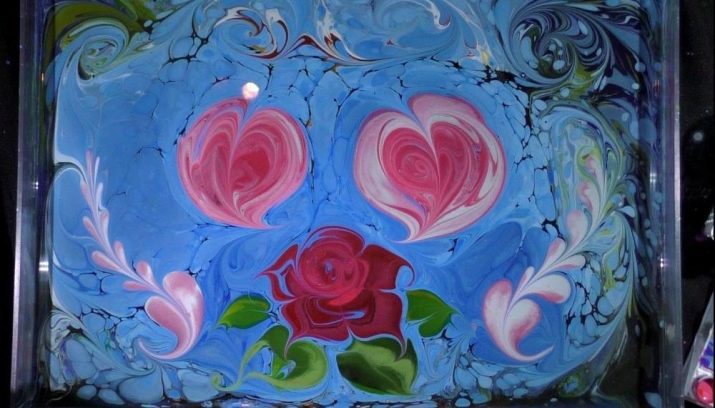
- It is proposed to decorate a gift for a woman with hearts or flower patterns.
- The Ebru works also feature themes such as seasons, landscapes and plants.
