Floristry for beginners
Floristry is an industry in which specialists are engaged in the design of bouquets of natural and artificial flowers. Florists will prepare bouquets for any holiday or significant date to order.
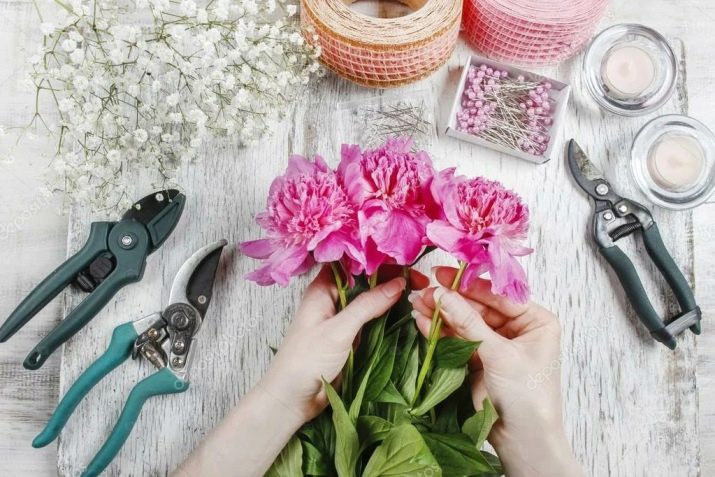
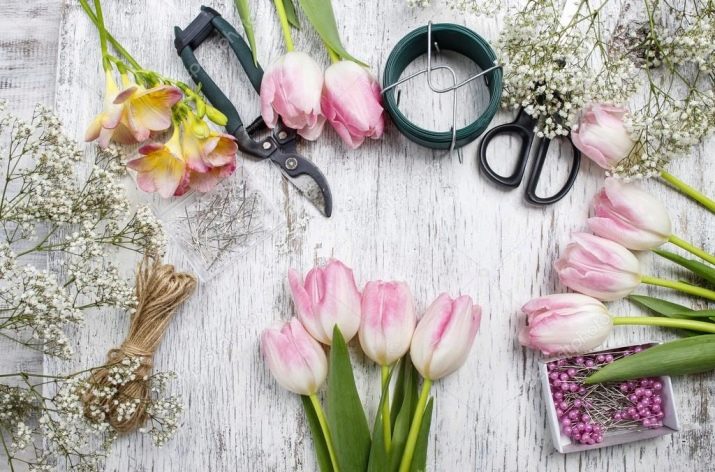
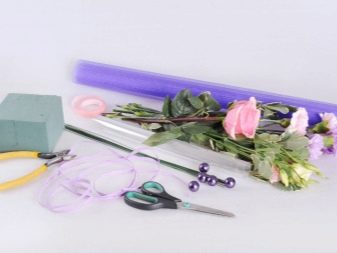
Required tools and materials
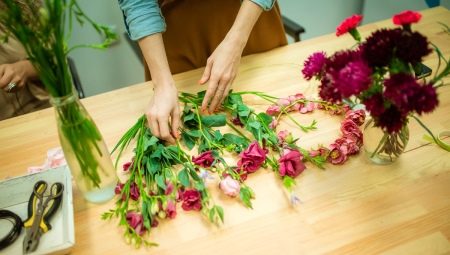
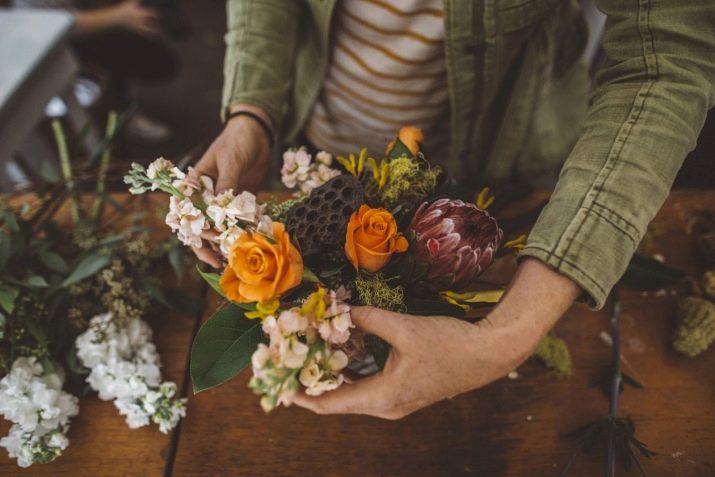
Skills in floristry are useful for the formation of bouquets, panels and collages. The reason for such decorations is an anniversary, corporate party, wedding and other events. But it is not enough to collect a bouquet; packaging and decor will be required.
Here are the most common materials.
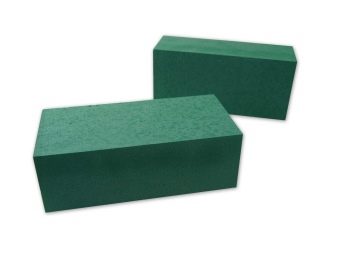
- The floral sponge is the basis for a standing, rigidly fixed composition. Placed on the bottom of a basket, mug, box, deep plate. Elements of the bouquet are stuck into this layer. In the simplest case, it is replaced with foam from household appliances.
- Satin ribbon is a decorative element. The material may not be satin.
- Tape in the form of a braid.
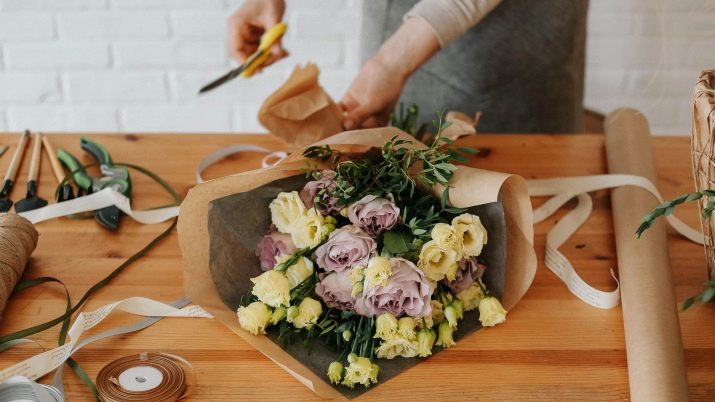
- The cling film is essentially a wrapper. Protects the bouquet from the harmful effects of the environment if the transportation is delayed for an hour or more. Without artistic coloring, it is not used as a decorative element.

And this is the florist's toolbox.
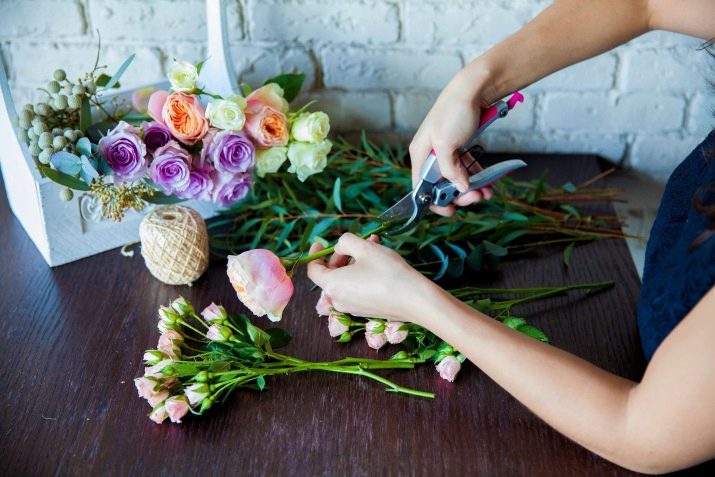
- Pruner. Sharpened metal scissors will work, but they are less comfortable. Inspect and test the pruner. Do not use a tool with an aluminum base - it will break quickly.
- Scissors - ordinary, for tapes, fabrics, paper and cardboard. You can use a large sewing machine to pattern clothes.
- Sharpened knife - any, even kitchen or hunting, made of stainless steel or hardened steel will do.
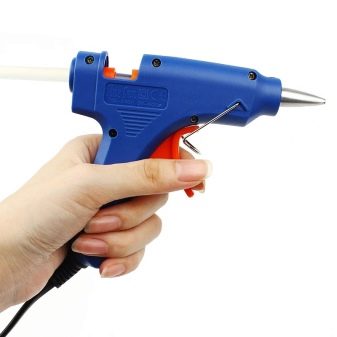
- Hot melt glue gun. Choose a composition without a pungent odor, indicating the presence of toxic impurities. In fact, this is a glue soldering iron with a dispenser - its power should not exceed 150 watts.
- Pliers - are used for twisting the wire, forming bends on it. They are complemented by narrow pliers that allow you to work with thin wires, as well as side cutters for nibbling.
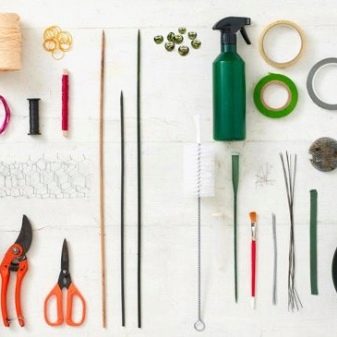
Additional accessories may come in handy.
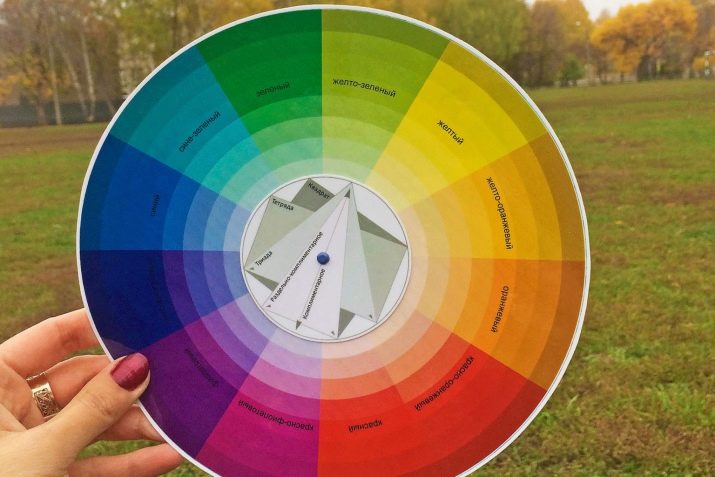
- Color circle - a template by which the colors of the adjacent elements are selected.
- Stapler - replacement of gluing. Special brackets are purchased for it, the volume of one set reaches 1000 pcs.
Having assembled a set of tools, start making bouquets.
Color combinations
A beginner can start with simple color sets. Decoration is not always helpful here - it can be intrusive. The main thing is the purpose of the presentation: the discrepancy can be perceived as a mockery of the recipient, and not a sign of attention.
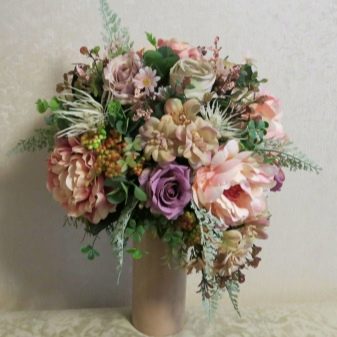
Color sets made mainly of elements of the same color are called linear. Let's look at four palettes suitable for beginners who are worried about the bottom line.
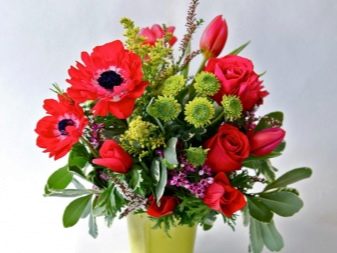
- Contrast - the use of sharply different colors in a set gives the created bouquet brightness and raises the degree of fun. But don't overdo it.
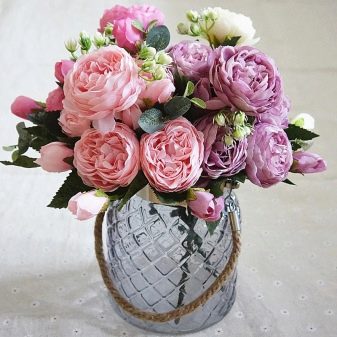
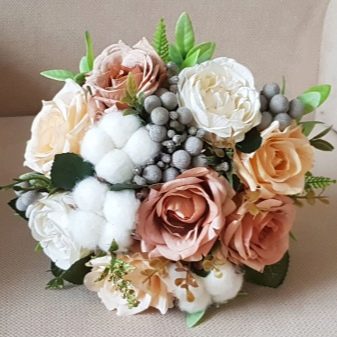
- Similar - different tones of the same scale are applied. The number of tones is not limited, as well as the superiority of one over several others.
- Monochromatic - a very narrow palette, for example, centered around red. Tone transitions are smooth and small.
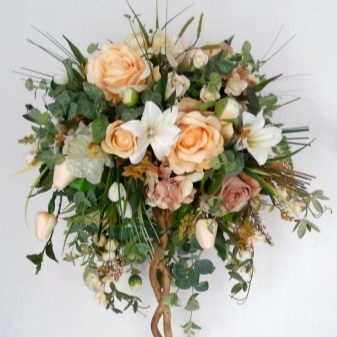
- Rainbow - no color restrictions. An example is wildflowers.


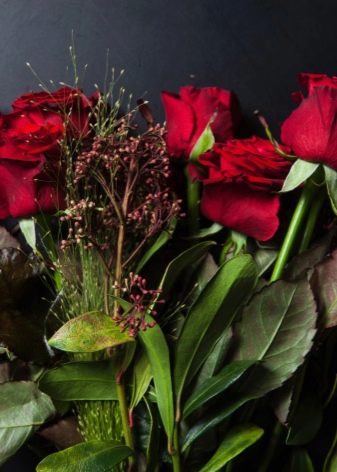
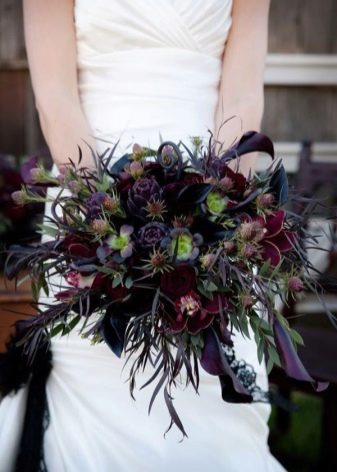
When picking a bouquet, do not forget about decoration. For example, a fan of gothic colors, in which white-grayish-cream, black, and purple shades are mixed, may not appreciate the monochrome bouquet of scarlet roses and red asters, but she will like white lilies, lilacs and "black" (black and burgundy ) roses in a creamy purple package.
A composition composed in any style should not diverge from the style orientation of the event, otherwise it may seem like an unnecessary attribute, an extraneous element that clearly does not belong here.
Rules for assembling bouquets of different flowers
Of the living
Floristry fundamentals for beginners involve several basics of this skill.
-
Do not rely always and fully on intuition. Sometimes a free approach is limited in use, since a person as a master cannot be absolutely free.
-
The brightness of the tones is concentrated in the center, while the dullness and restraint is closer to the edges. The fact is that the attention of observers is riveted in the first two seconds to the center, and only then they evaluate more extreme details. First, the recipient, the observer will look closely at the shape or elements in the center, and then at the outer colors and the wrapper. Learn to hold the gift recipient's attention for a few minutes, not two seconds. Floristry is akin to public speaking, sales - "keep the brand", staying on the crest of the wave of customer attention.
-
Large buds are in the center and around it, in its vicinity. Trifle - around the edges. This will add volume to the bouquet.
-
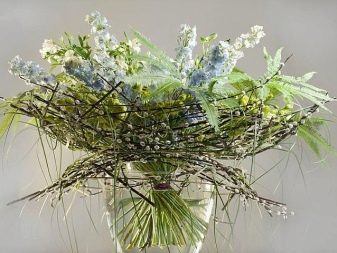
The bouquet can be decorated with any greenery, for example, leaves from other flowers, and if the bouquet is presented in the fall, you can use yellowed and just fallen linden or maple leaves. If the gift is winter, it is useful to decorate the bouquet with a branch of pine or blue spruce. Excessive decorations will distract the recipient of the bouquet gift from the primary flowers.
-
Inflorescences, on which several flowers grow, move away from each other to make them easier to see. The components of the decoration vary in height - some of them should not be much taller than others. Do not bend or twist the flowers, for this there is a special technology - a spiral arrangement of flowers in a bouquet around one of them, the hardest.
- Use mixed ripe flowers - this will enable the bouquet to last longer in a fresh state: unopened buds will open in a maximum of a few days.
Violation of one or more rules is possible only if harmony is maintained.
From artificial
Artificial flowers can last for up to several years. They will never fade if the material (paper, plastic) does not decay in natural conditions.
The flower can be cut out of paper or varnished fabric. Then each of the artificial products is assembled according to the scheme in accordance with the recommendations for a specific master class. Having collected the flowers, they begin to assemble the bouquet.
Artificial flowers can be folded directly, parallel to each other, or spirally. Spiral twisting is possible only if the stem and other elements are sufficiently flexible.
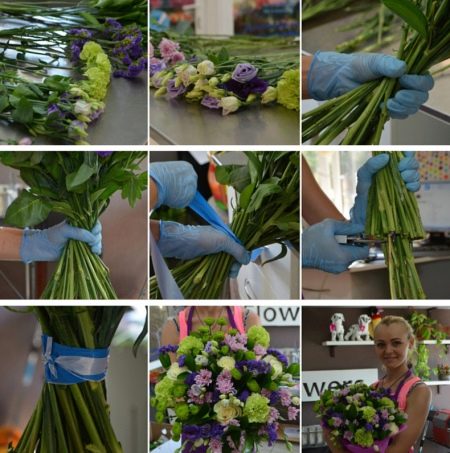
Step-by-step bouquets master classes
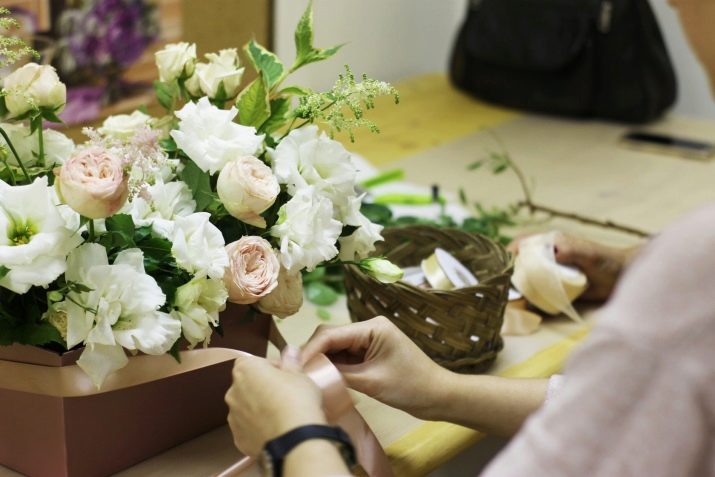
It will not be difficult for the florist to collect the ordered composition himself. You can learn how to make truly elegant bouquets on your own in a master class, or under the guidance of an experienced master.
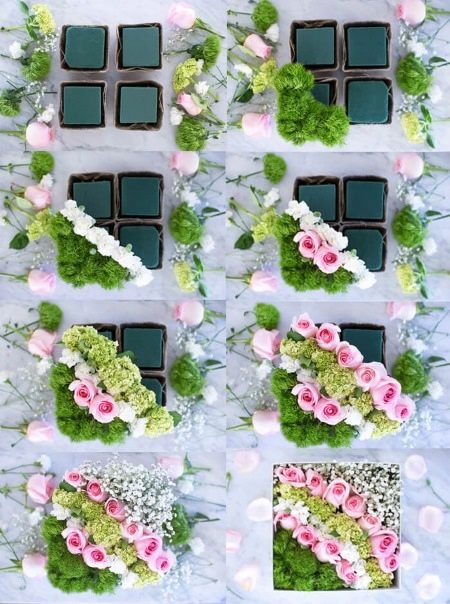
Consider how the flower box is assembled.
You will need live roses with large buds, a box or box of equipment or jewelry, a postcard will serve as a pleasant addition.
- Cut the sponge or foam to the desired size. The piece of material should fit tightly into the box without damaging it.
- Pack the styrofoam in plastic wrap.
- Arrange the plants to fill the entire box.
- Complement the assembly with additional greenery, attach a postcard to it (if required).
- Tie the box with a gift ribbon, having previously removed the factory images by carefully peeling off its outer surface. Decorate it.
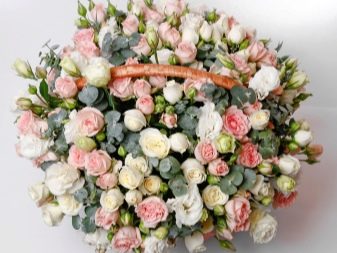
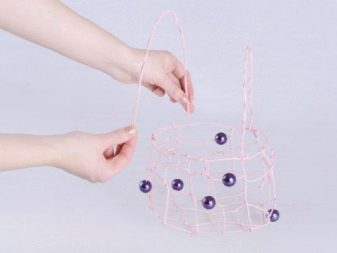
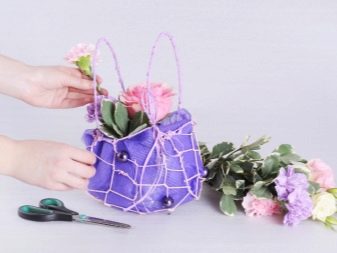
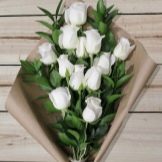
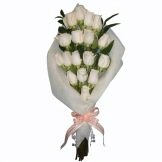
To make a bouquet bag, you will need ordinary roses and eustomas, a pink ribbon, purple beads (you can use old or cheap ones), as well as live carnations, resin seeds and some material (textiles).
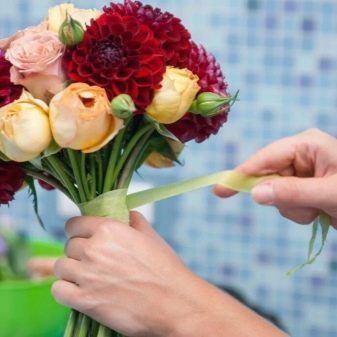
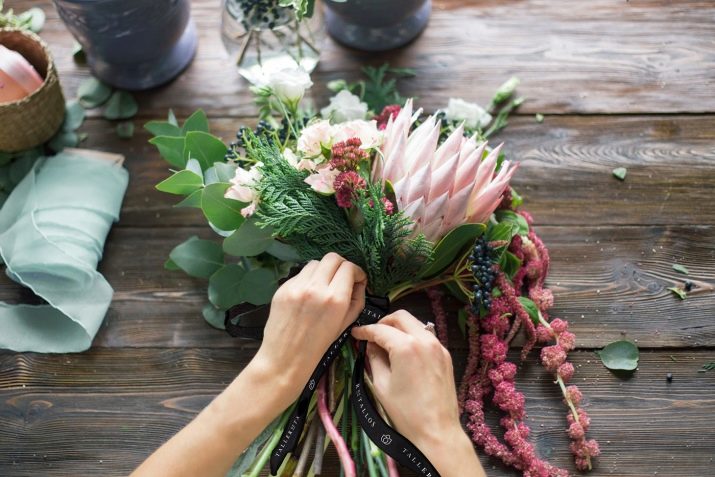
- Wrap the tape over the entire length of the wire. Weave it to form a frame for the bag. Make handles from the same wire and attach them to the main part. For a festive look, wrap the handles with satin or tape. Lay a dense and soft cloth on the bottom.
- Wrap the styrofoam or floral sponge in plastic wrap and place on the bottom.
- Insert flowers into your purse, as in the previous example.
- Attach the beads along the entire perimeter of the edges of the bag, after wrapping them with decorative tape.

To make a wedding bouquet you need: a lace for decoration, pink organza, decorative ribbon, beads 1 cm in diameter, pink tulips.
- Cut a strip of organza 30 cm wide. Fold it in half and cut exactly along the line.
- Prepare two more strips of organza, you get 4 copies. Fold each of the resulting line segments in half again. Cut strips from them 3 cm wide.
- Collect artificial buds from these segments, tying their legs to each other. Wire them together at the base. One of the legs should be longer - the size of the stem that decorates the flower arrangement.
- Arrange the tulips one level at the base of the bouquet. Other flowers, such as panicums, are evenly distributed throughout the assembly. The flowers are surrounded by organza, the ribbons of which have already been prepared.
- Tie the stems with wire. Fix it higher - the flowers will not fall apart, it will hold them.
- Trim the bouquet to the required length.
- Remove the leaves by positioning them around the buds.
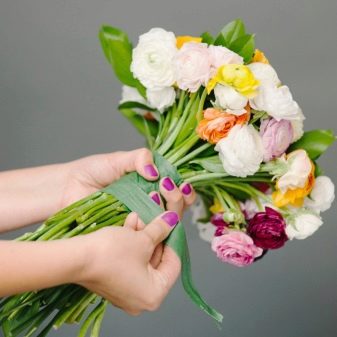
- Use a ribbon to secure the bouquet by winding it in at least a few turns.
- Attach beads to the ends of the ribbon.


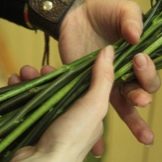
To make a spiral bouquet, do the following.
- Remove thorns from the roses. Fold several roses so that they are vertical.
- Place each subsequent rose obliquely, tilting it to the right.
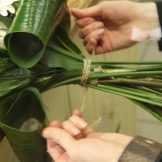
- After collecting and securing the flowers, place them in a paper bag (decorative craft paper is used) and wrap it underneath with decorative tape. At the same time, first, shorten the stems, forming an even cut.
- Decorating greenery, such as blue spruce branches or fragments of pine branches, is placed in a circle or between flowers, but not in the center of the bouquet.
The parallel bouquet is also easy to make. You will need large-bottomed flowers, greenery or fern branches.
- Lay the flowers in steps - each next one should be slightly lower than the previous one.
- Tie and shorten the stems of the formed bouquet.
- Place flowers in a bag or decorated container.
- Cover a bunch of flowers with greenery. You can decorate the bouquet with ribbons.
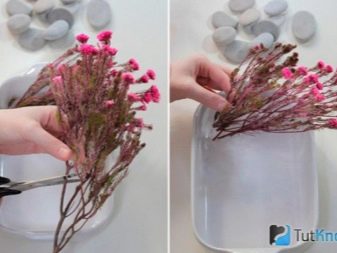
A bouquet of dried flowers is made according to the following scheme.
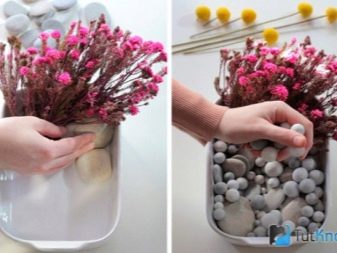
- Dip a styrofoam or floral sponge into the bottom of a container, container, or box.
- Arrange the flowers (inflorescences) of the immortelle.
- Place black rudbeckia in the center.
- Tie up the set as in any of the previous workshops.
- Decorate the free space with branches of pink heather.
- Place some haretail inflorescences as well.
Once you have mastered the workshops listed above, you can sell your floral artworks.
Secrets of the masters
Each professional has his own experience. And someone else's experience can be useful in a variety of cases.
- Collect bouquets with an eye on the floor and the person's preferences. "Female" - round, "male" - elongated.
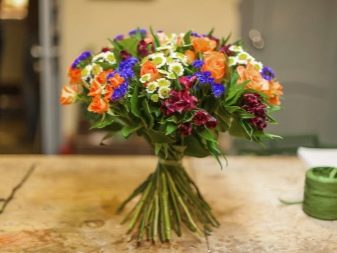
- Combine different colors and flowers in one bouquet. Variety is better: at least three different species are used. For example, white tulips, yellow asters and red roses go well together.
- Closed and slightly opened buds are a reason to indicate that the bouquet will still show itself in all its glory.
- Do not overdo it with greens: they should not distract attention from the primary colors. In terms of location, it should not be higher than the buds.
- Place bright and light buds in the center and at the edges of the assembly, respectively.
- Do not mix rare and common flowers such as chamomile and edelweiss.
If you follow these rules, your level and volume of sales of bouquets will increase. And you will prepare bouquets for your family and friends that you cannot buy anywhere.
For tips for aspiring florists, see the video below.


