Three-phase gel polish: what is it and how to apply?
Recently, gel polish manicure has become very popular among real women of fashion. Women argue that, above all, it is convenient and practical. After all, you can contact the master or carry out the procedure at home once every 3-4 weeks, which certainly saves time. Moreover, shellac manicure is always beautiful. In addition, with the development of technology, a huge number of all kinds of decorative elements have appeared for decorating the nails of the most demanding ladies.
Now in the beauty industry, you can choose from a wide range of products exactly what you like. Manufacturers offer not only a varied palette of shellacs, but also a great variety of tools that will help you achieve the perfect manicure. The so-called three-phase gel polish is especially popular.
What is a three-phase gel polish?
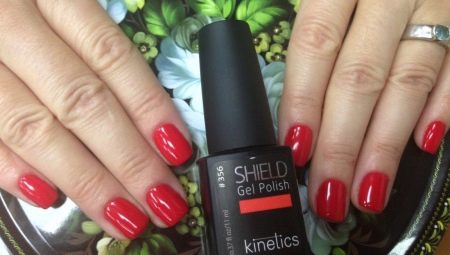
Based on the name of this tool, we can conclude that three main products are used for its application: base coat, color composition and fixer. It is worth noting that without these tools, the manicure will not be able to hold out on your nails for the prescribed period and after a few days it will lose its original appearance.
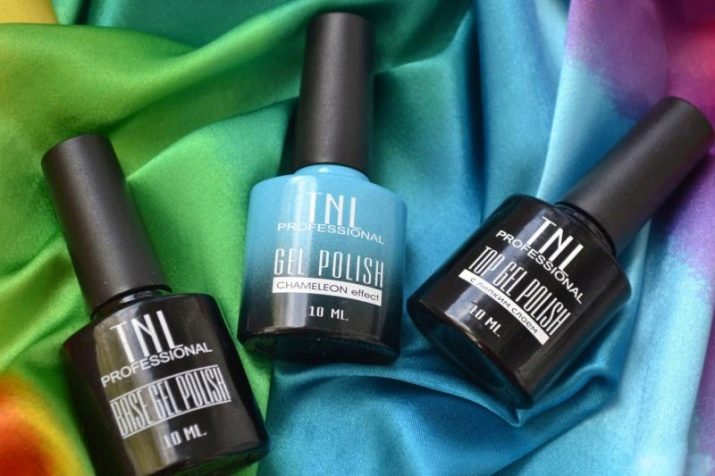
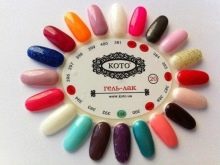
Experts note that the color palette of three-phase gel varnishes cannot be called poorer than the variety of shades of single-phase shellacs. Well-known brands are equally successful in supplying all types of products. It does not take much time to select the base and fixing coatings. They are always freely available and in different price categories. It is especially important that many brands also produce special rubber bases.Such tools help to get rid of irregularities on the nail plates.

Advantages and disadvantages of three-phase gel varnishes
First of all, it is necessary to note the excellent consistency of the varnishes, the application of which takes place in three stages. It is neither thick nor liquid - medium. This allows you to evenly distribute the product over the nail, avoiding getting under the cuticle and the formation of bald spots.
Also an important factor is the durability of three-phase gel varnishes. Unlike shellacs "in one step", these funds retain their original appearance longer, which cannot but please those who save their time.
Three-phase gel polish is easier to remove in comparison with single-phase and does not leave marks on the nail plate at all, which is good news.
However, the very procedure of working with a three-phase system takes a little more minutes spent in the salon than applying a single-phase gel polish. Of course, many people point out that this is not so important in comparison with an excellent work result.
Some tips for choosing a three-phase gel polish
When choosing any type of shellac, you need to pay special attention to several main factors.
- Smell. It shouldn't be harsh or unpleasant. Most likely, a poisonous smell will indicate the presence of a huge amount of harmful substances in the composition. This, of course, is not good for the health of your nails.
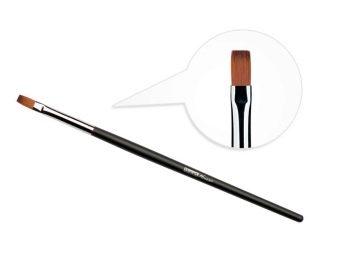
- Brush size. It should not be too narrow so that you can successfully distribute the varnish over the nail. It should not be wide, so that the applied product lies as neatly as possible. Watch the quality of the hairs of the brush, because the appearance of the manicure depends on them.
- Possibility of combining "non-native" means. This means that you better check if the base and color coat from different manufacturers can be used, whether this will affect the quality of the final result.

Manicure technique with three-phase gel varnish
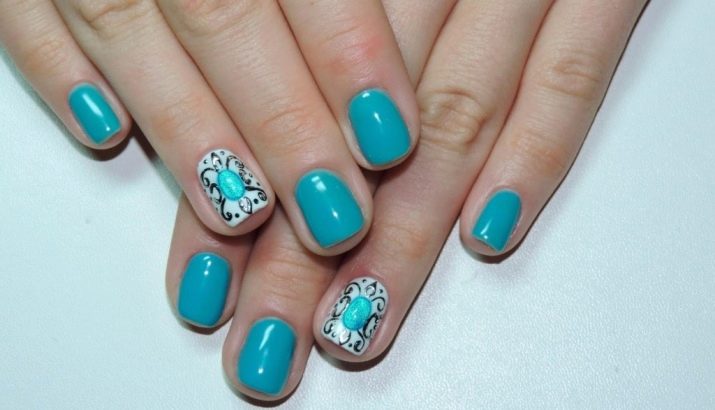
As mentioned above, the use of three-phase shellac takes a rather long period of time. However, the result will definitely not leave you indifferent, and there will be no limit to the enthusiastic looks of your friends.
Let's take a step-by-step look at the technology of applying this product to your nails from the very beginning.
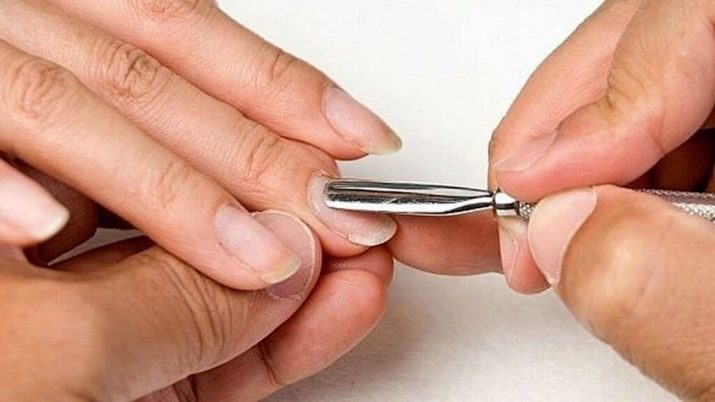
- The first and one of the main stages is the transformation of nails. It is necessary to put the nails in order, that is, to remove the cuticles in order to achieve a more accurate result. Next, give each marigold the desired shape. Now, natural forms are especially in demand - rounded or almond-shaped. You also need to cut off the outer glossy layer of the nails so that it is completely ready for application.
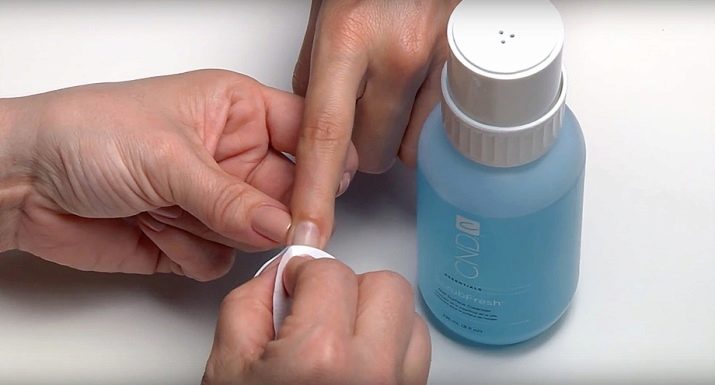
- Then you need to use a special tool to degrease the nail plate. This is required for the best adhesion of the nail to the base coat and the gel polish itself. And also such a procedure protects from any dangerous microbes invisible to the human eye, protects against fungus.
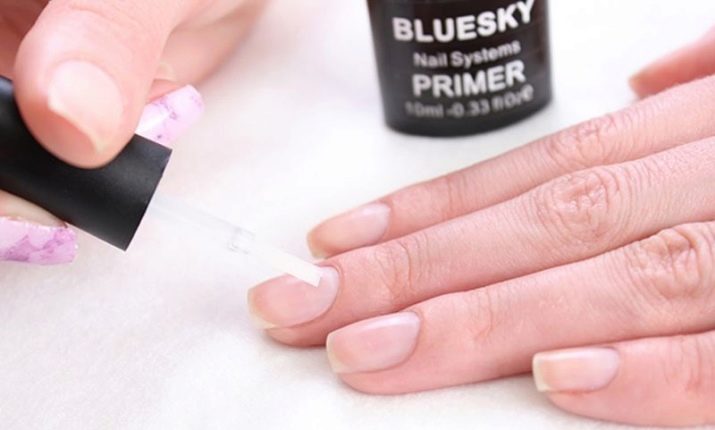
- This is followed by the application of a gentle acid-free primer. It is worth choosing just such in order to protect your nails from excessive penetration of acids, and yourself from a specific smell. This layer is necessary for the strongest adhesion of the nail plate, followed by a layer of gel polish. The applied product dries up within 20 seconds, and the use of a UV lamp is not required at all.
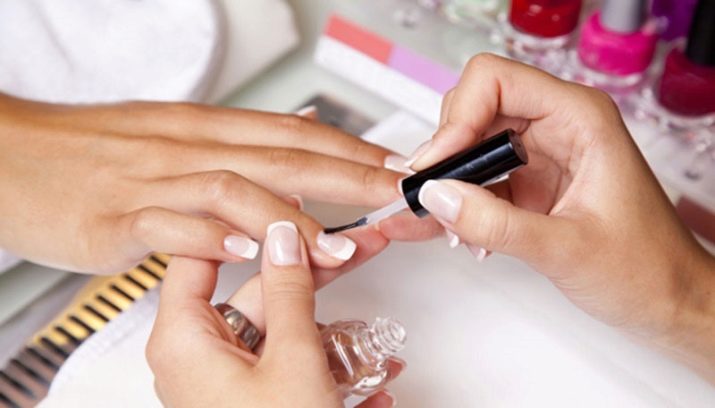
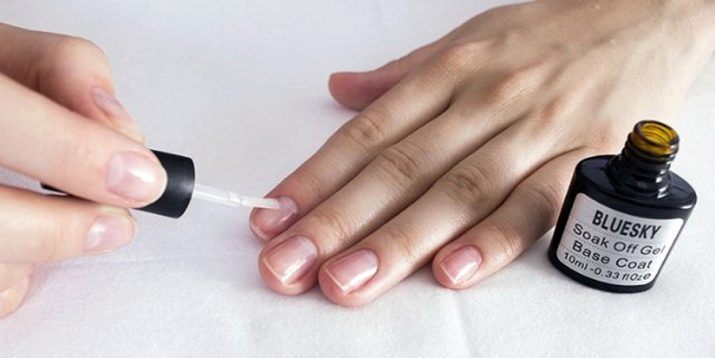
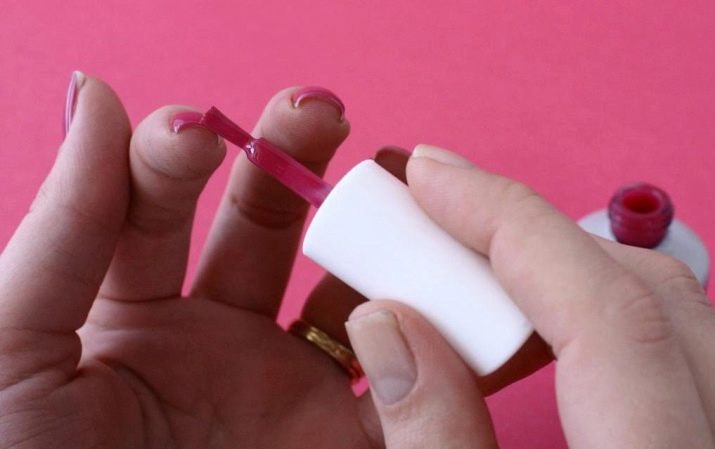
- Next, let's move on to the fun part. Apply the base coat in a thin layer over the entire length of the nail, completely covering it from the cuticle to the end of the free edge of the nail. It takes about 2 minutes to dry in a UV lamp, and only 30 seconds in an LED lamp.
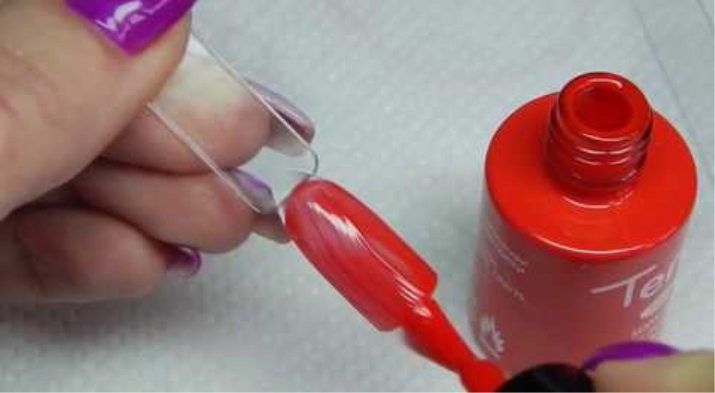
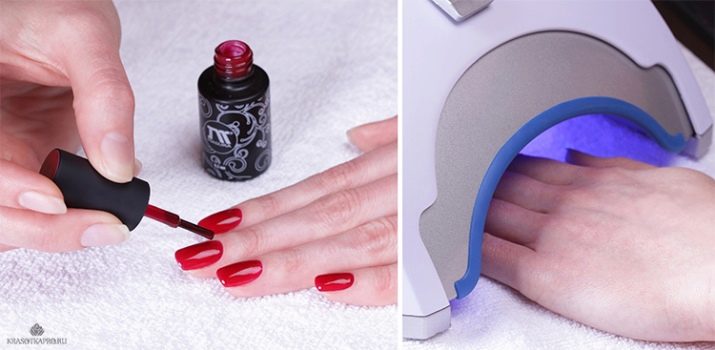
- Events are getting richer. We apply a colored coating. If your choice fell on colored shellac, then it must be painted in two layers in order to avoid the so-called bald spots.
But here you should be especially careful. Do not apply too thick coatings: bubbles may appear and you have to start over.
With delicate and pastel shades, the situation is easier, so the masters notice that just one layer is enough. As for drying, the instructions are the same: 2 minutes in UV or 30 seconds in an LED lamp.
- In no case should the stage of sealing the end of the nail be ignored. This is important if you want to avoid possible chipping and cracking.
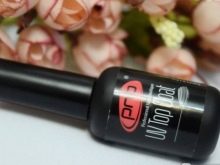
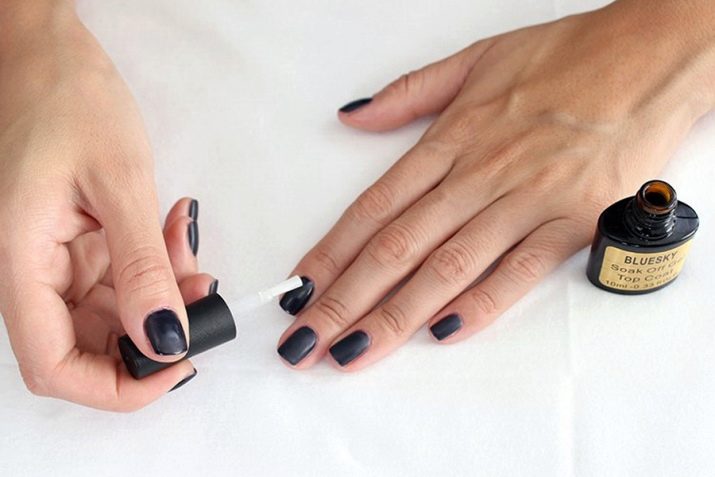
- At the final stage of manicure, we use a top coat, it is also called "top coat". It is very important here to apply the product in a thin layer, with the obligatory sealing of the end of the nail plate.
If you have paid enough attention to the decor of your nails and they are covered with all kinds of convex details, the masters recommend applying the top in two layers. This will definitely protect your manicure from all environmental threats.
Further, take the time to dry each nail well, so that the manicure will delight you with its beauty for a long time.
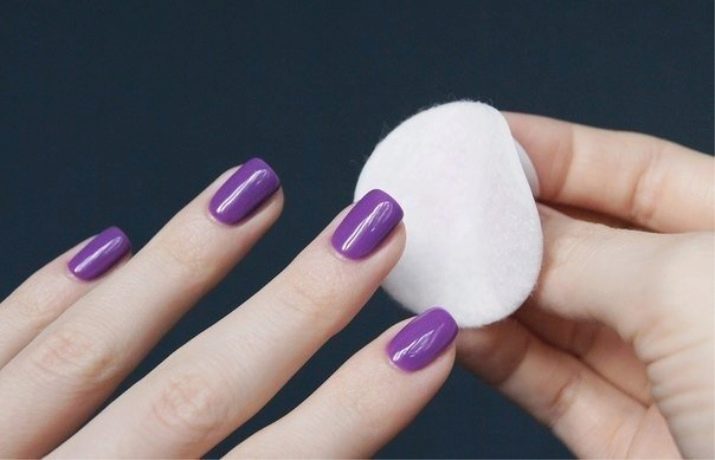
- At the end of the procedure, you need to remove the sticky layer from the surface of the top coat. For these purposes, it is better to use a special tool and a cotton pad.
However, it so happens that this liquid was not at hand. Then the masters are advised to use ordinary alcohol. The result will be no worse.
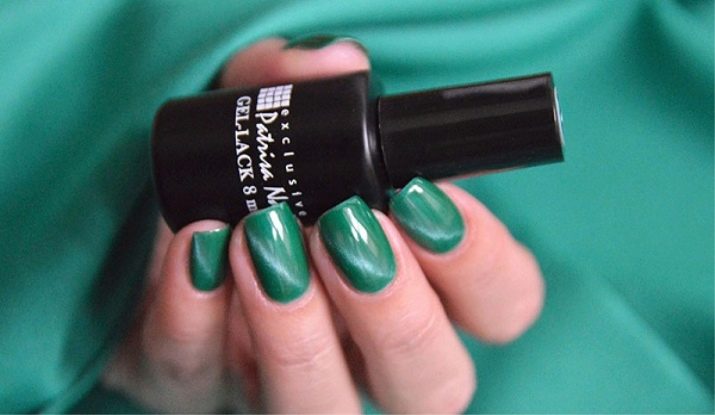
With proper application and following the manufacturer's instructions, the three-phase gel polish can delight others with its shine for a long time.
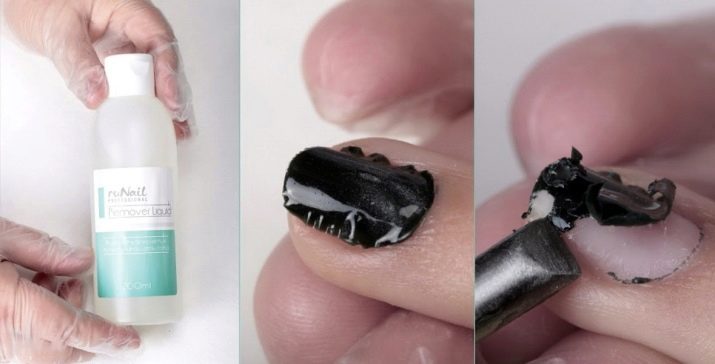
Gel polish removal procedure
Consider the stage of removing shellac from one nail. Obviously, you need to work with each nail in the same way.
- A cotton sponge must be applied to the nail, previously moistened with gel polish remover. For this, it is best to use a cotton base, because it can protect the nail from any negative influences.
- On top of the nail with a sponge, you need to wrap a piece of foil 10 by 10 centimeters.
- Wait 15 minutes.
- Remove the foil and sponge from the nail. Use an orange stick to knock a little and crush the gel polish.
- A small file designed for polishing your nails will help get rid of the remaining parts of the shellac.
How to remove gel polish correctly, see the next video.


